
Fairy Tale Inspired Scene Card
Hi everyone! It’s Laura here and today I am super excited to share with you my first post as a Heffy Doodle design team member! Yay!
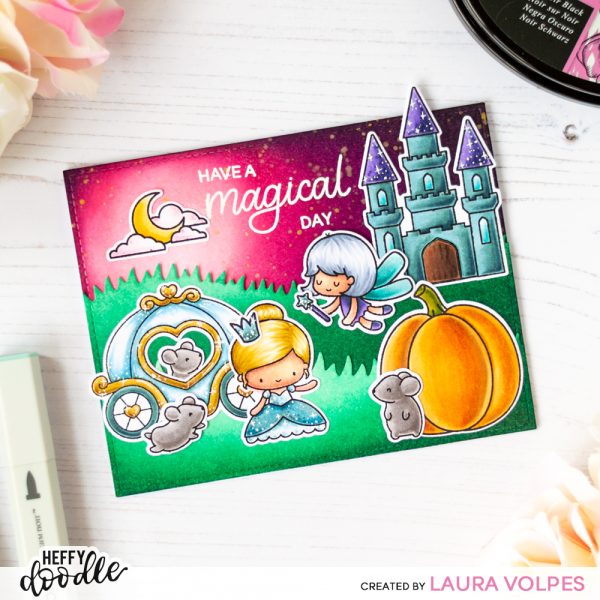
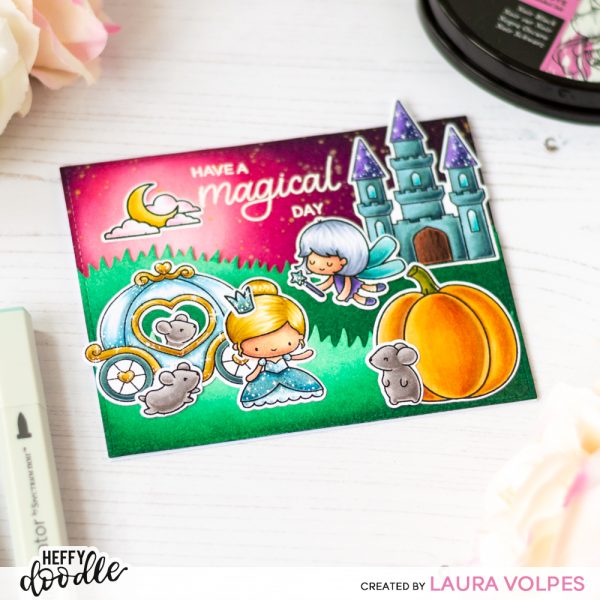
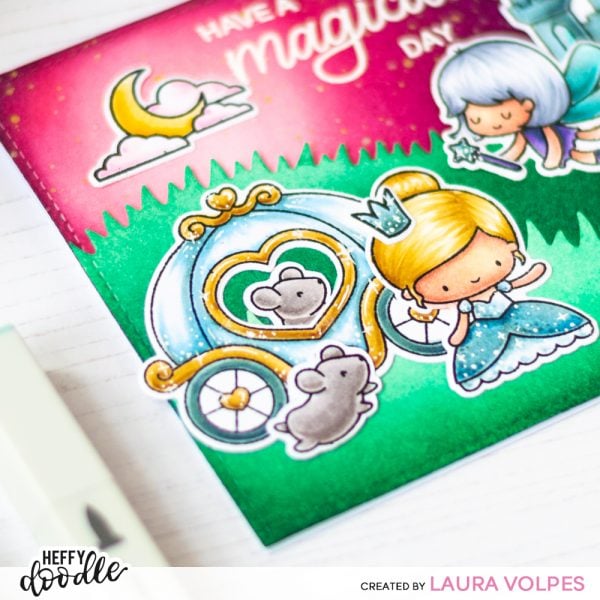
Scene cards are hands down my favorite cards to make, so today I am sharing a step by step tutorial that shows how to create a fairy-tale-inspired scene card. I guess it is pretty obvious that the inspiration came from the story of Cinderella, and I think this would be just the perfect birthday birthday card for a little girl! Don’t you agree?
The first element I worked on is the background. Having it ready before coloring the images helps me set the scene and define its mood. It also makes it easier to chose which palette to use for the images themselves.
For the grassy hills I combined the Clover Frames dies with the Grassy Lass Border dies. I die cut some Bristol Smooth Cardstock and did some ink blending with Distress Inks in Cracked Pistachio, Lucky Clover, Pine Needles and Black Soot. I created two separate hills, so that I could layer them and create depth in my scene.
For the sky I die cut some Bristol Smooth cardstock with the Clover Frames dies and did some ink blending with Distress Inks. I used Spun Sugar, Worn Lipstick, Seedless Preserves, Chipped Sapphire and Black Soot. I blended the inks in a circular pattern, keeping the lighter shades in the area where I wanted the moon to be.
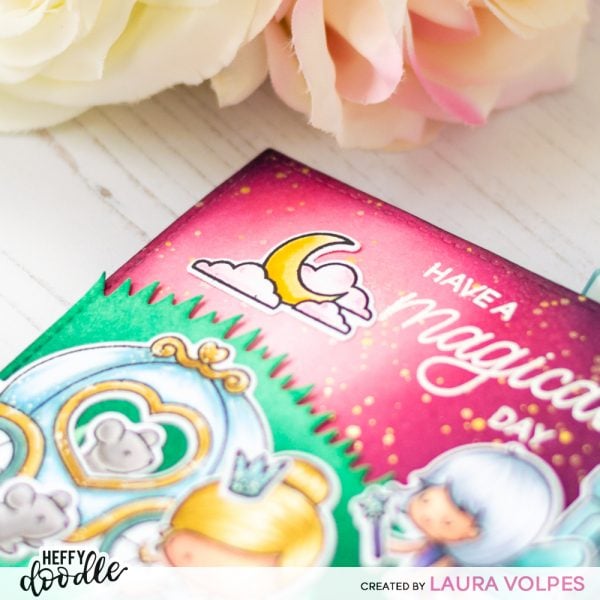
I then used my Gansai Tambi Starry Colors to create some shimmery stars all over the sky.
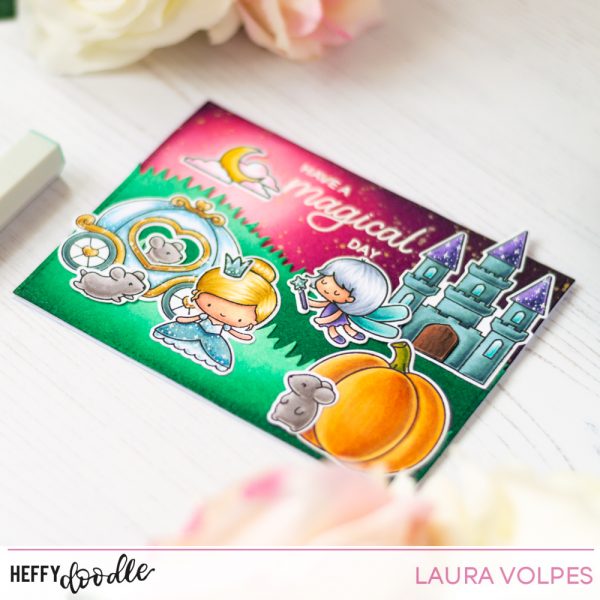
Once the landscape elements were ready, I moved on and started working on my images. I mixed stamps from different sets and I love how well they work together!
I used the Happily Ever Crafter, Absotoothly Awesome, Hello Squeekheart and Veggie Patch sets.
I stamped the images with Spectrum Noir Alcohol Proof black ink and colored them with my Illustrator Markers.
I have a marker chart for you, that you can use as a reference.
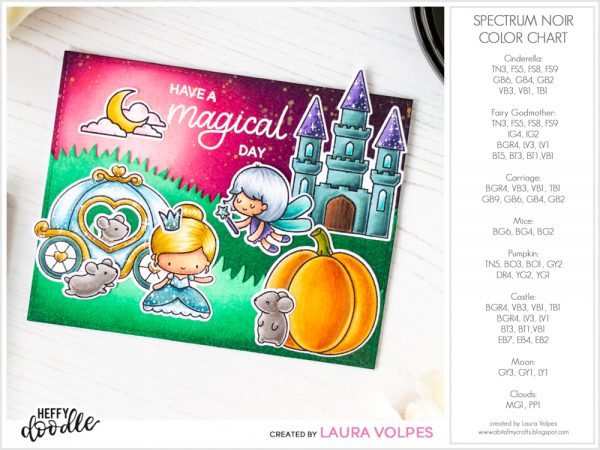
I then die cut all the images and created the effect of fairy dust on some elements: the carriage, Cinderella’s dress, the Fairy Godmother’s wand and the roofs of the castle. To do that, I added some dots with my Illustrator markers and with a white gel pen. I also added little crosses stemming out of some of those dots, to represent little sparkles. And I think it does look really magical!
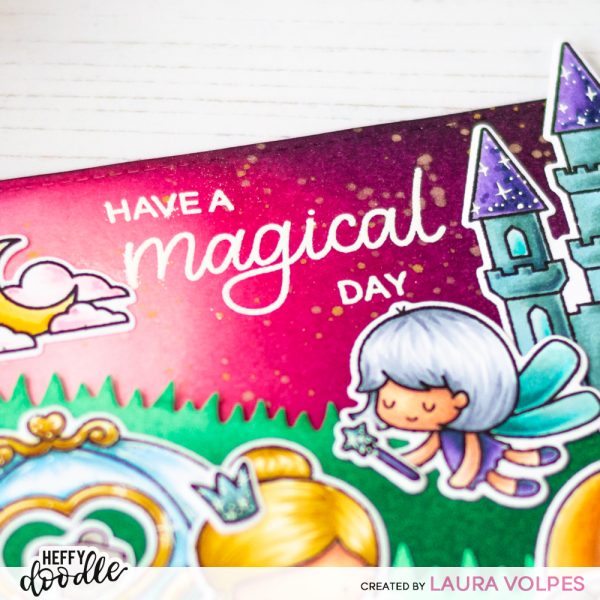
Before assembling everything, I heat embossed the sentiment with white embossing powder directly on the sky panel. I used one of the greetings in the Happily Ever Crafter stamp set, which was just perfect for the card!
To make sure I had the positioning of my sentiment right, I first arranged all the images on my card base, without gluing them. I stamped the sentiment with Versamark ink, coated it with white embossing powder, and melted the powder with my heat gun.
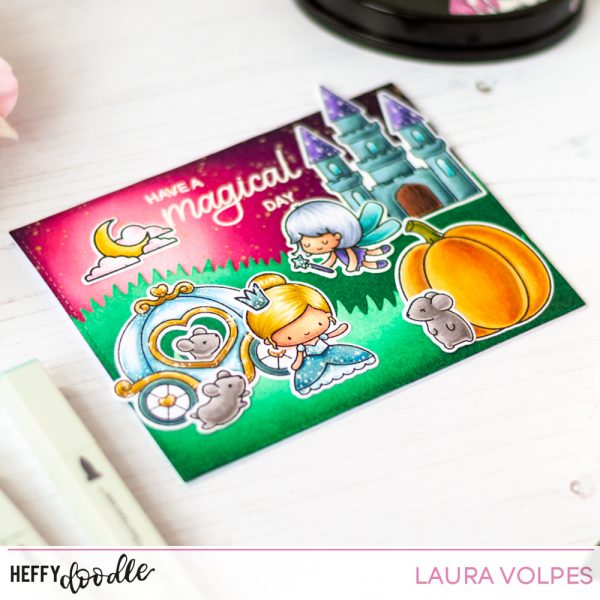
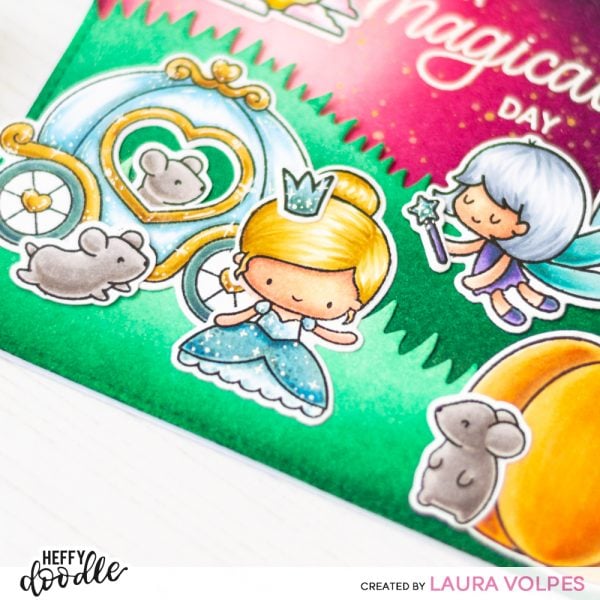
I then assembled my scene: I first glued the hills to the sky and then arranged all the images on the background. I made sure to overlap some of them for added interest and to have the different characters interact with each other and with the objects around them – I find this very important as, while creating a scene card, we are telling a story.
My favorite element of the card must be this little mouse inside the carriage – it adds so much cuteness to the scene!
And that’s it for today! I really hope you liked the card and found this tutorial on how to create scene cards useful – I definitely had a lot of fun creating them both! Which is your favorite type of card to make? I would love to know!
Thank you all so much for stopping by and have a magical day!
Laura
Andre M.
October 14, 2019 at 6:14 pmFantastic colouring on this delightful scene.