
Eskimo Kisses with Davina

Hello crafty friends, Davina here, on the Heffy Doodle blog,with some snowy fun. Today I’m sharing a tall slimline shaker card, that uses a mixture of three different adorable Heffy Doodle stamps and their coordinating dies. The stamp sets I’ve used are Warm hugs, Oceans of Love, and the little trees from Santa’s Village. 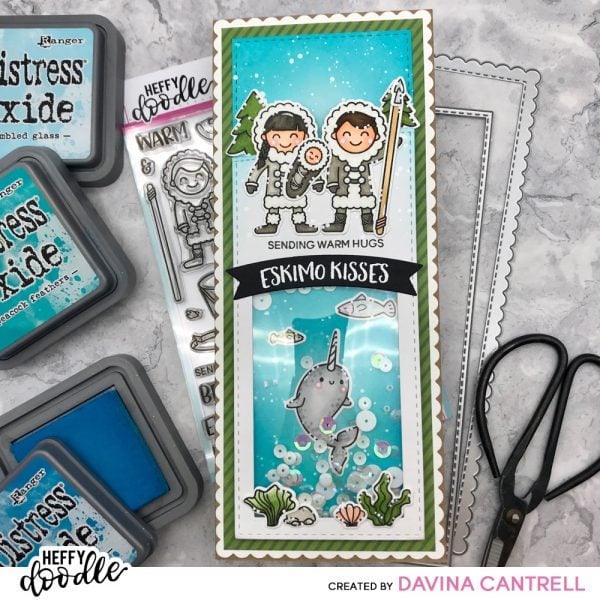
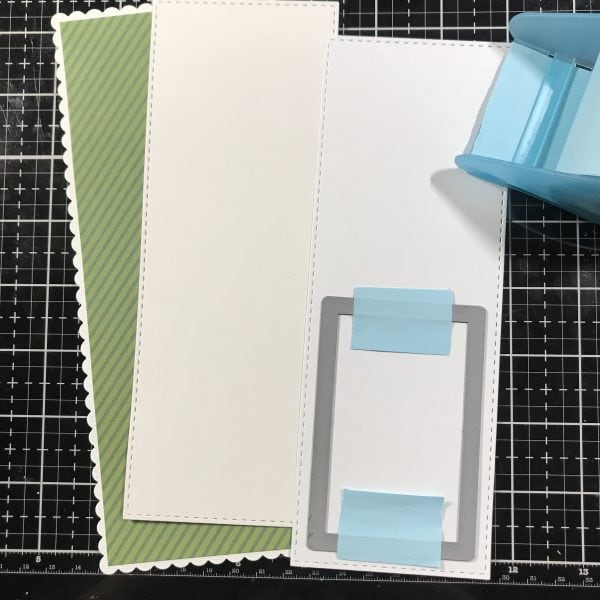
I started this project by first die cutting 4 paper layers using some Slimline dies available fromTrinity Stamps. I cut a textured white cardstock base, then a striped green layer that fit inside, followed by 2 pieces of of white cardstock. One bright white (for the top layer) and another from Bristol smooth cardstock (for my Ink-blending).
For my bright white top layer, I went through all of my stitched rectangle Dies, to find one with an opening I felt fit the bottom portion of the stitched layer. I also selected a stitched hillside and cut it about two inches from the top. I wanted to have a blue sky and a blue ocean area, so I chose a few colors of blue Distress Oxide Inks that I regularly combine for ocean/sky. I used Tumbled Glass, Peacock Feathers, and Mermaid Lagoon. I positioned a lighter “sweet spot” in each area of my scene and blended the darker colors into the lighter. Then I splattered with clean water and white ink. Without adding any more ink to my brush I very lightly blended remnant ink to the very top edges of my front sloped layer before splattering with Perfect Pearls glittery ink. I put those aside to dry completely while I stamped and colored. 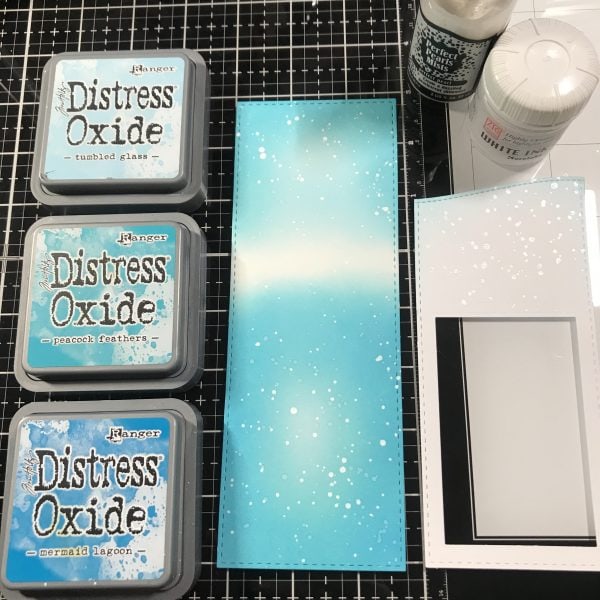
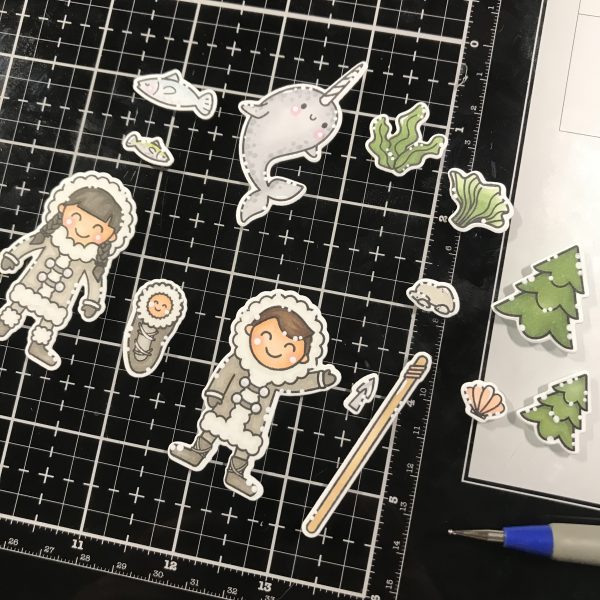
I stamped my images with black ink and my Stamp Platform to get the best possible results. Then I colored my images with Copic markers in a limited array of colors. I die cut all of my images before adding my dotting for highlights. I often struggle getting clean results with my white gel pens, so I’ve been playing with using just dots for highlights. It gives a different look and has an almost snow like quality. I used white watery paint and my small dotting tool.
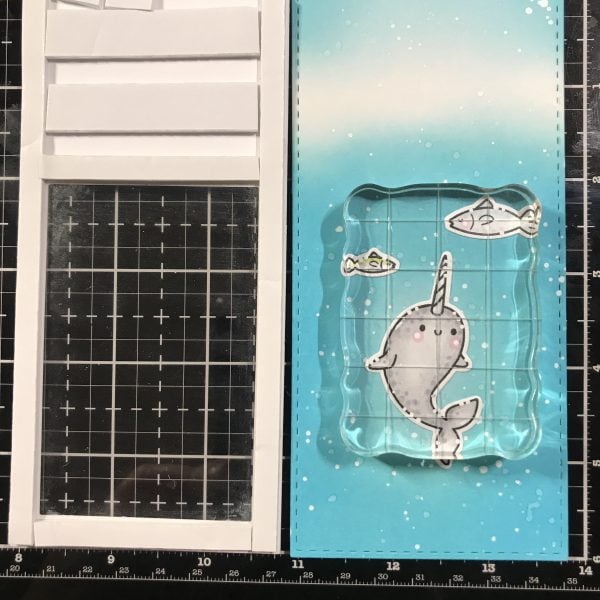
Once I had everything colored up I began to build my shaker element. I used score tape around the frame to attach a piece of clear acetate. Next, I used foam tape to make a complete frame around the edge and also to fill in the top portion. I used a powder tool (embossing Buddy) around the inner area of the frame to minimize static and to keep the sequins from getting stuck. Before adhering the top layer I used liquid glue to attach the Narwhal and both fish inside the visable area. I held them down with an acrylic block to prevent lifting. Once dry, I added about a tablespoon of sequin mix and piled it onto the Narwhal, then I removed the foam backing and carefully adhered the frame onto the inked panel.
I glued the seaweed and shell on top of the acetate and placed the pine trees behind the hill for a 3D effect. Next, I embossed the Eskimo Kisses sentiment onto black cardstock and cut out with the curved banner from Tag Along Dies. I adhered it over the window then stamped another smaller sentiment on top. Finally, I centerd the Eskimos and little baby onto the snow drift, before using Scor Tape to attach the layers onto my kraft card base.
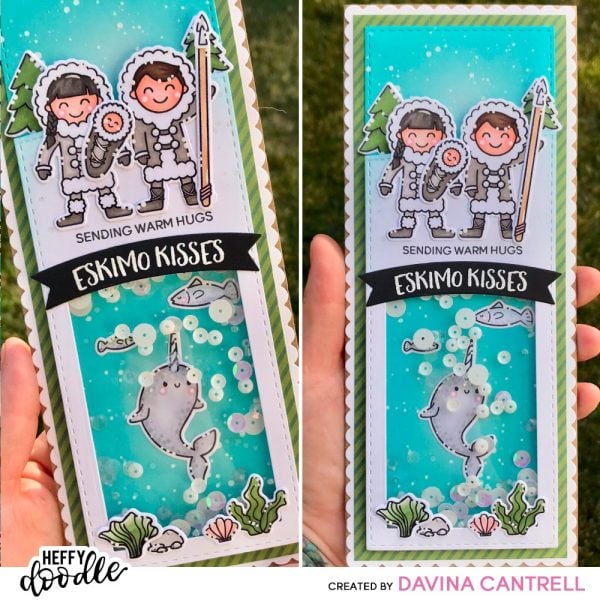
I really love how this tall shaker card turned out and and hope that I inspire you to make a shaker of your own thank you for stopping by,
Davina
Shar Zar
November 23, 2019 at 10:09 pmWonderful design. You are so creative!