Cardmaking 101 – Interactive Go Bananas!

Hey friends! Hope your new year is going amazing!
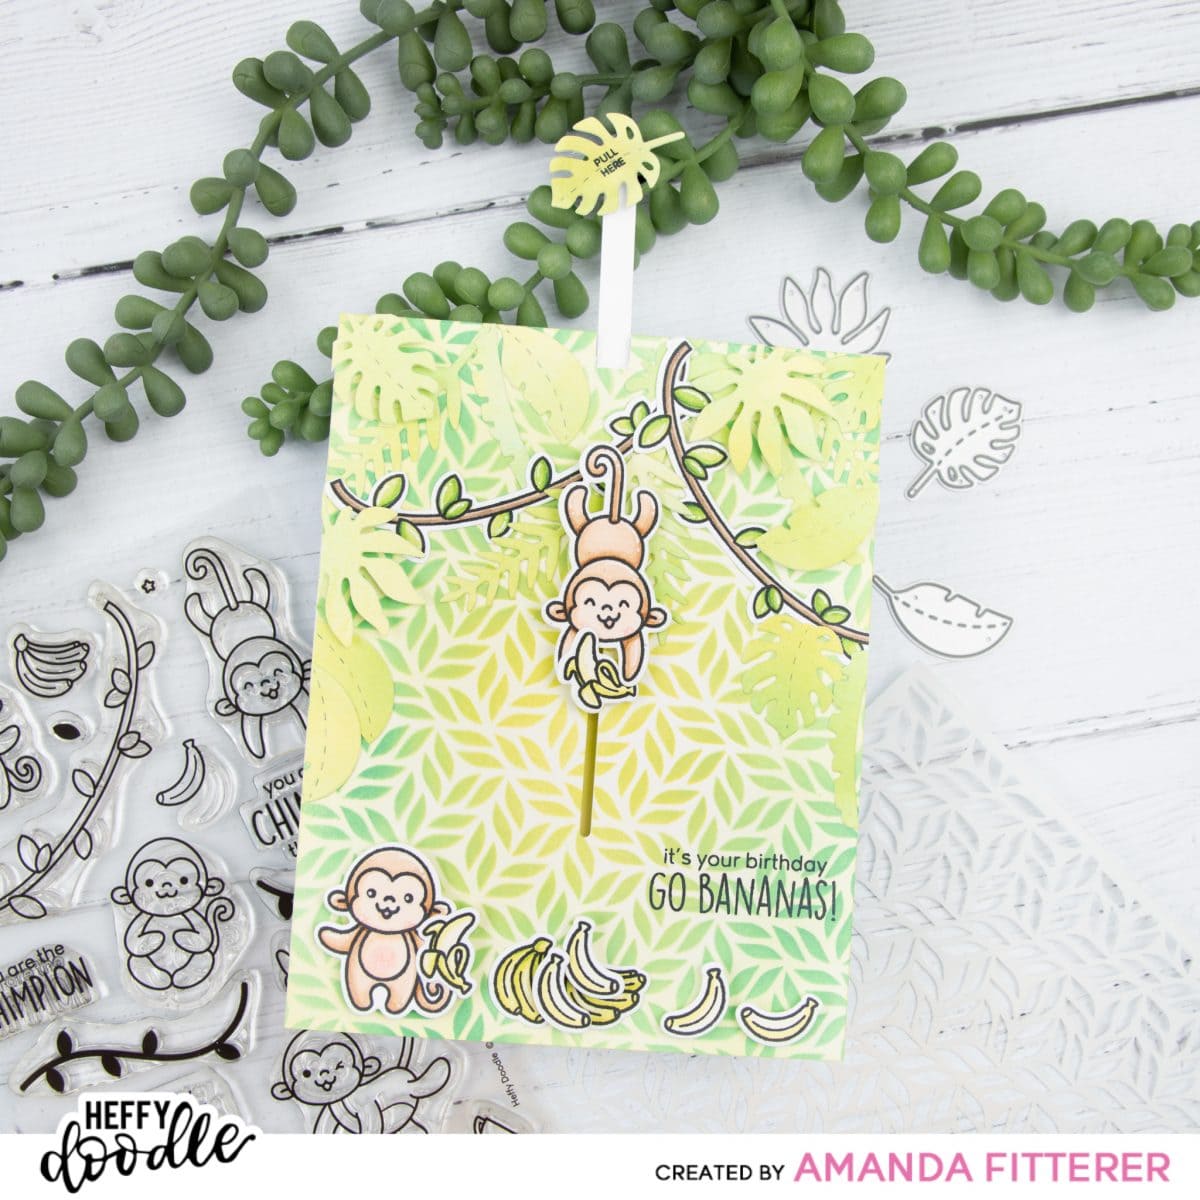
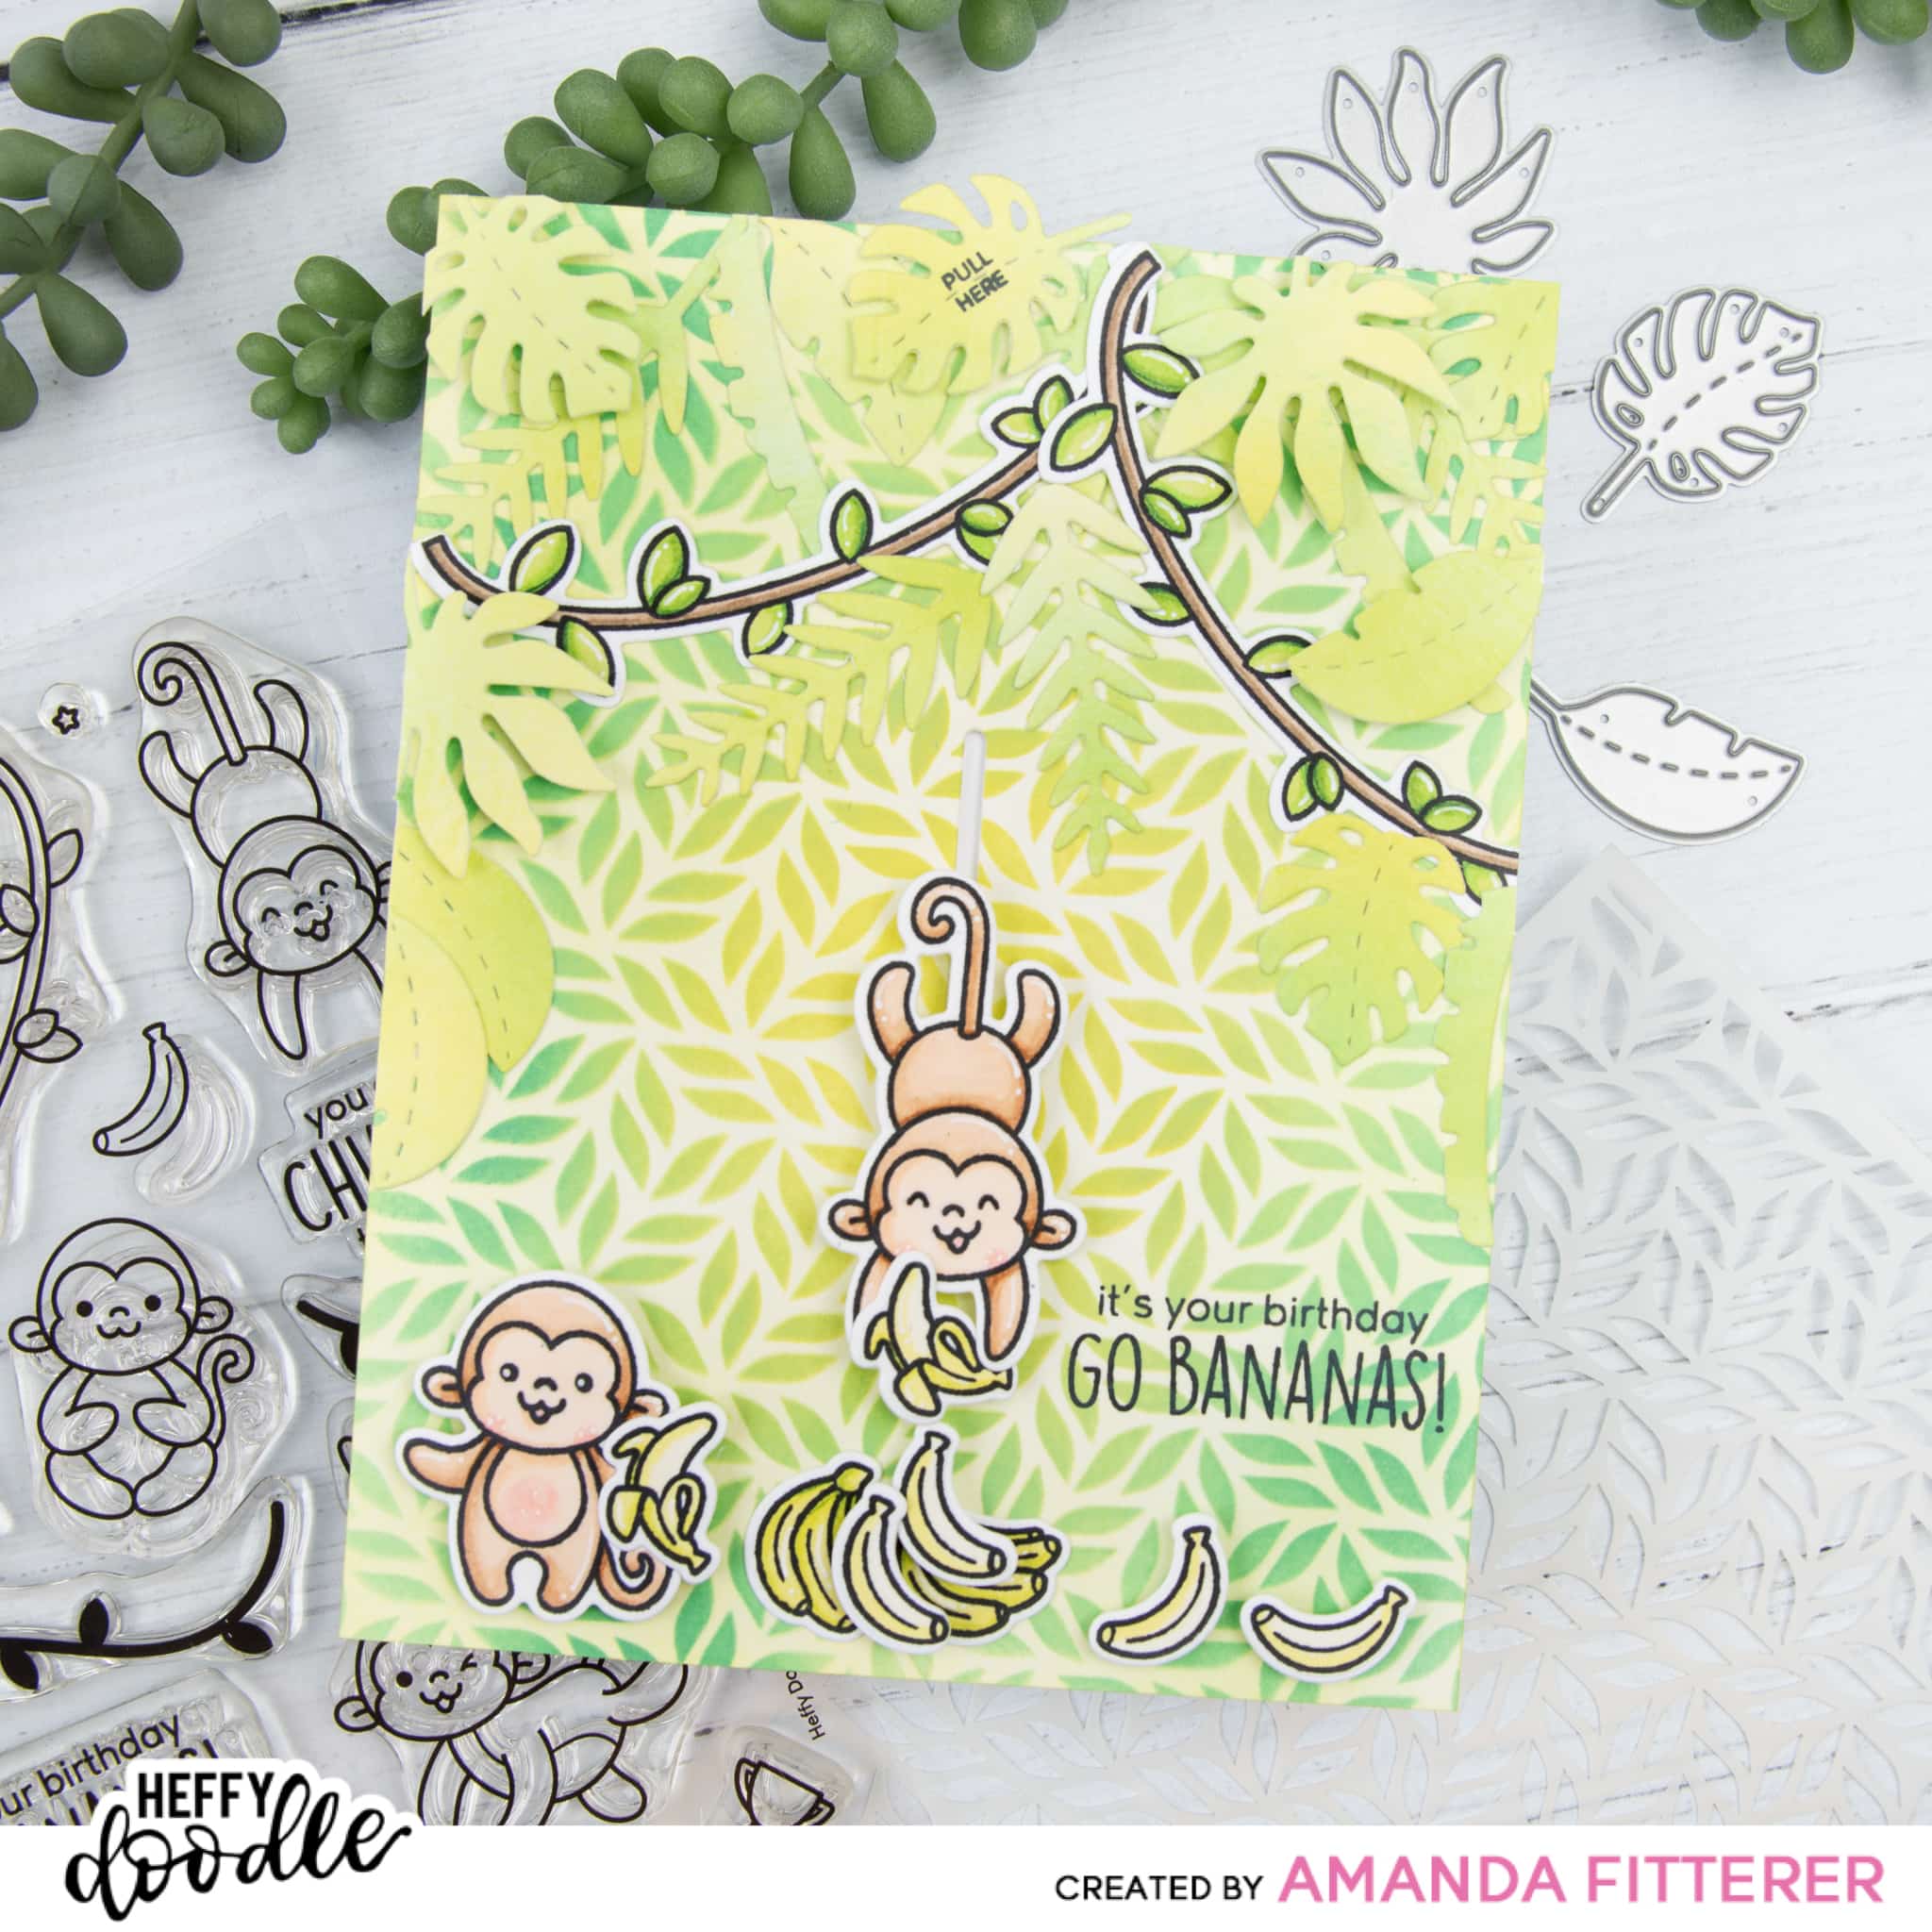
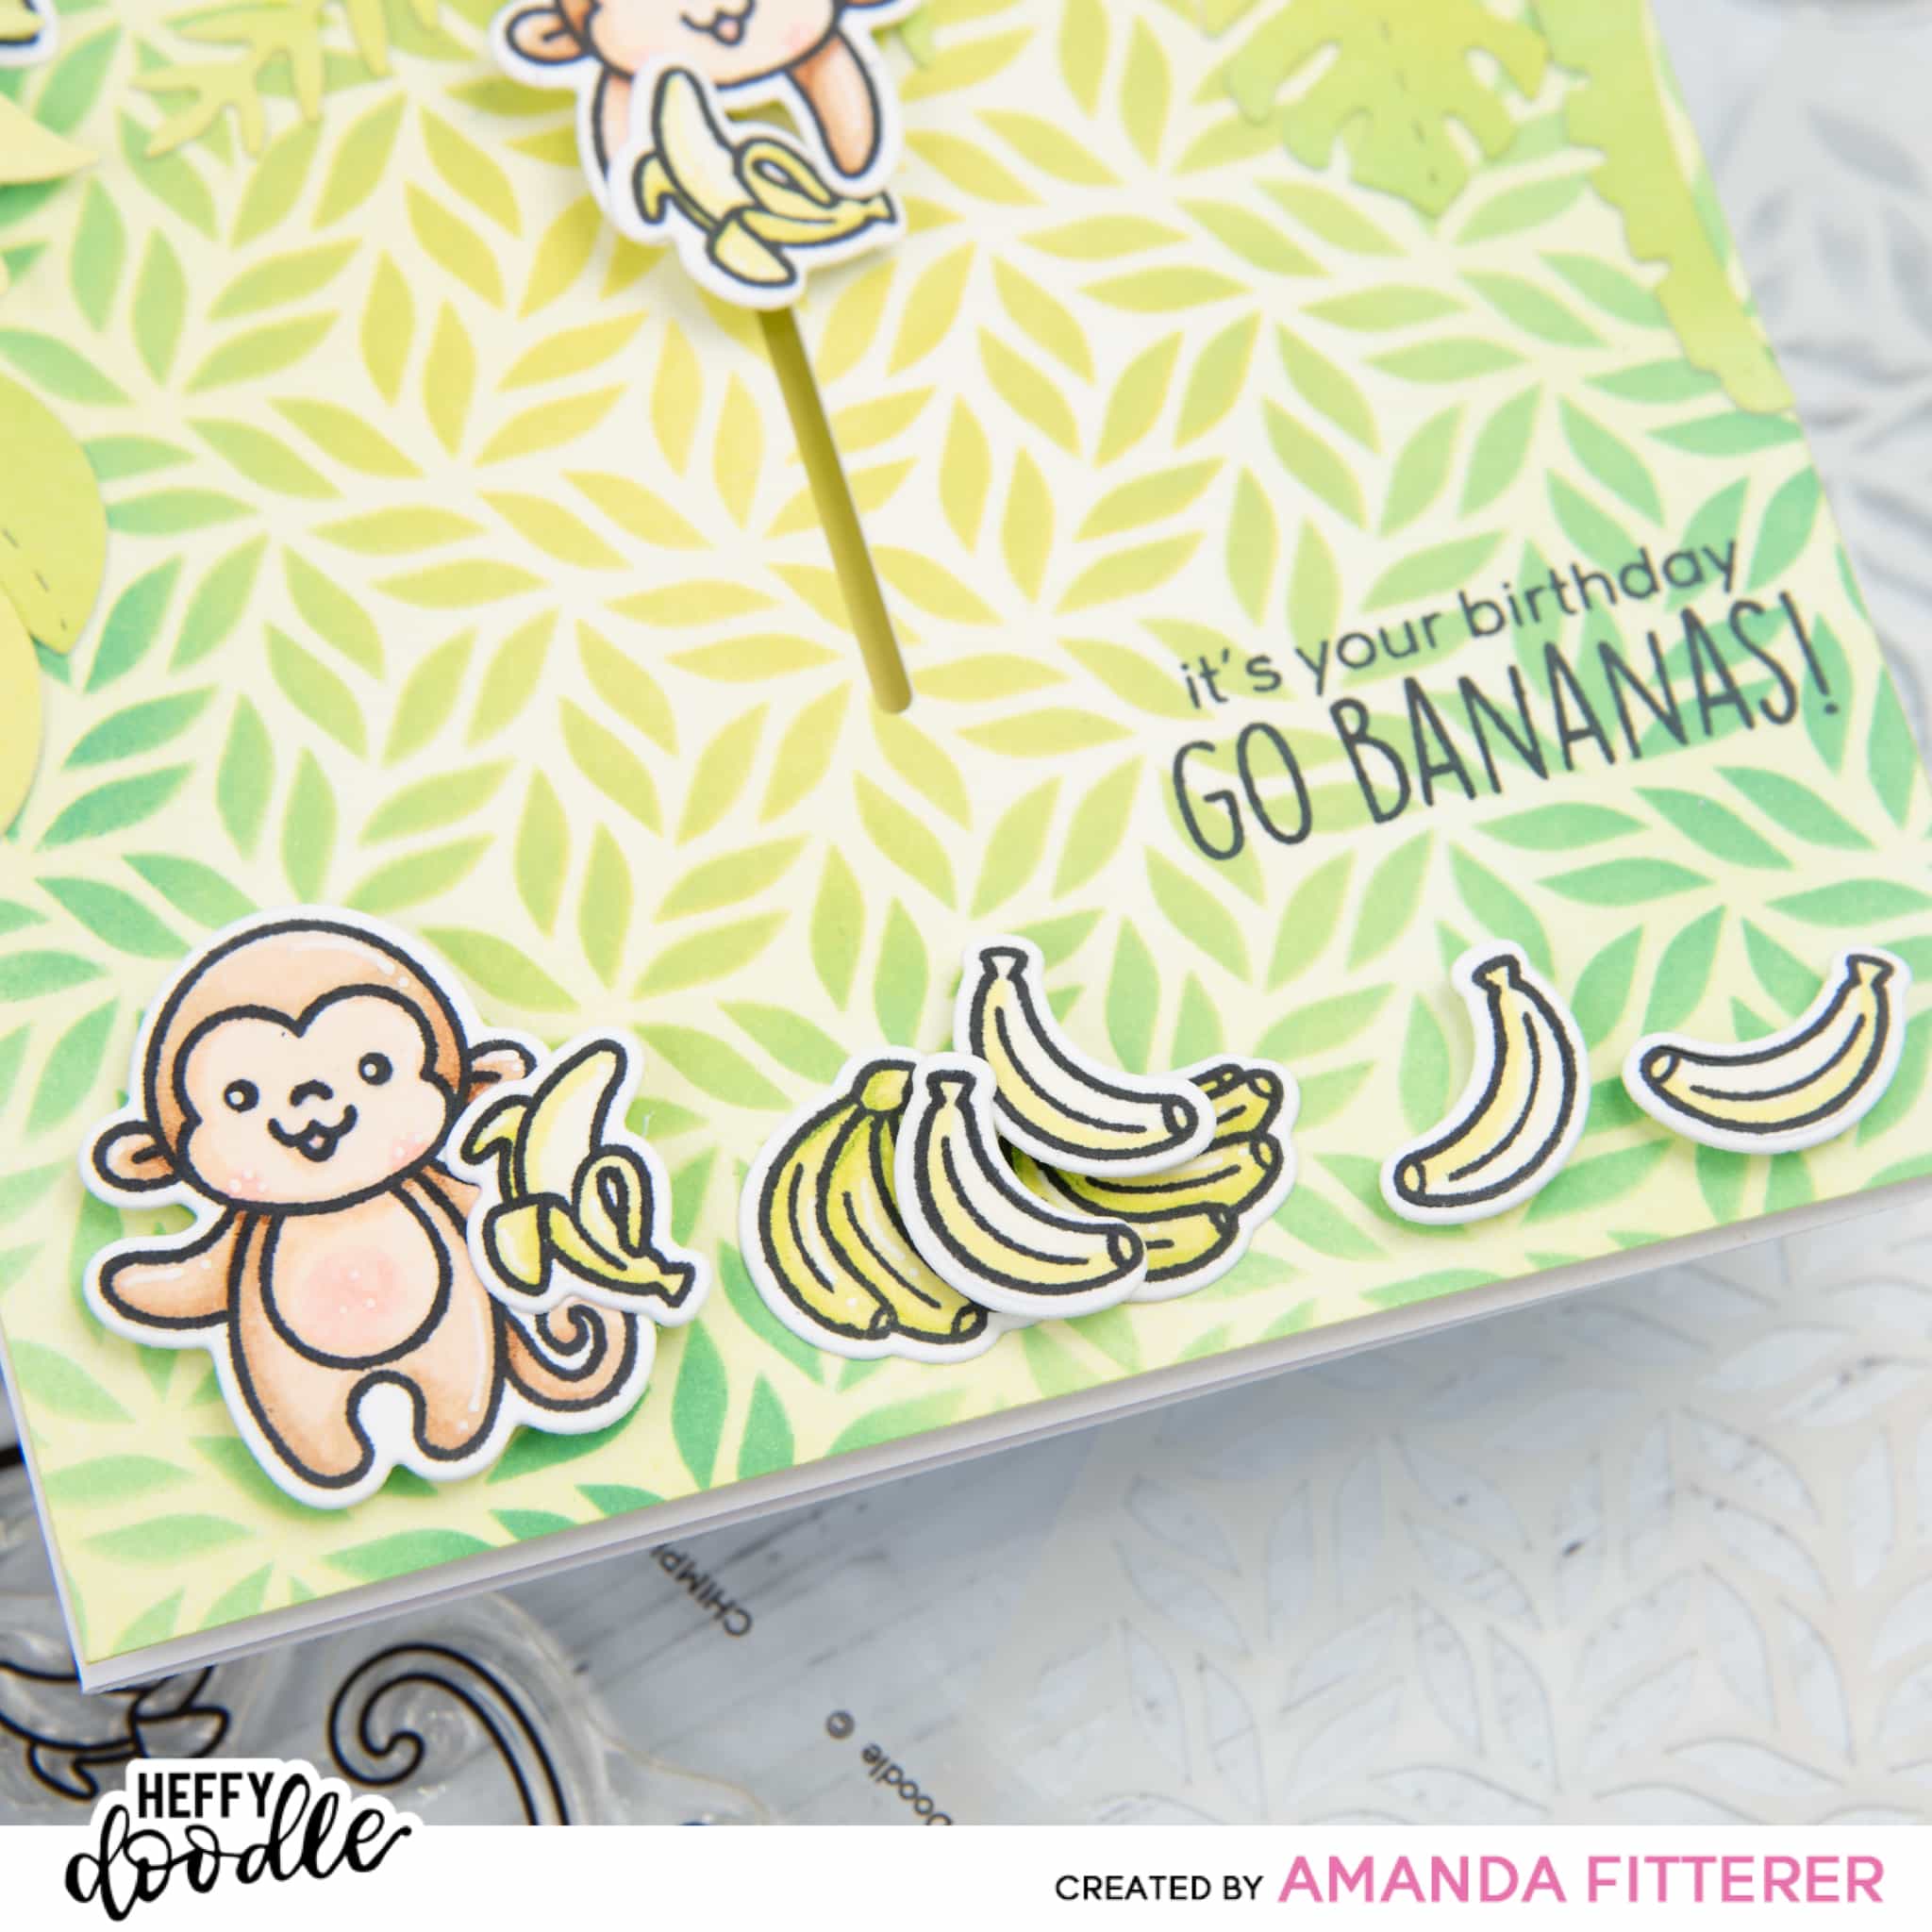
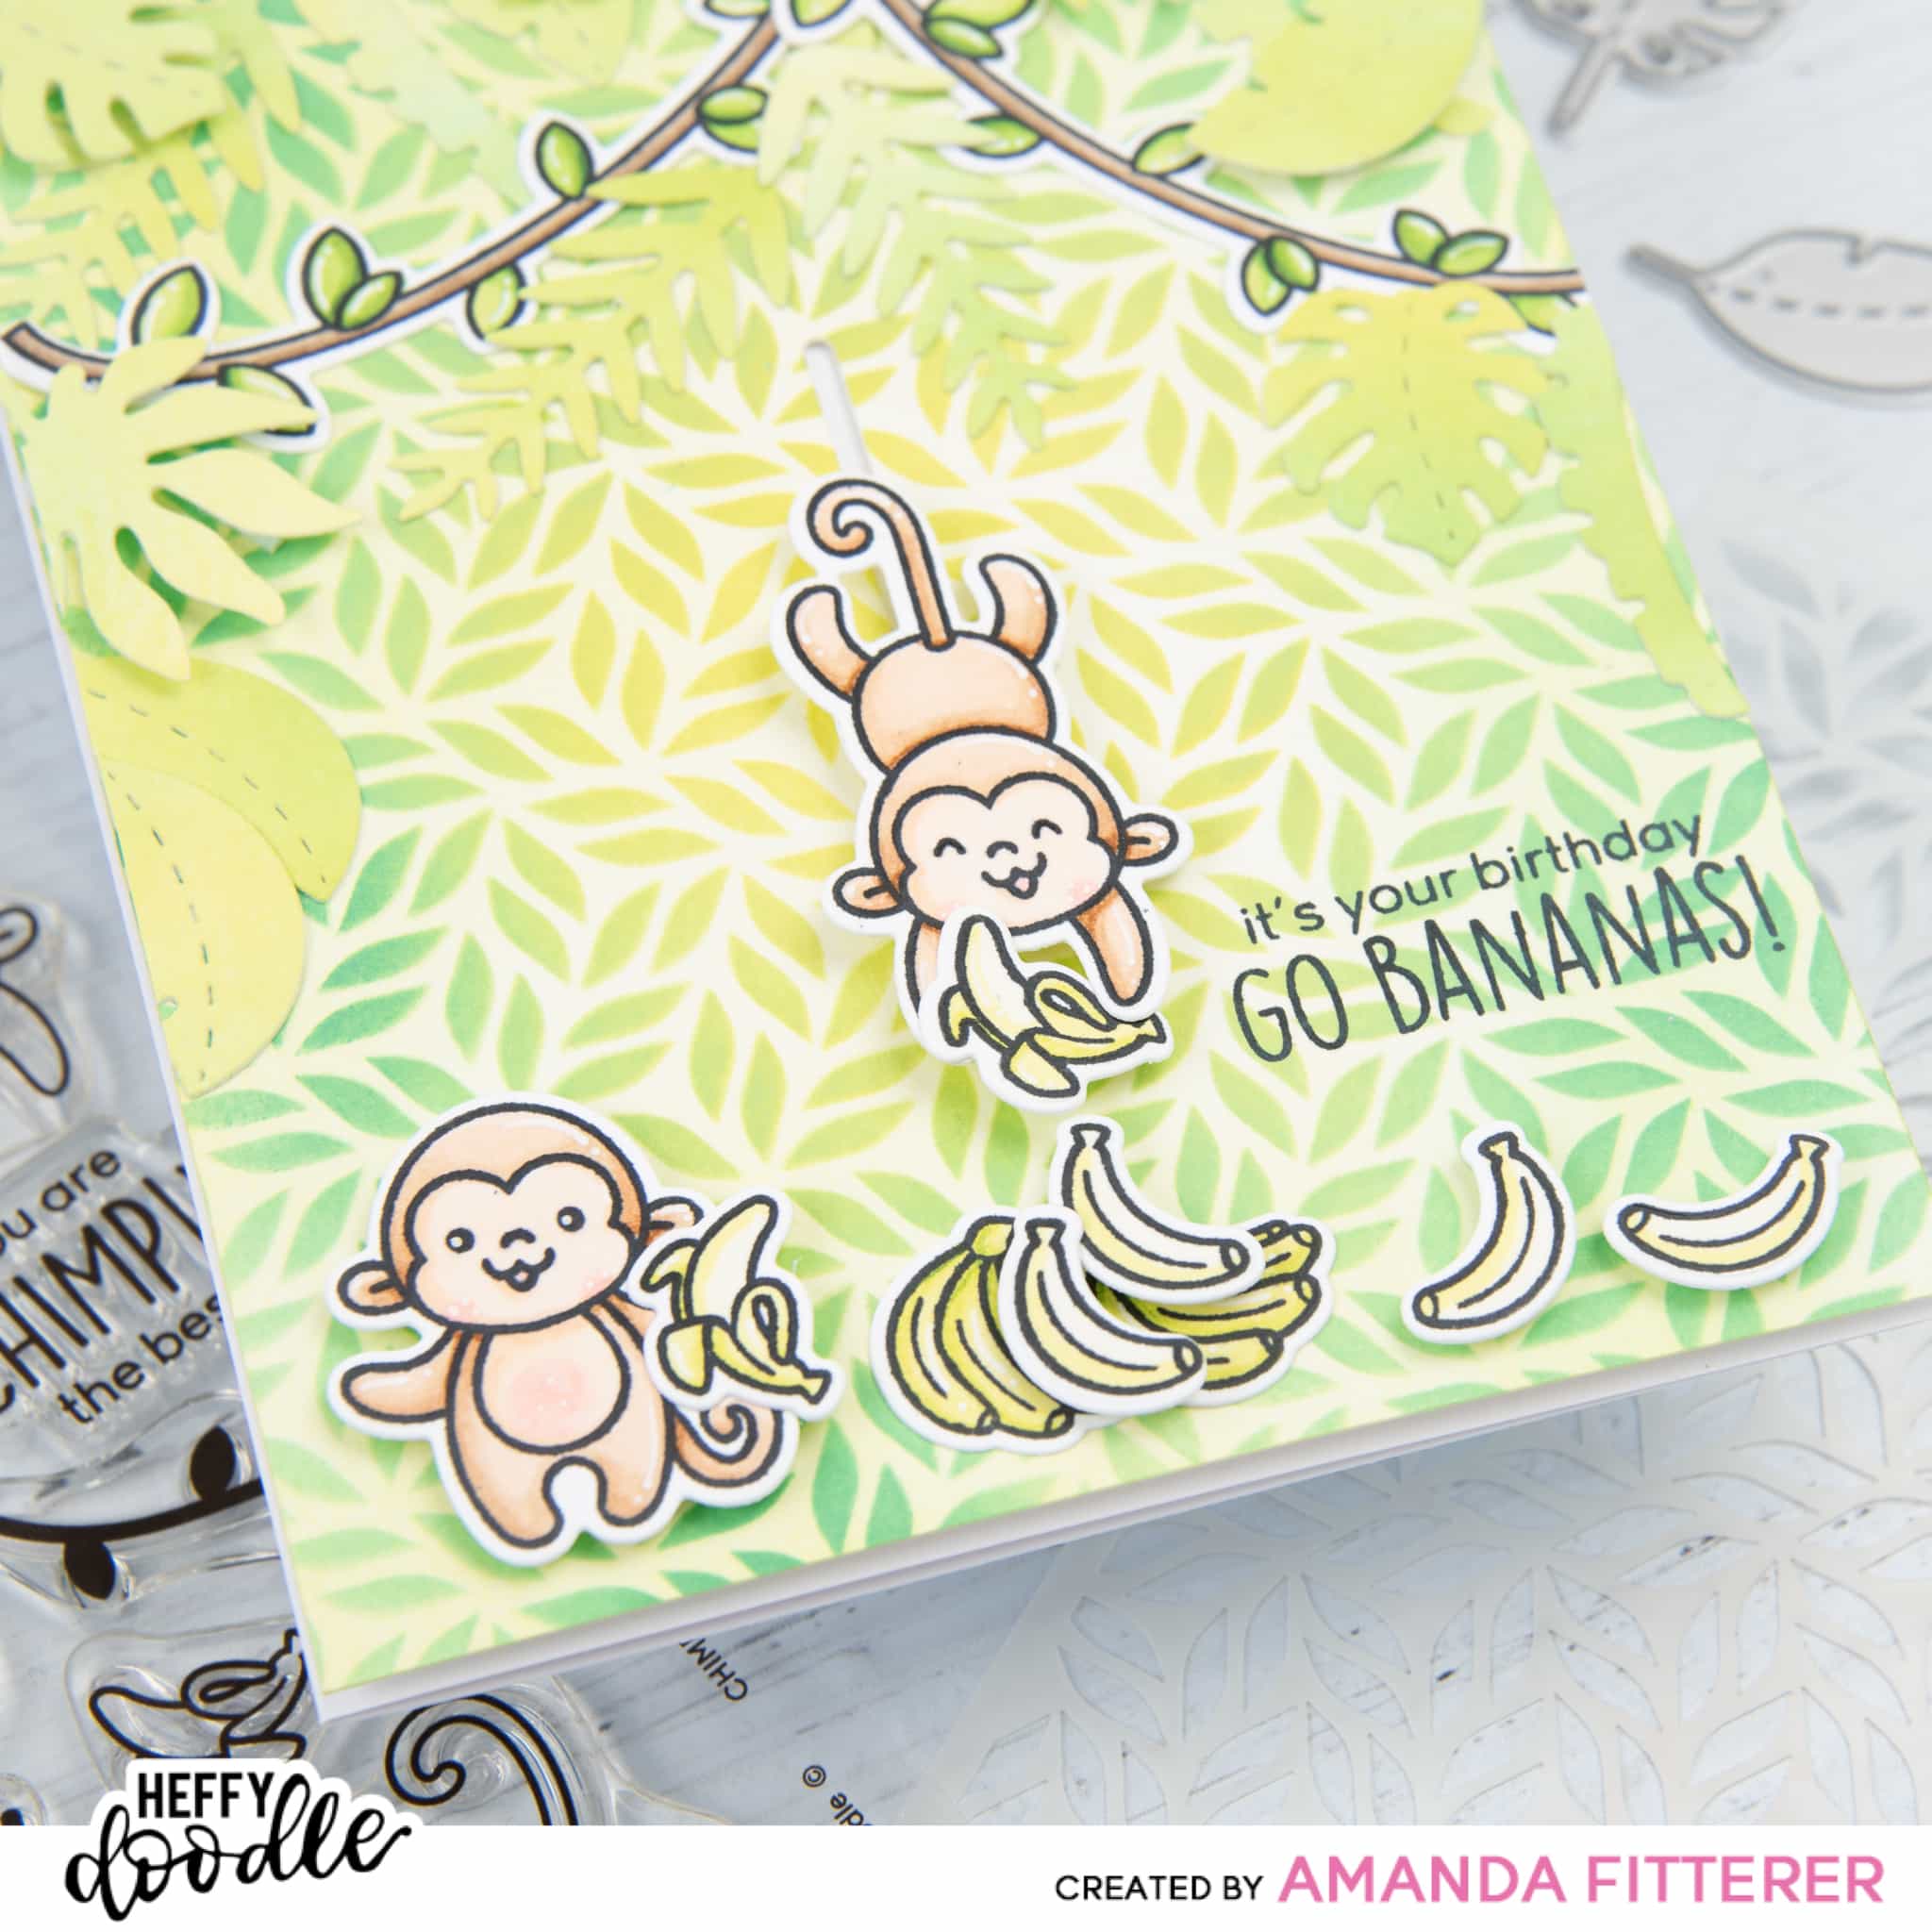
Today I’m going to share this adorable interactive Chimply the Best card! To see it in action, head to my Instagram for a short clip @craftyandcreativevibes.

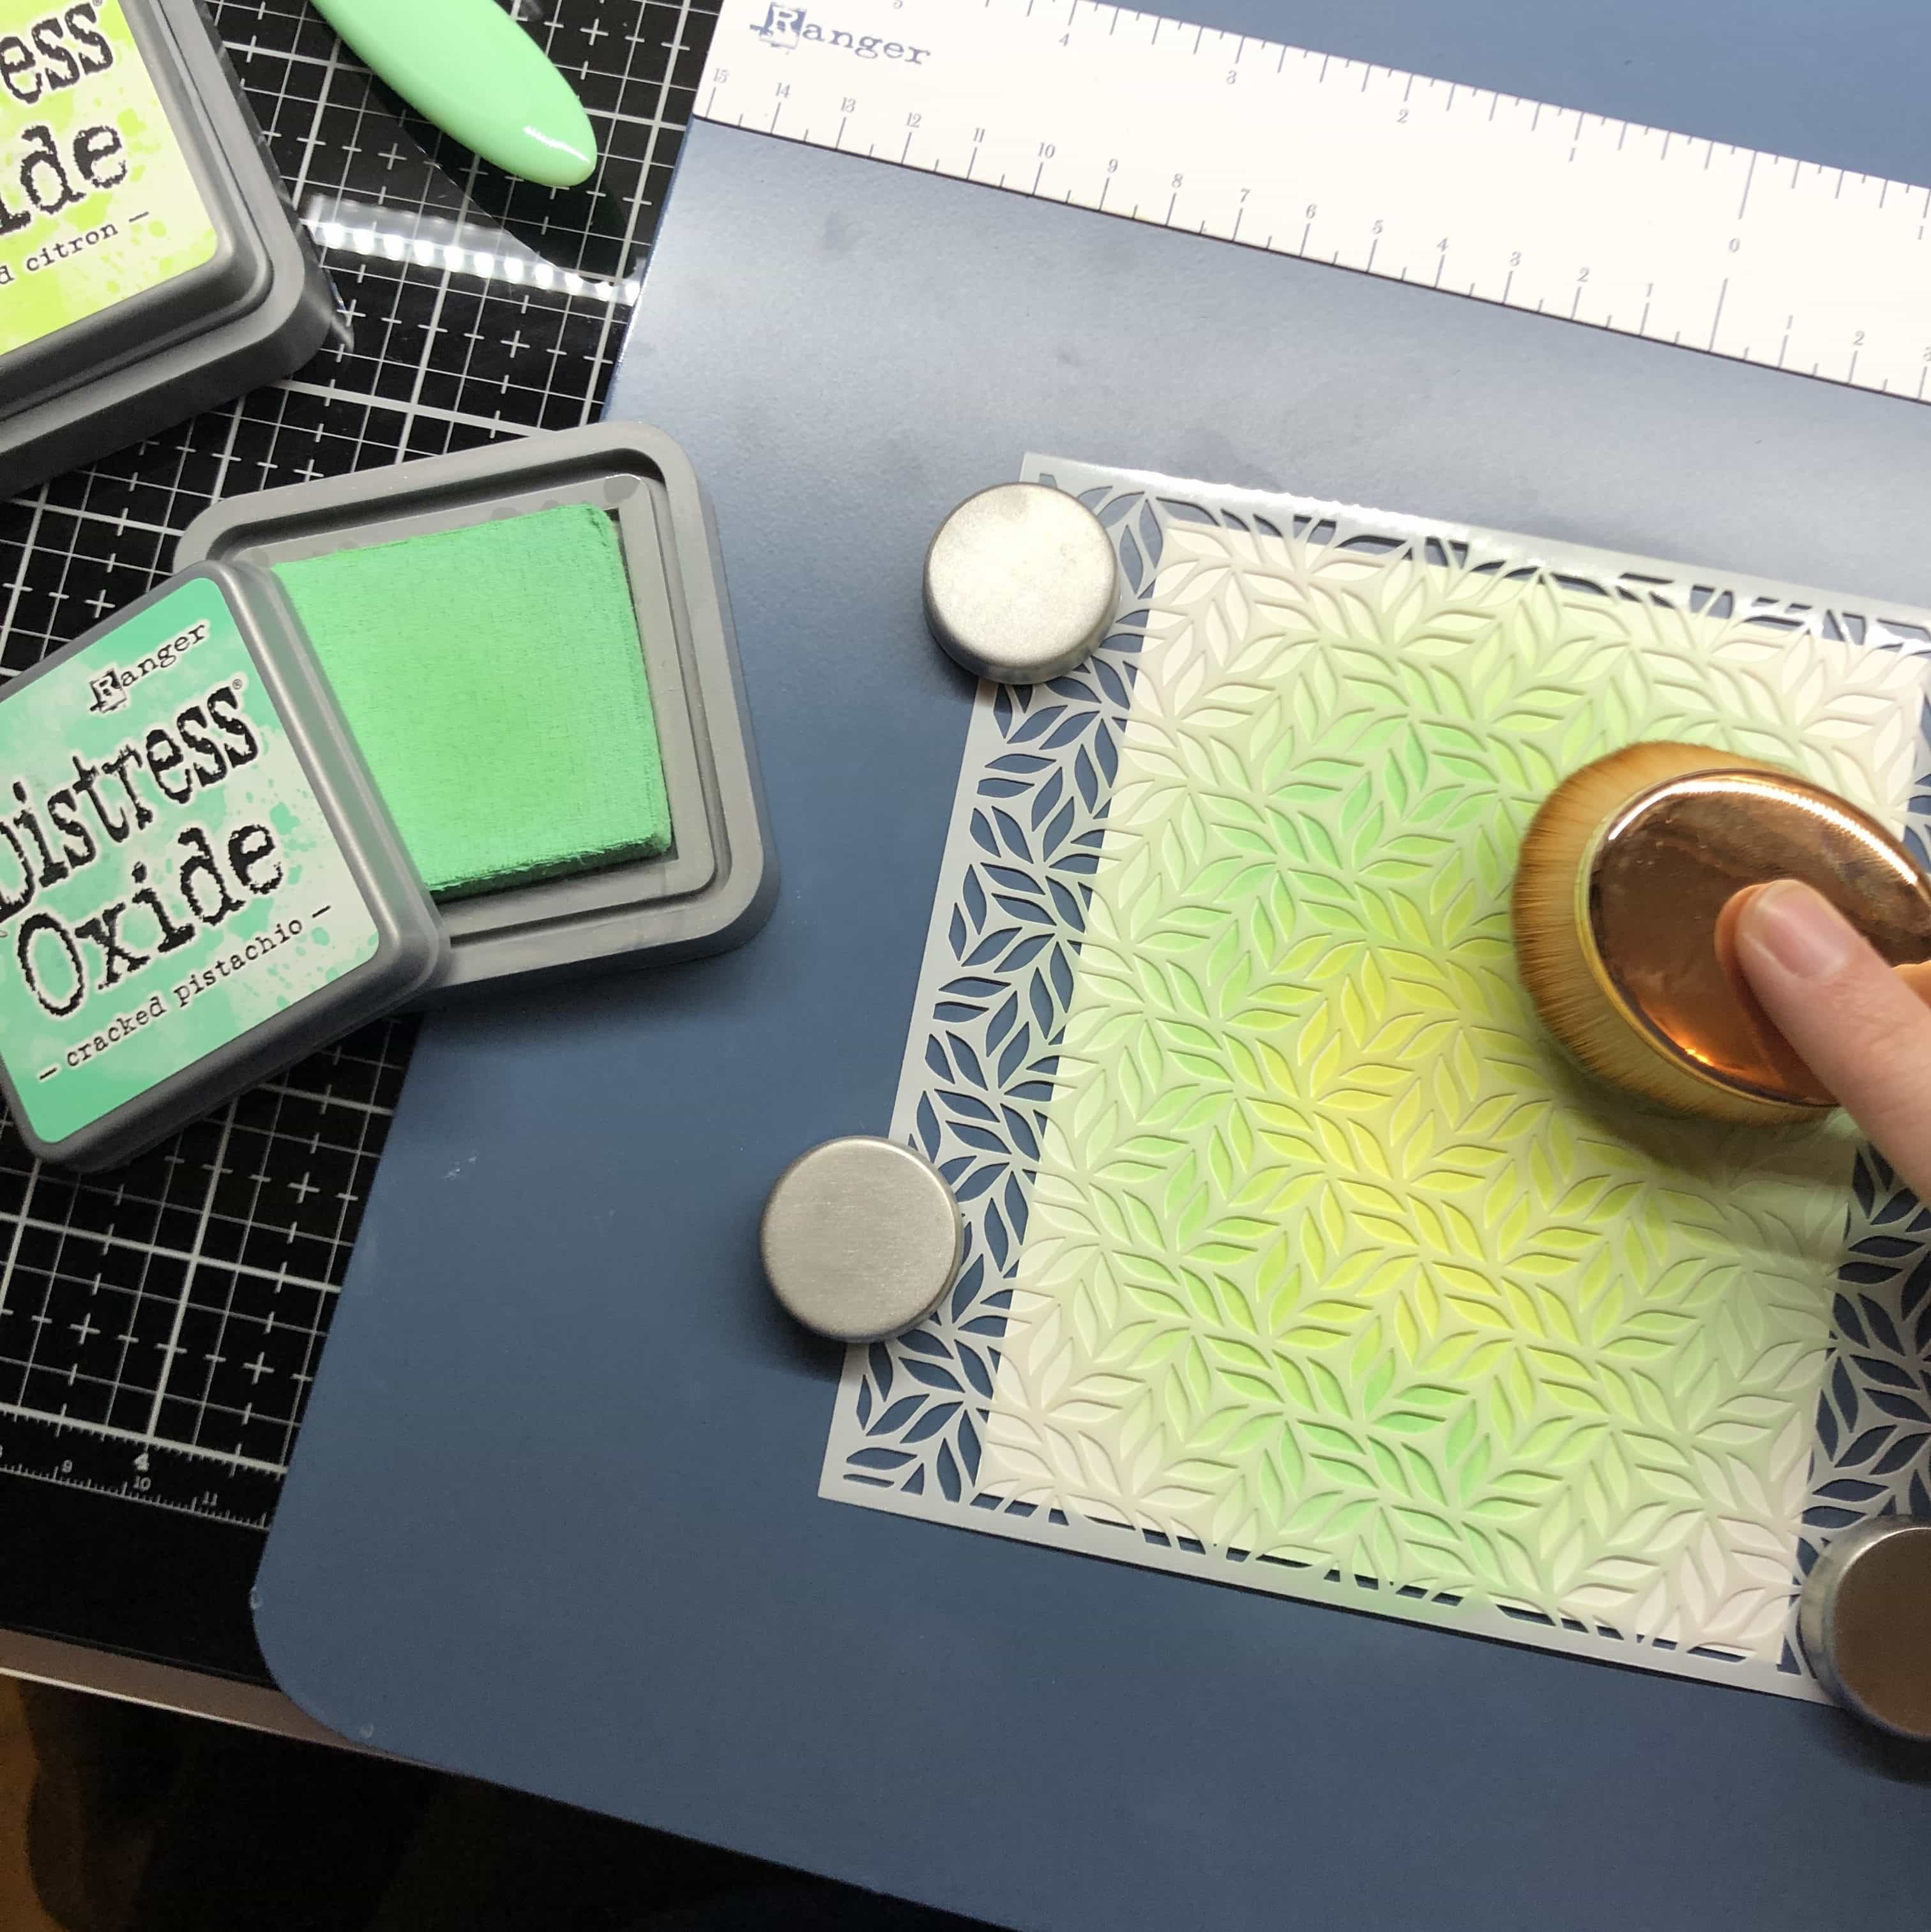
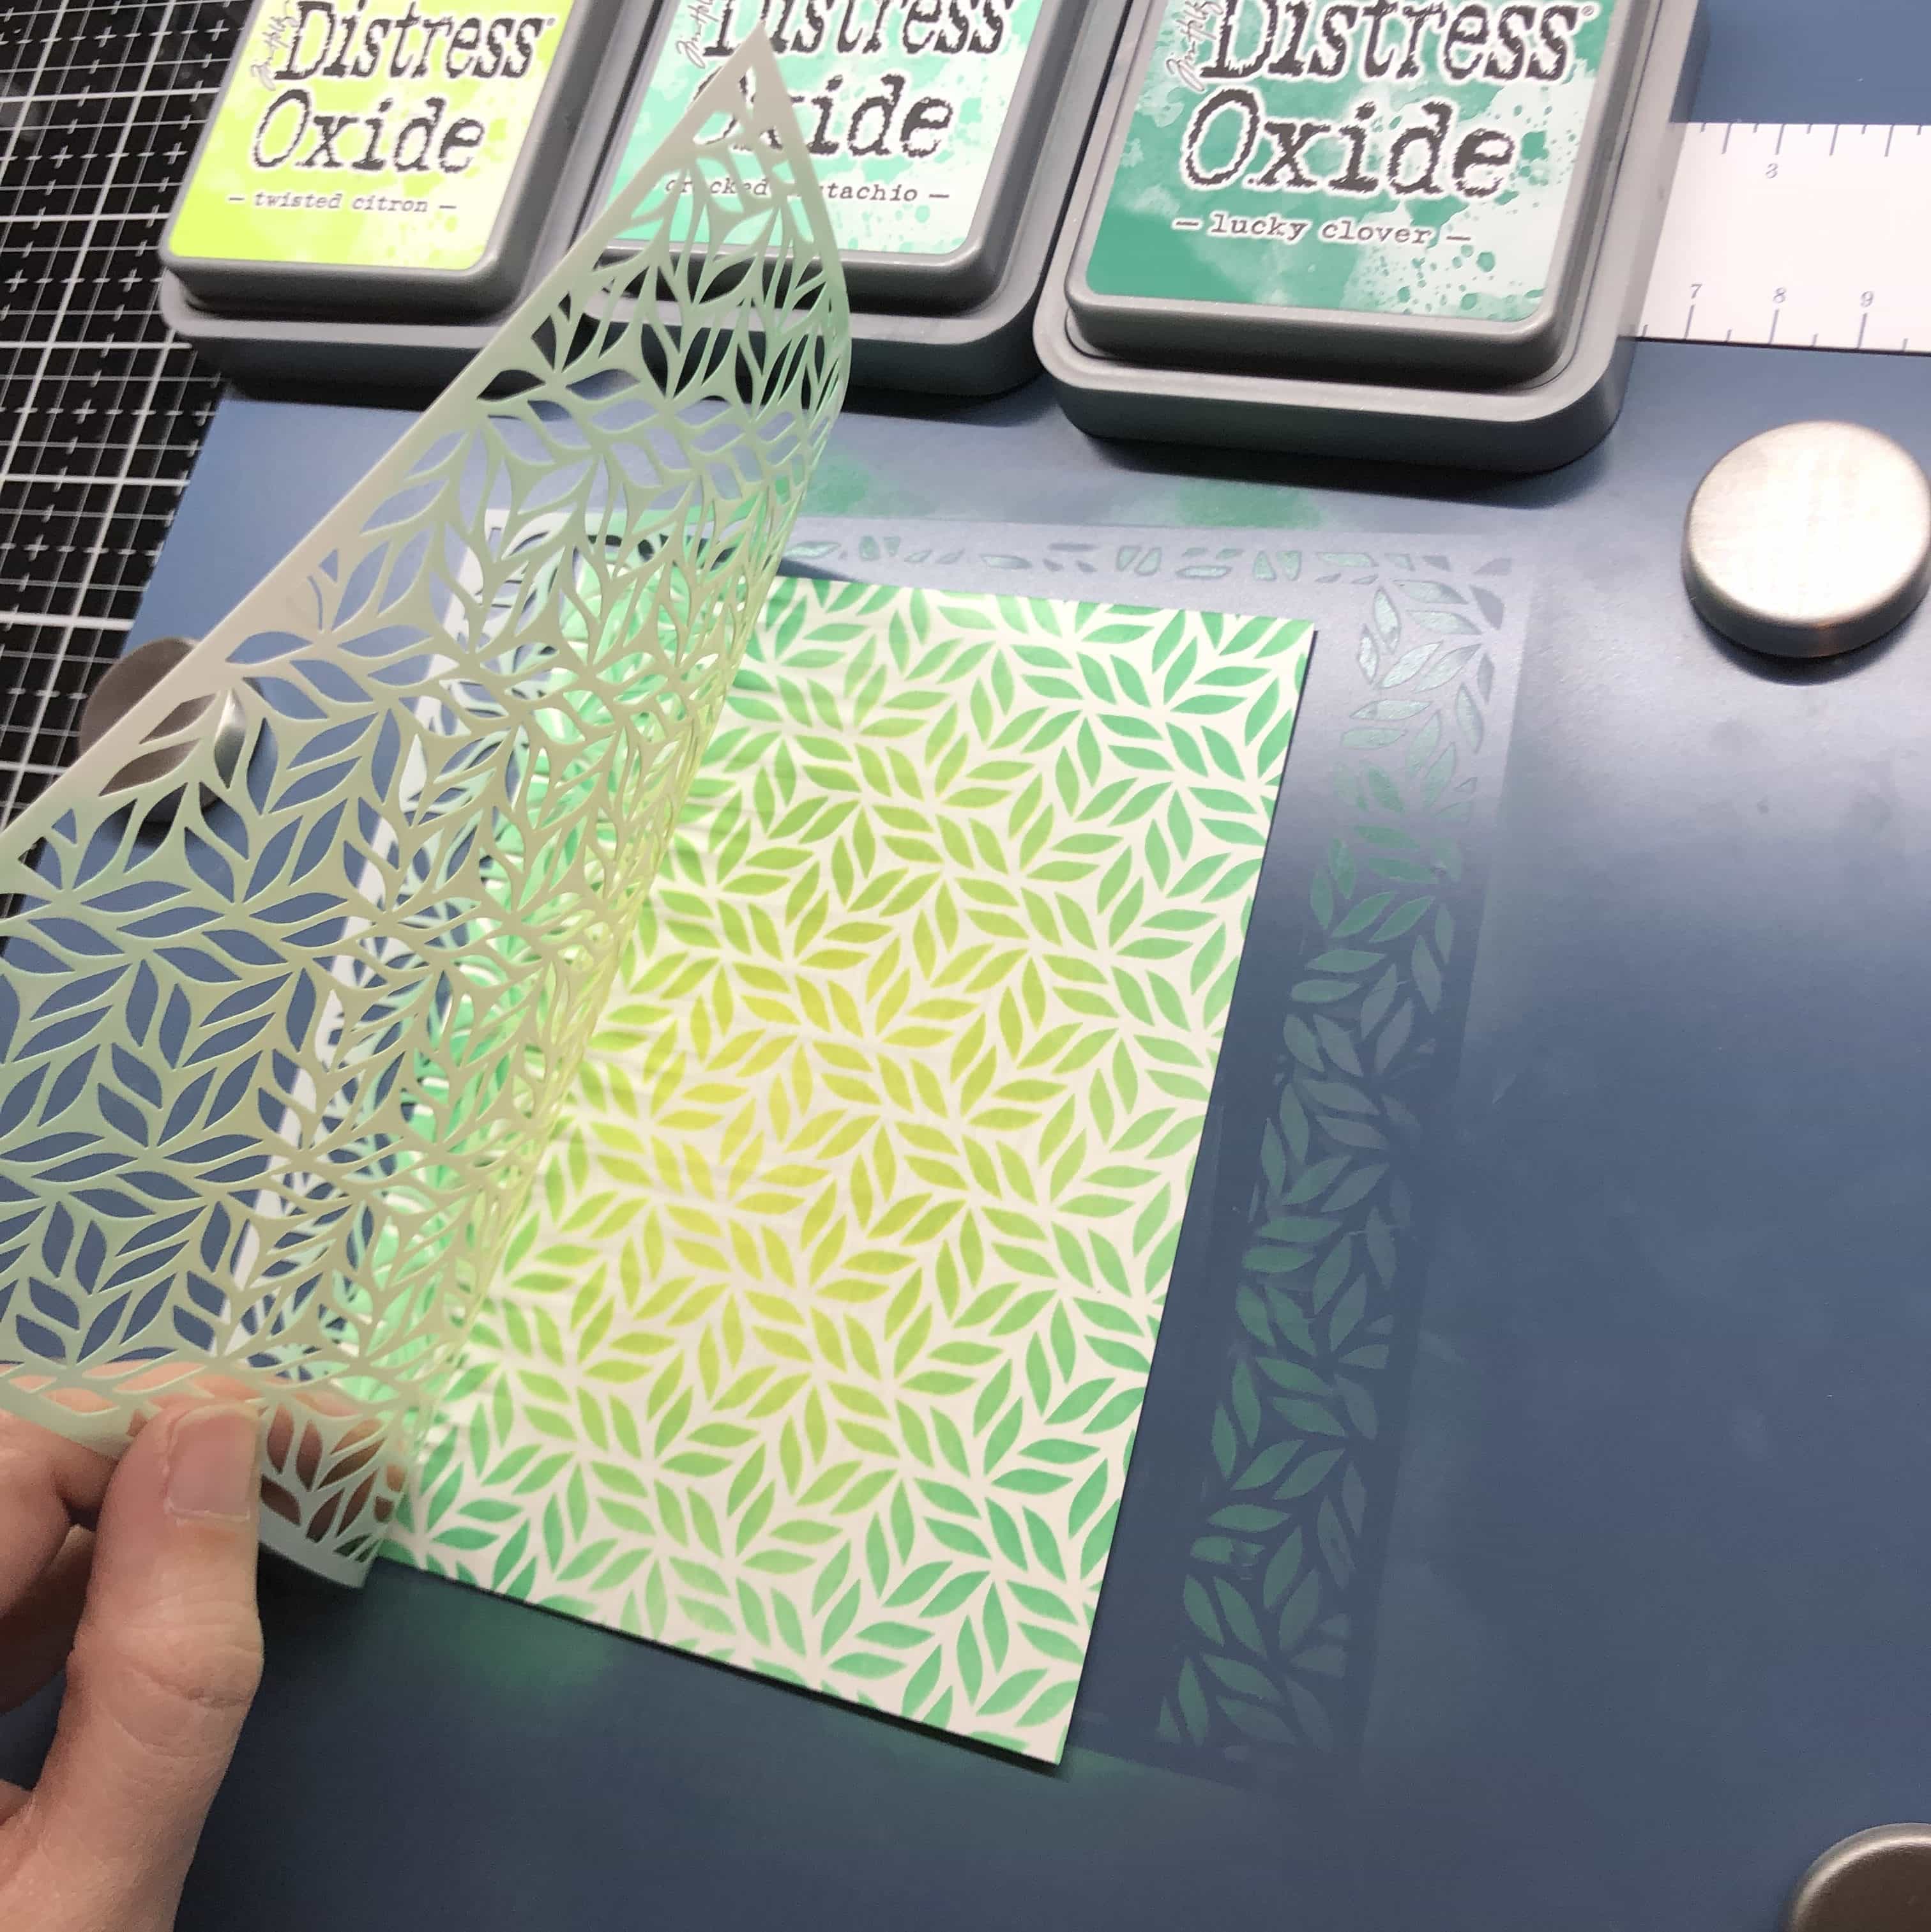
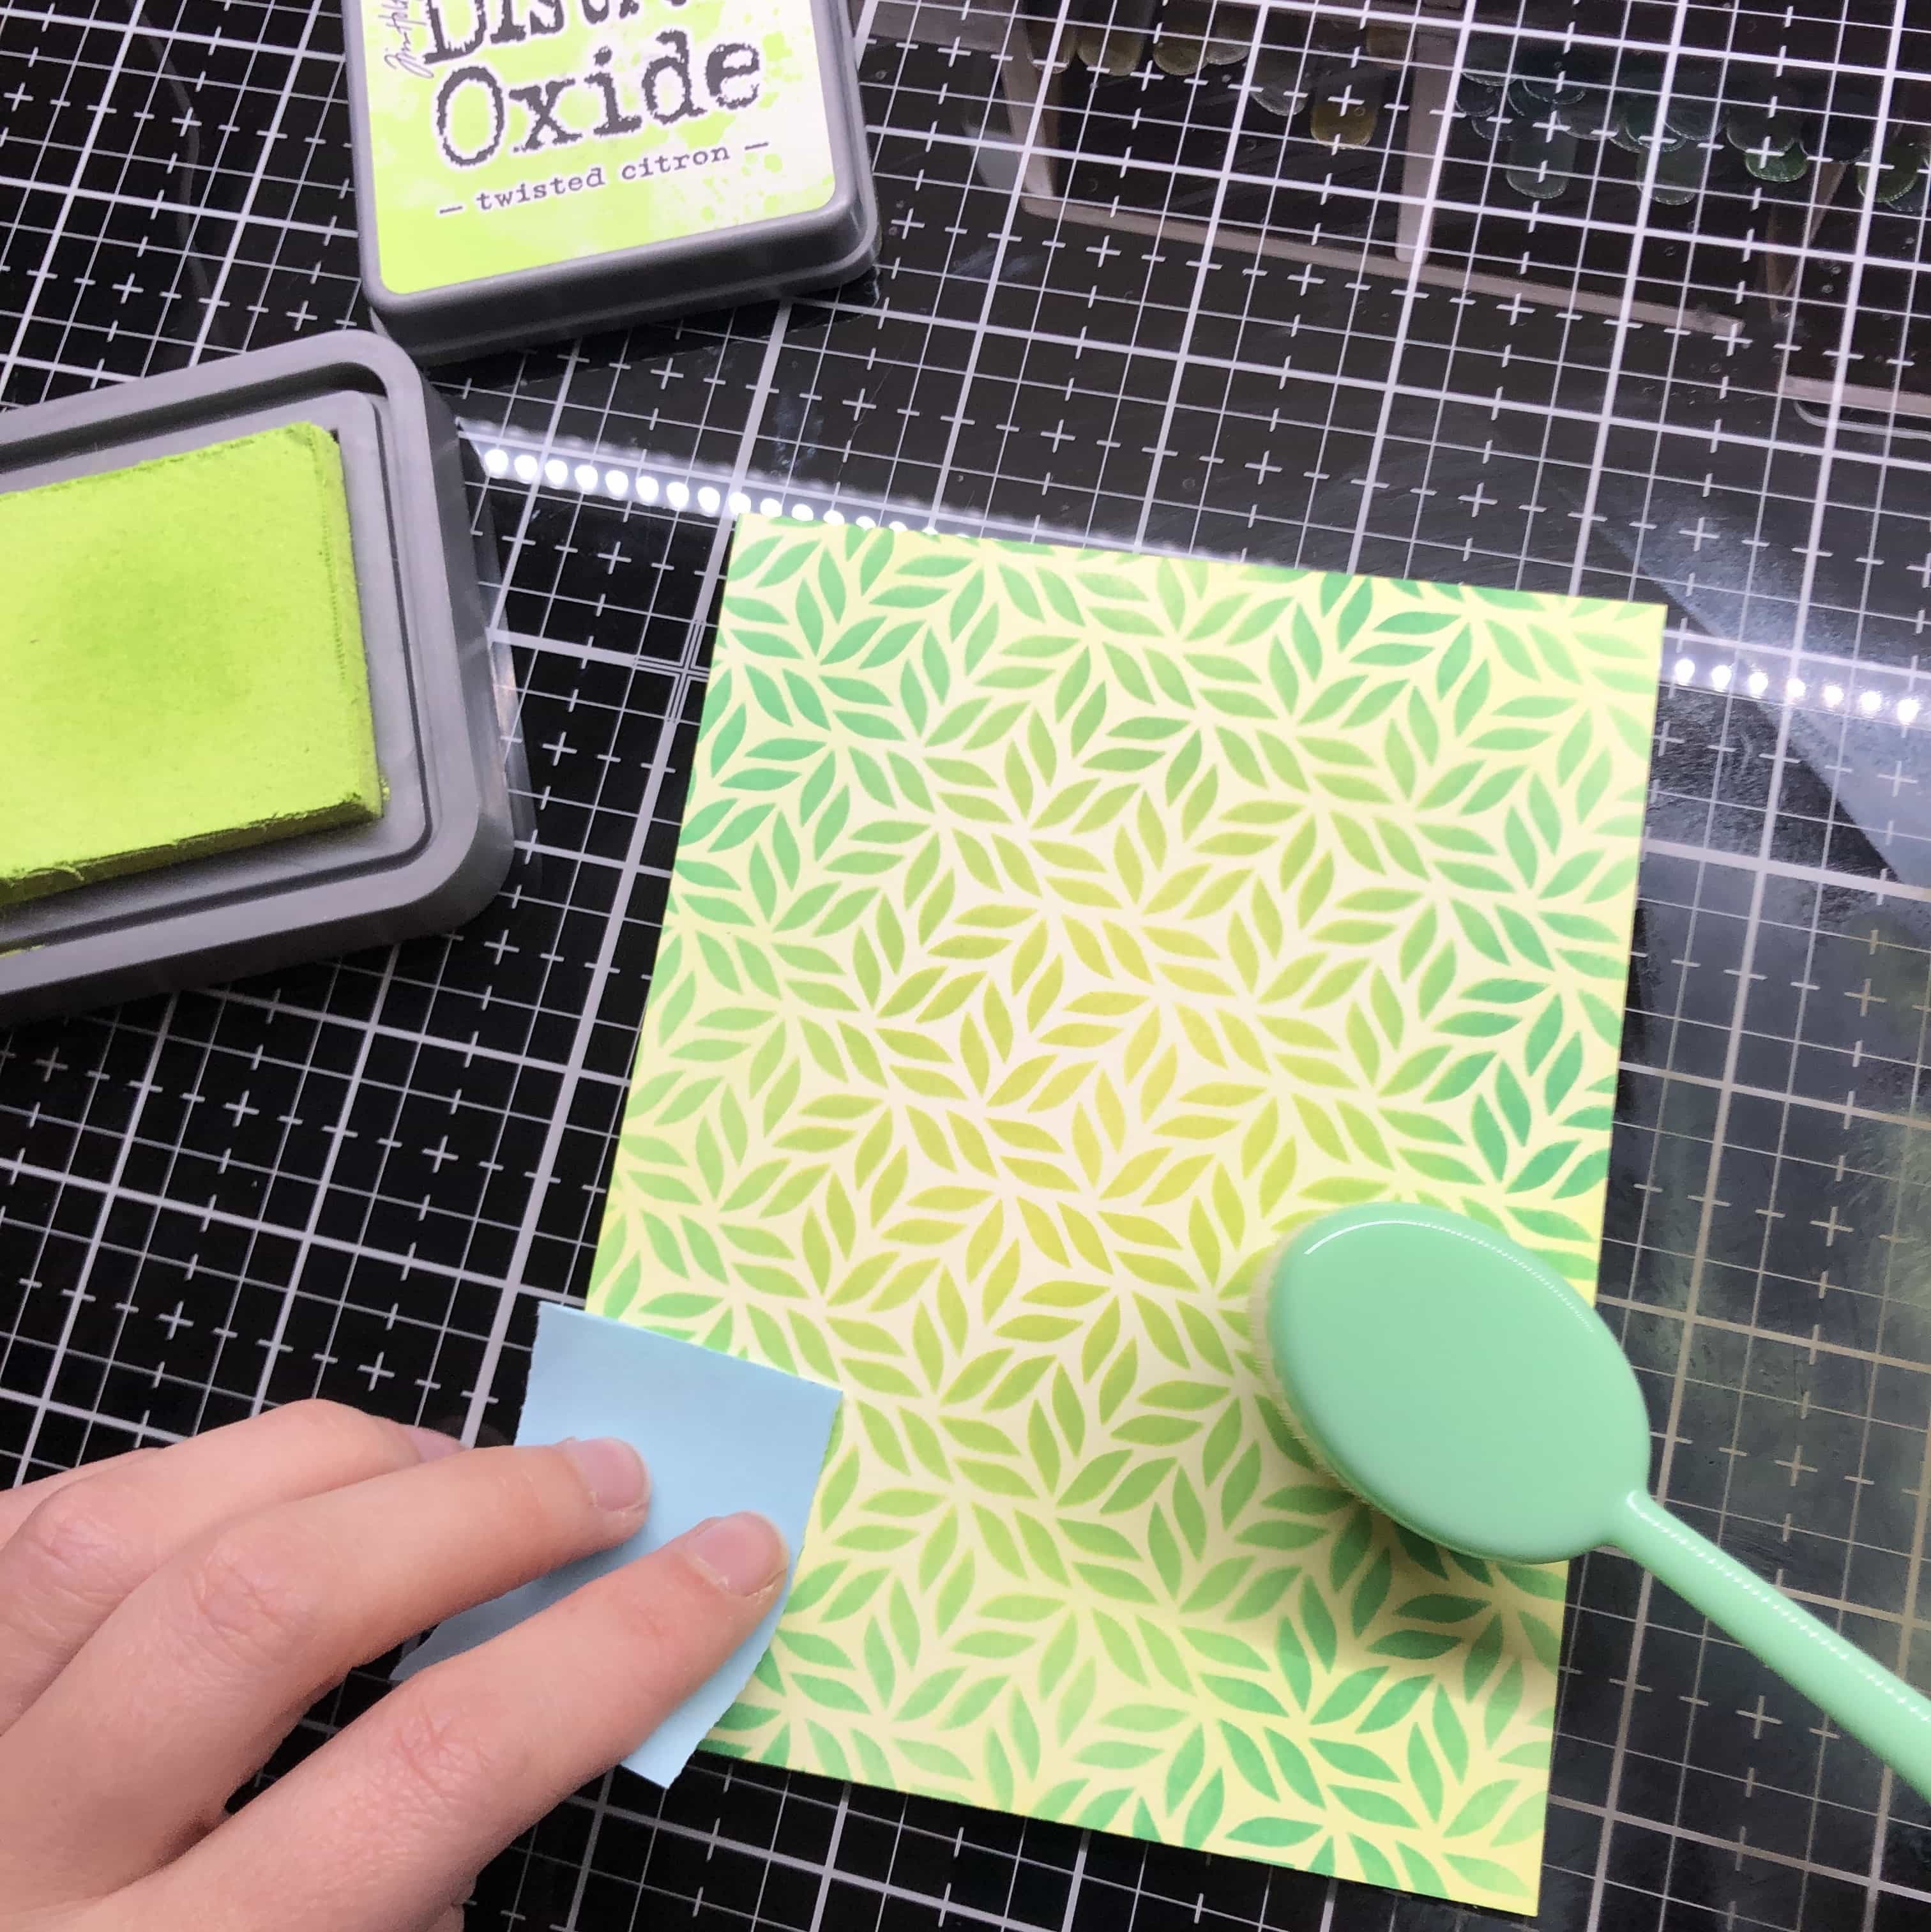
I’m going to start with my background. I’m using the Fancy Foliage stencil and Twisted Citron, Lucky Clover, and Cracked Pistachio distress oxides. After removing the stencil, I’m going to do a light layer of Twisted Citron over the entire background.

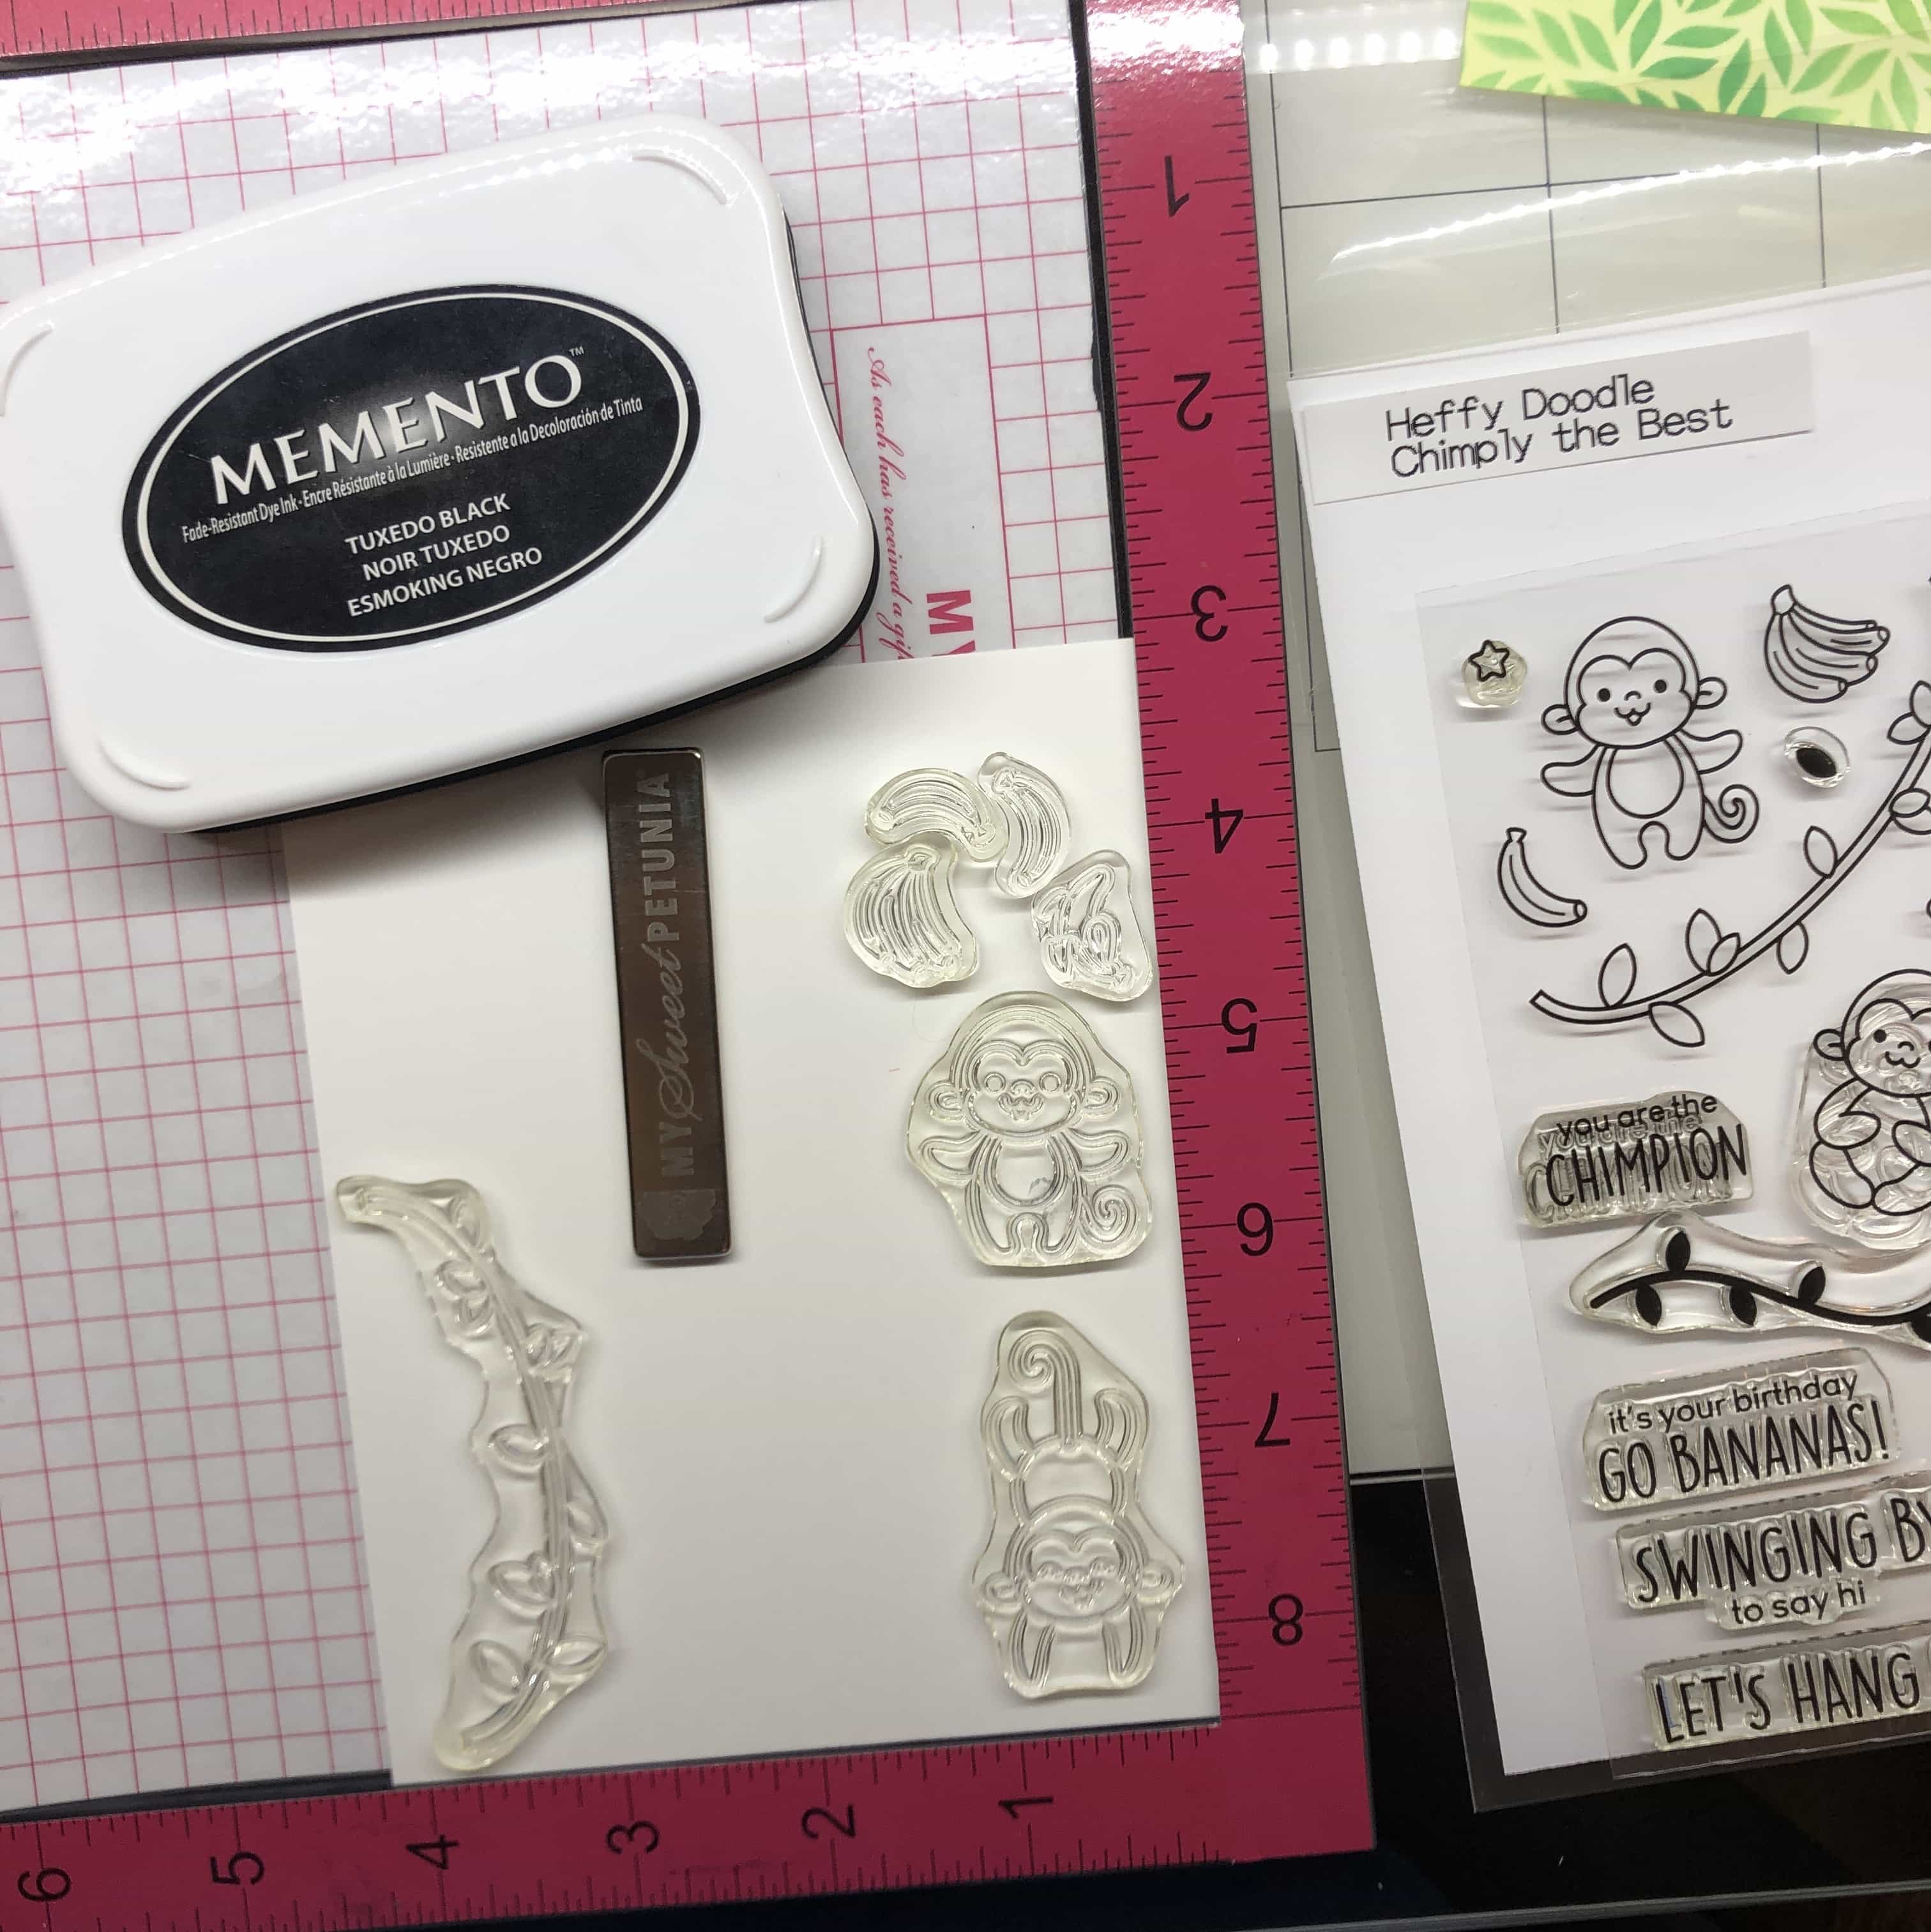
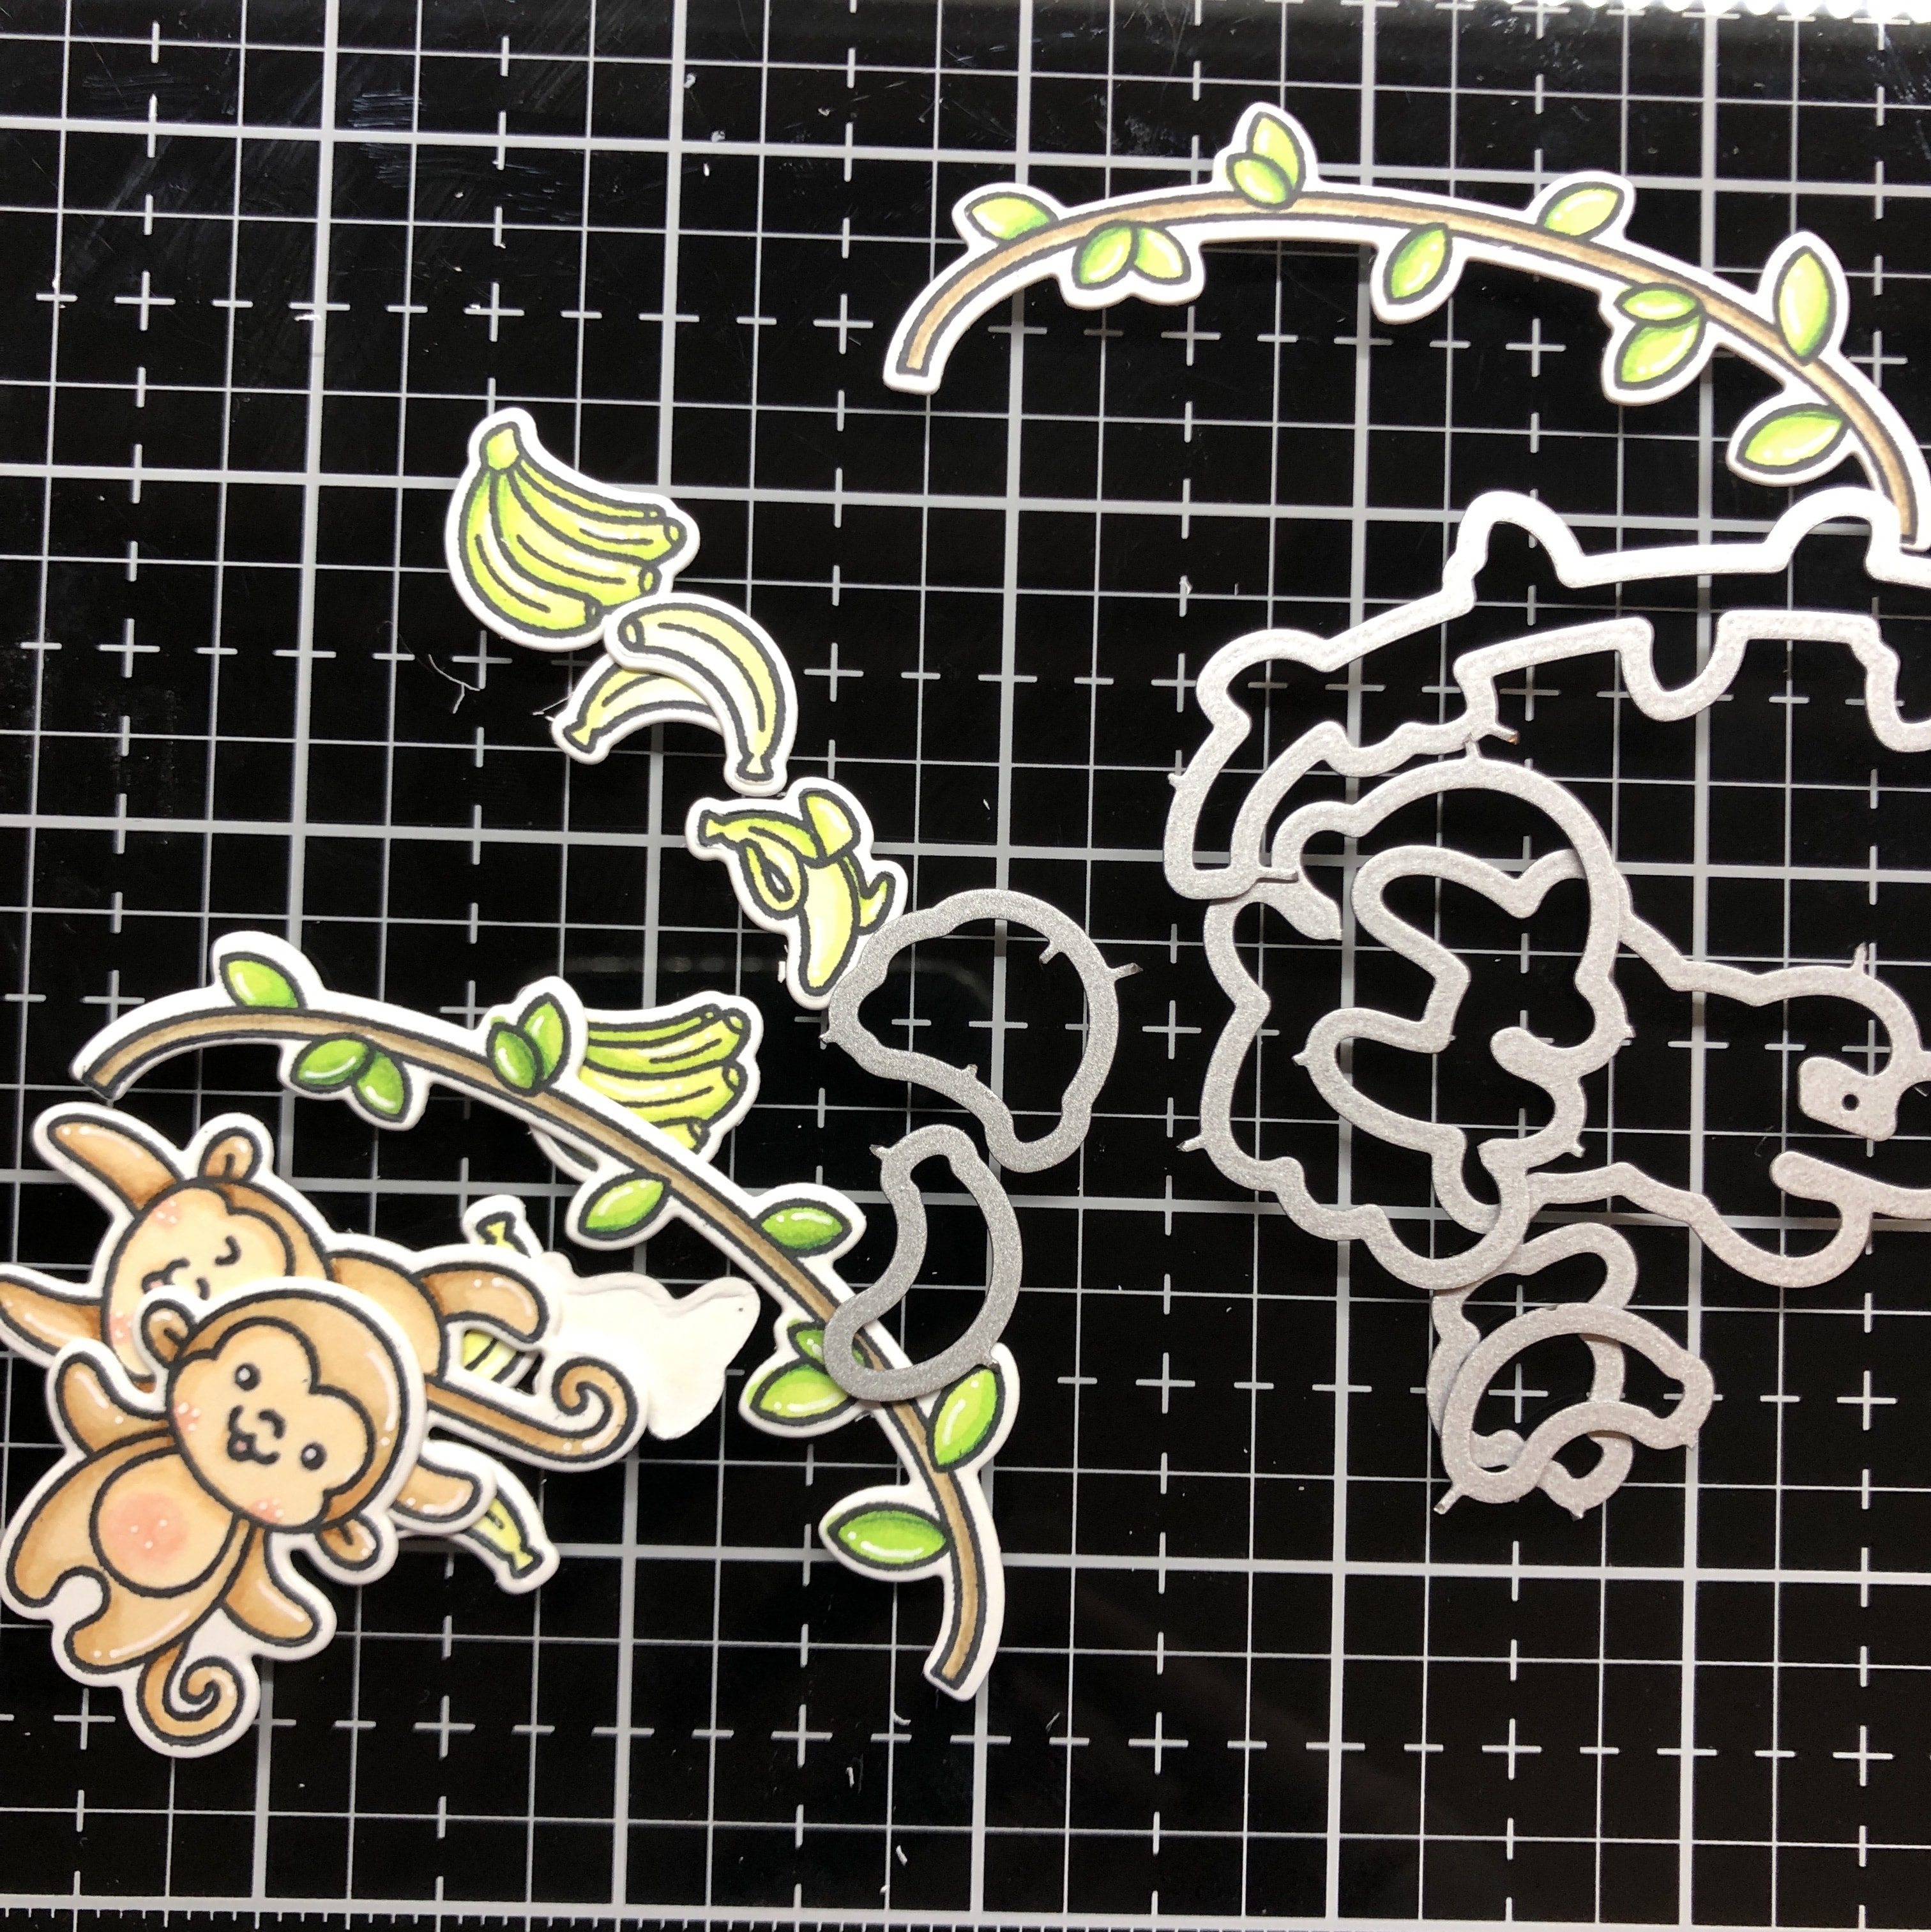
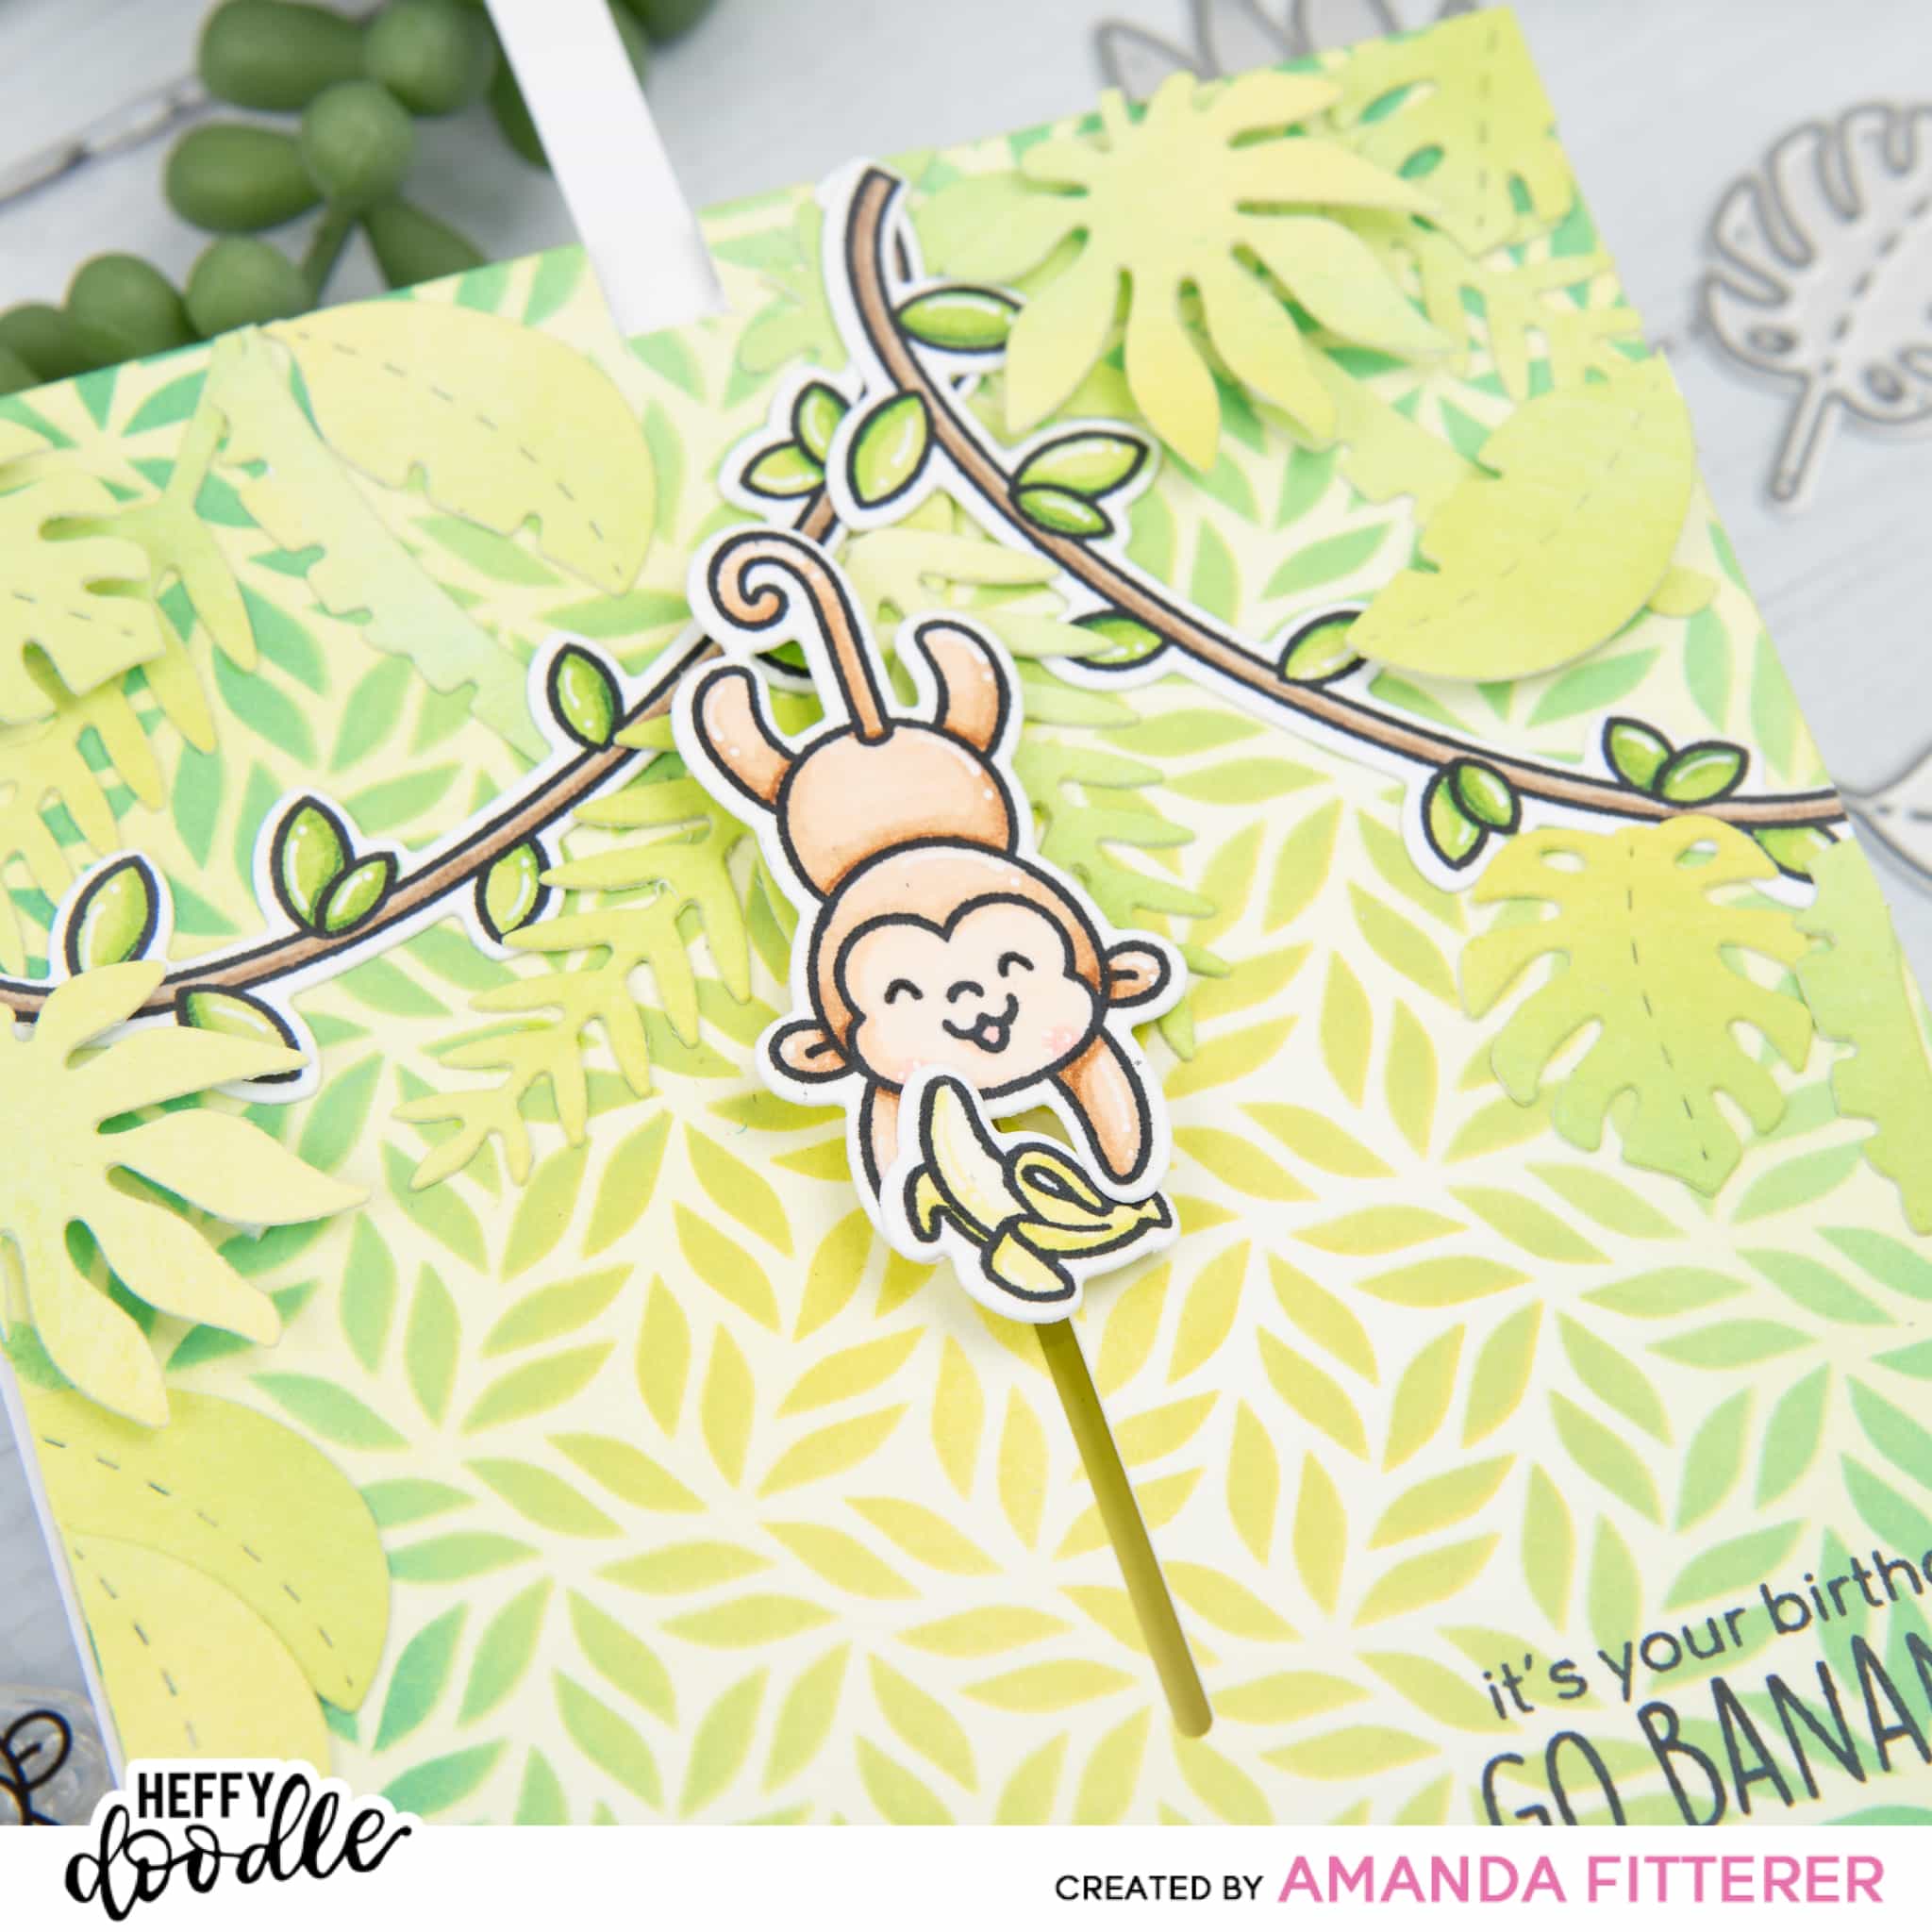
Next, I’m going to stamp, color, and die cut my images.
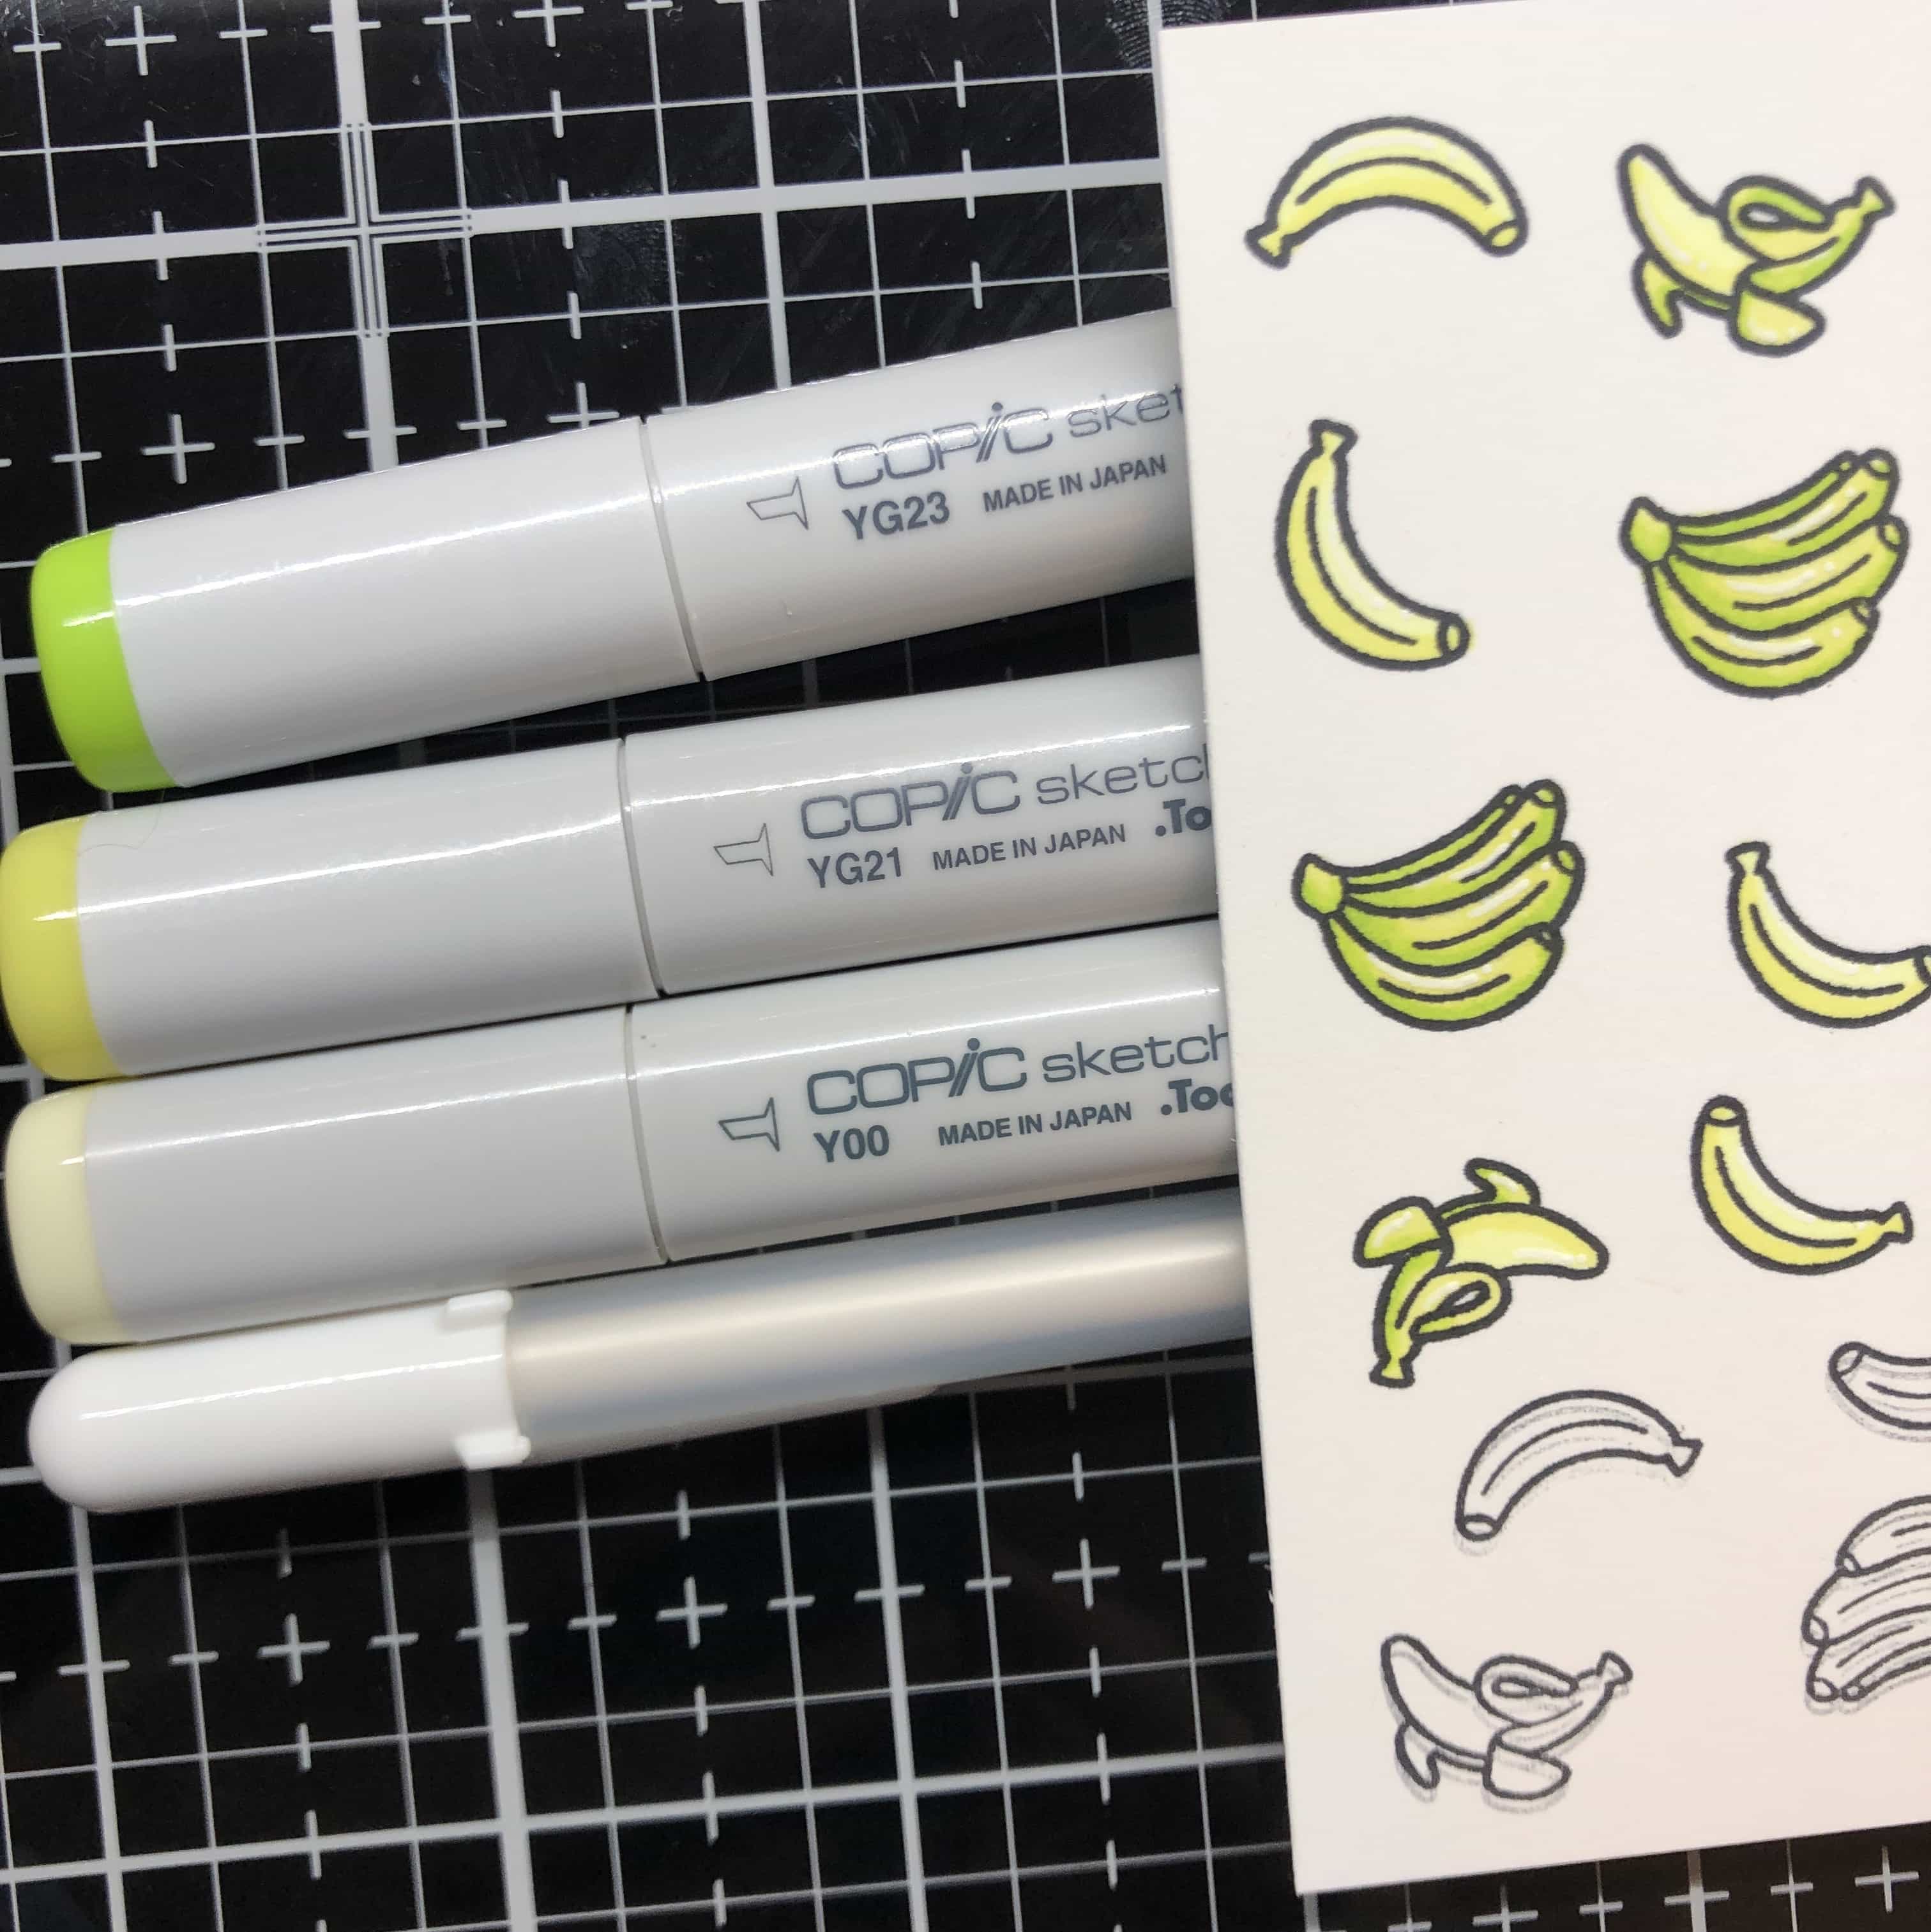
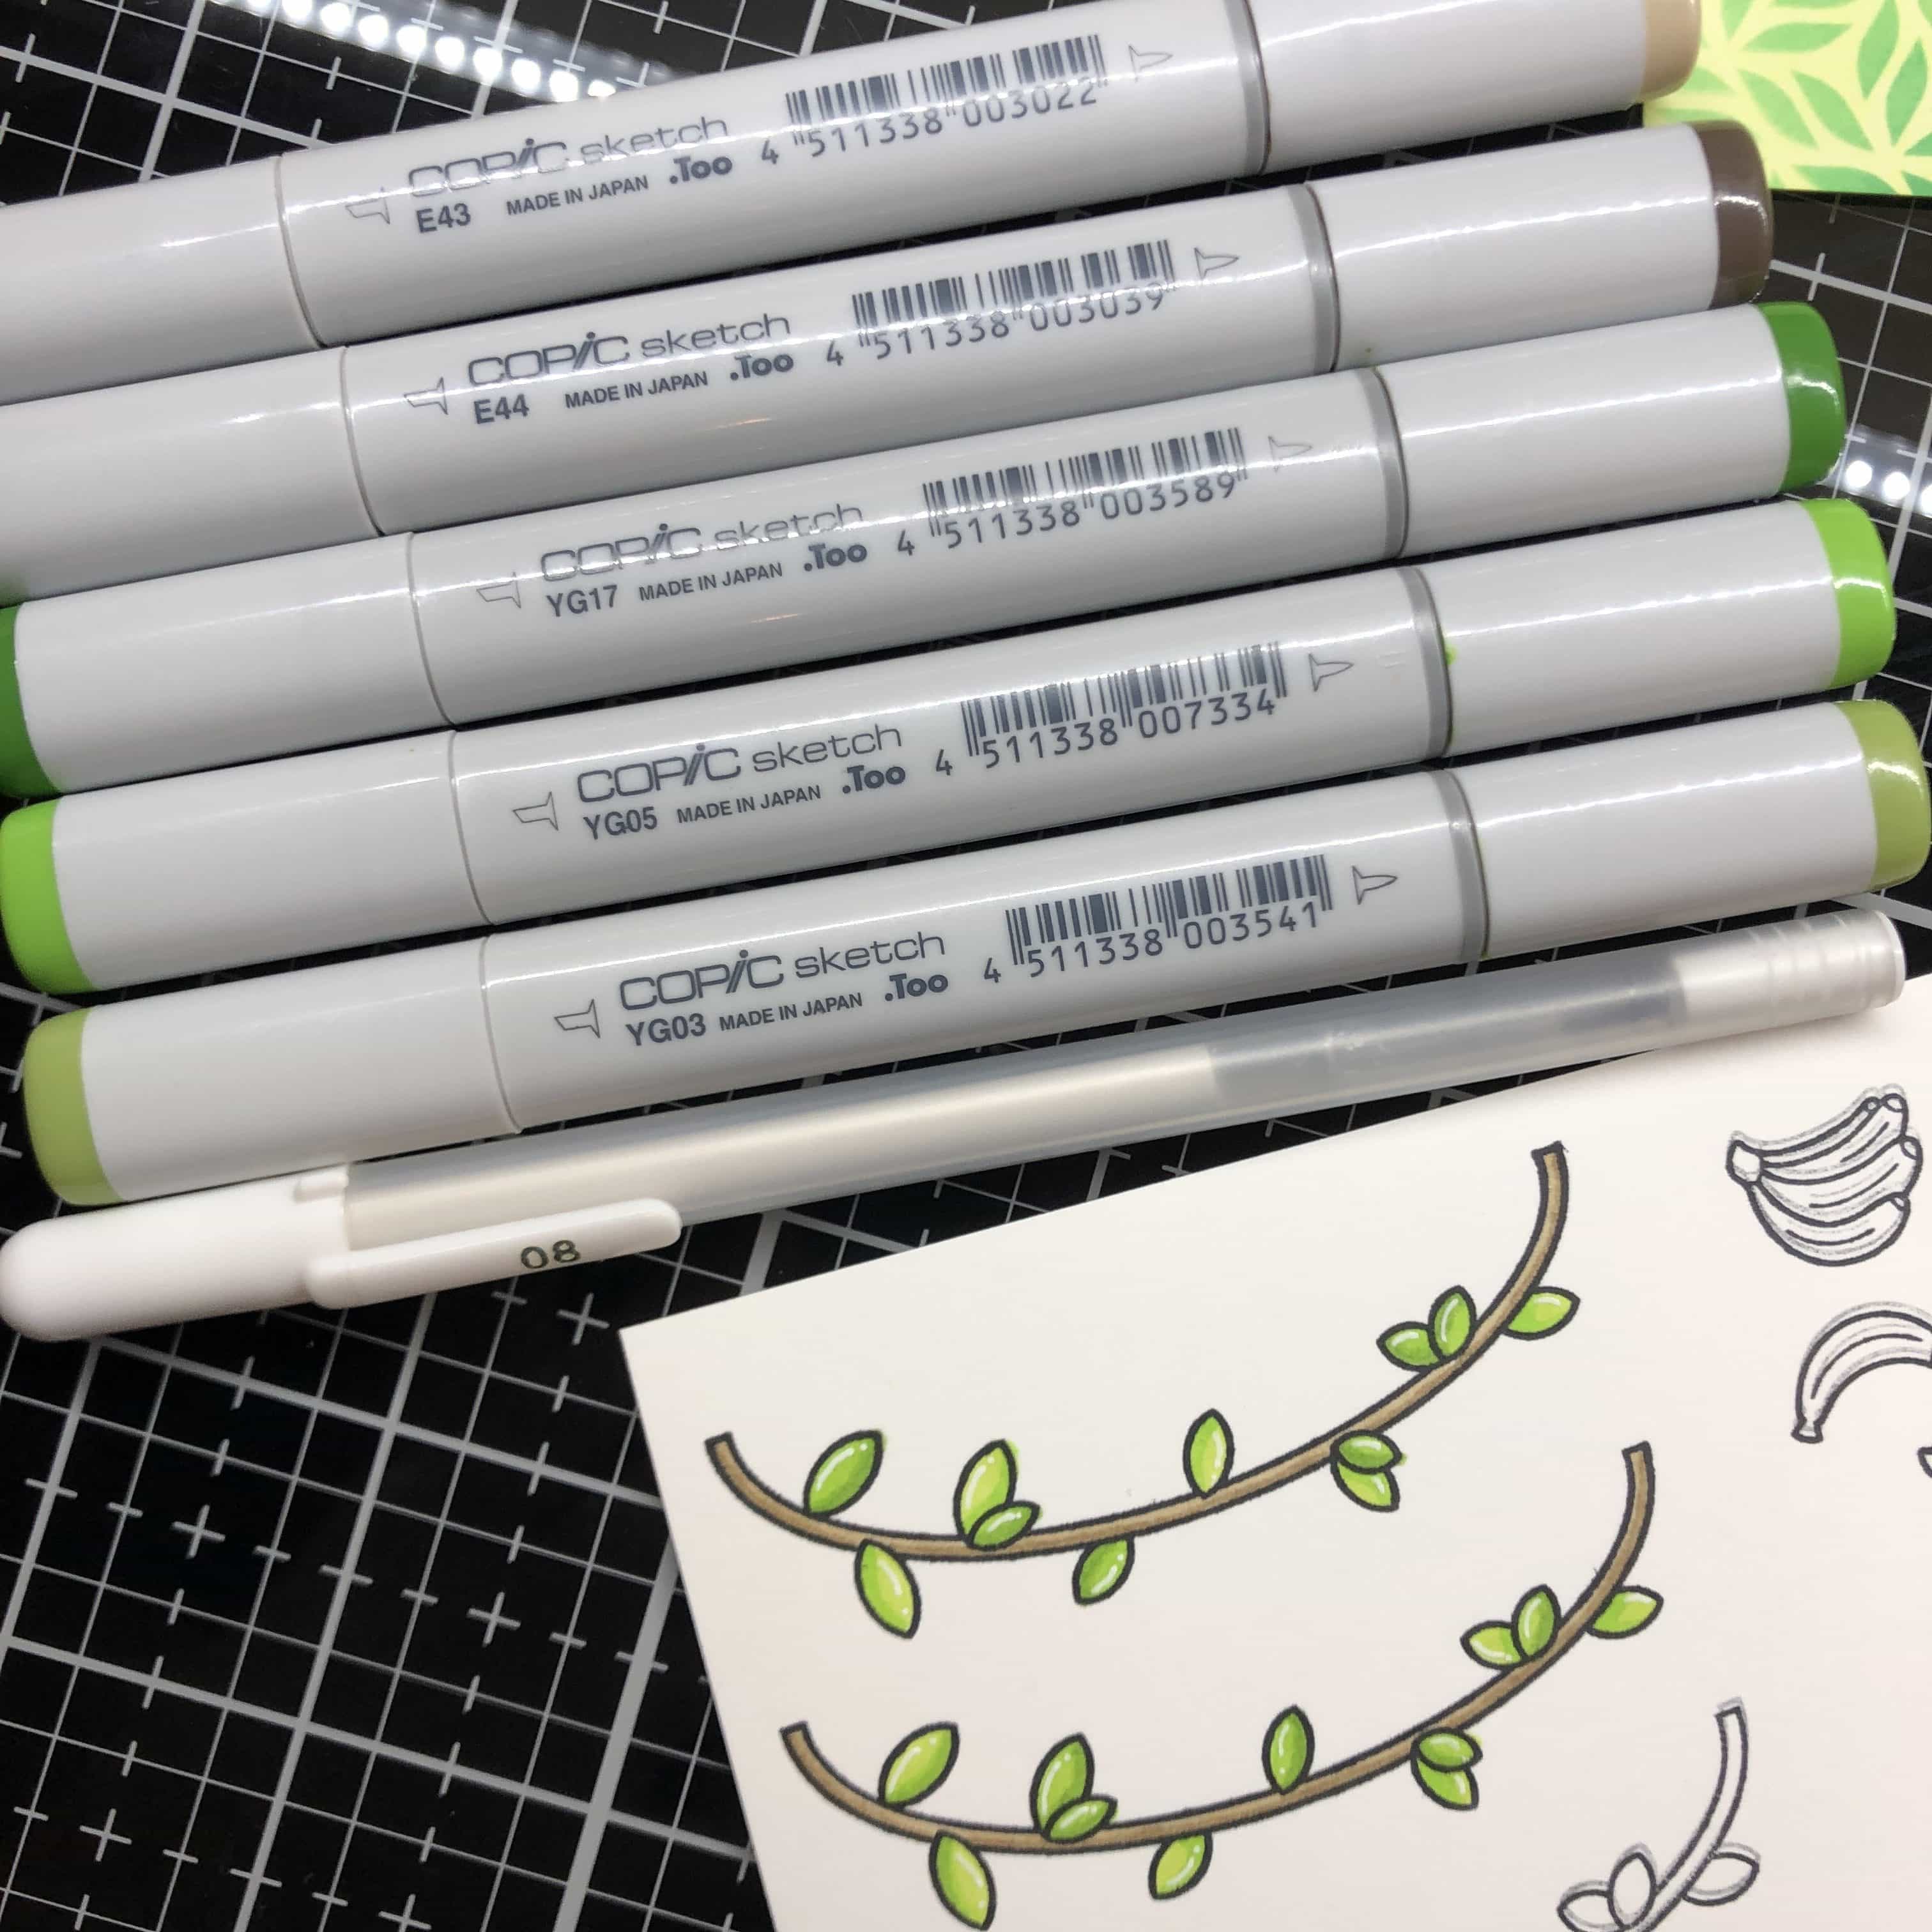
Banana: Y00, YG21, YG23 | Monkey: E50, E21, R21, E30, E31, E34 | Vines: E43, E44, YG17, YG05, YG03
I’m also using a white Gelly Roll pen for highlights and a dark brown pencil for shadows on the monkeys.
The coordinating dies can be found here.


Now I’m ready to work on my DIY interactive portion of the card.
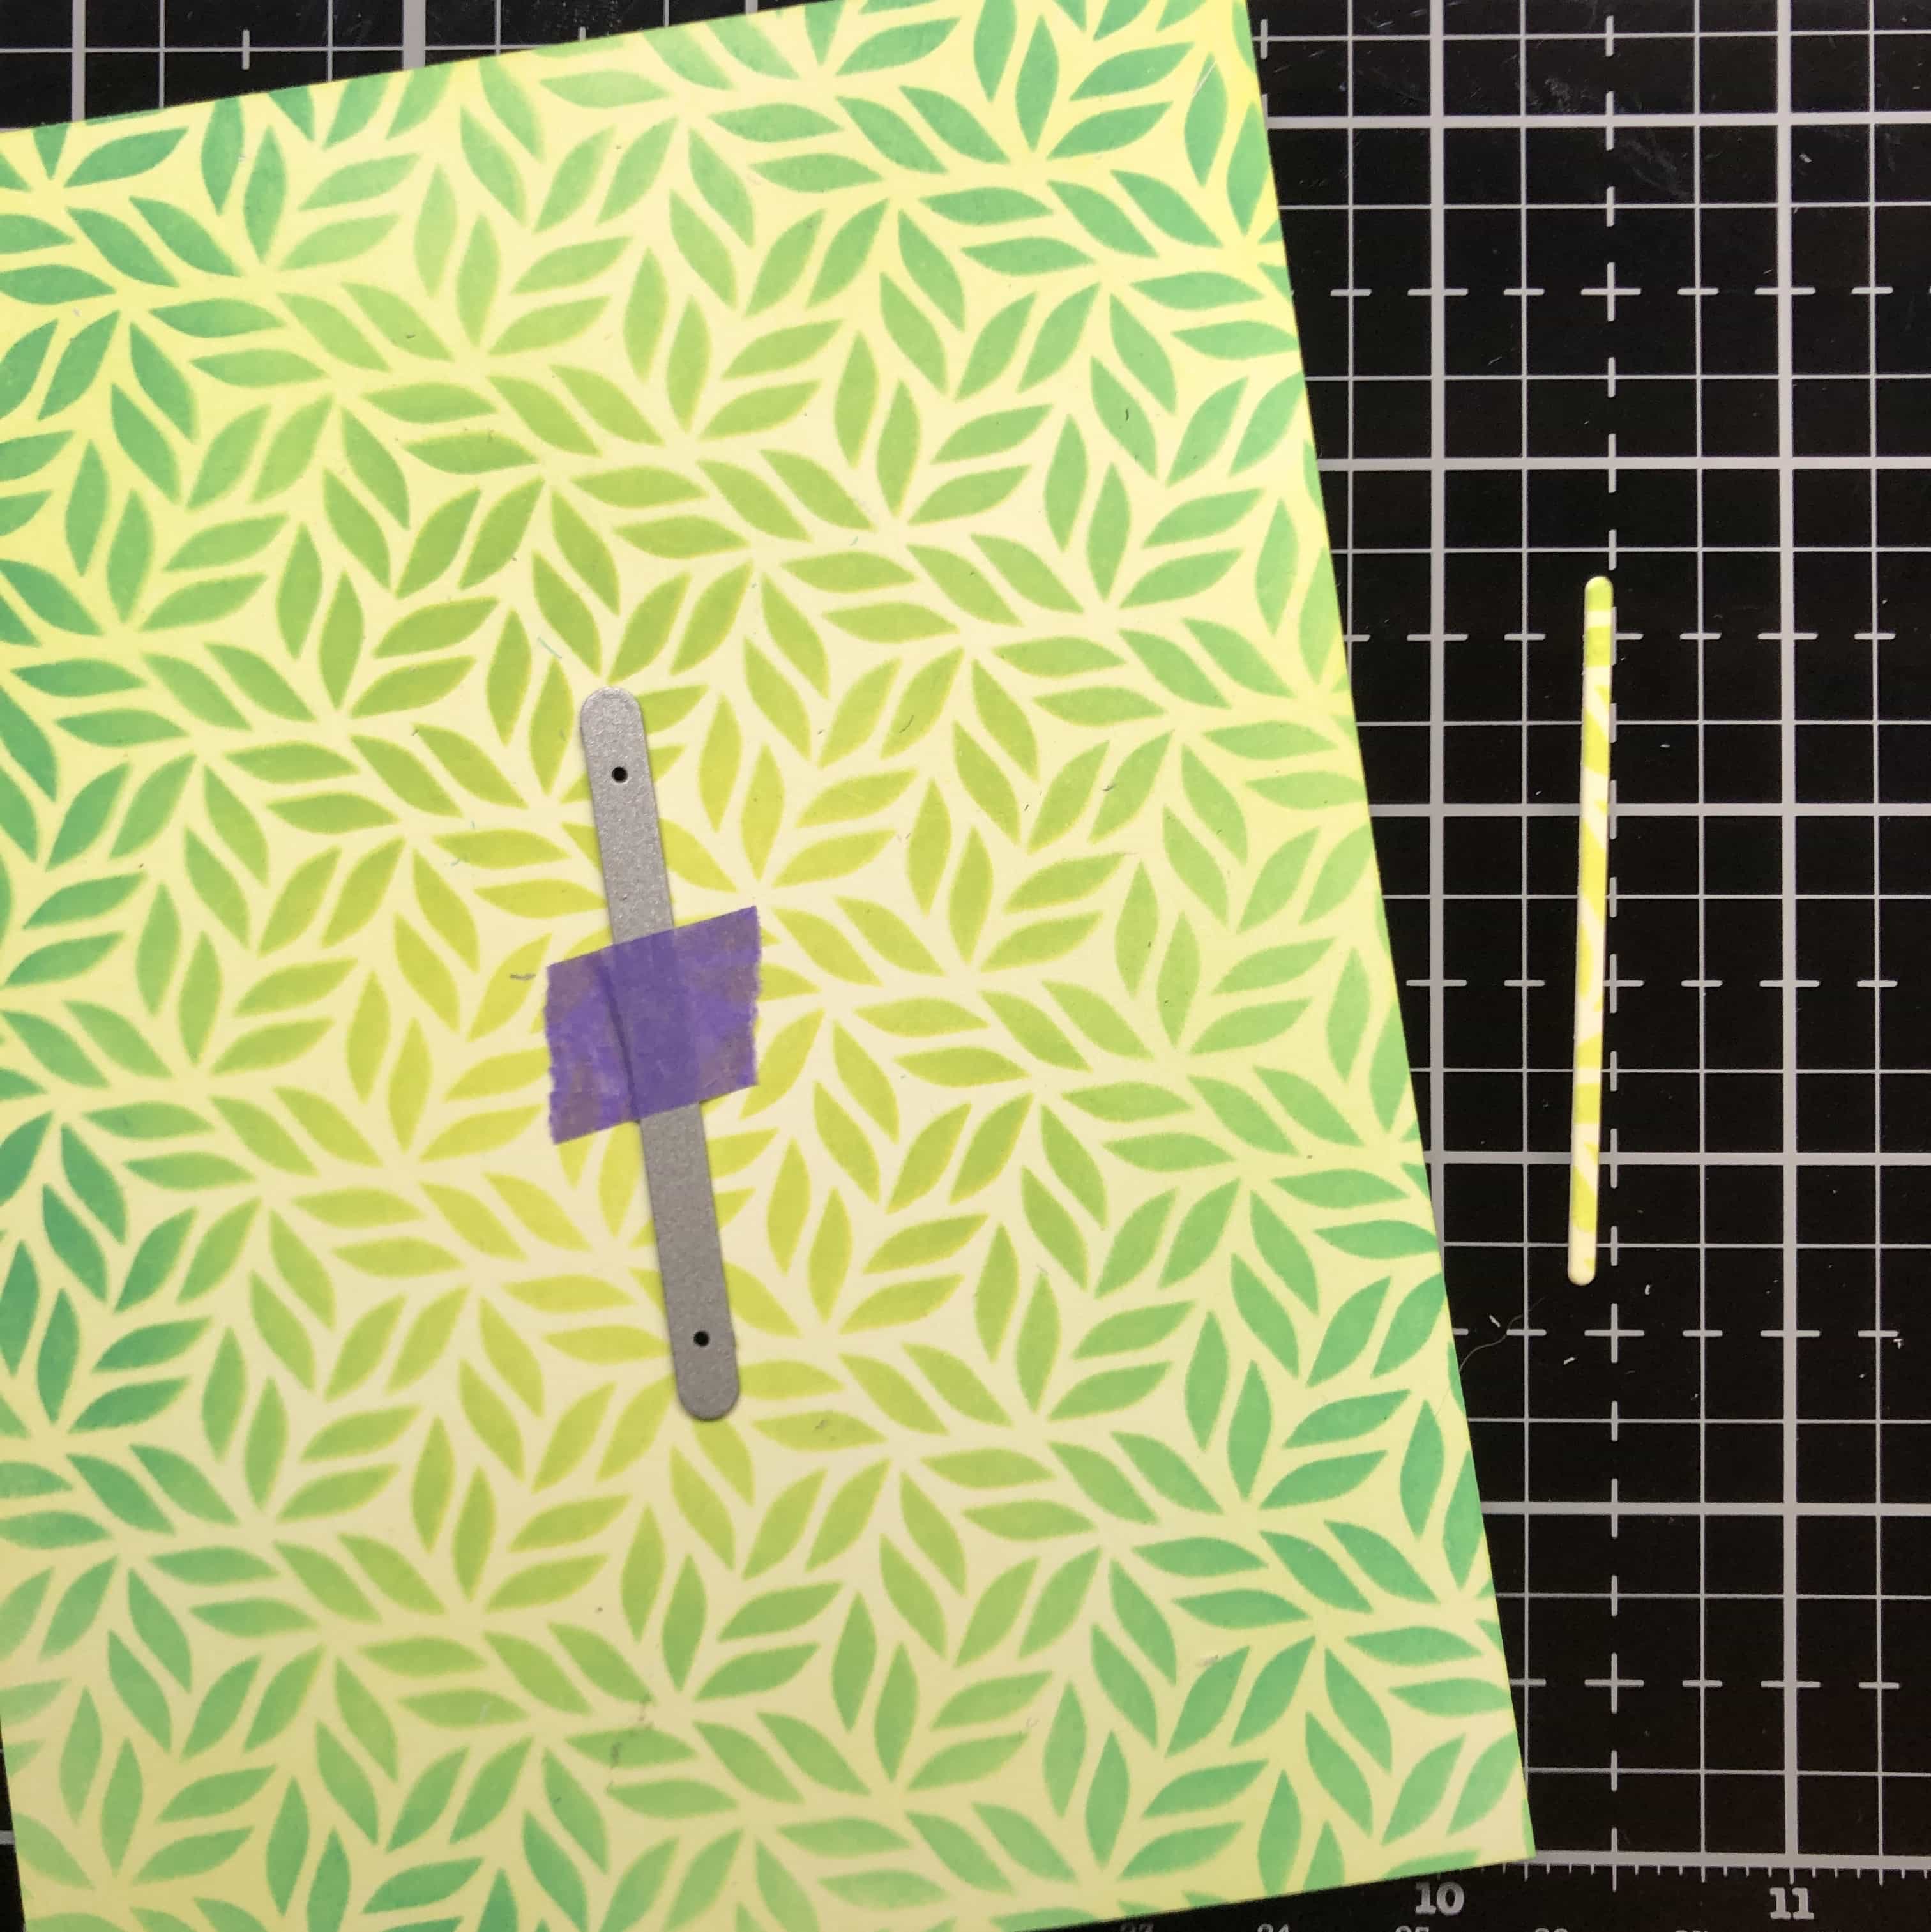
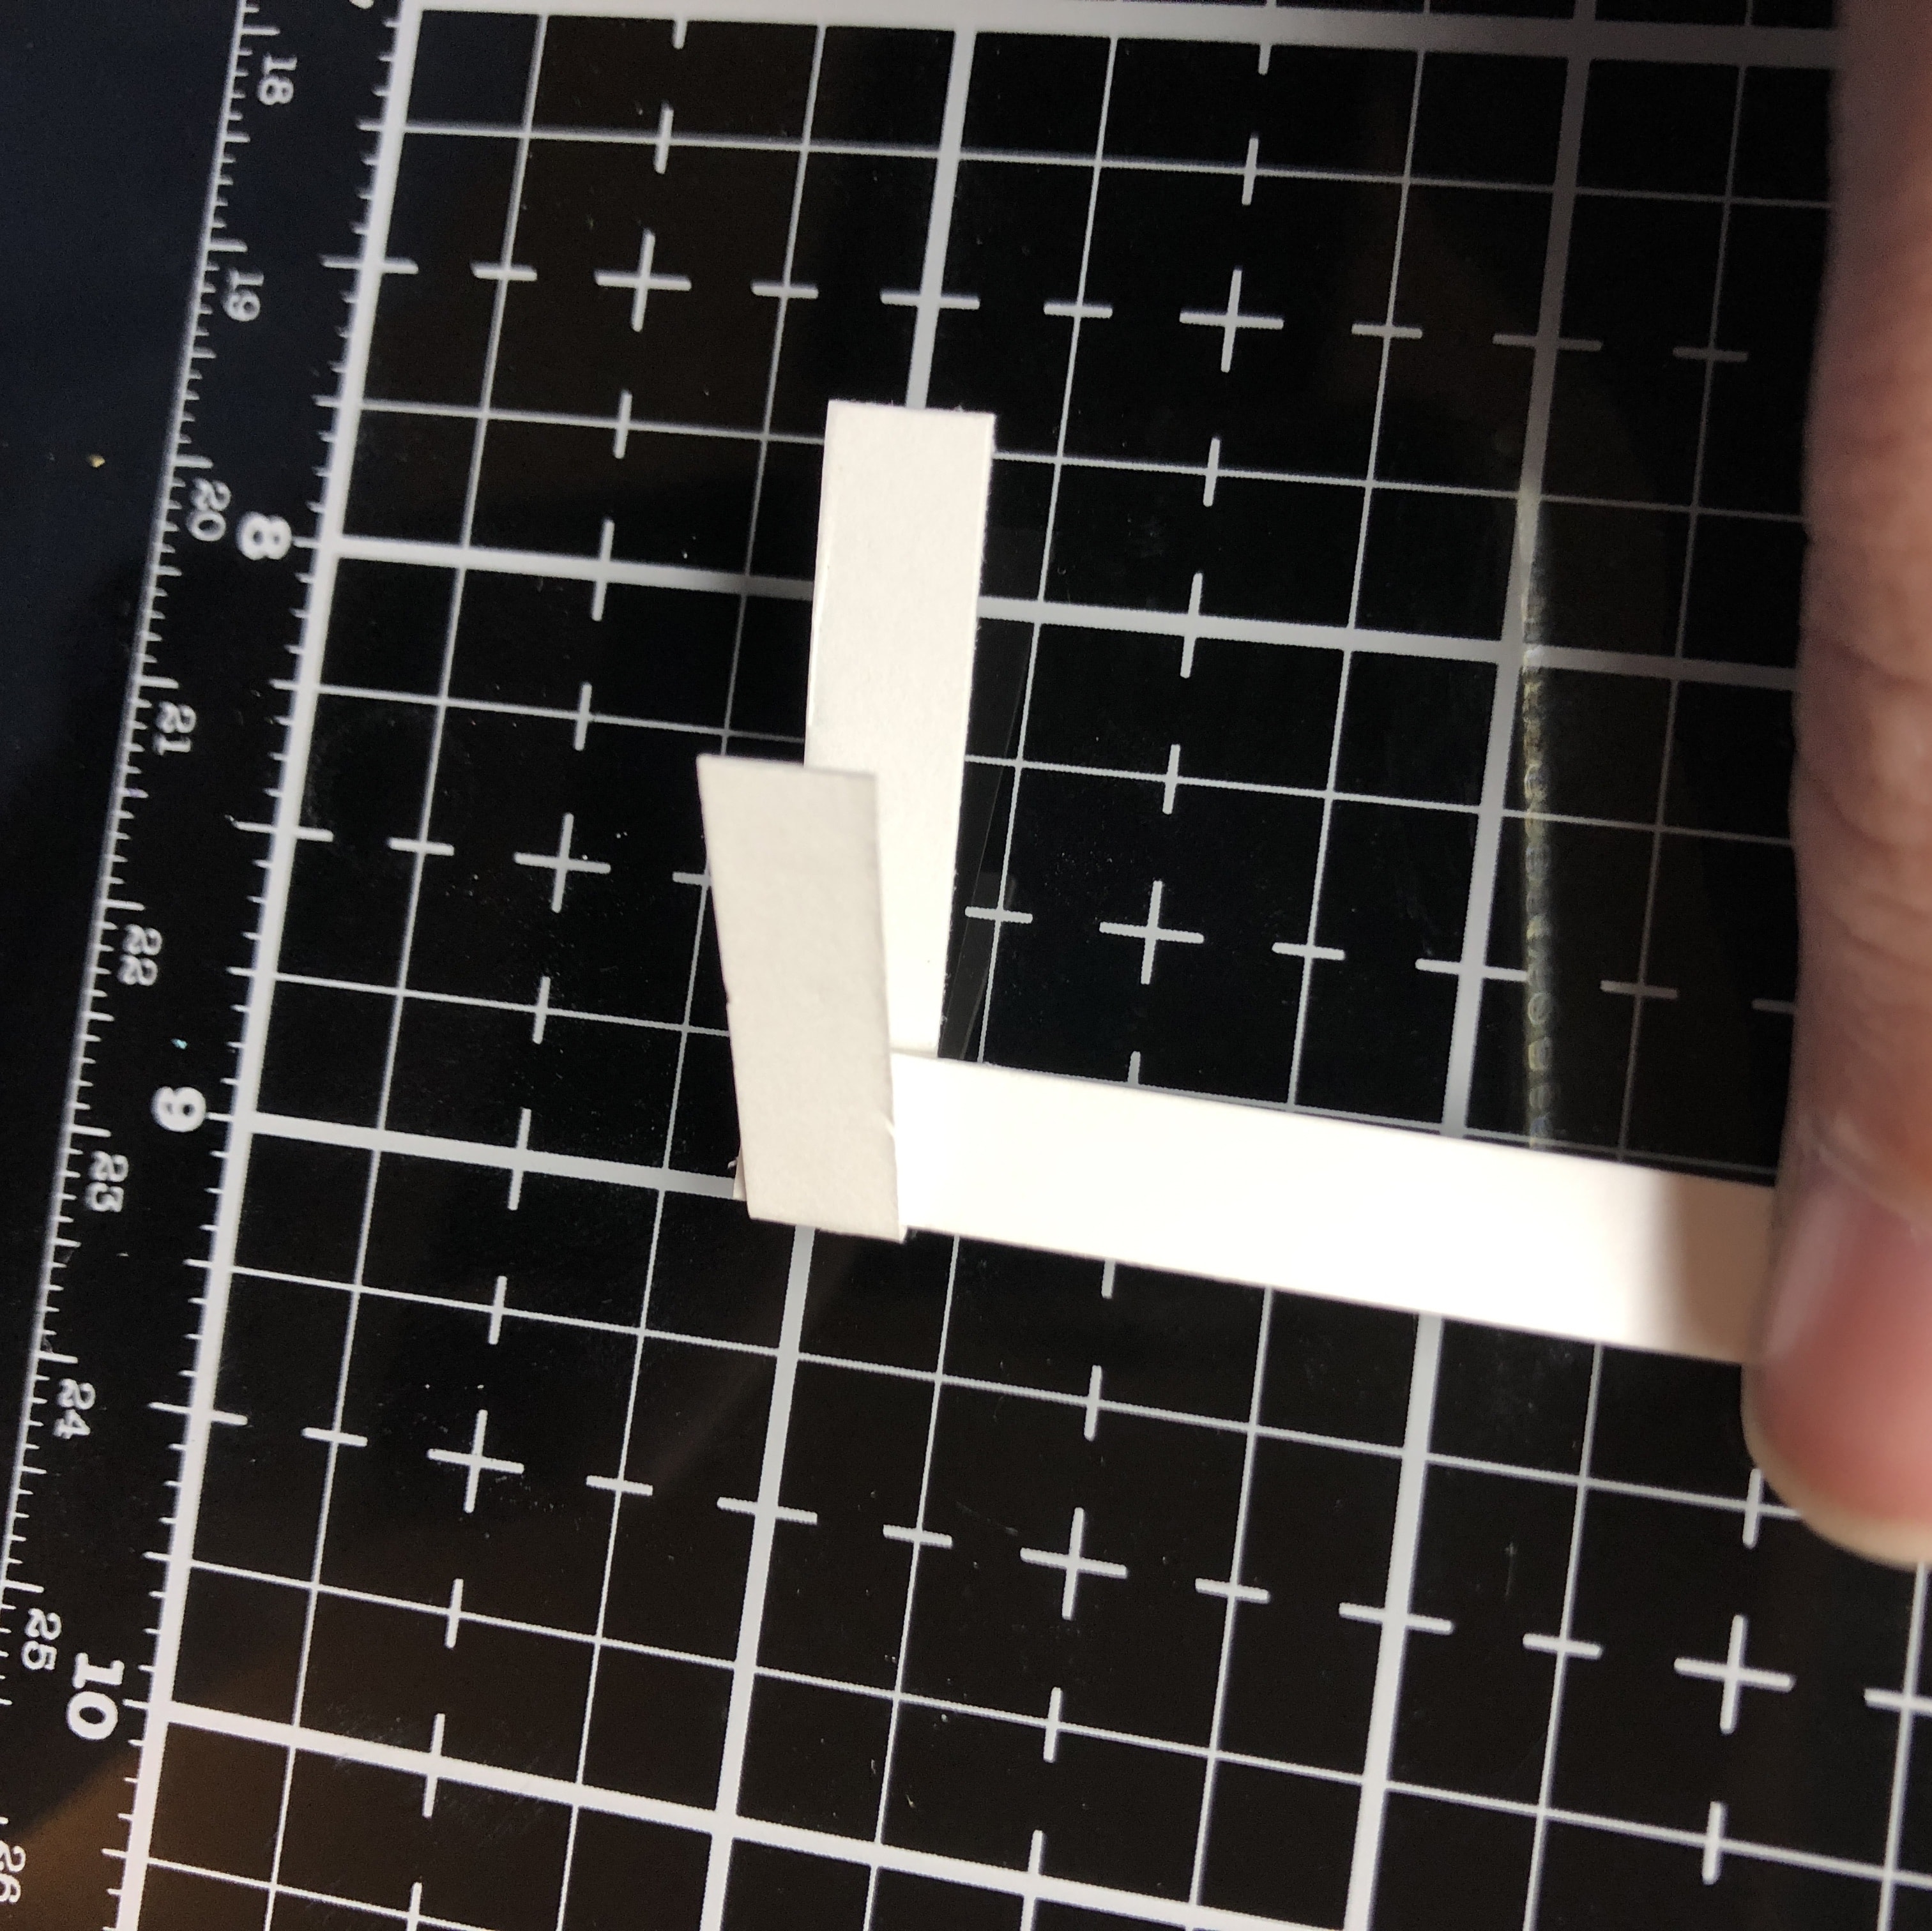
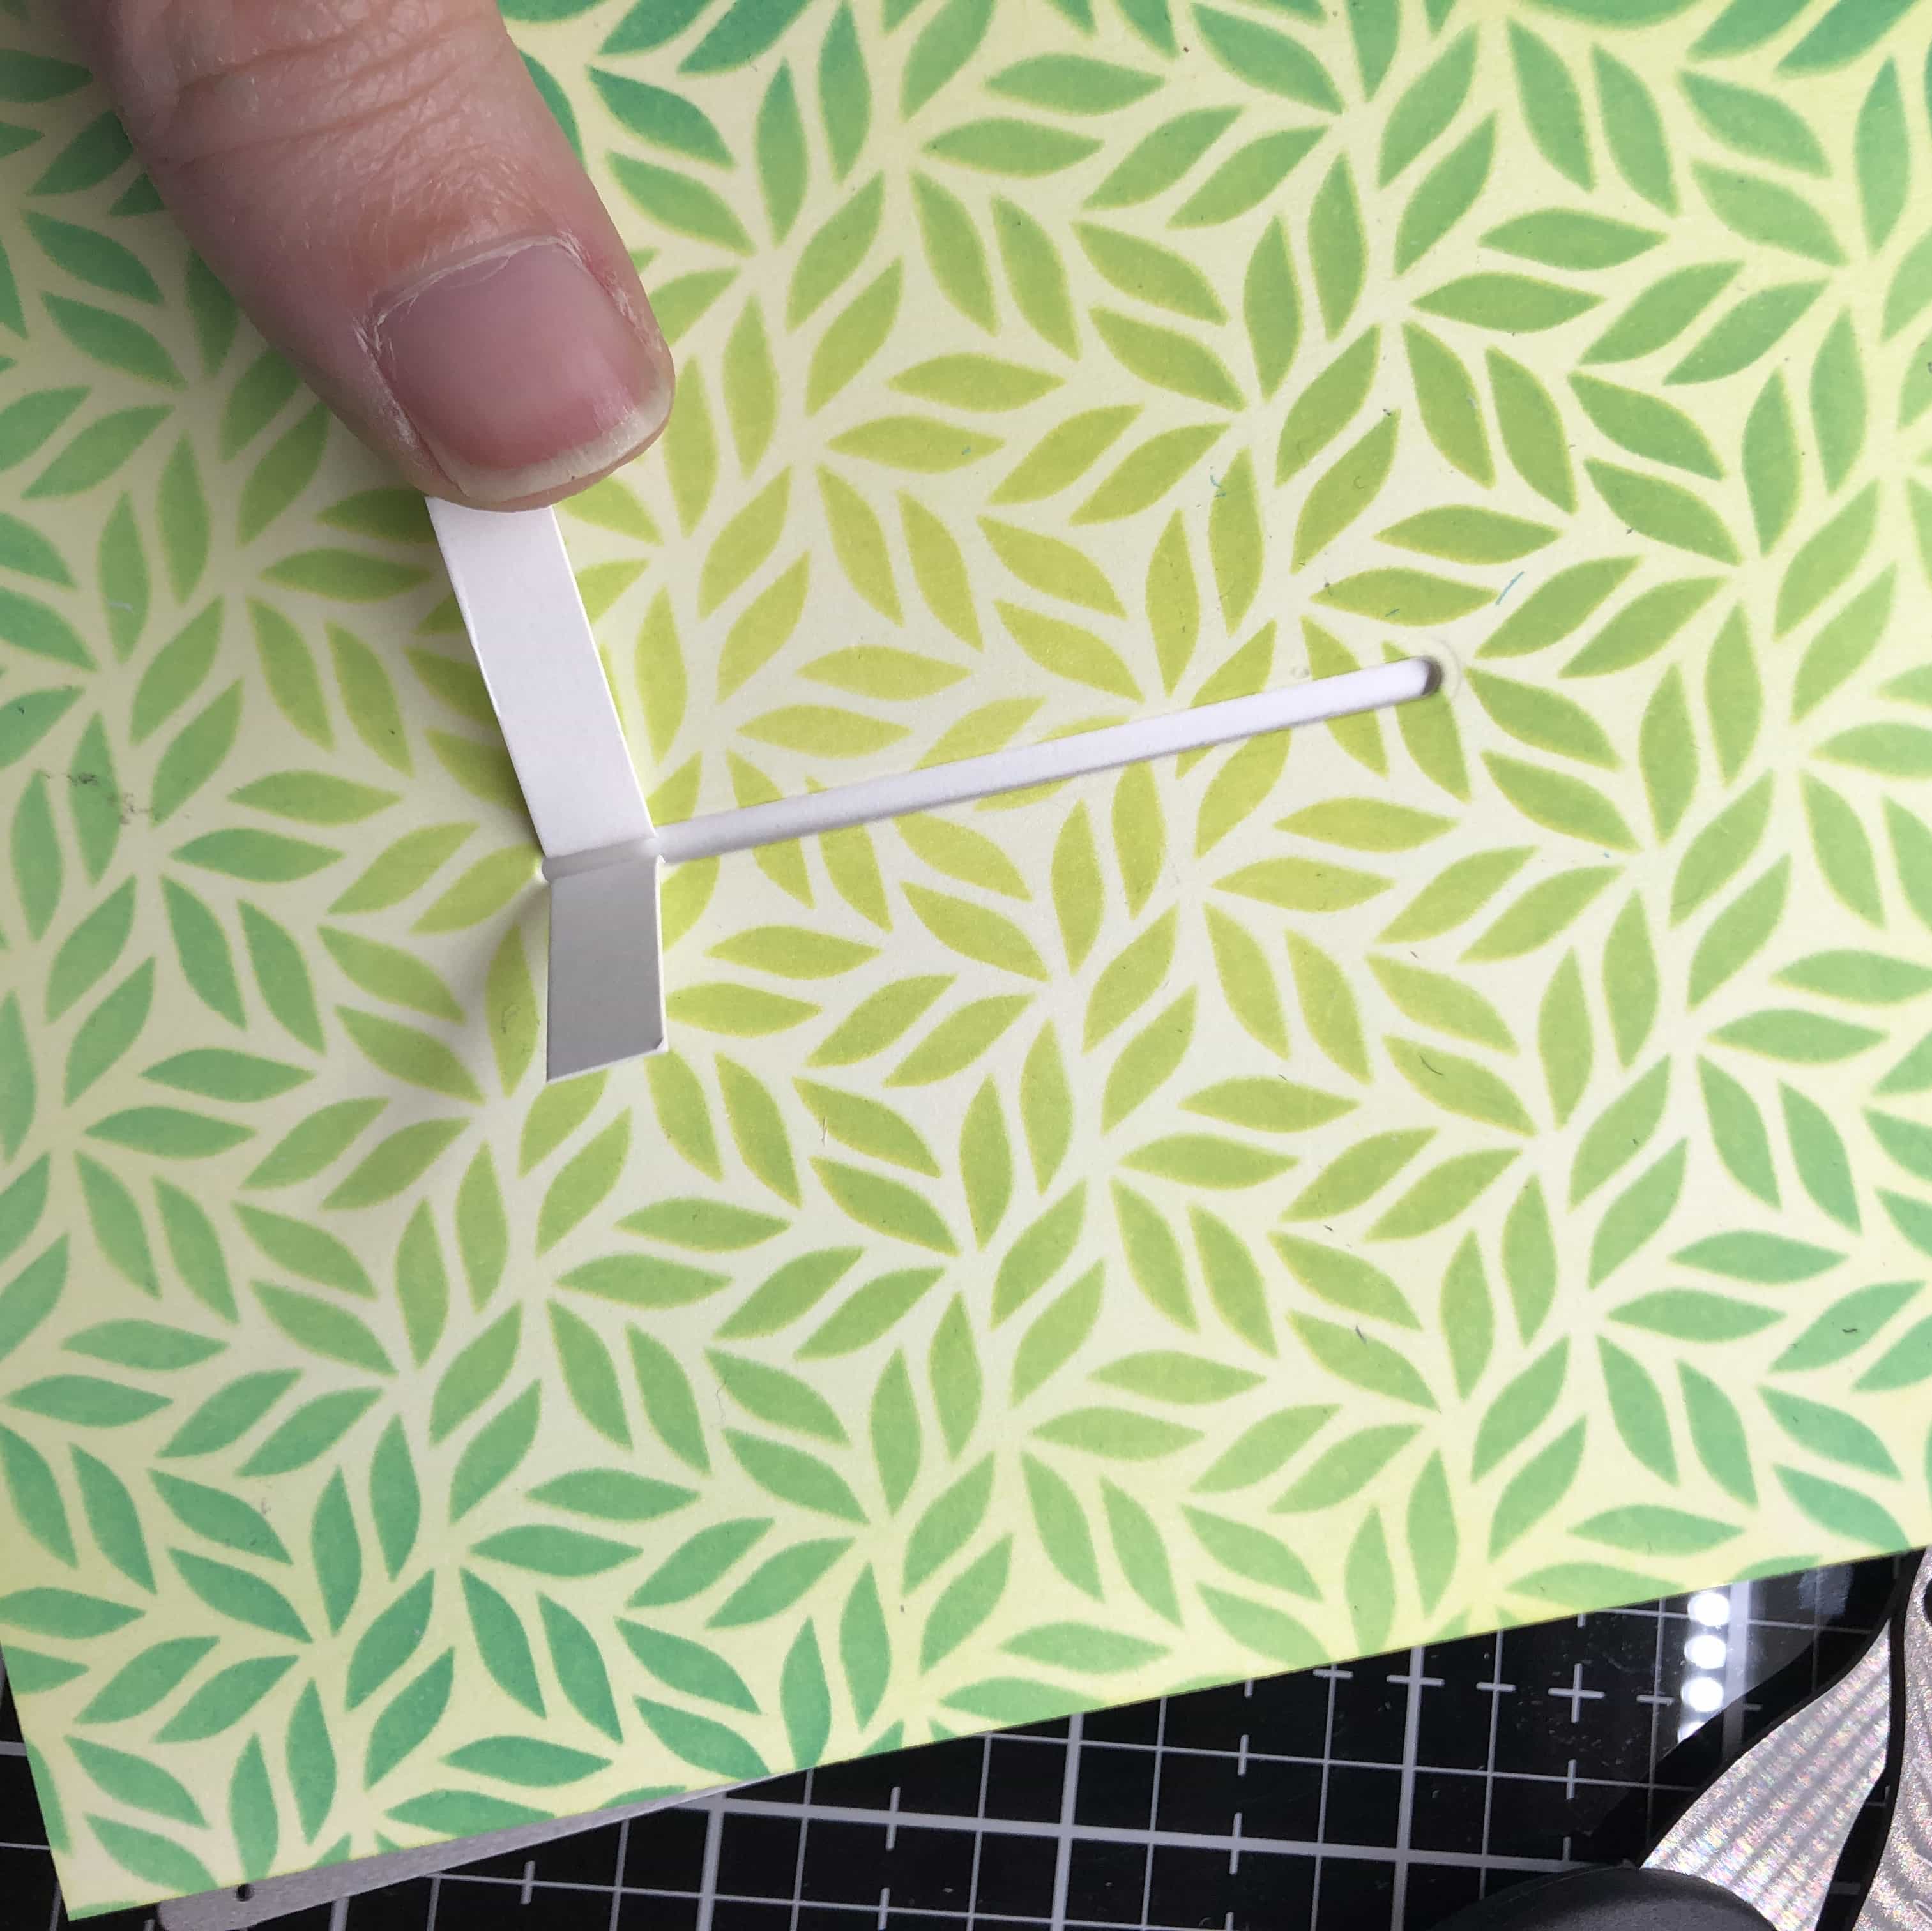
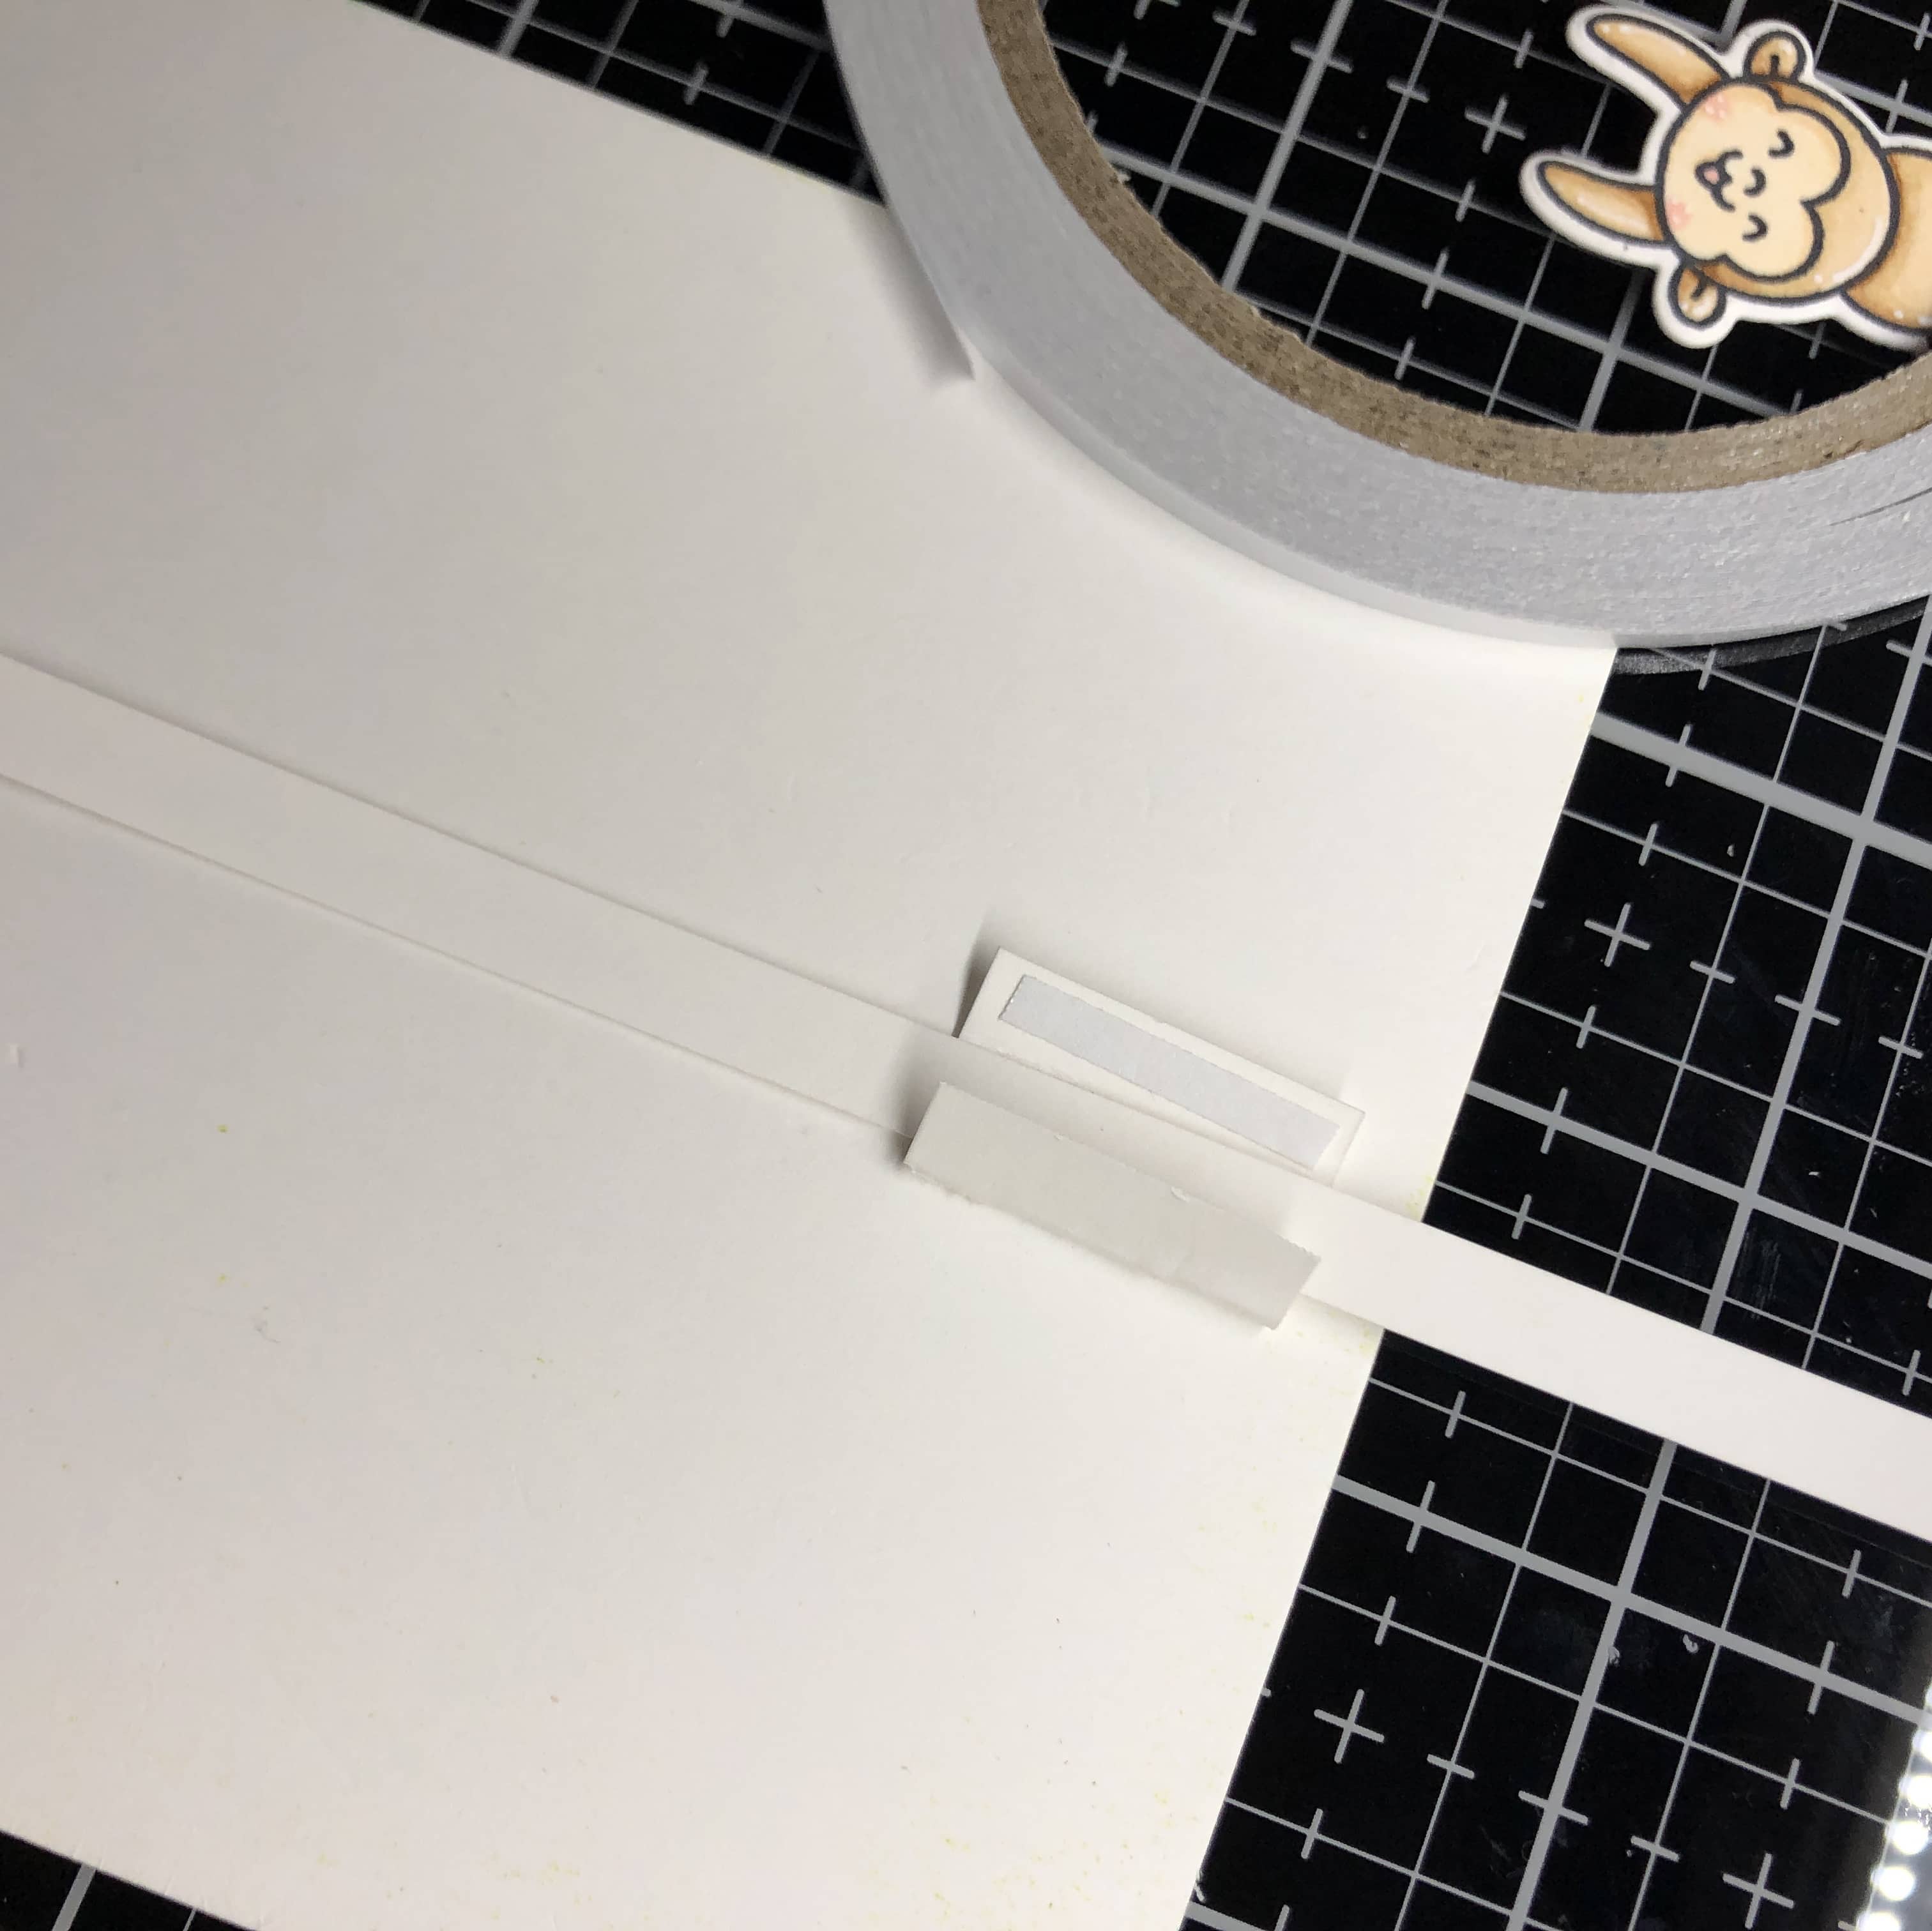
First I’m using this little “notch” from the More Strips of Ease Dies. Then, I’m cutting down 2 strips of cardstock. 1 strip is 2″ x .25″. The other is 5.5″ x .25″.
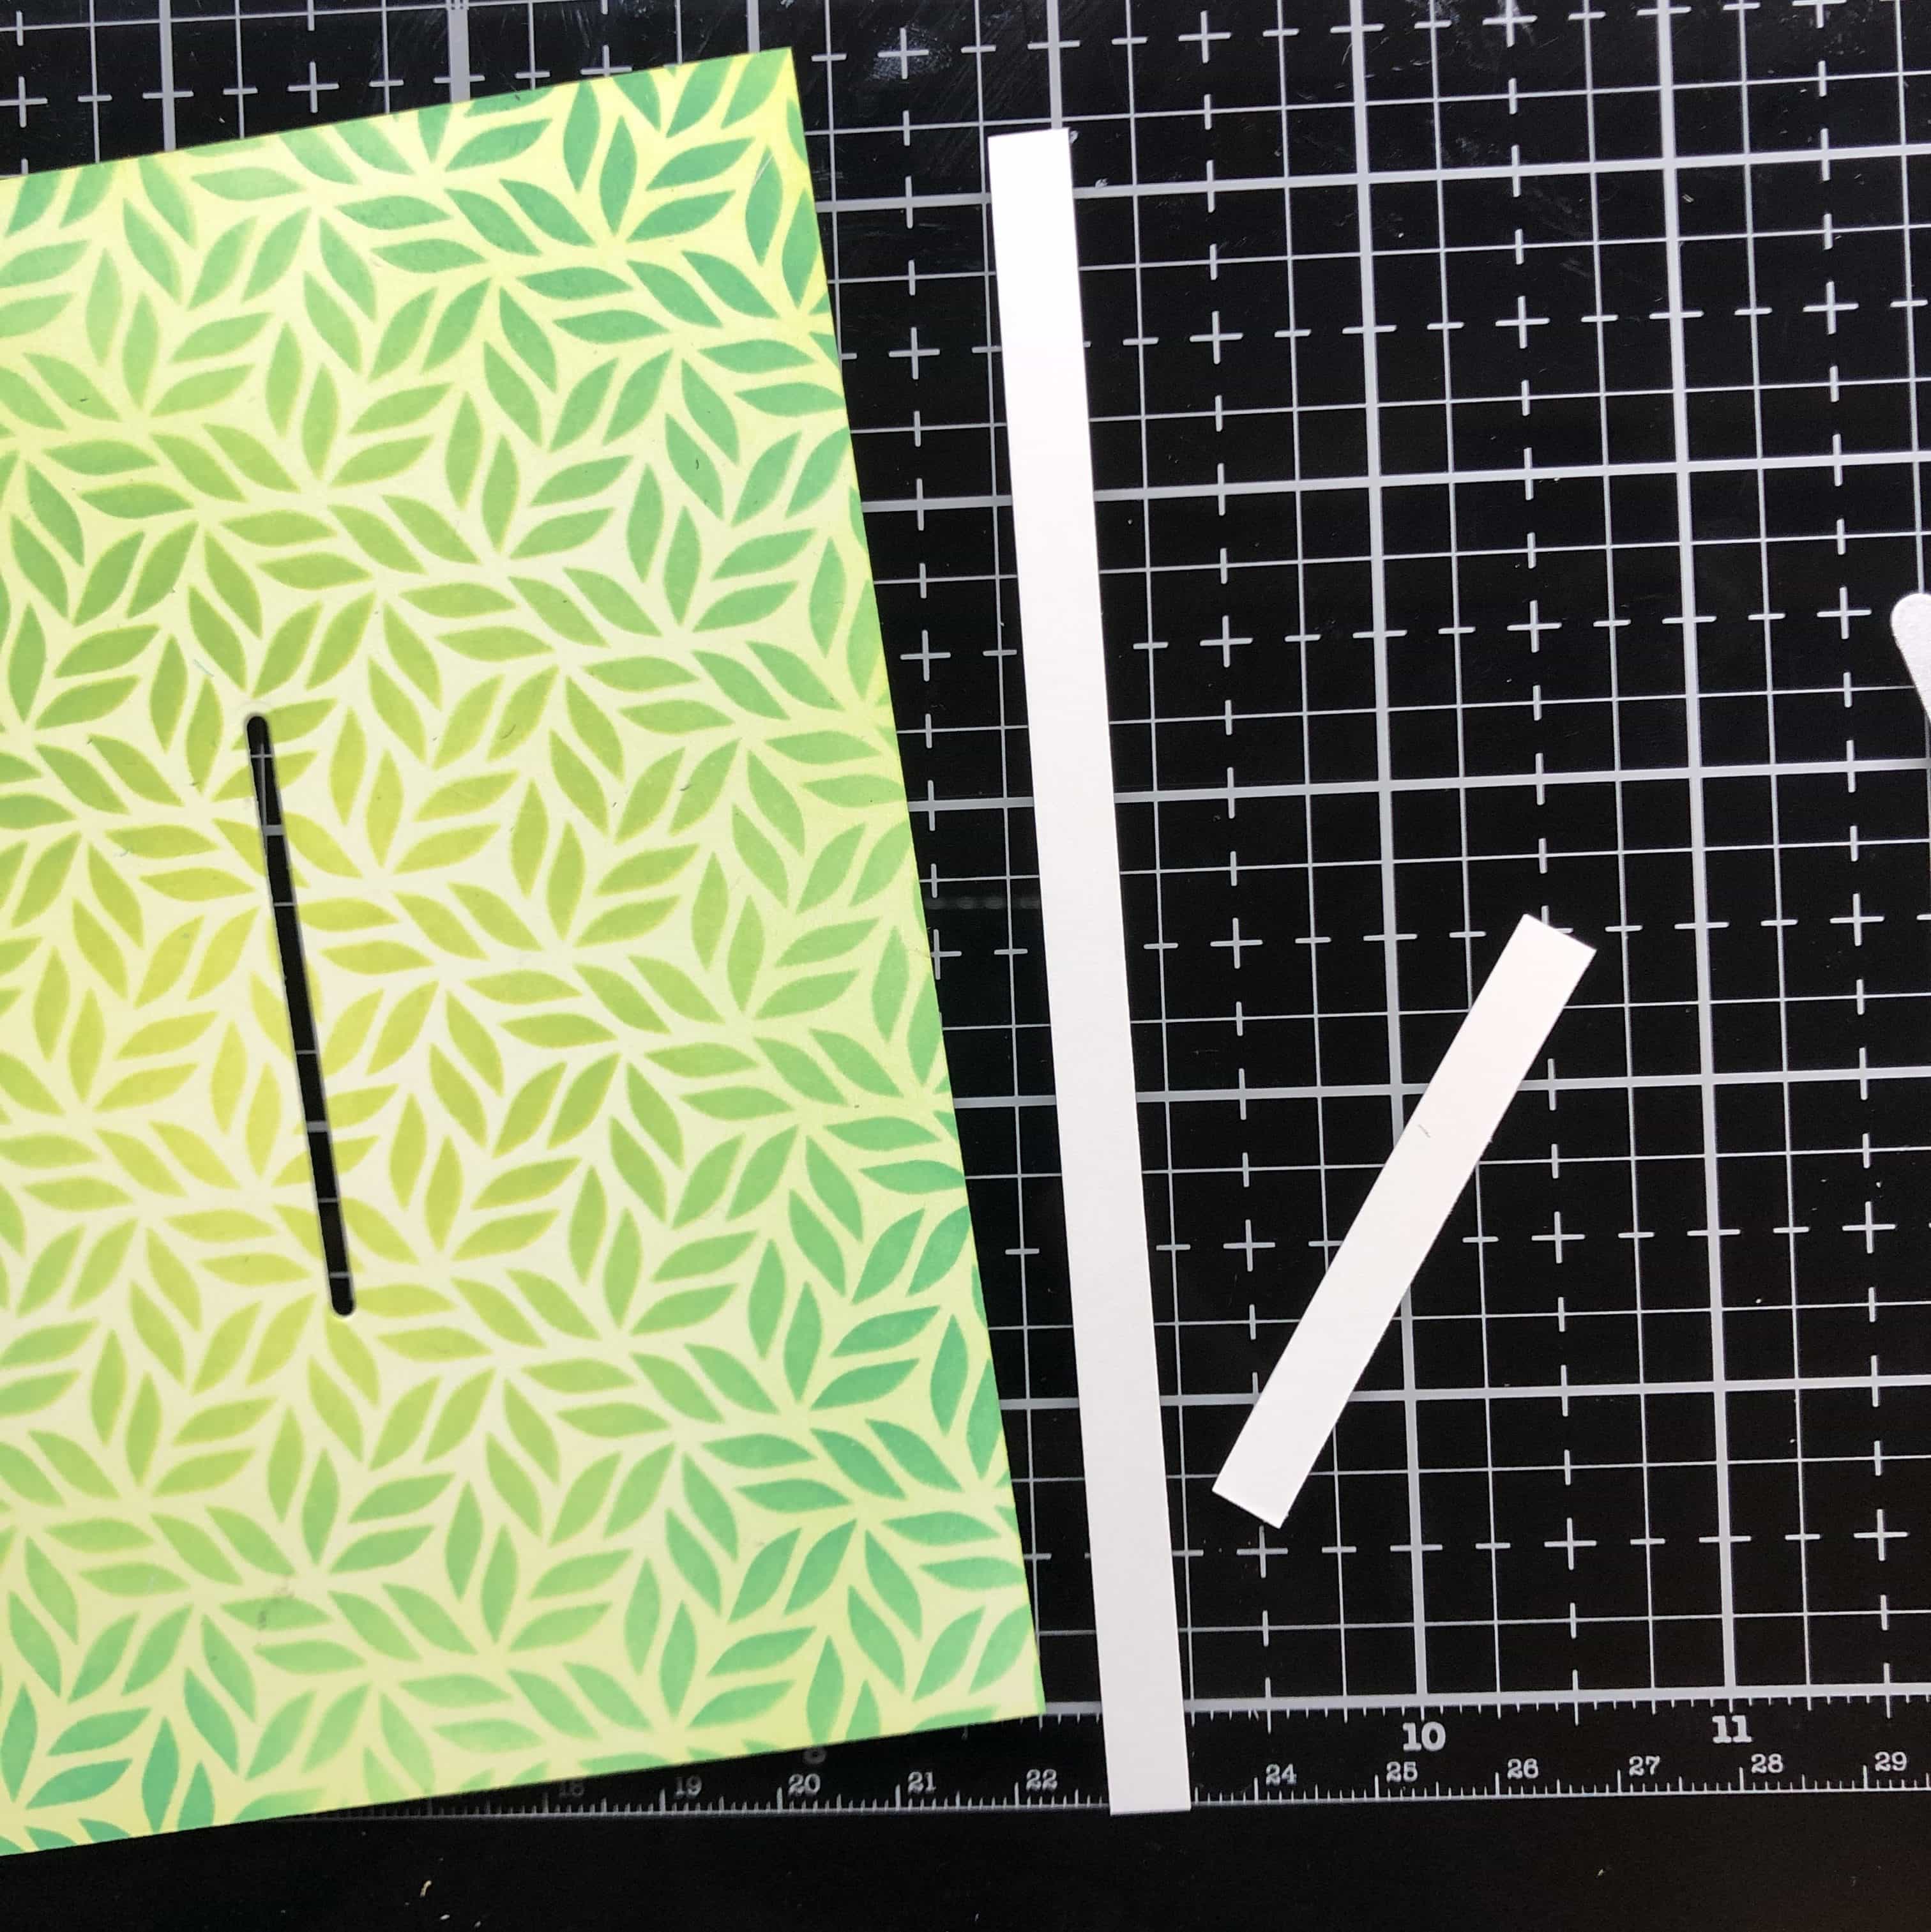
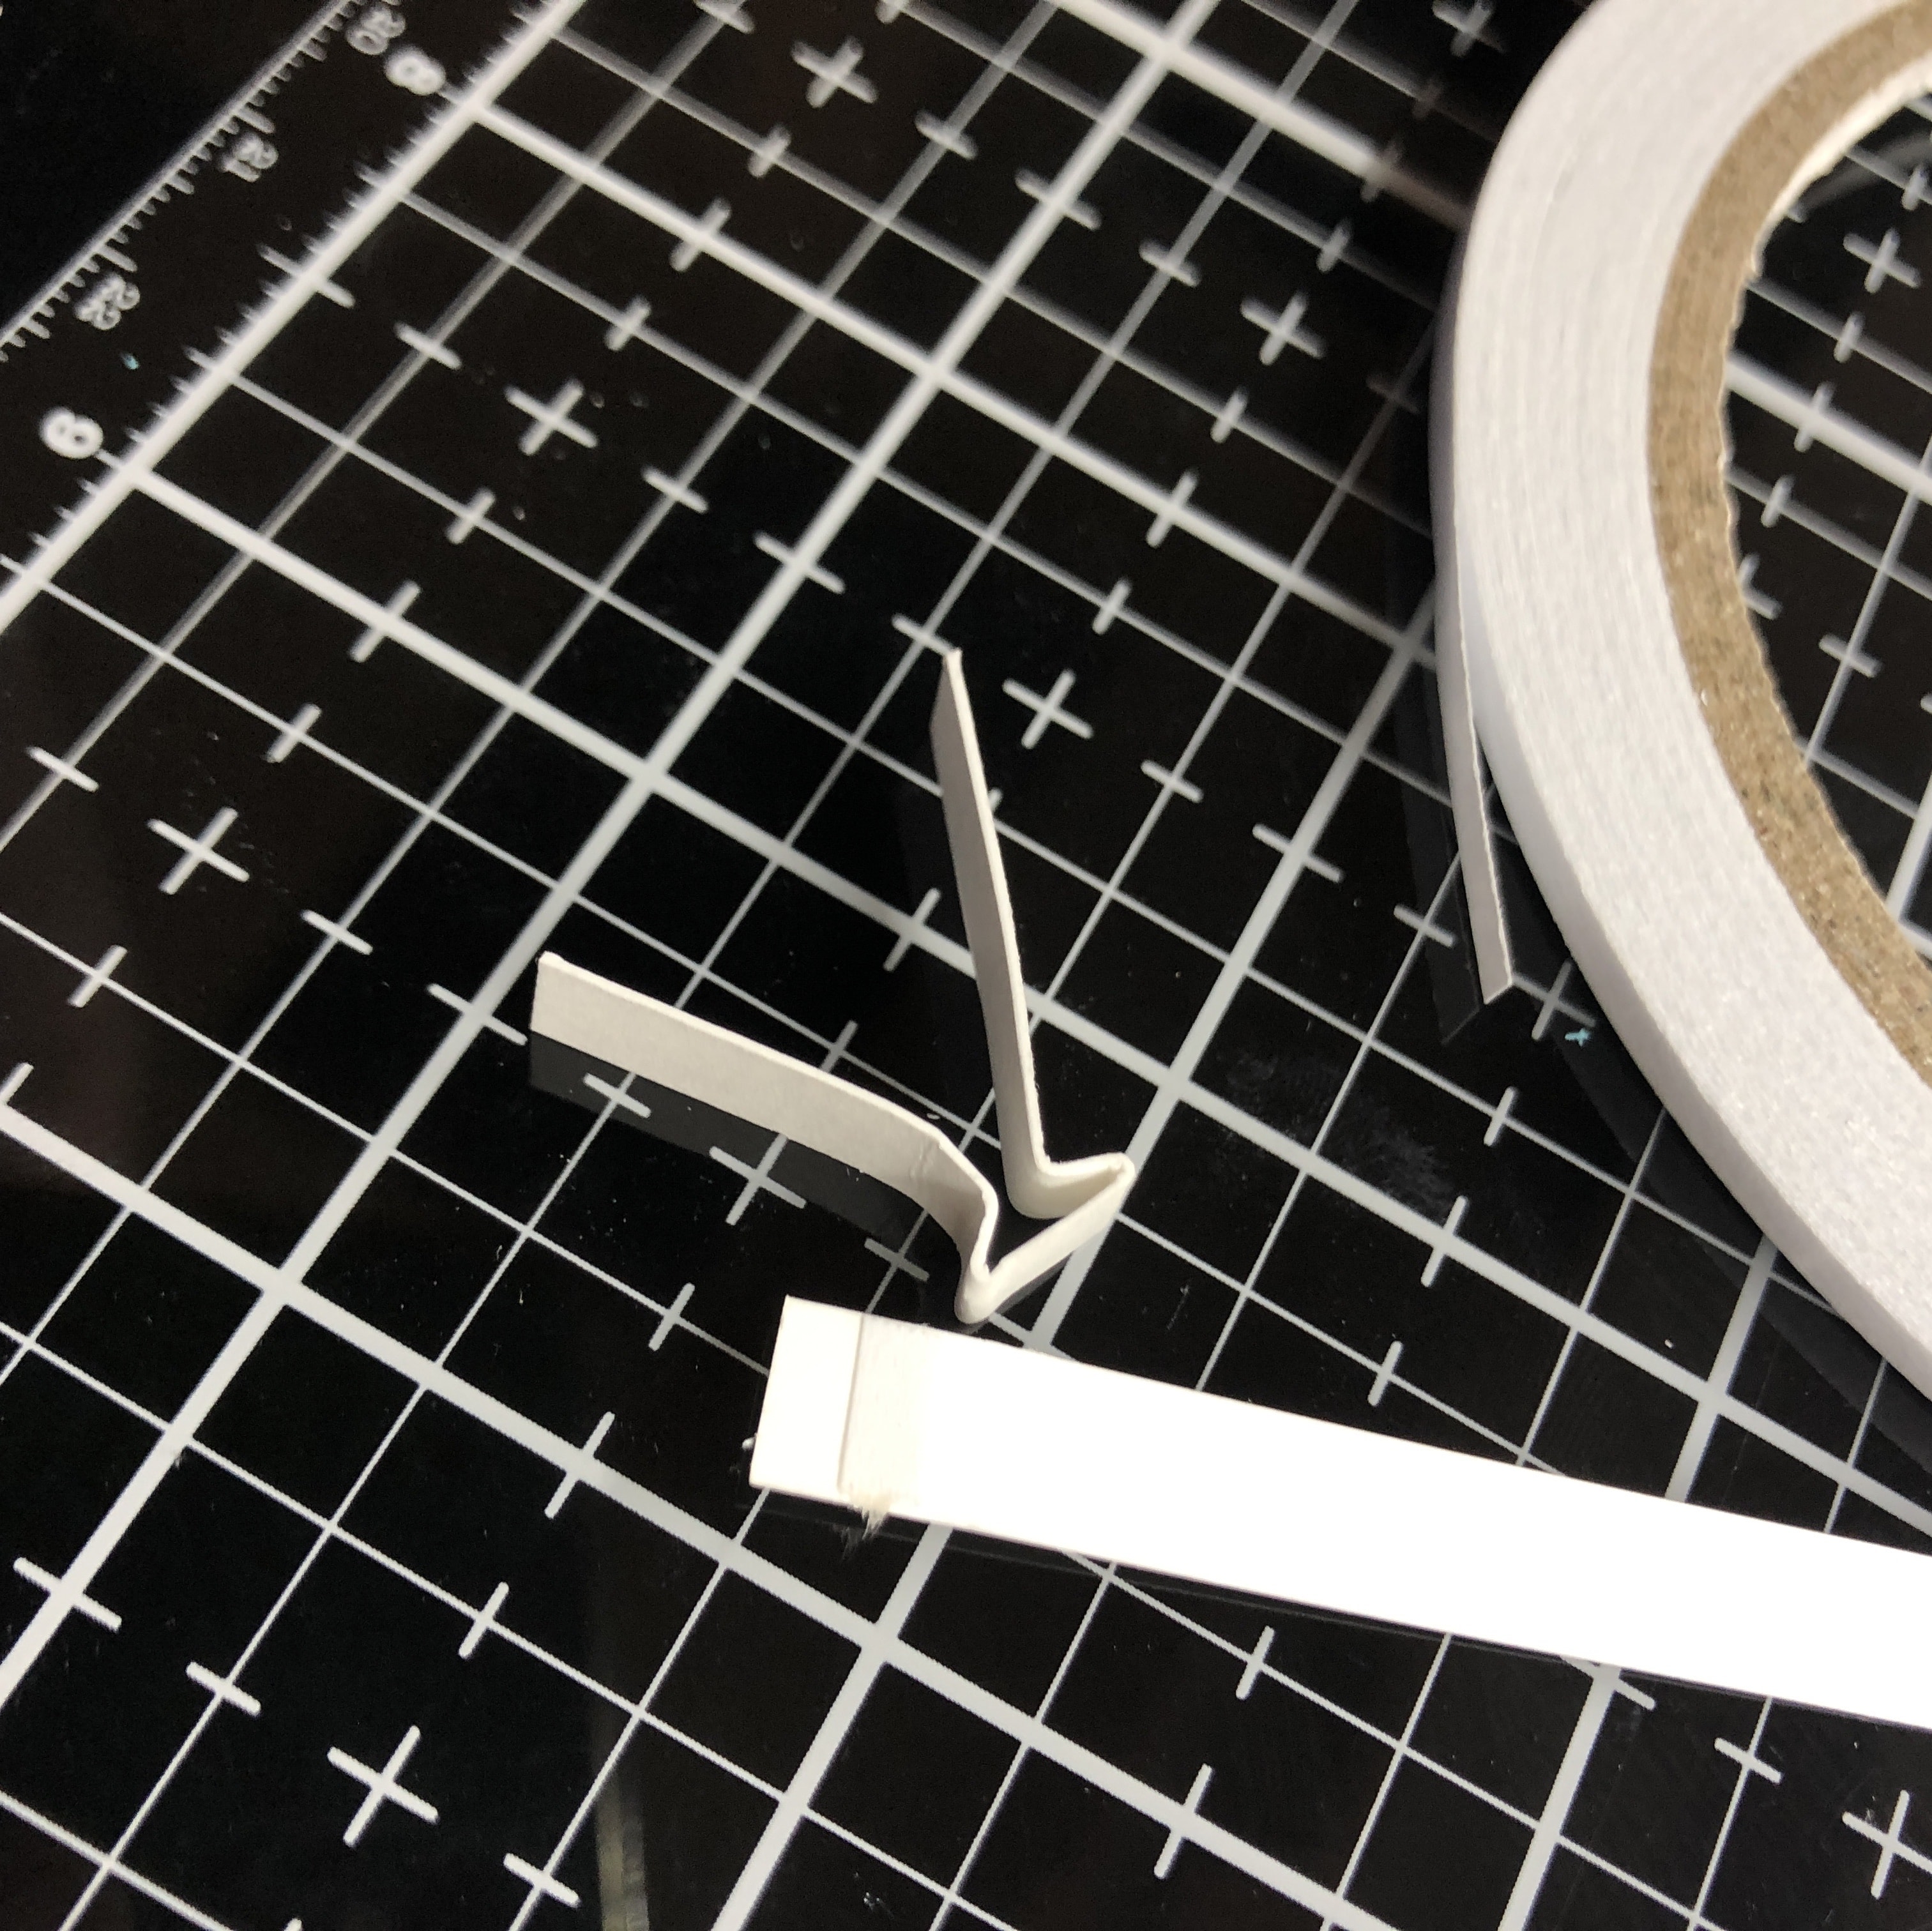
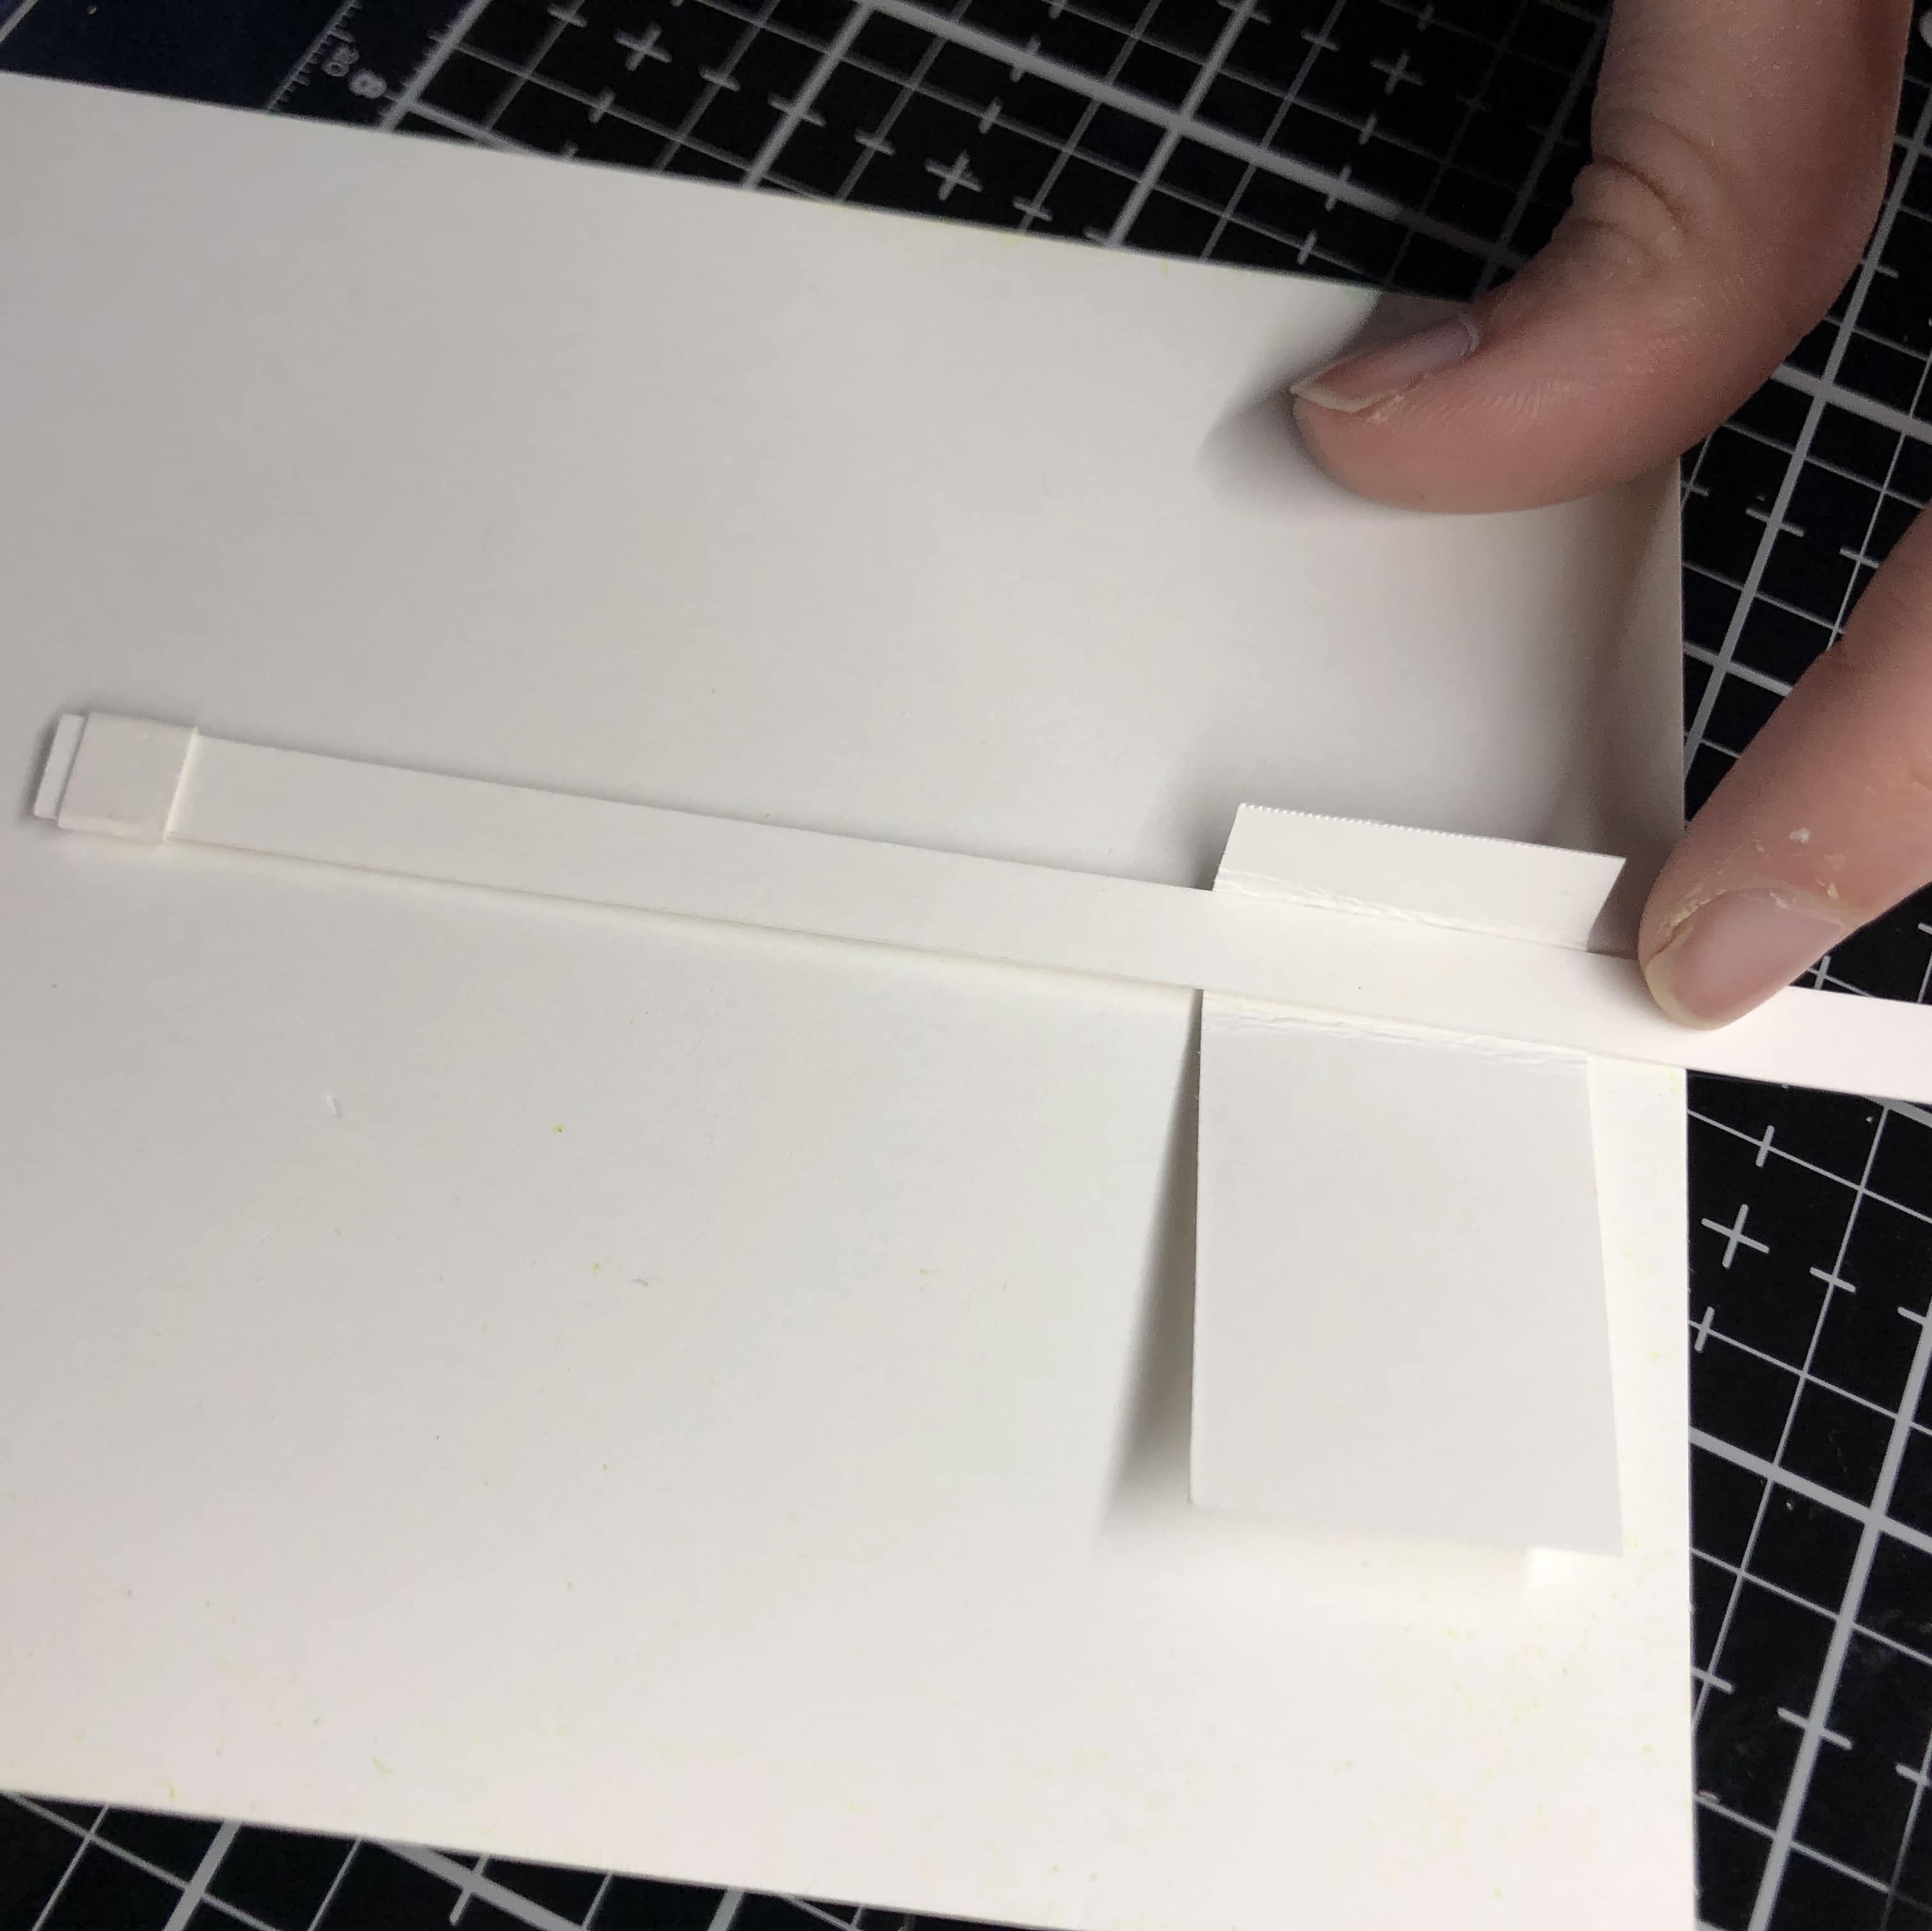
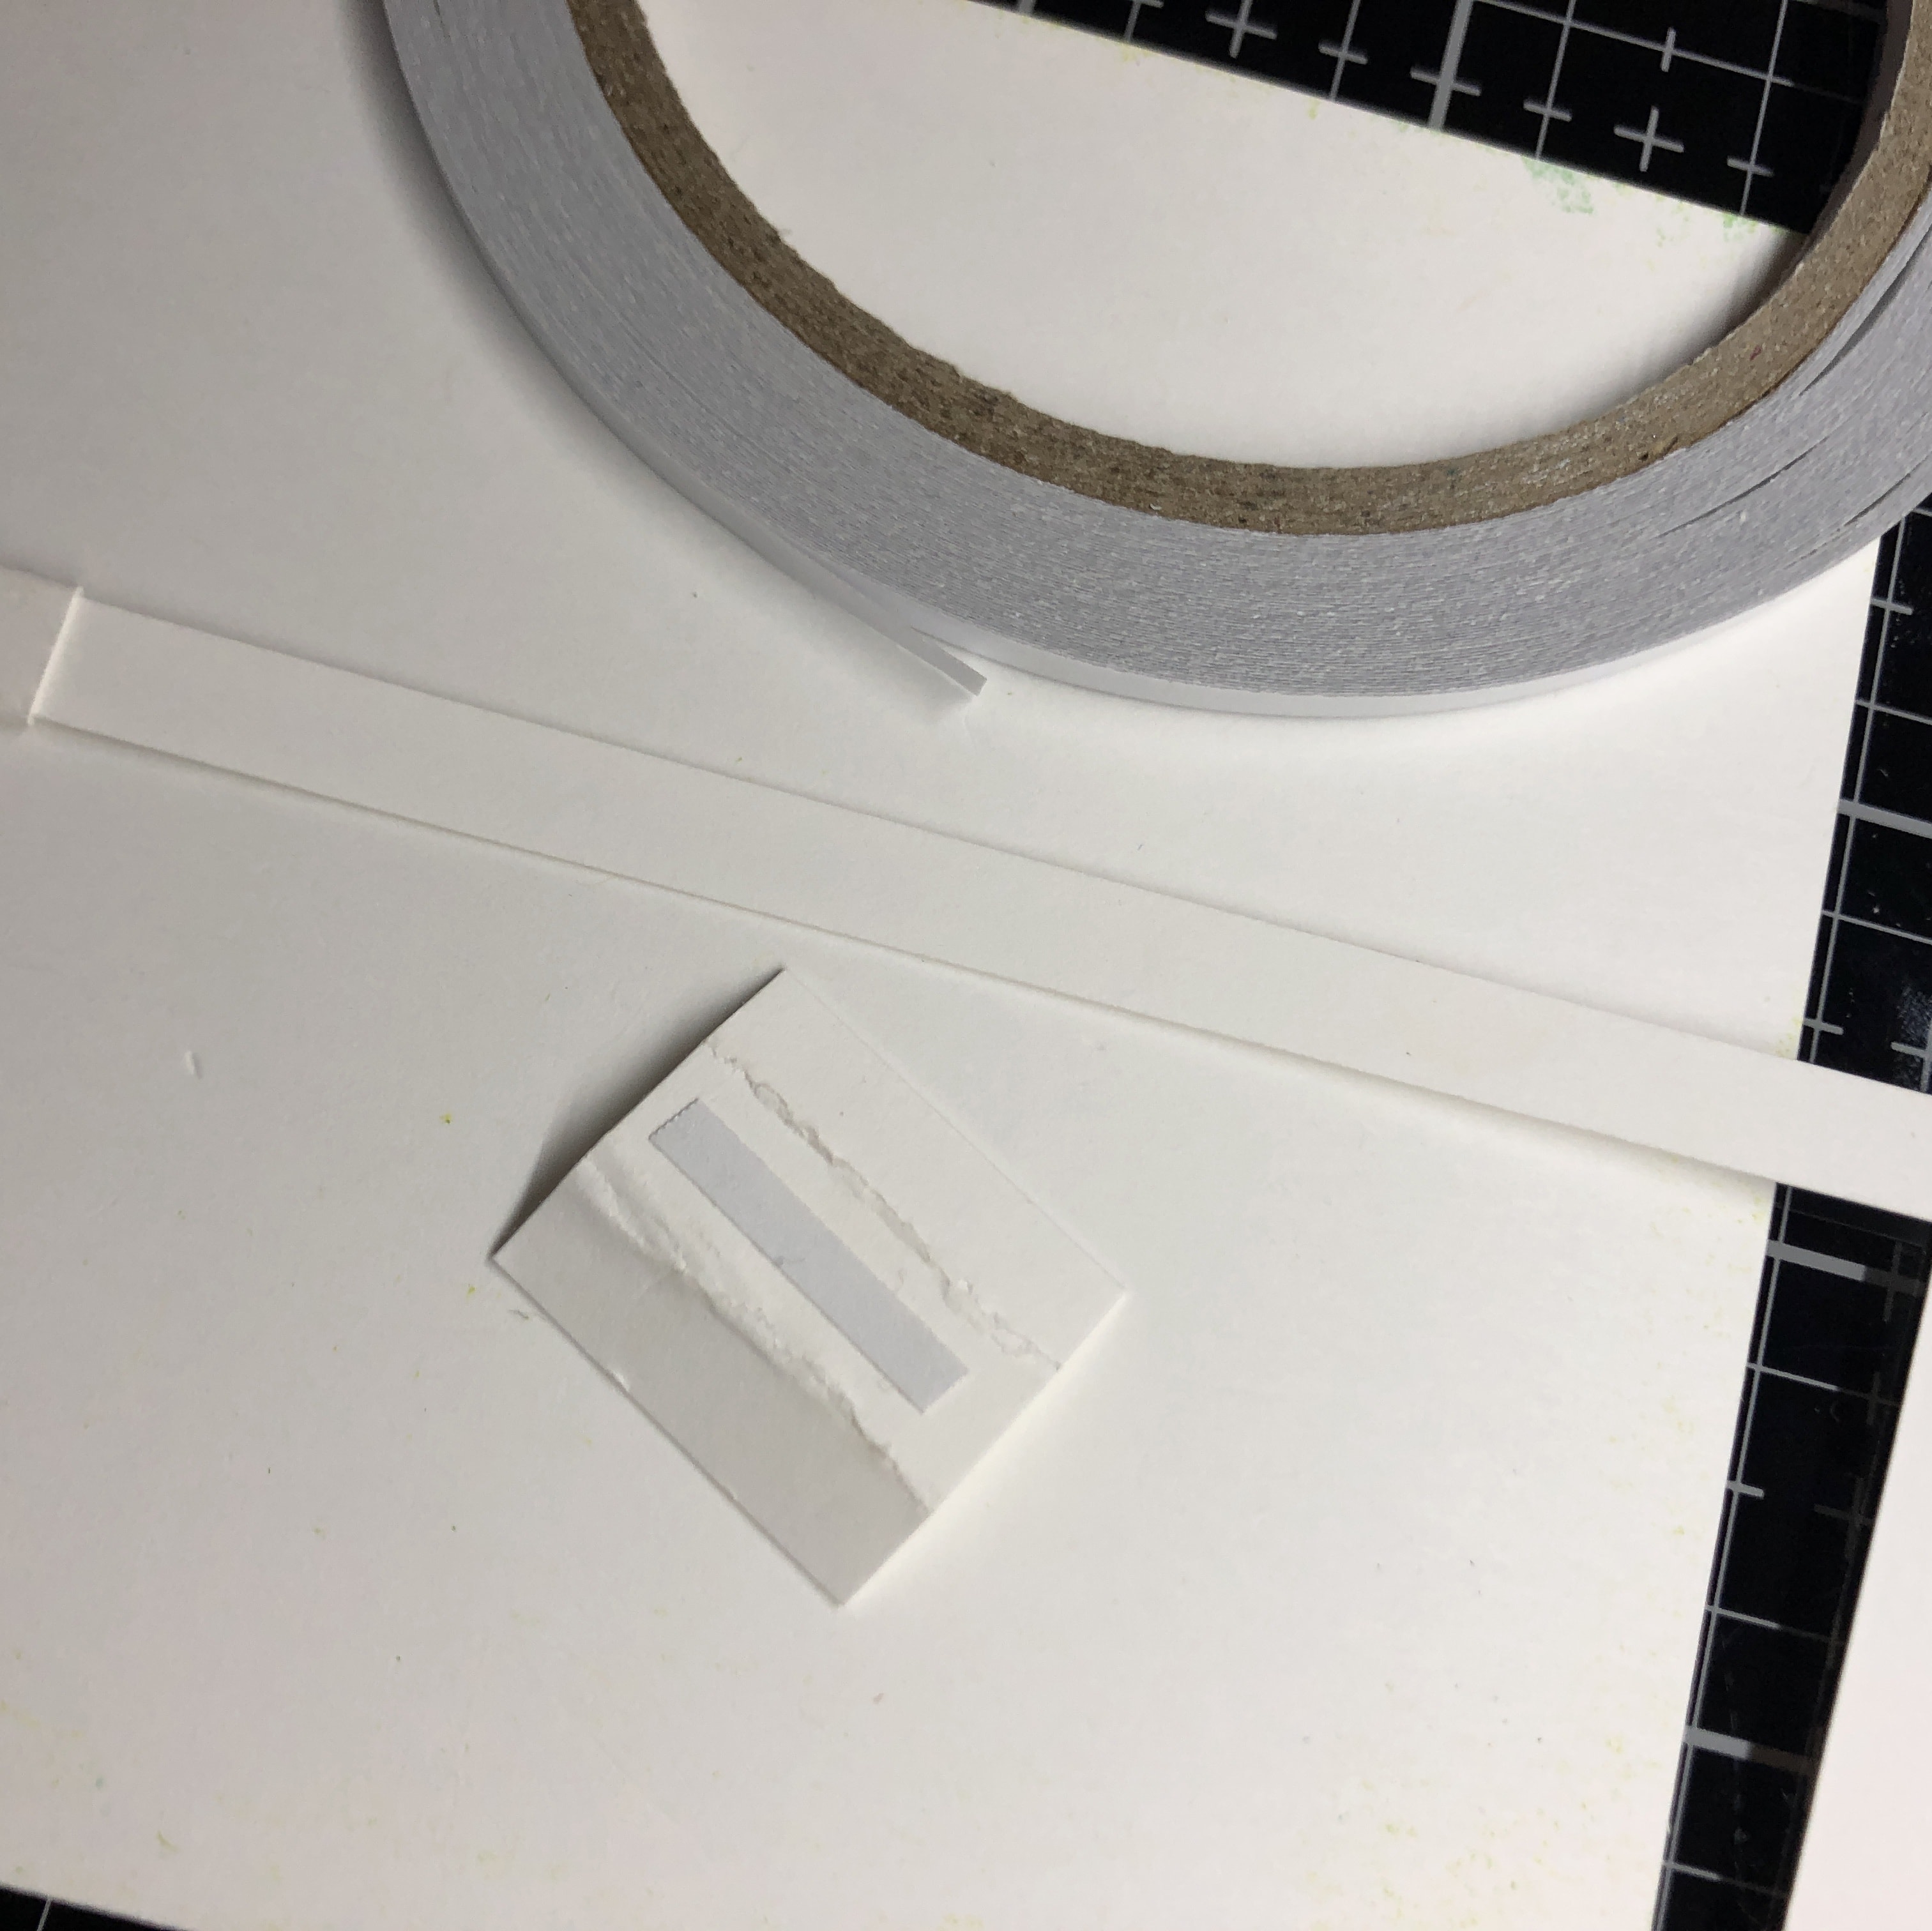
First, place the smaller strip around the longer strip and fold it around the entire way. Adhere the the strips together so that they become one piece held together in the back. Then, stick it through from behind your background card, so that the small strip pieces are sticking through to the front. Cut the extra off (whatever will show through behind your stamped monkey) and put adhesive on the strips.
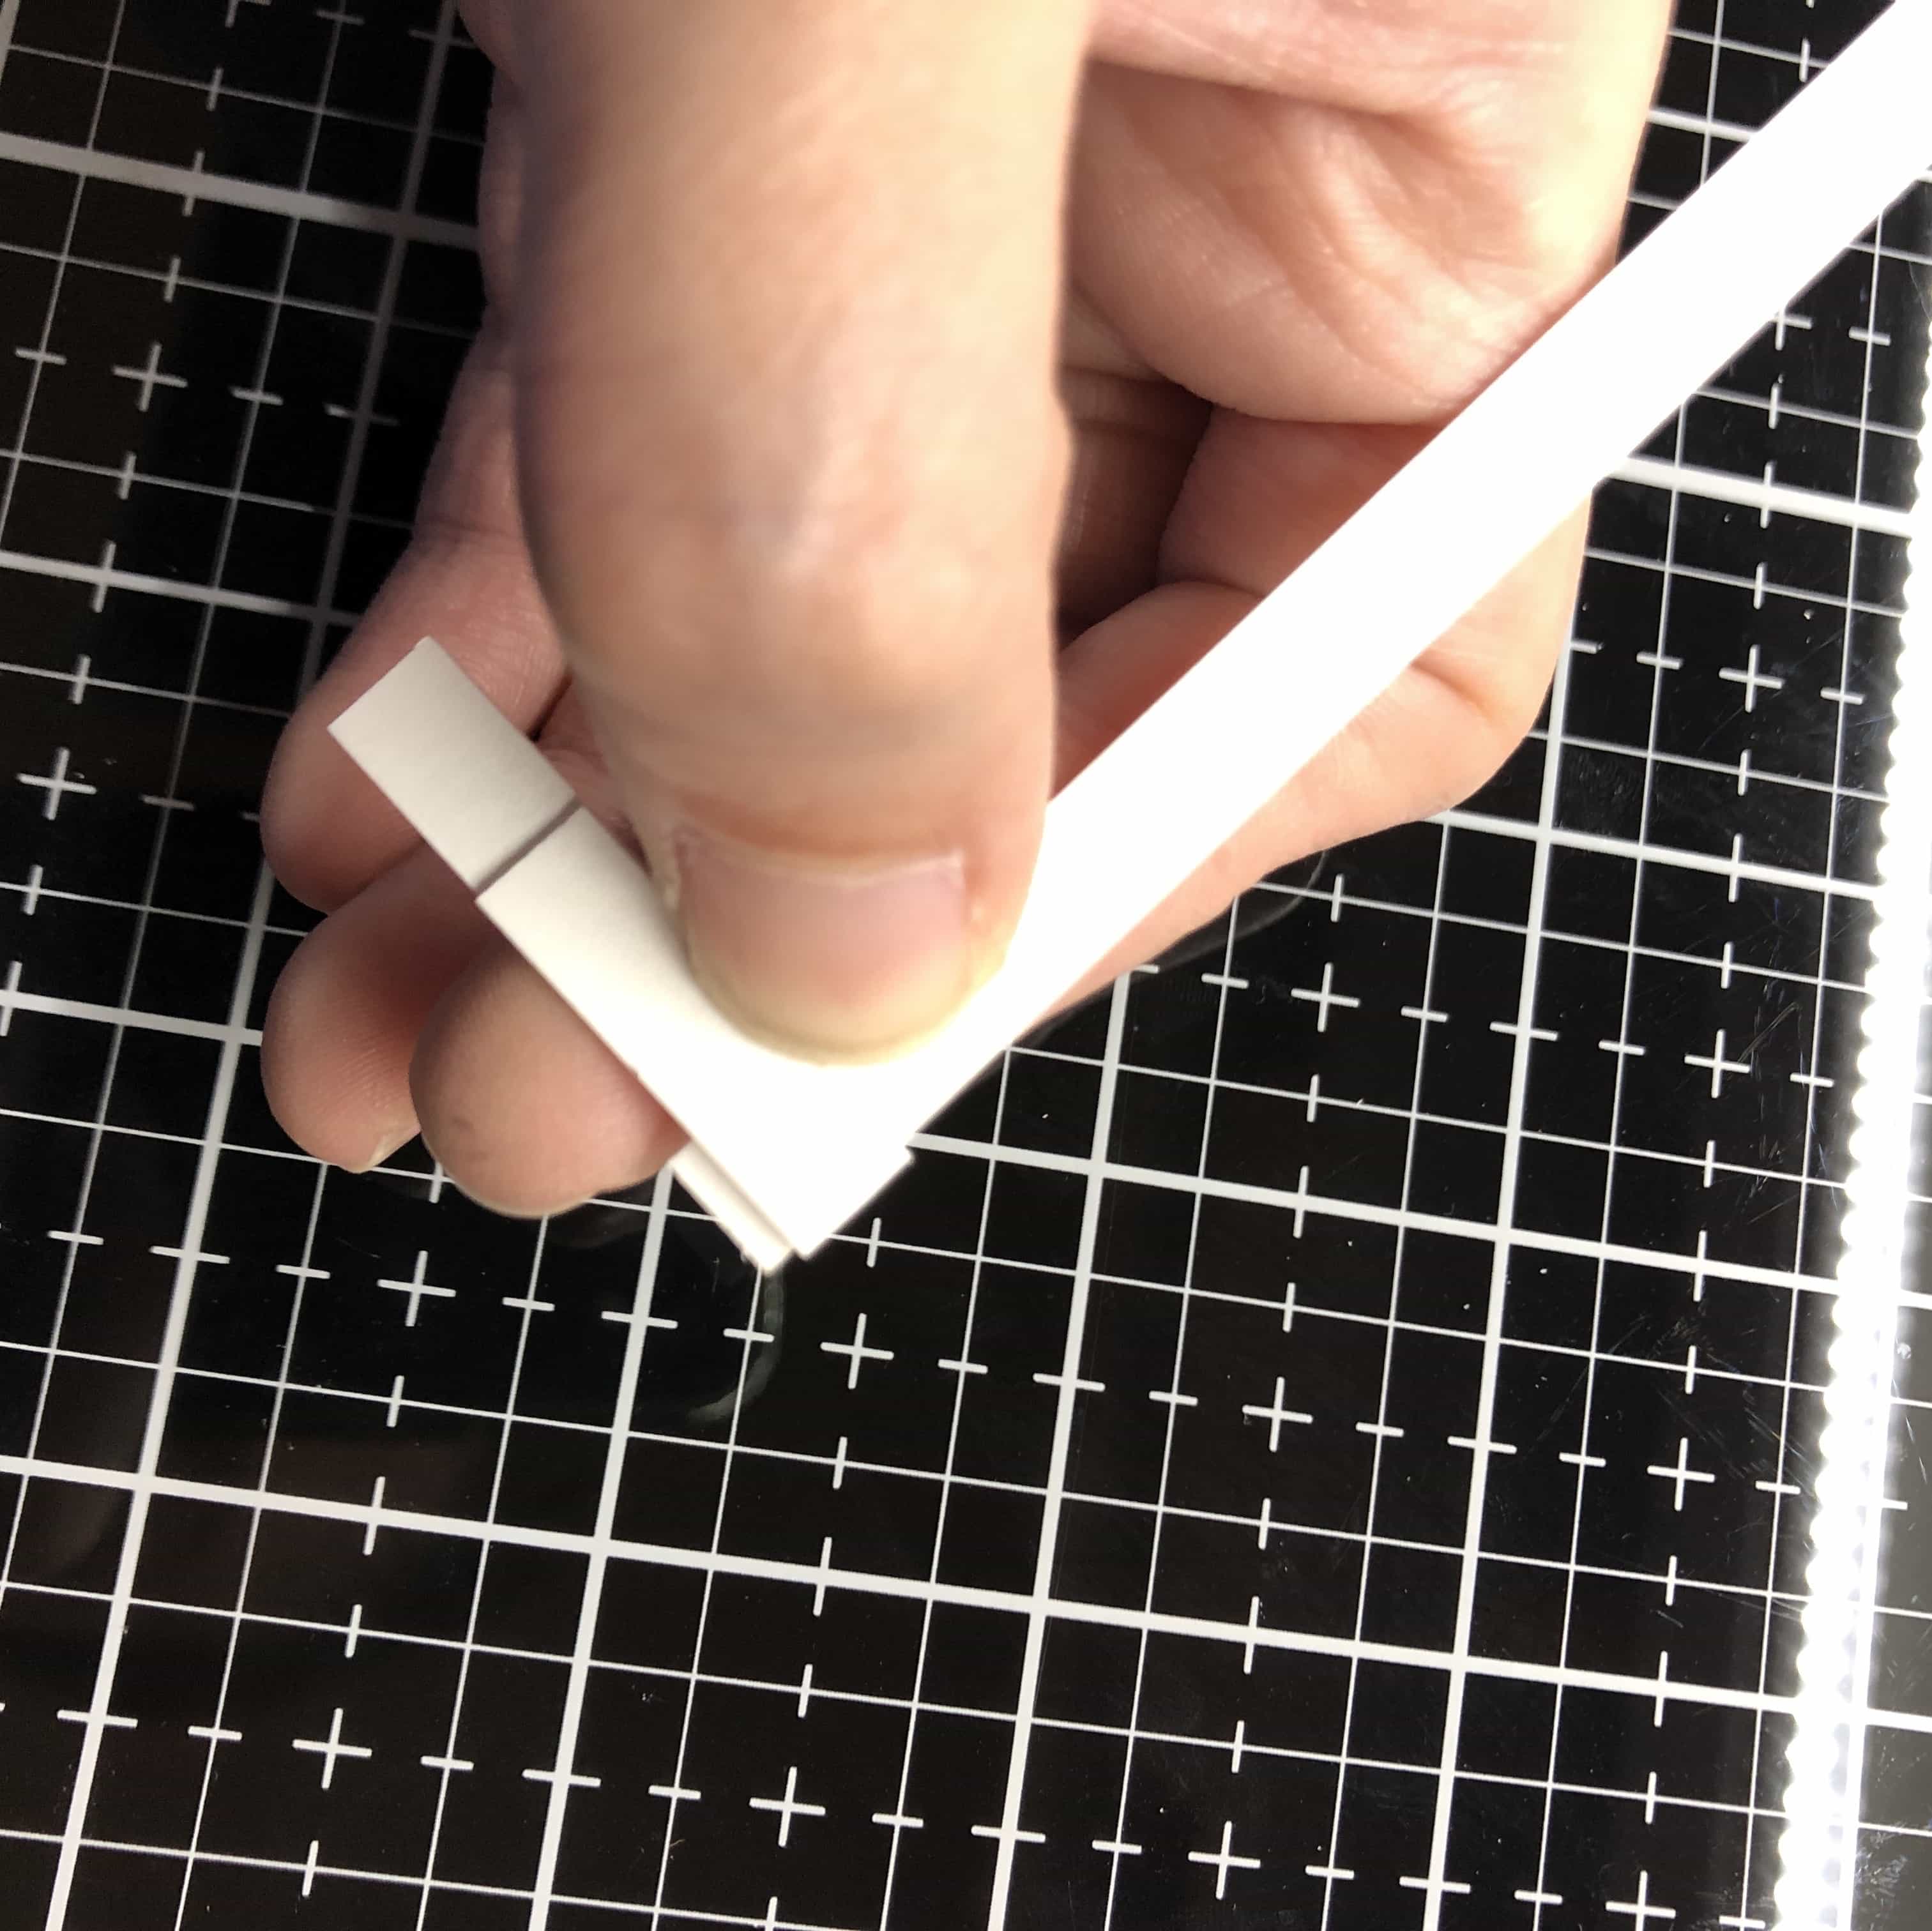
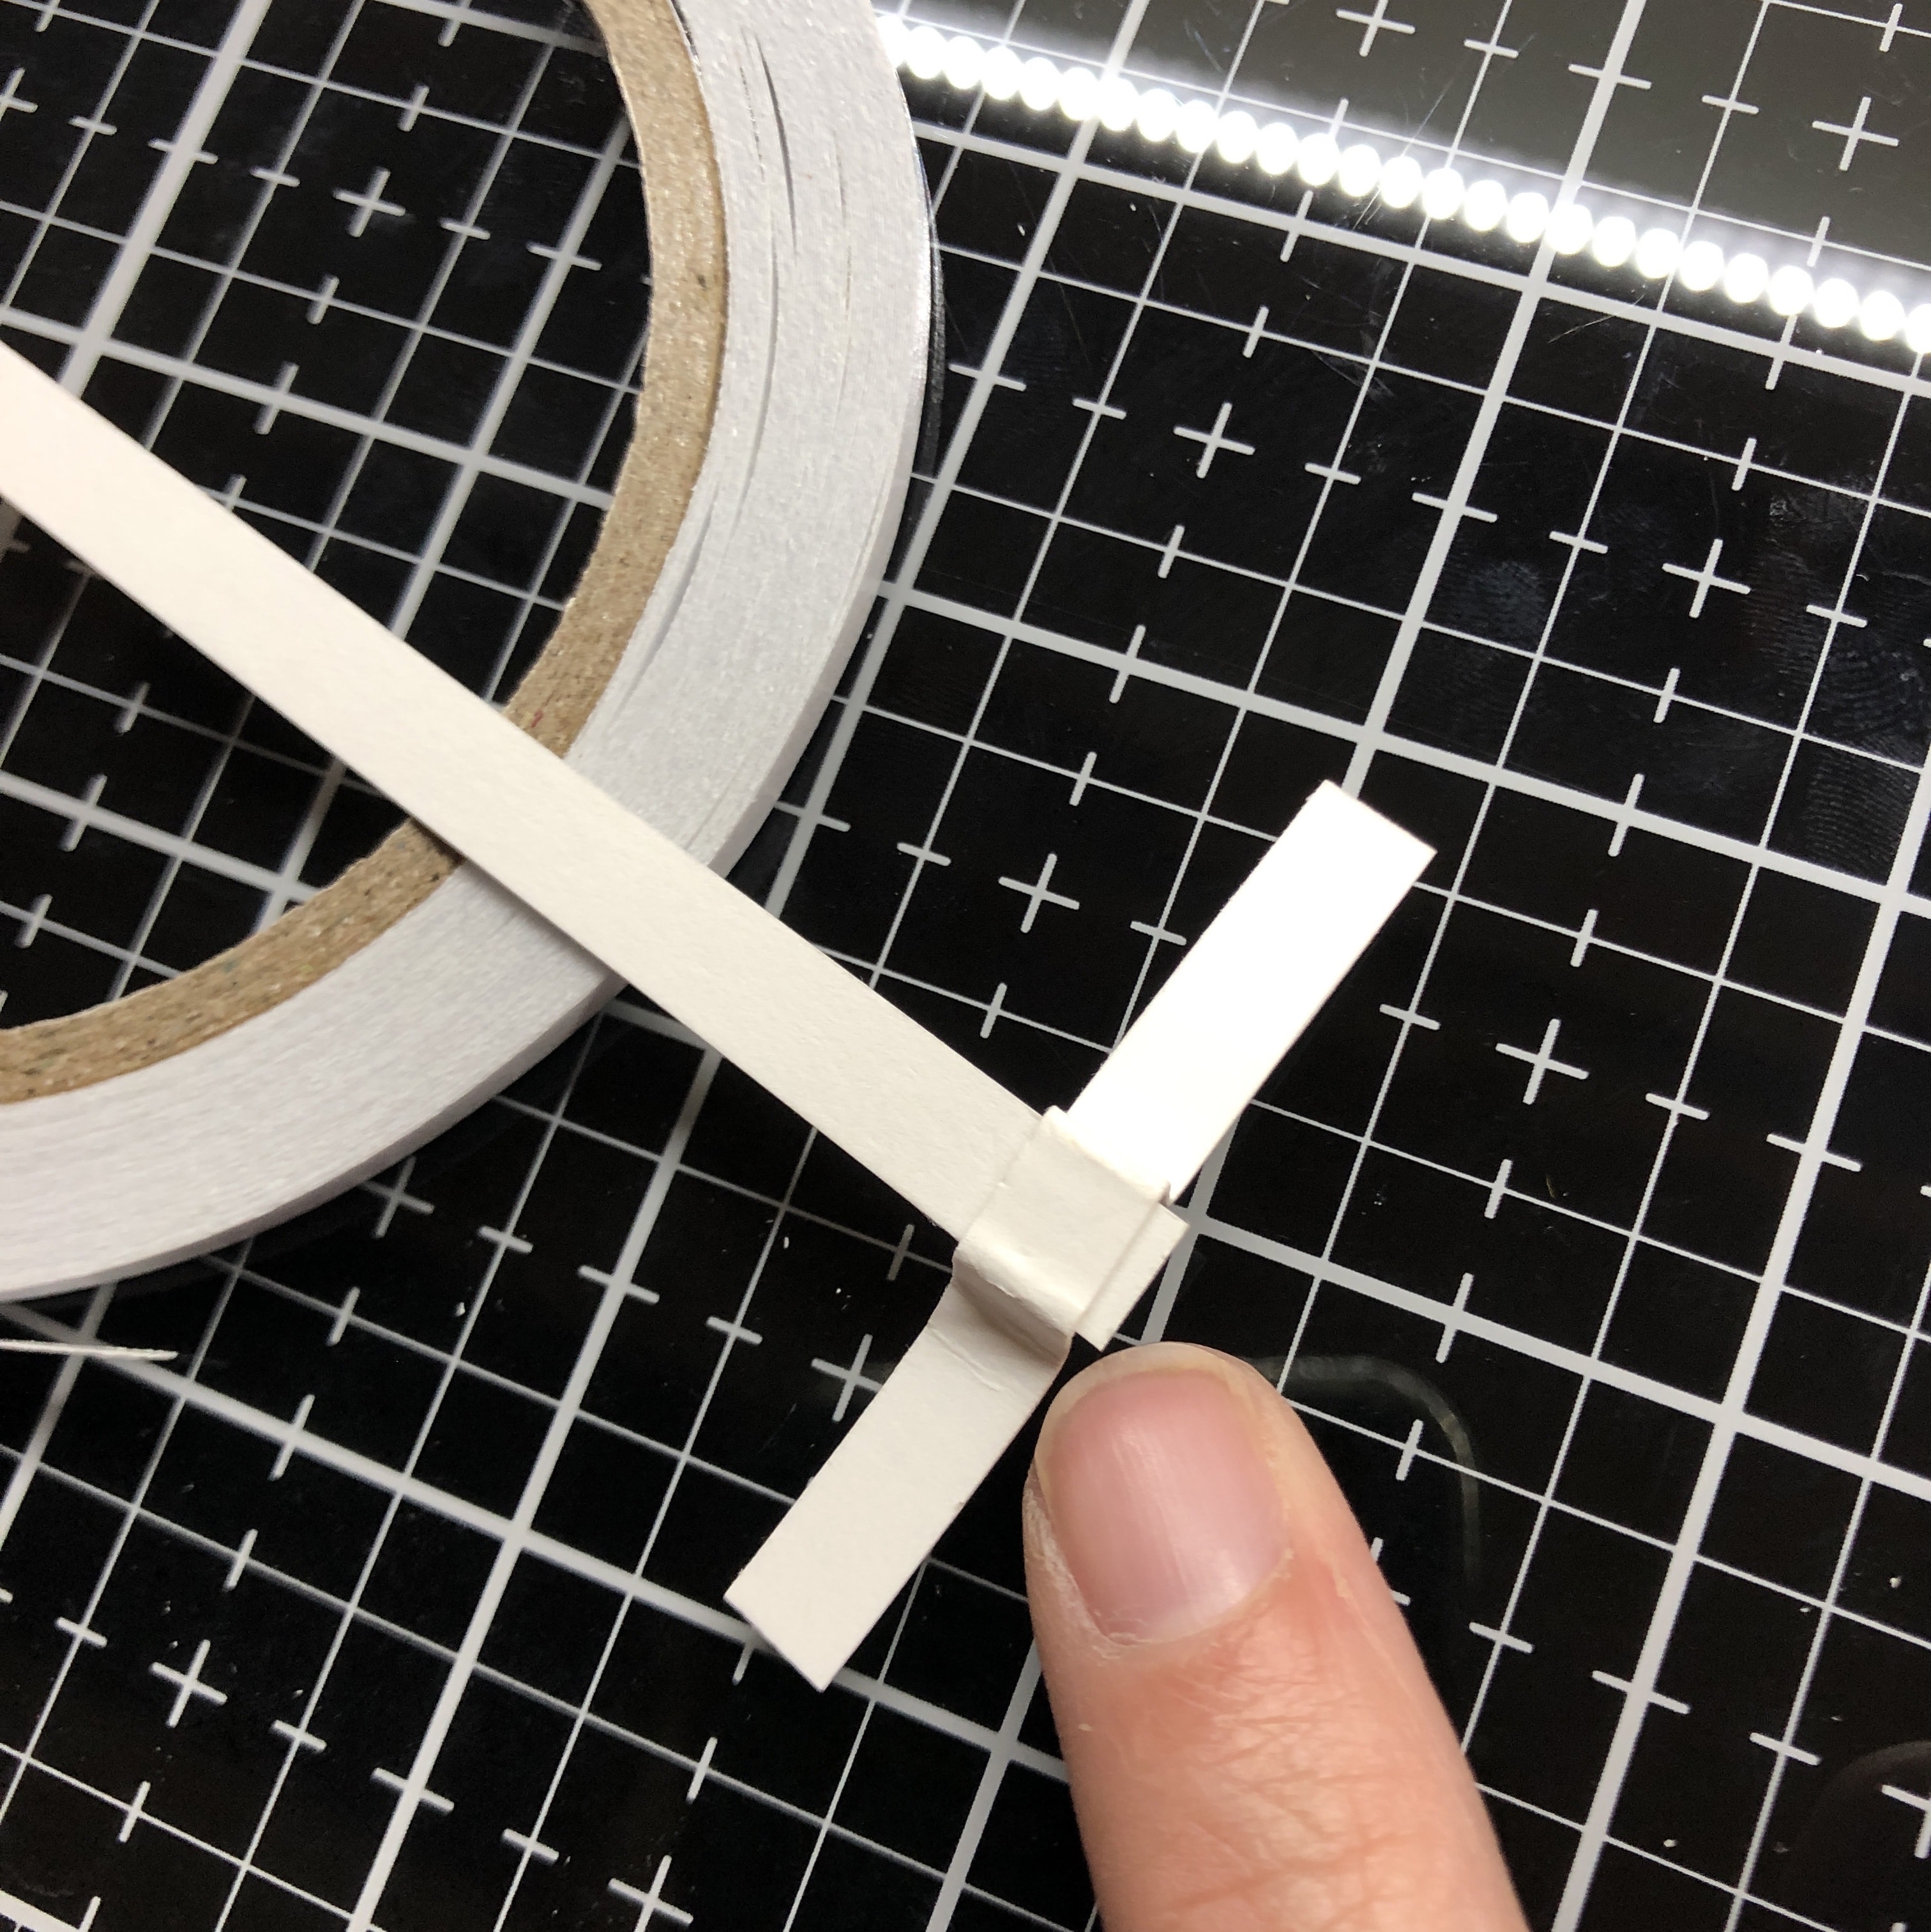
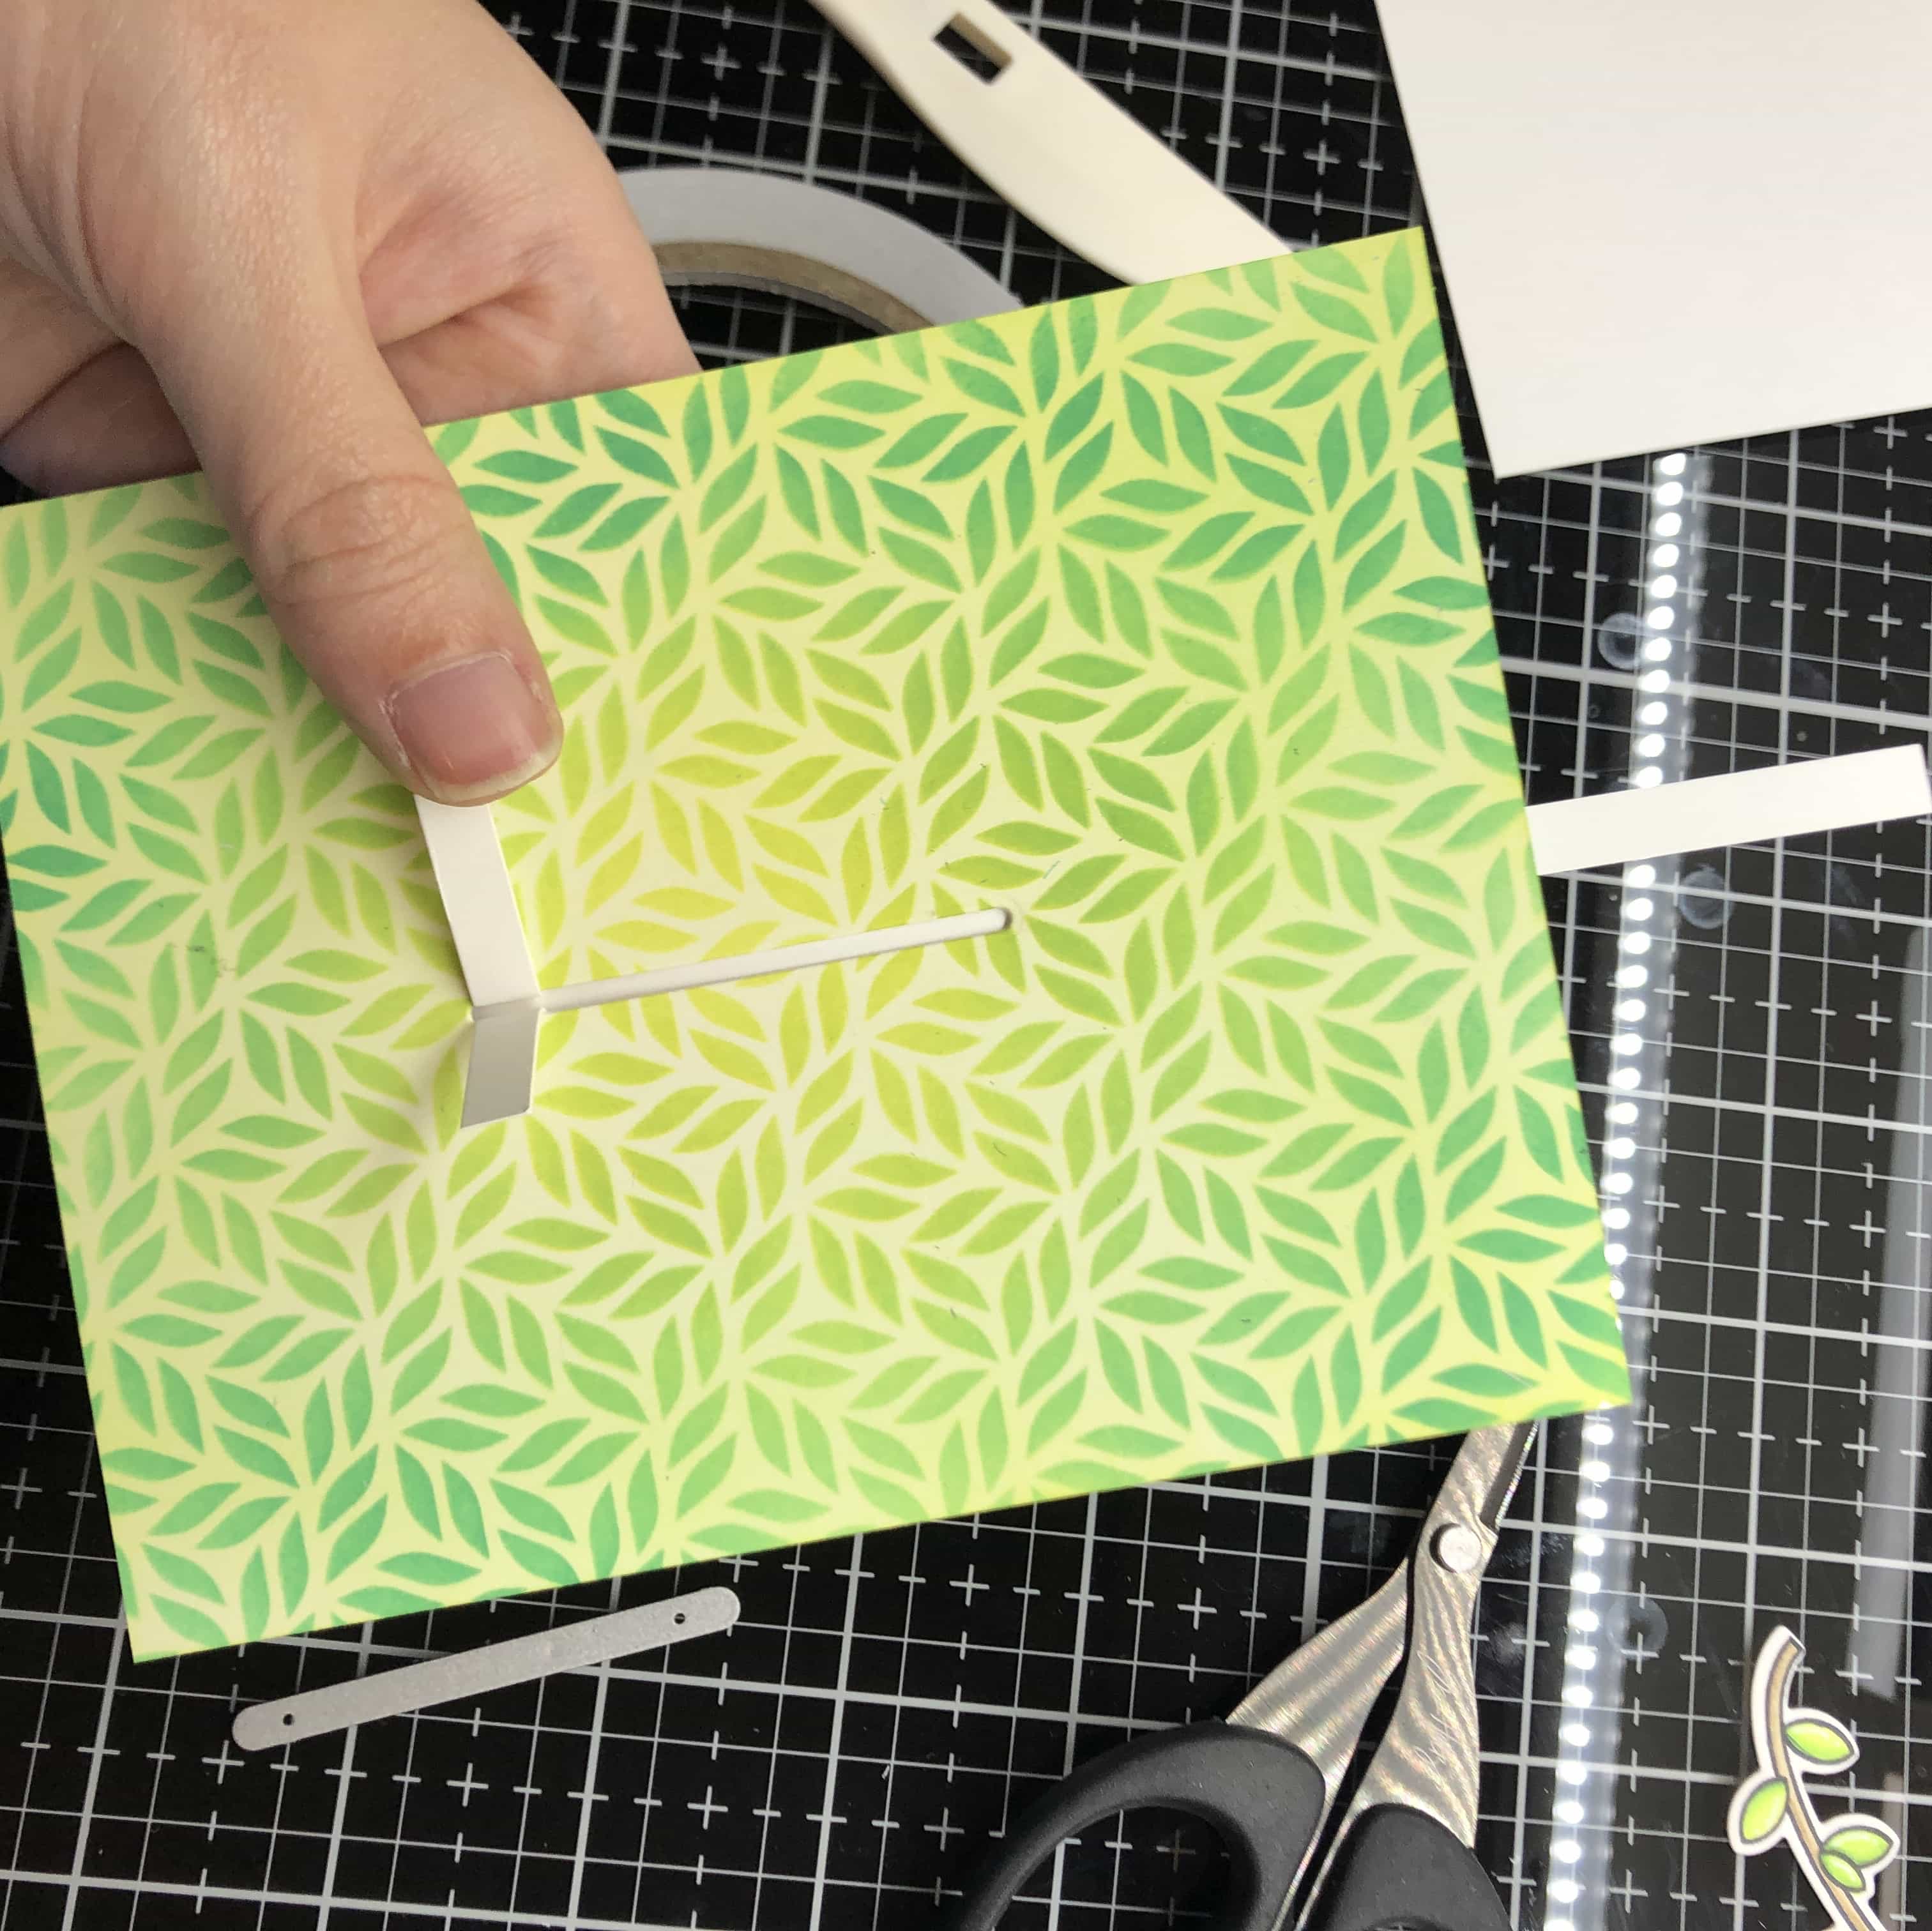
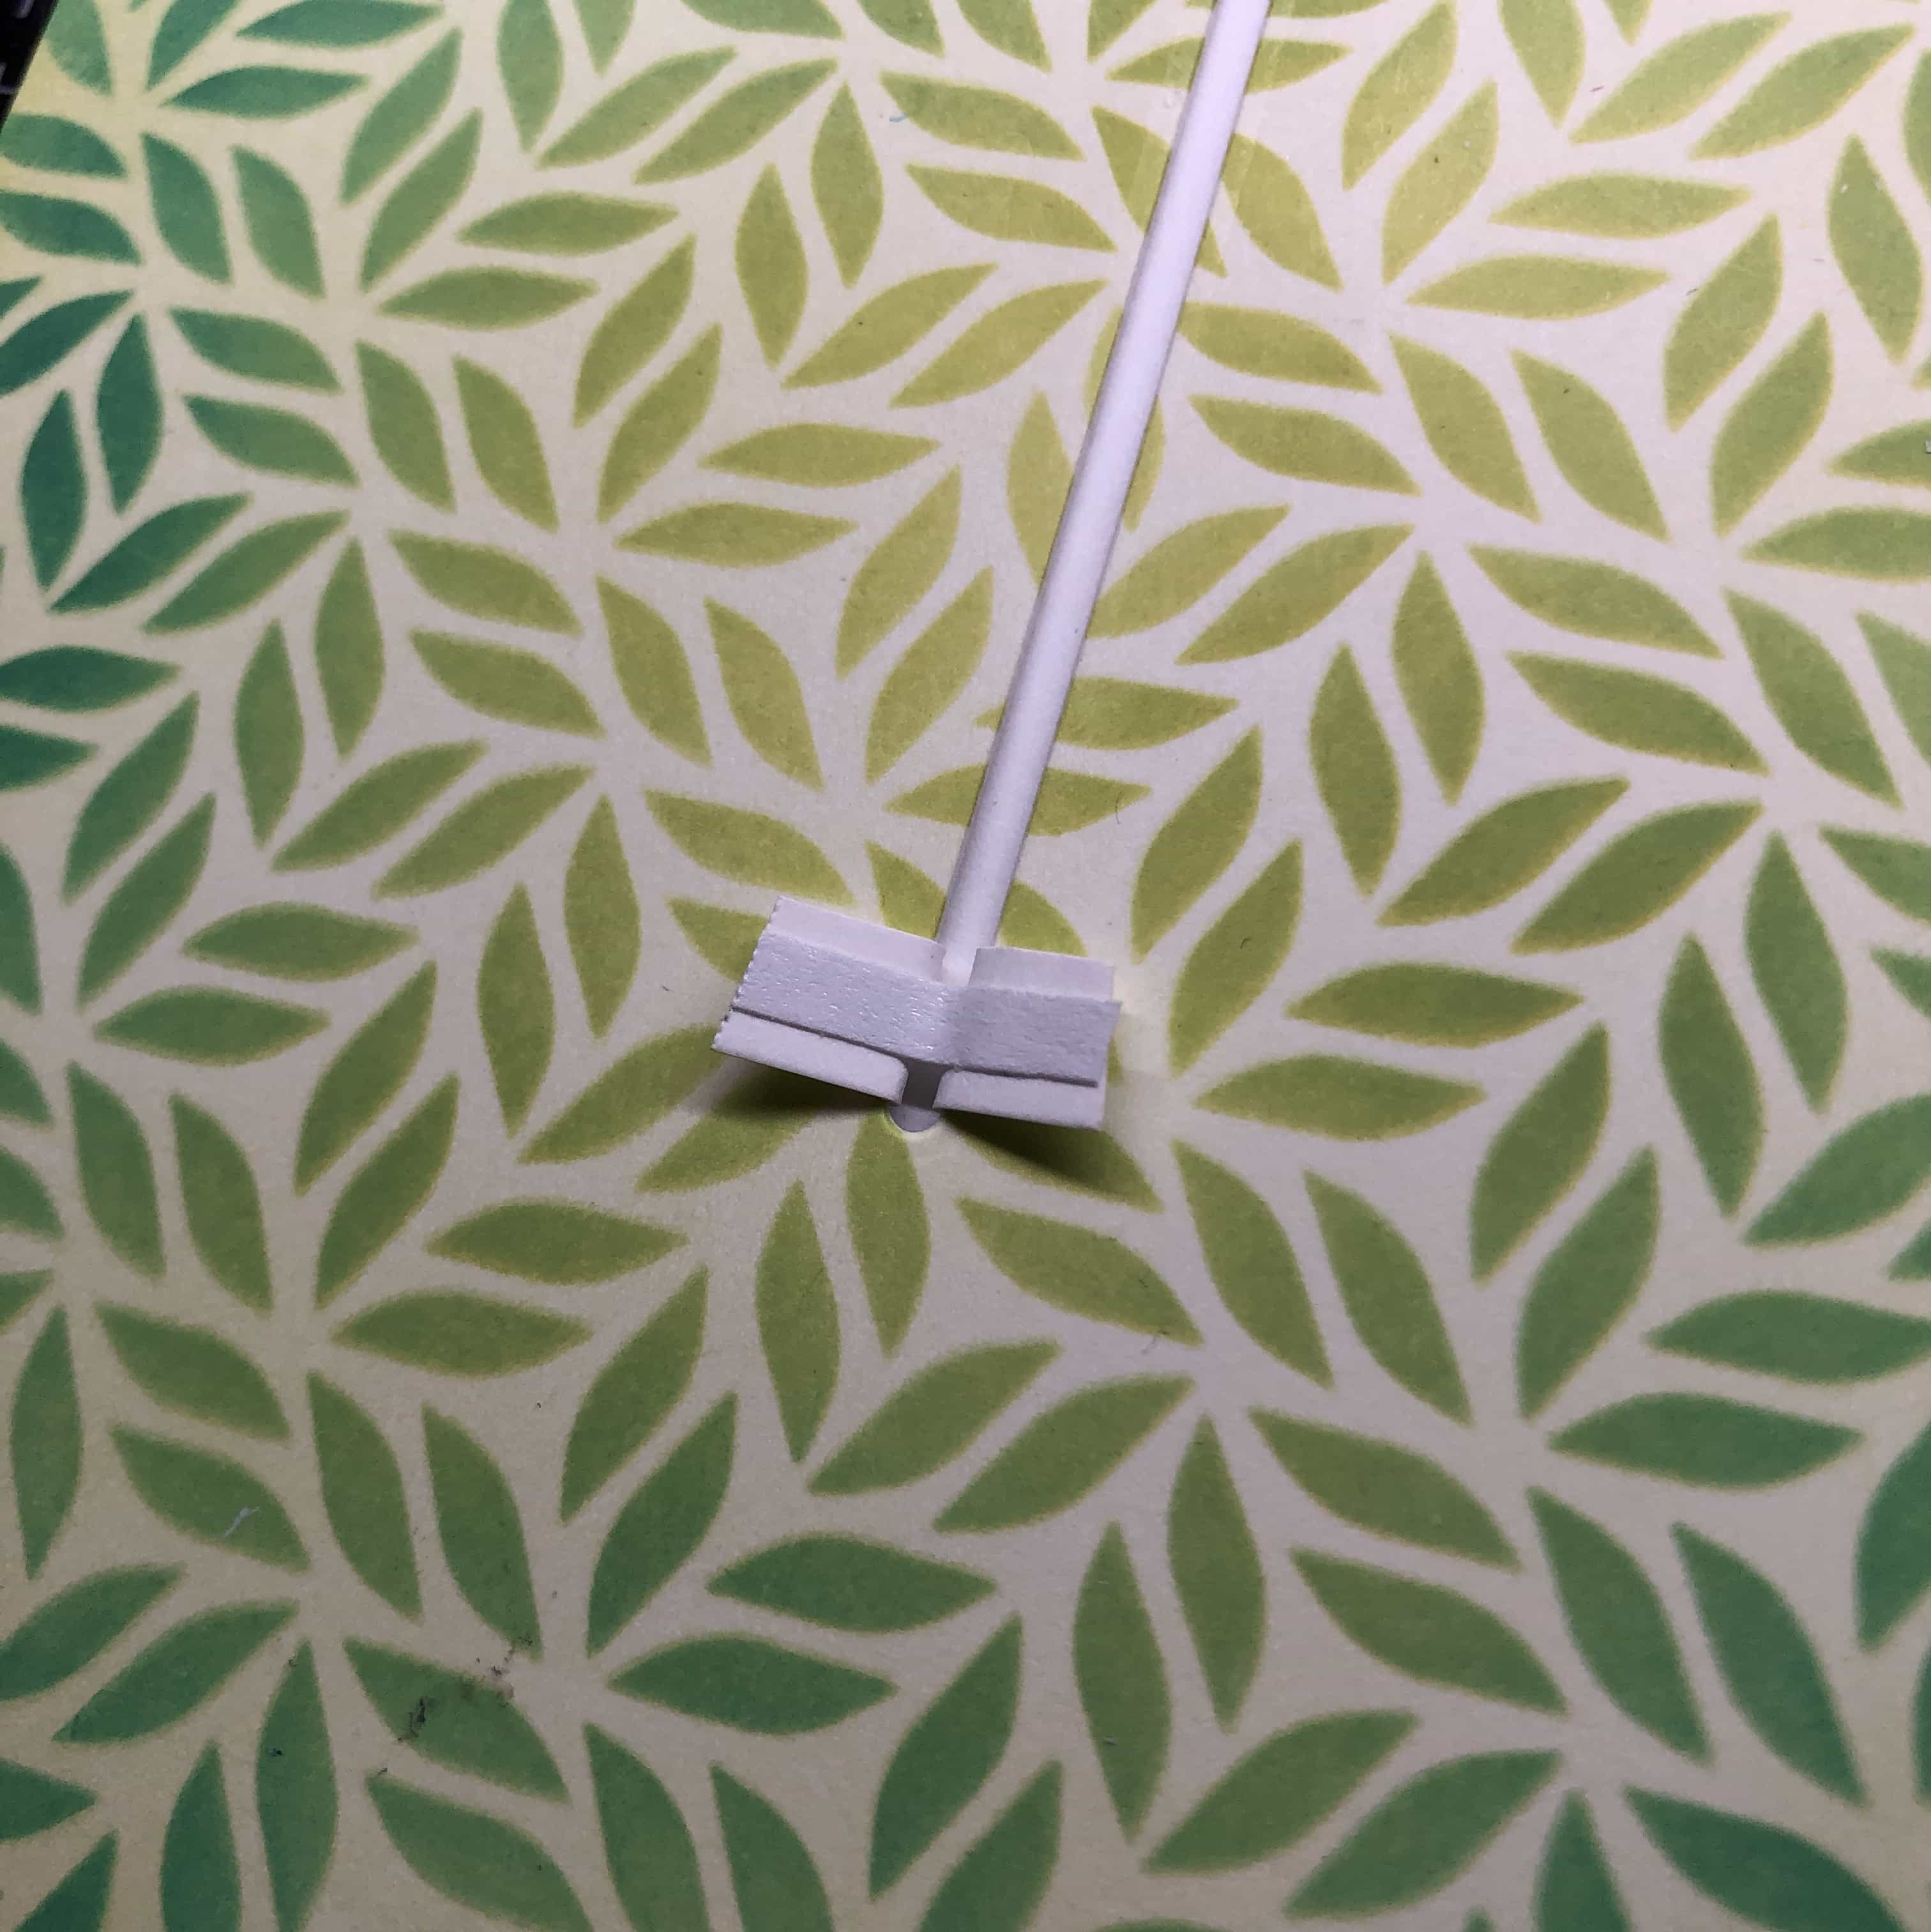
To hold the “pull” strip in place, we’ll cut down another piece of scrap cardstock, fold it around the strip, and adhere it to the back of the card. (Be sure that you’re not taping the “pull” strip – only the piece that holds it down.)
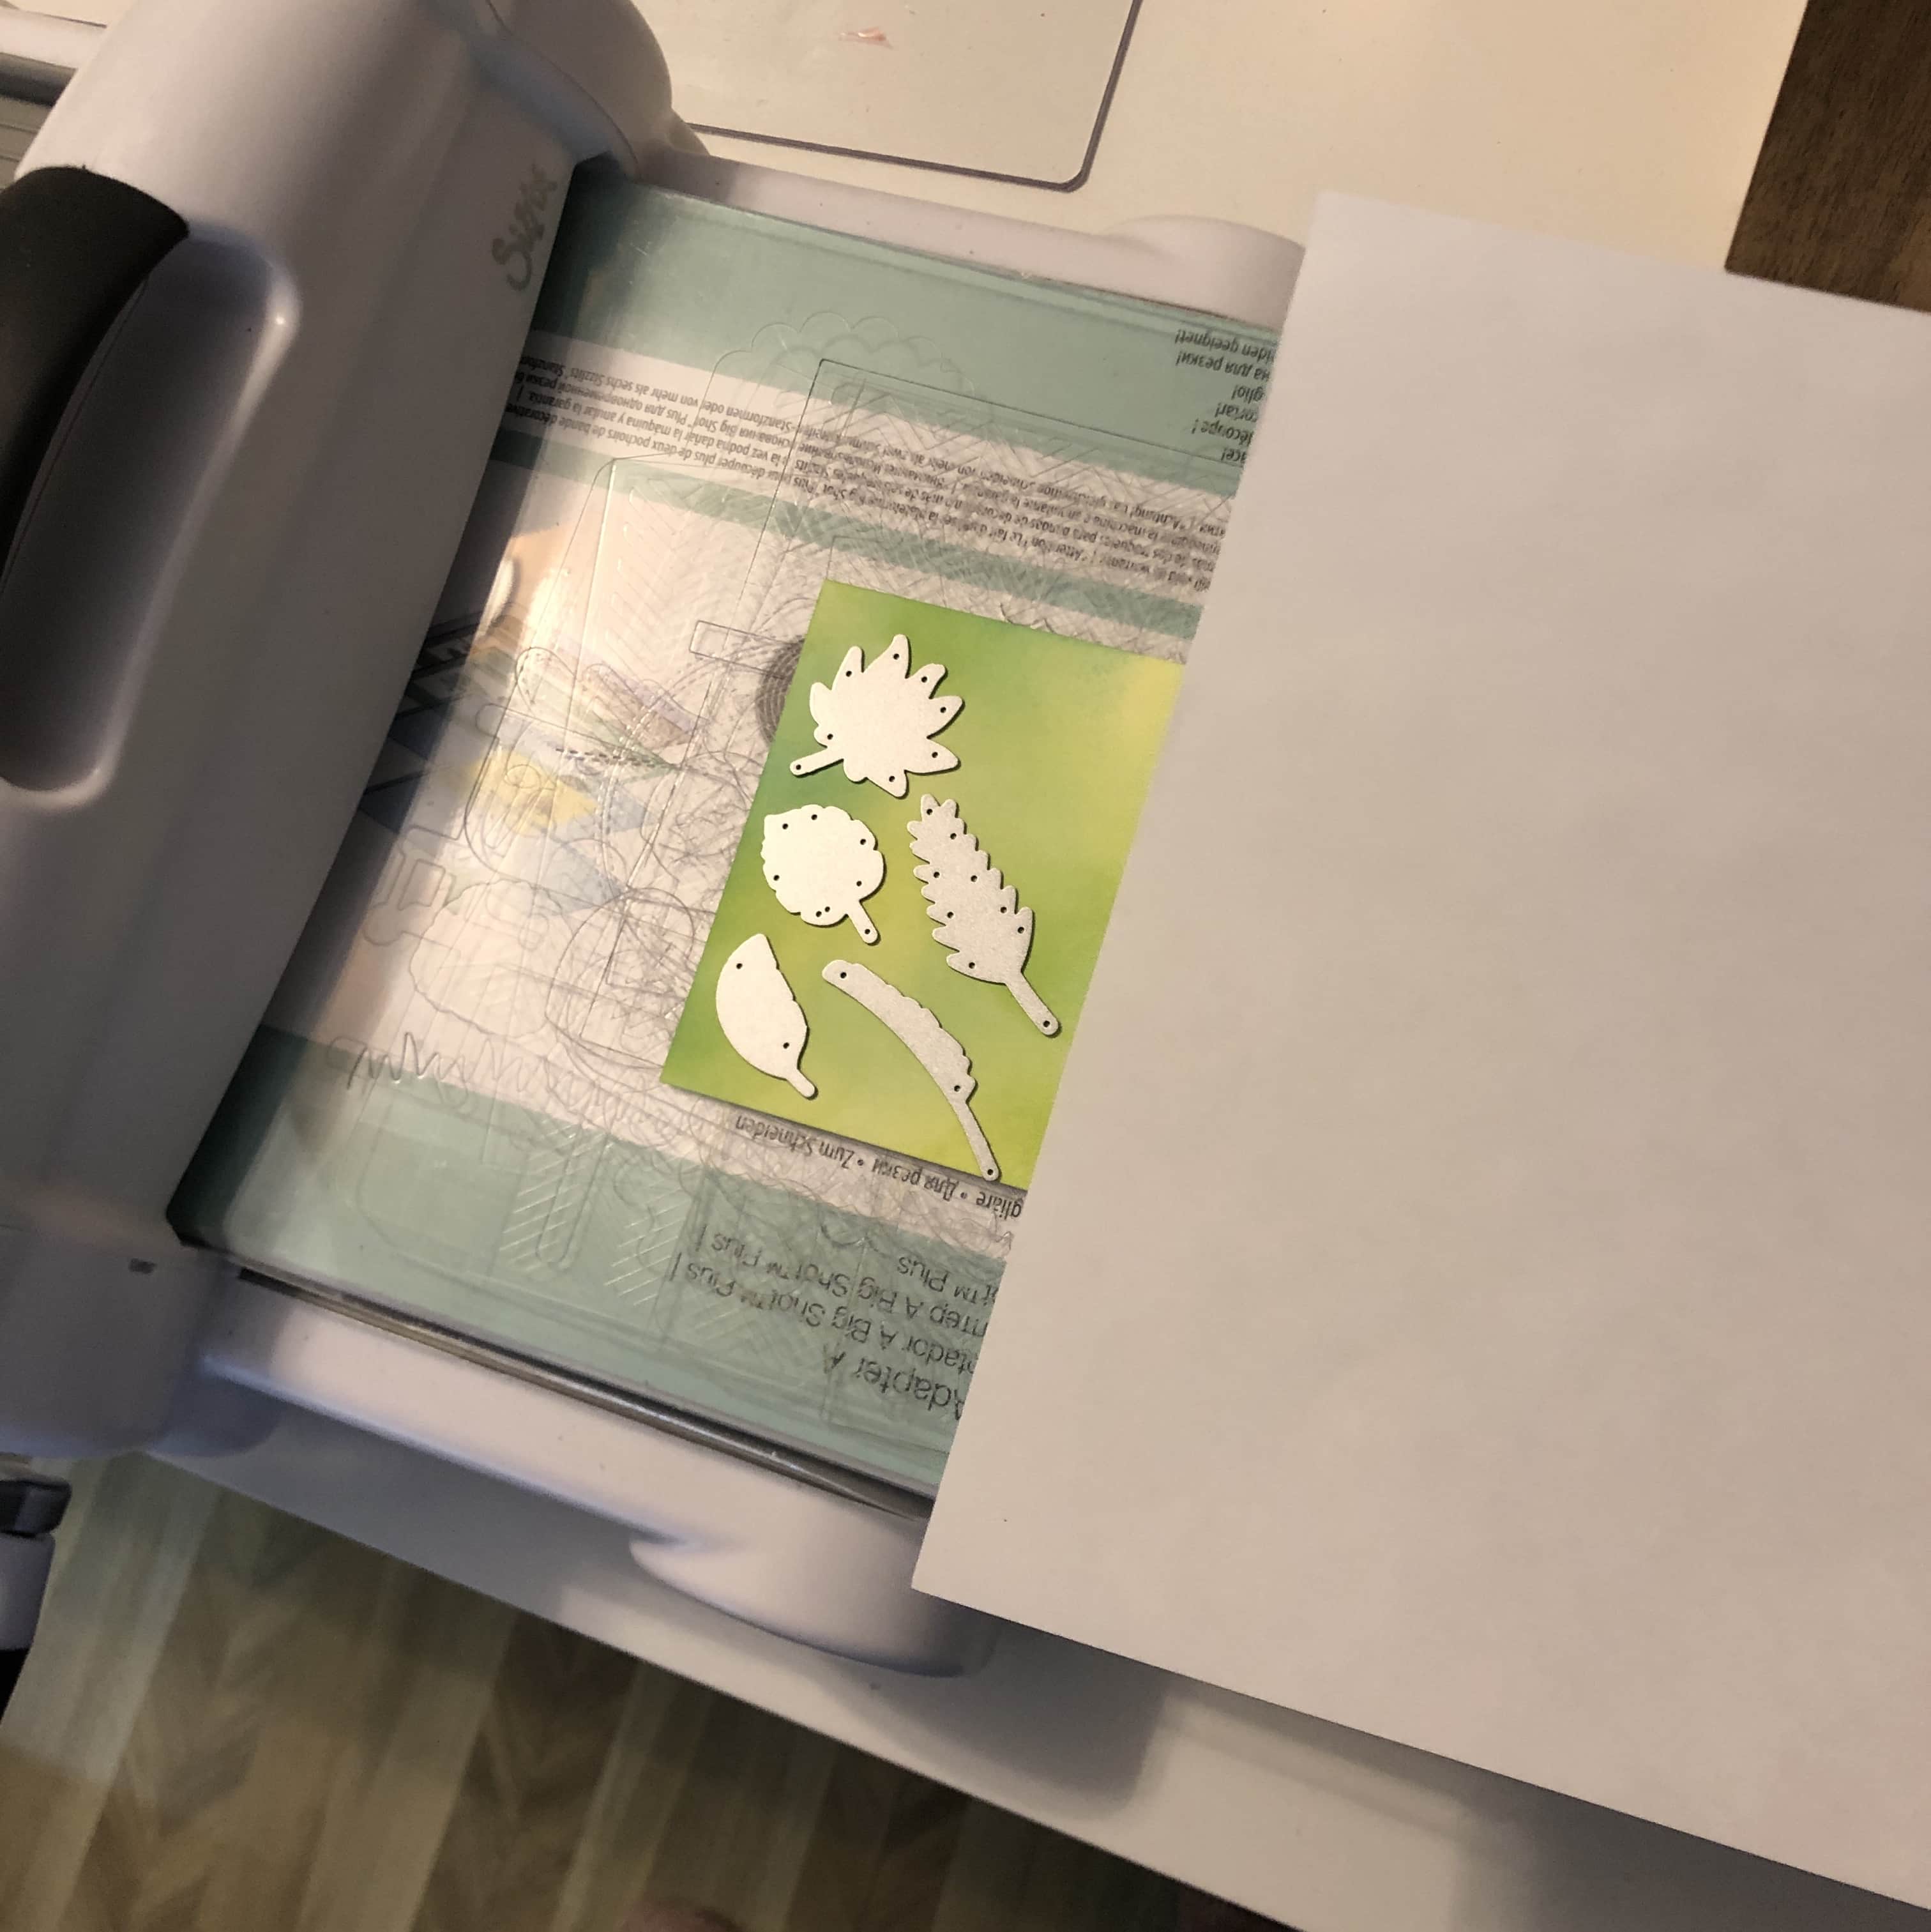
I’m going to create some leaves using the Amazonian Leaves Dies. The easiest way I’ve found to do this is to just blend an entire background of green oxides and then cut my leaves out of that. To keep the distress oxides off of my clear plate, I’m placing a piece of white computer paper in between.

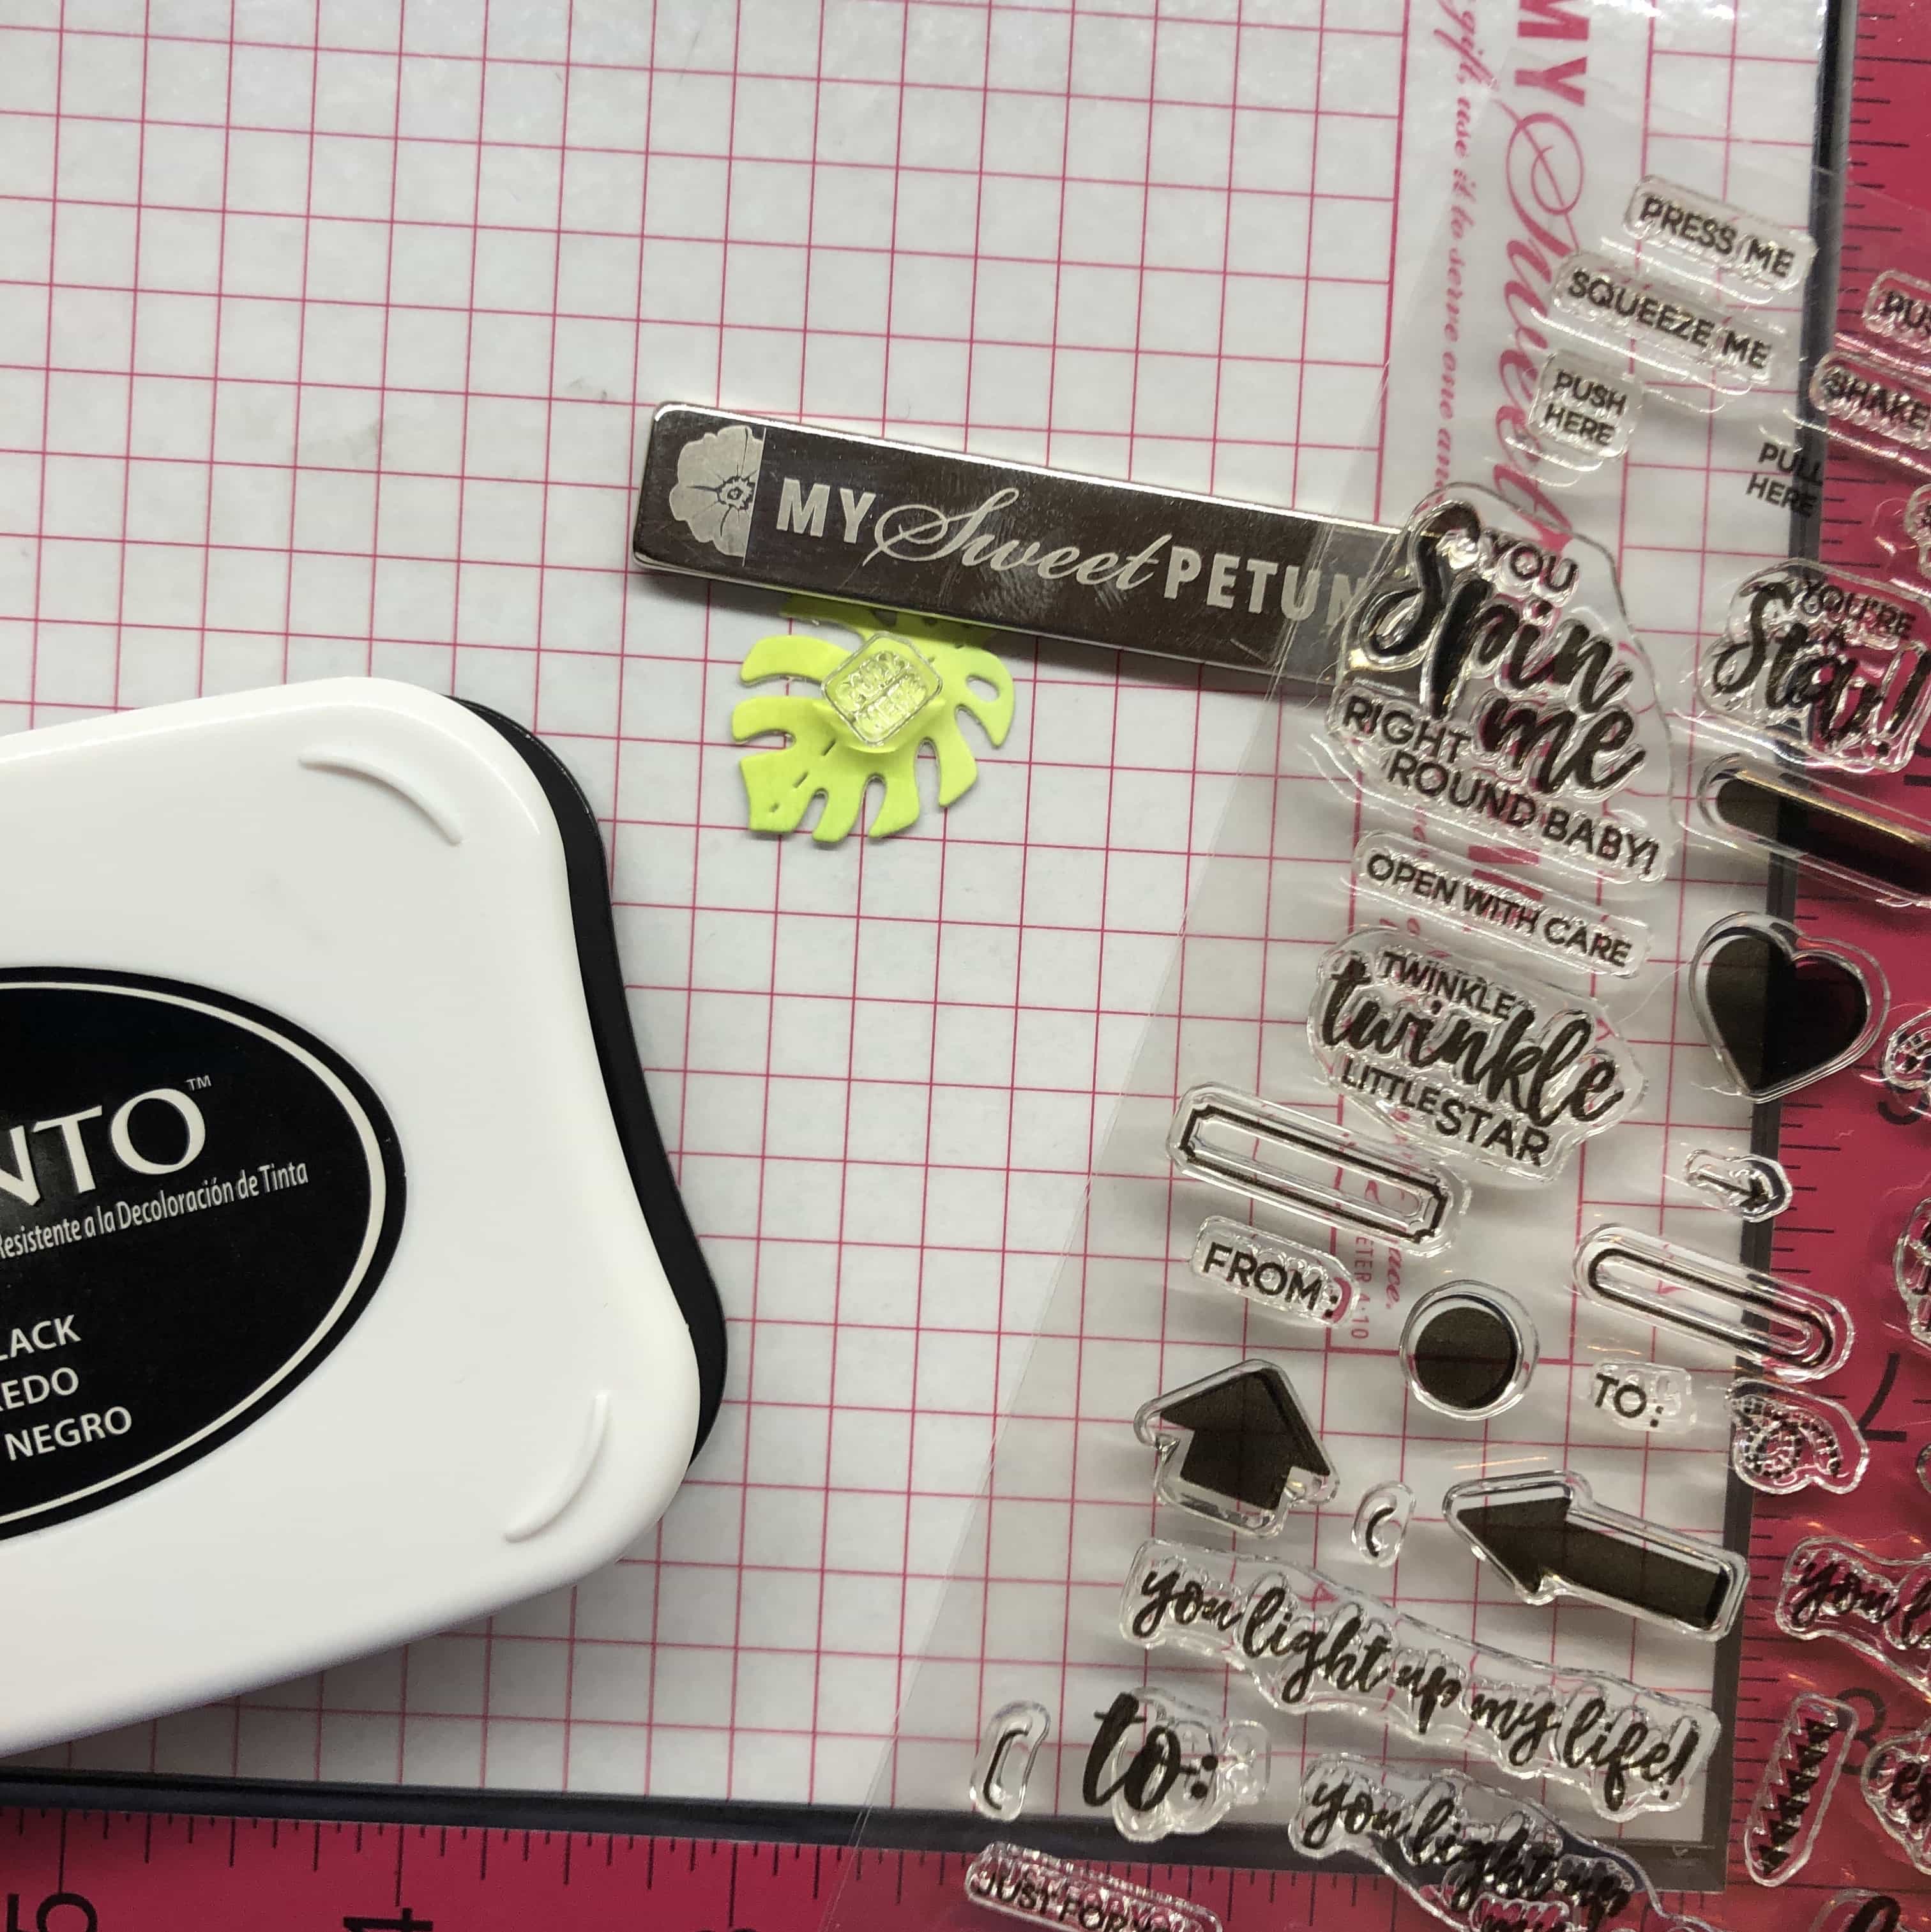
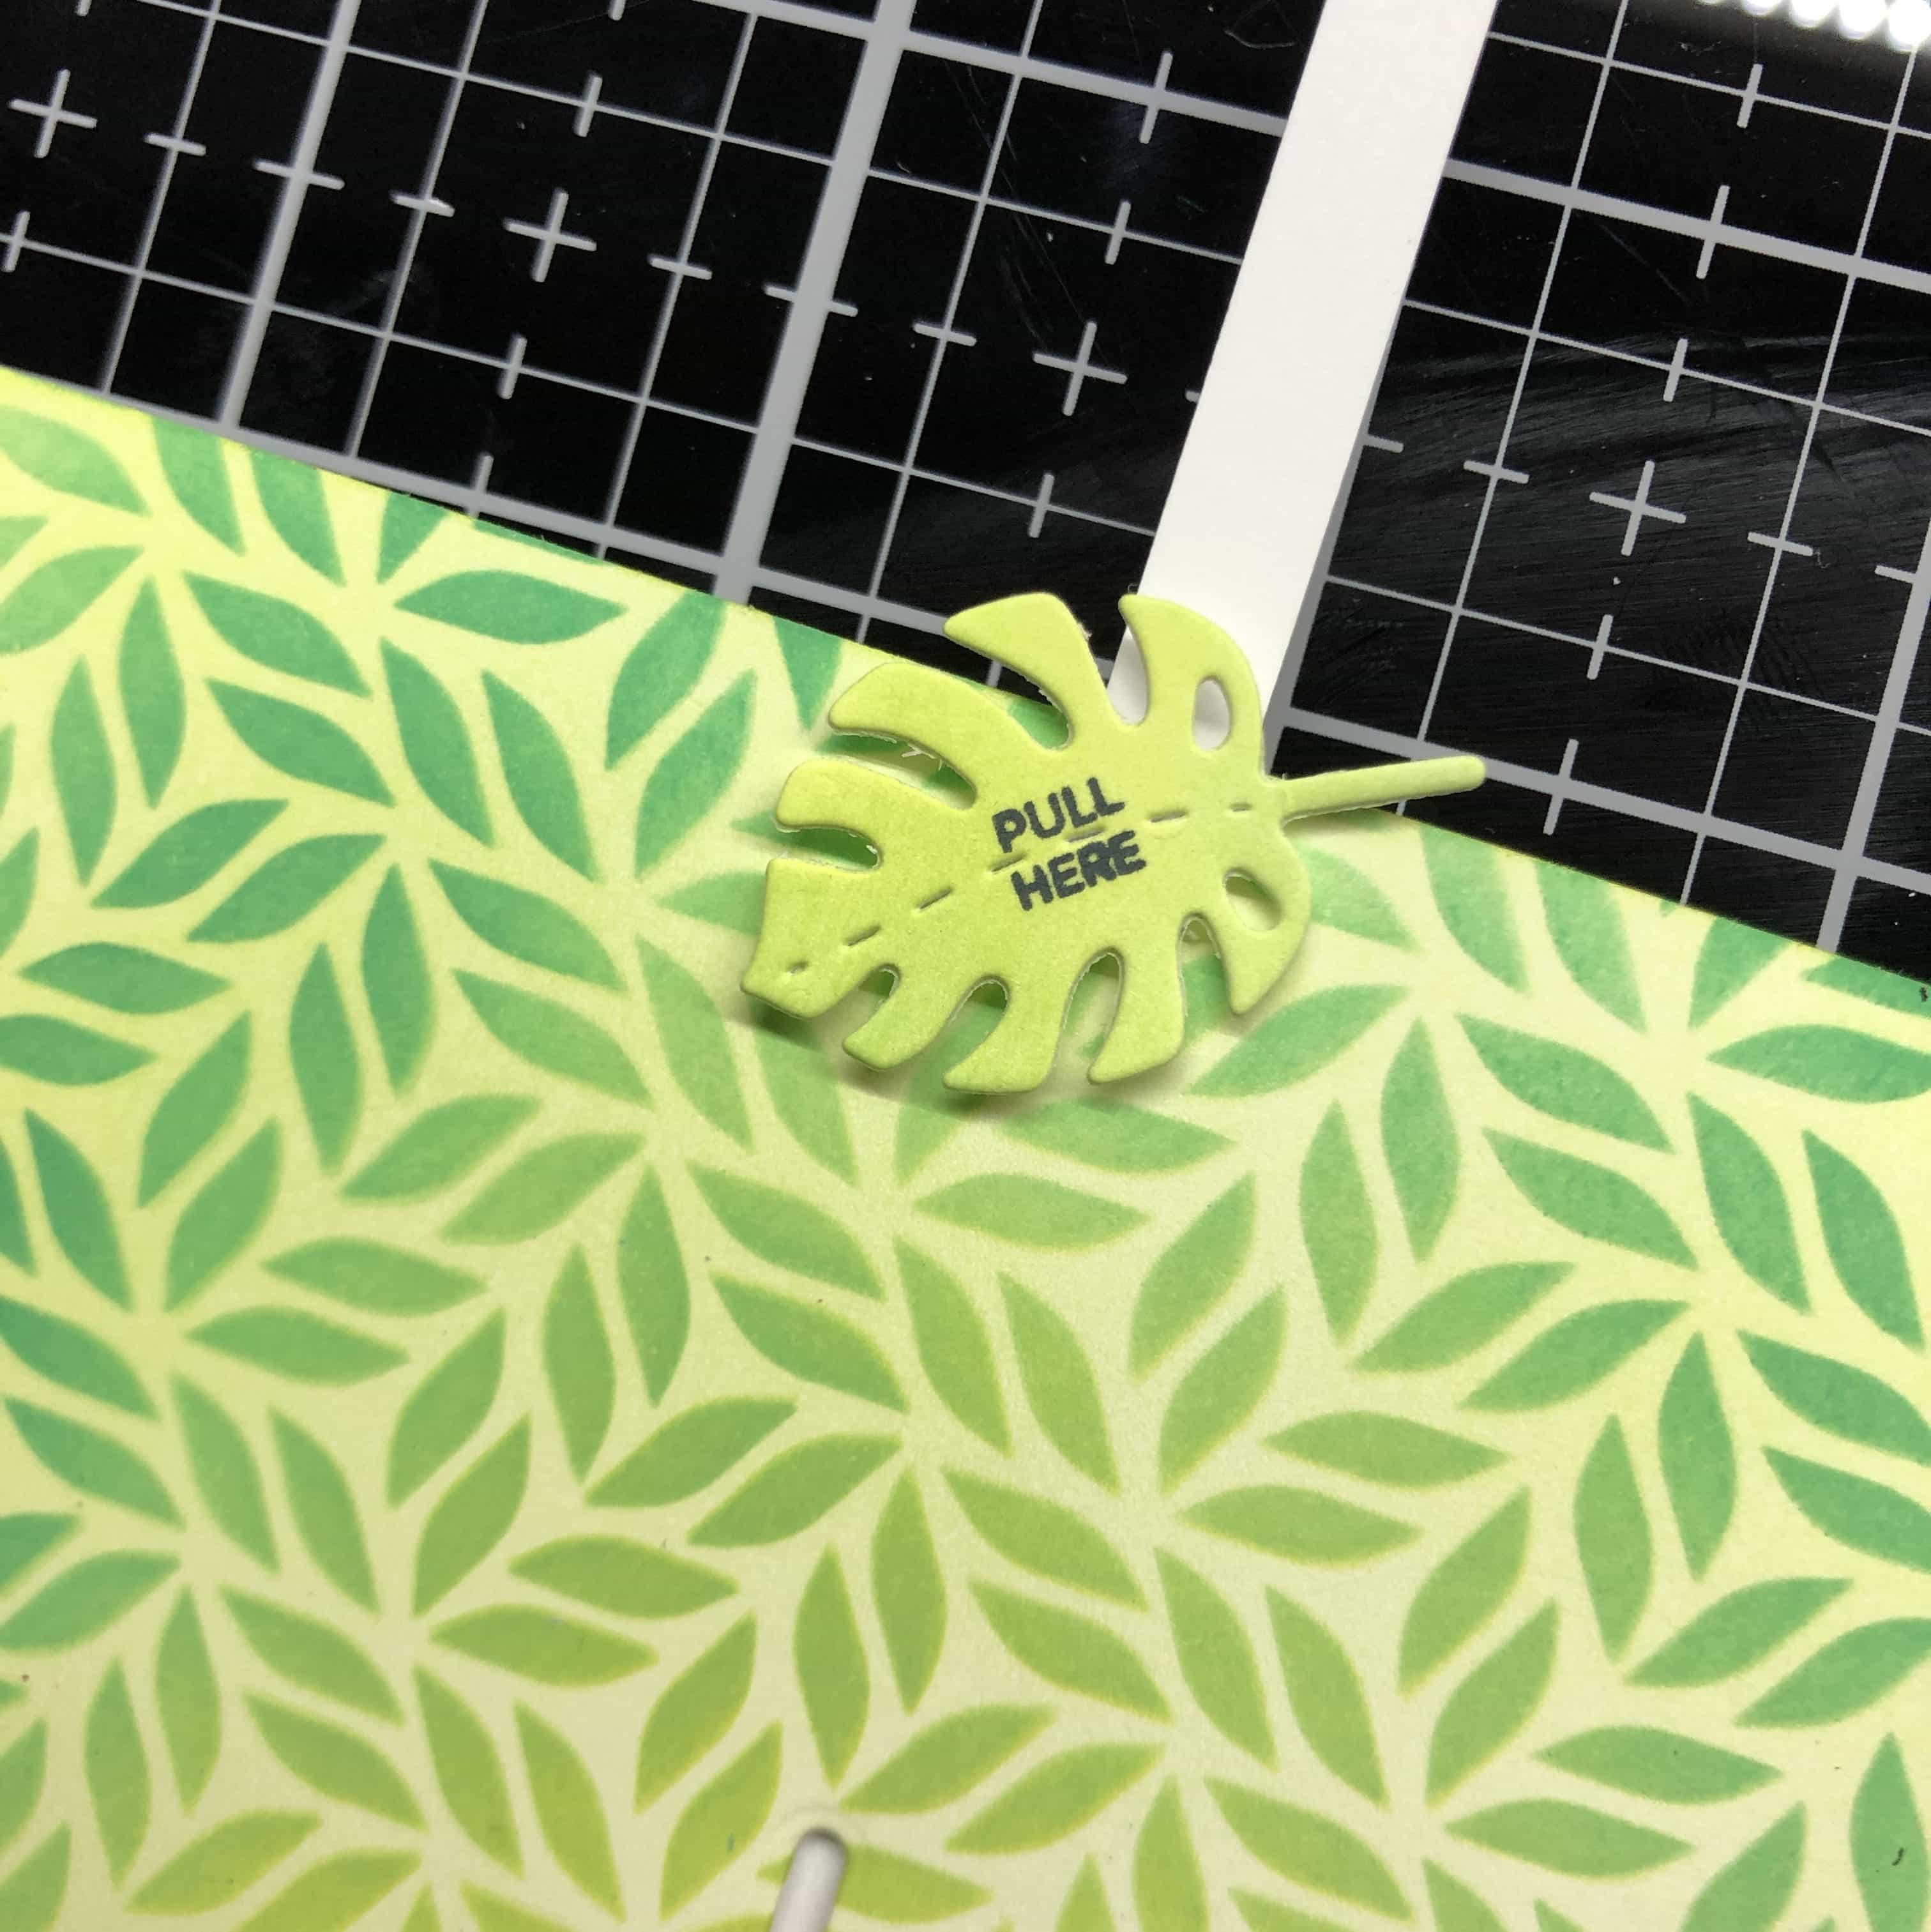
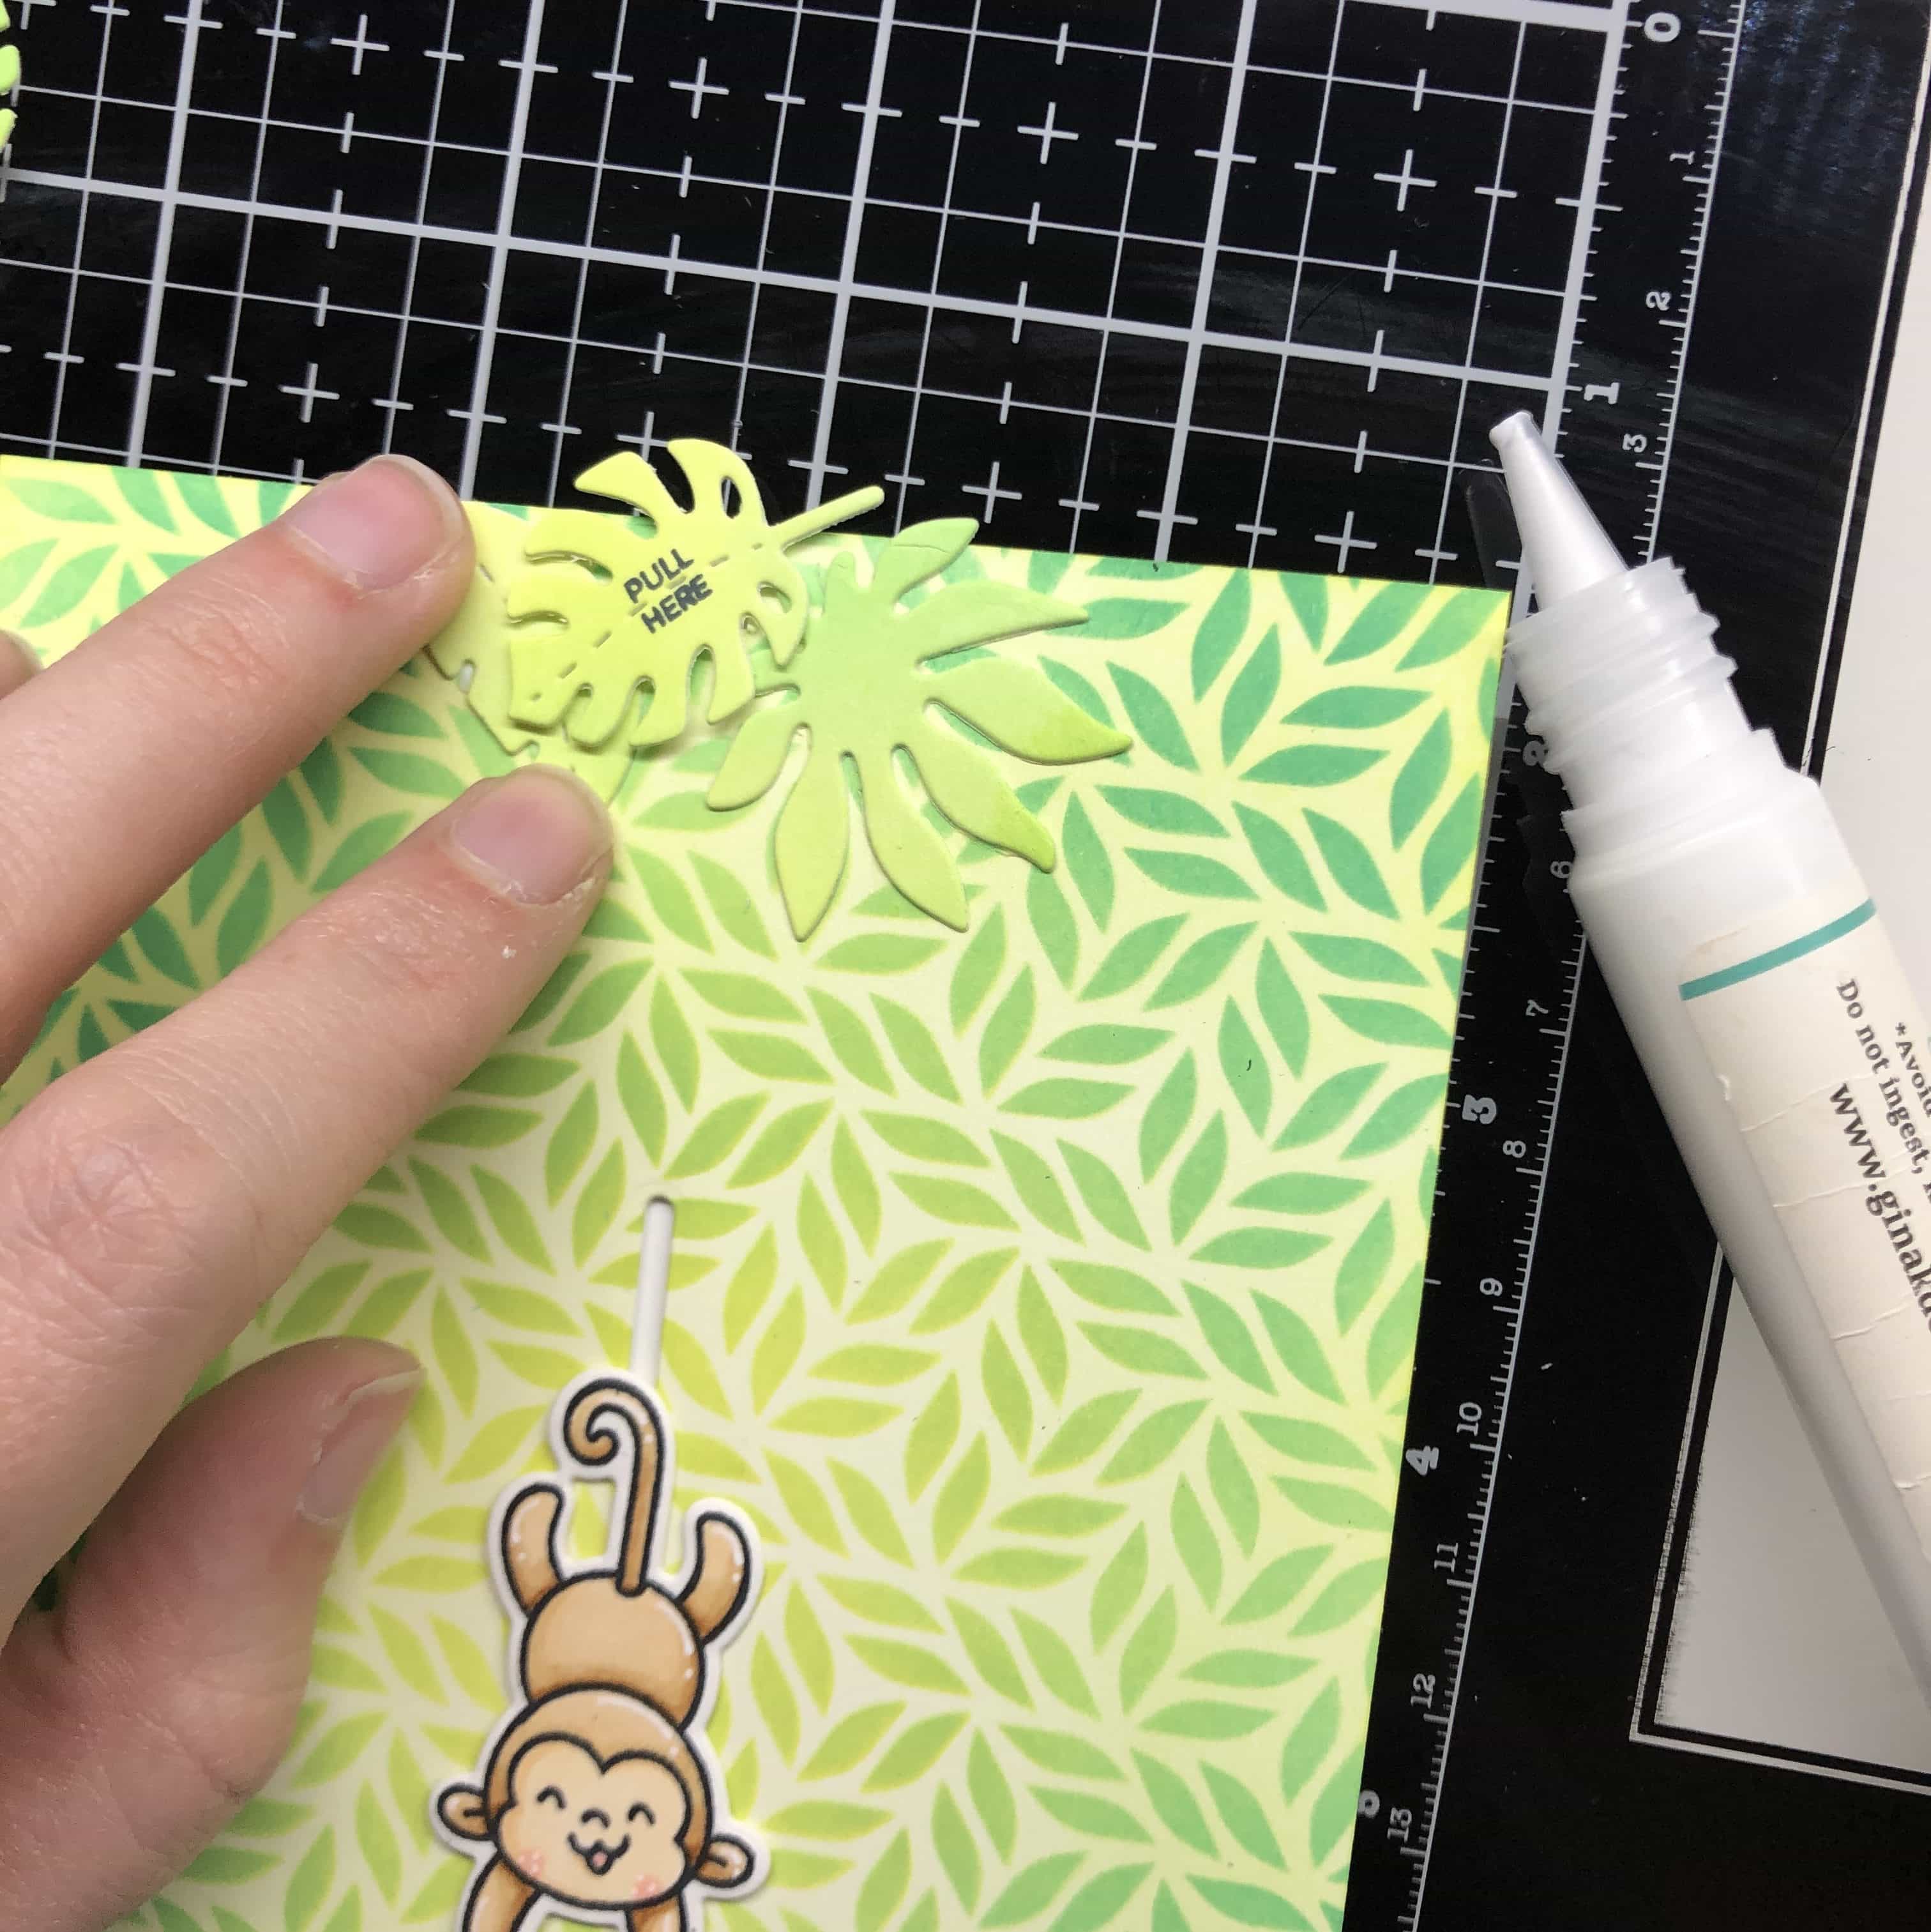
I’m grabbing a sentiment from the Interactively Yours stamp set to put on one of my leaves that says “Pull Here”. I’m going to push my “pull” strip all the way down to the bottom of the card, then place a 3D foam square on the end of my strip for my leaf. Once I place my leaf on the card, I can cut off the extra strip.

Now I’m ready to start adhering everything. The most important thing to check is that anything you adhere doesn’t get in the way of the “Pull Here” leaf and the moving monkey! Otherwise, I’m just moving things around to see where I like them and then adhering them with glue and 3D foam squares.

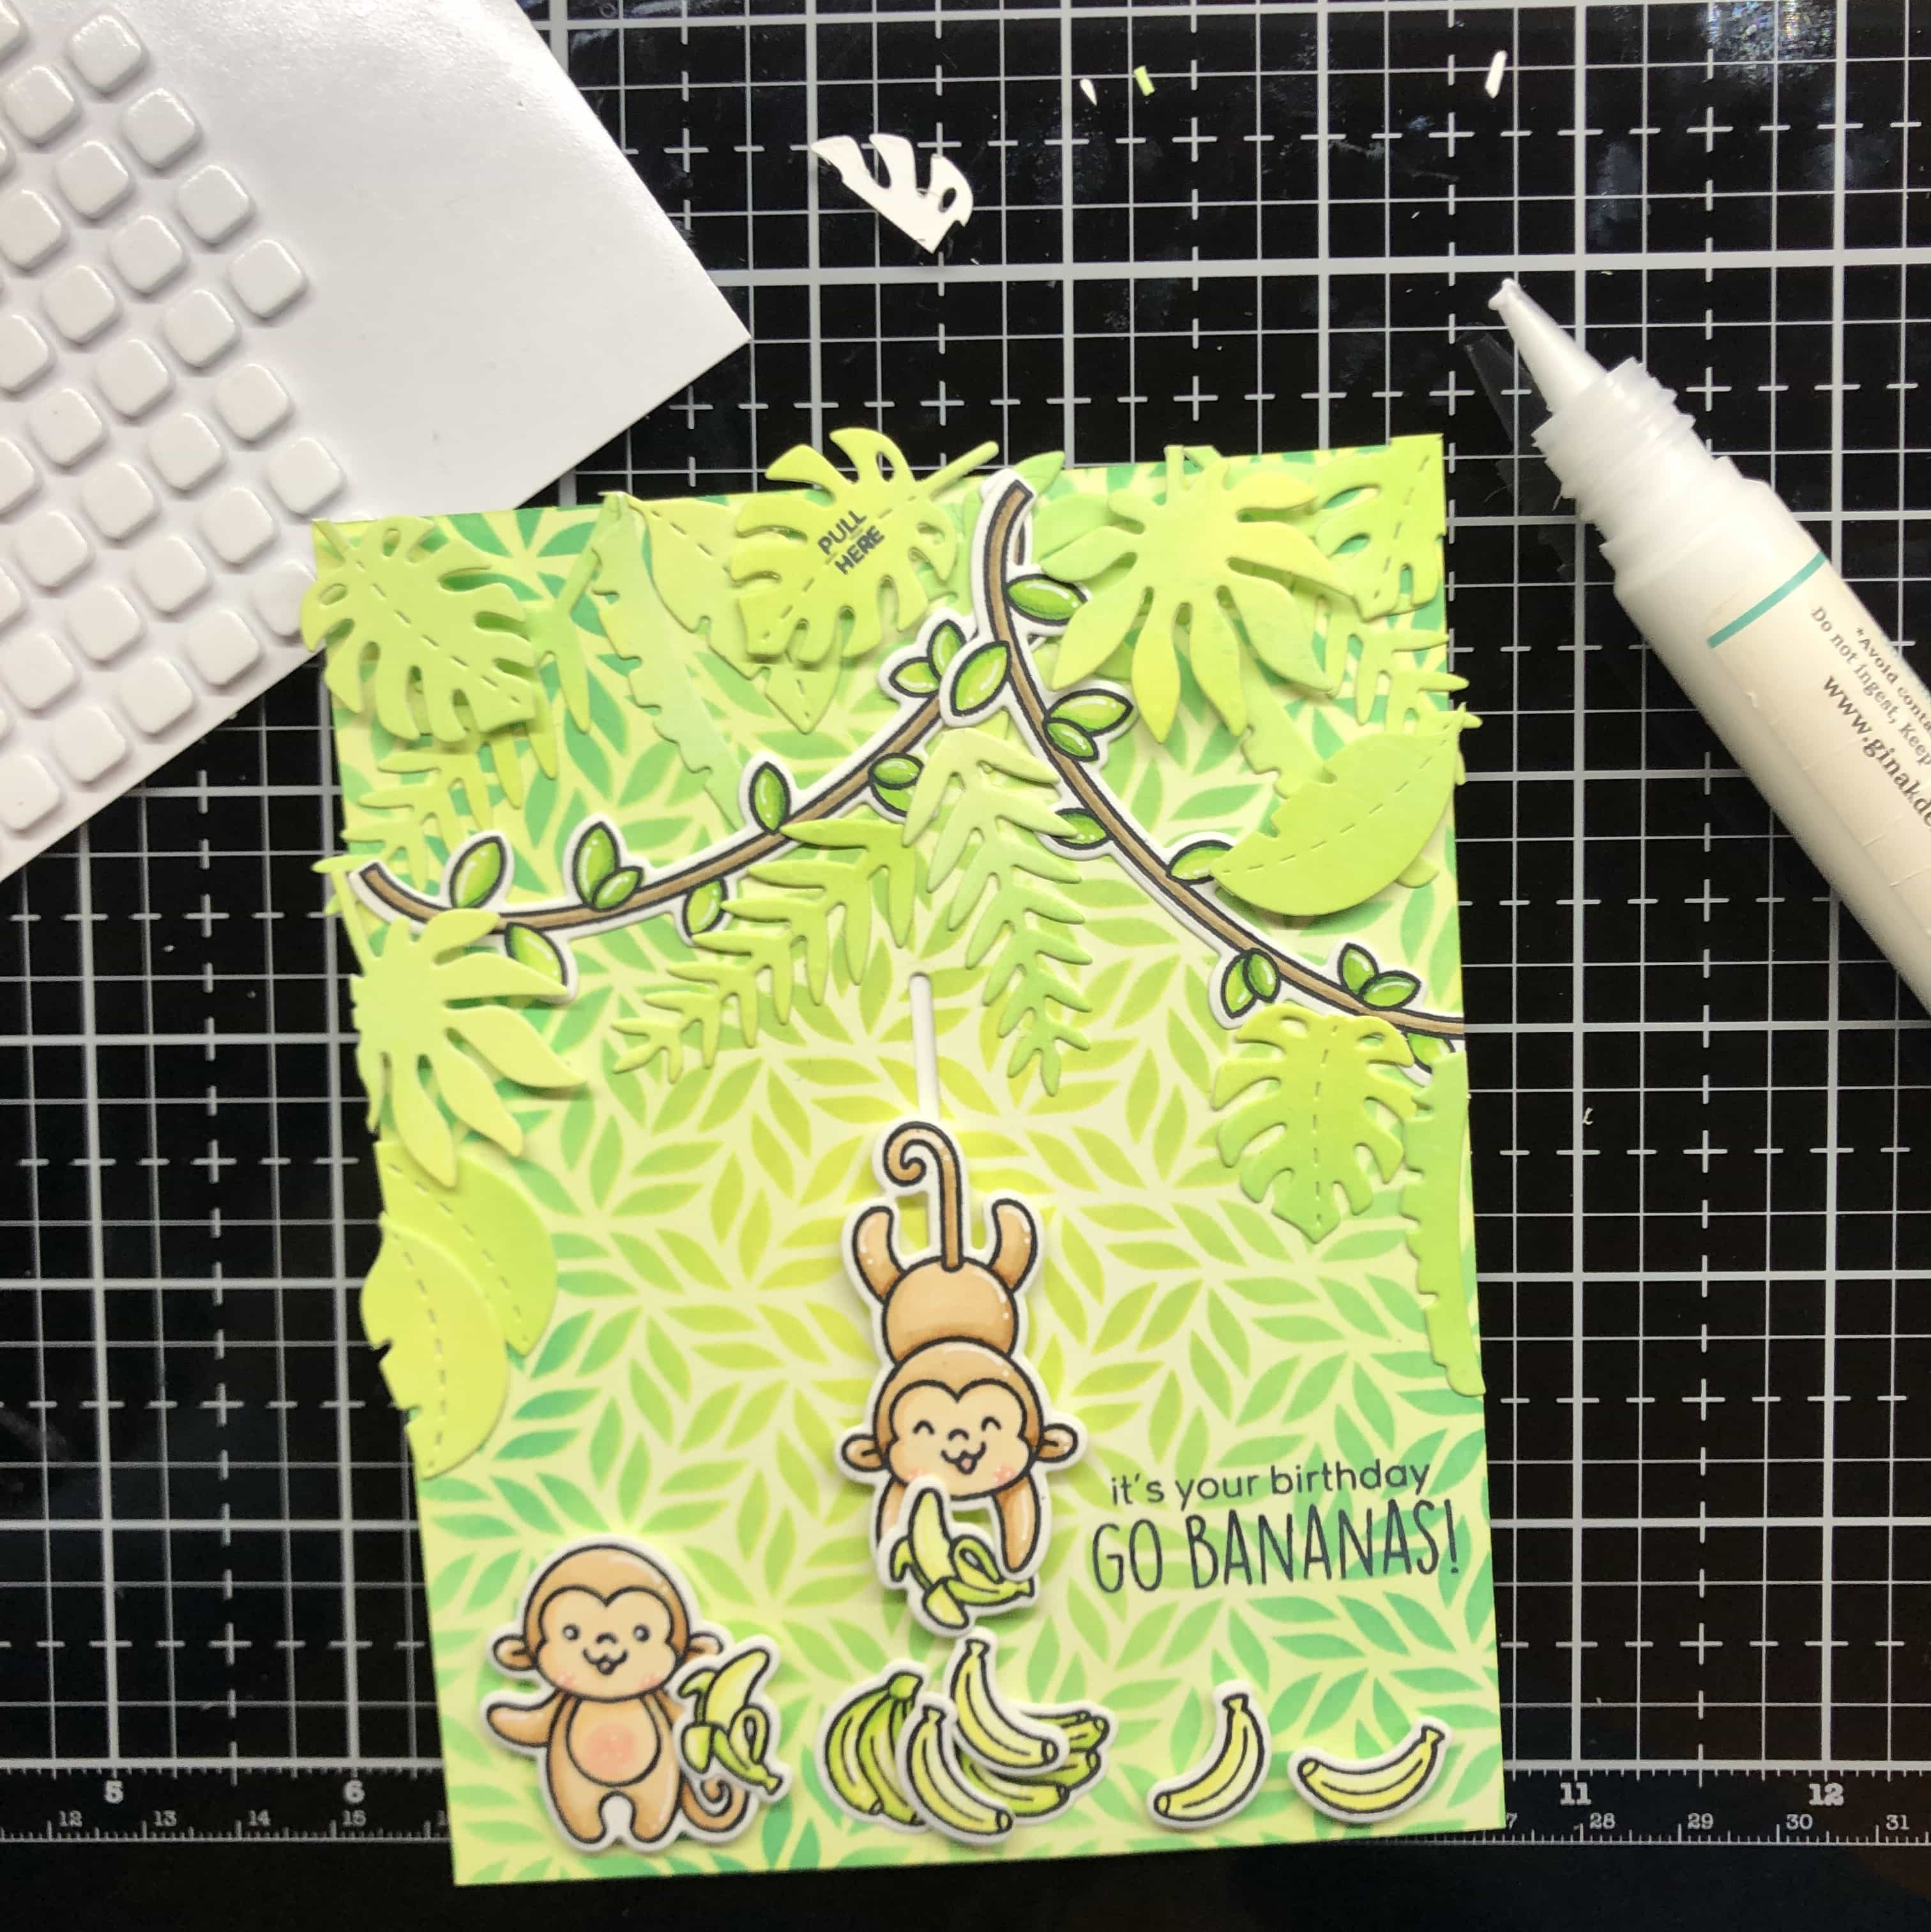
When it’s all done, this is how it looks and moves!

Thanks so much for hanging out with me on this post!
Please feel free to let me know if you need a video of the interactive portion of the card!
Until next time!!! Xoxo, Amanda