
Hello and welcome back to the Heffy Doodle Blog! We are SO glad you stopped by to see what crafty inspiration we have today! Today’s theme is “Stretch Your Supplies” with design team member –
Tatiana!

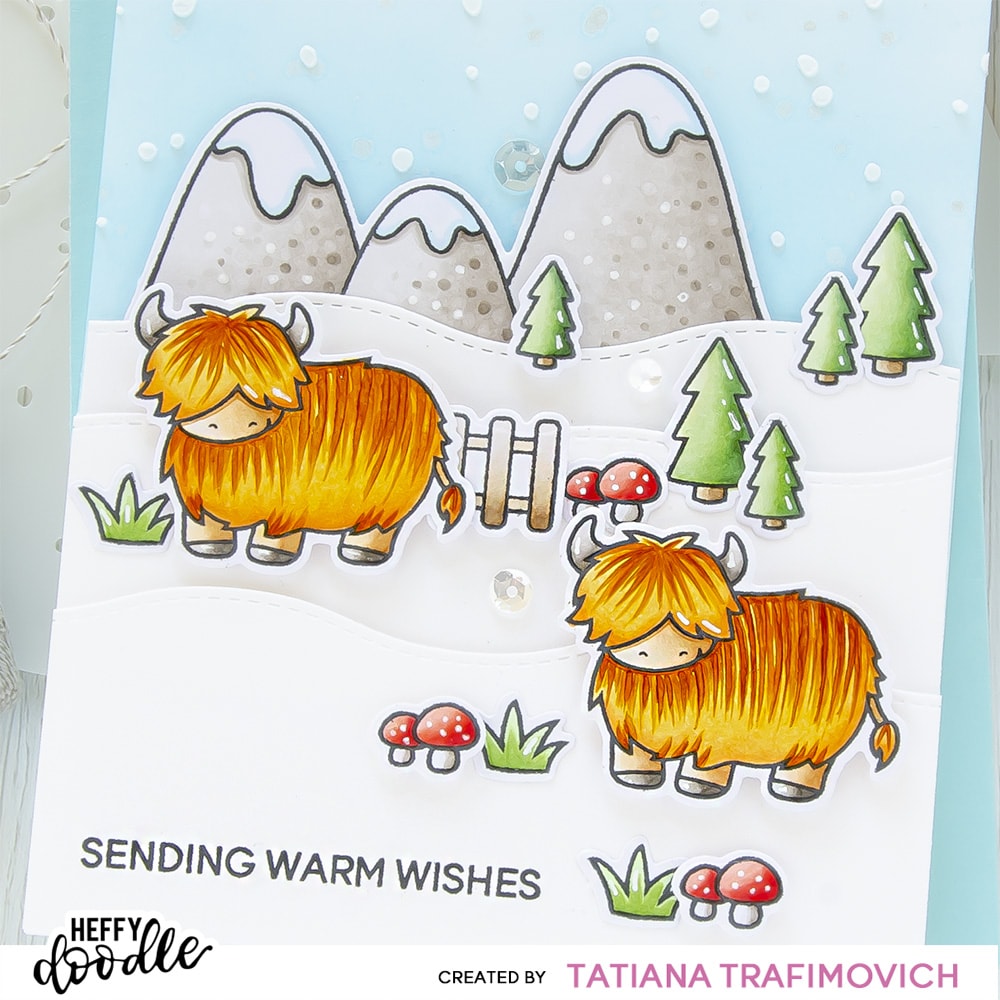
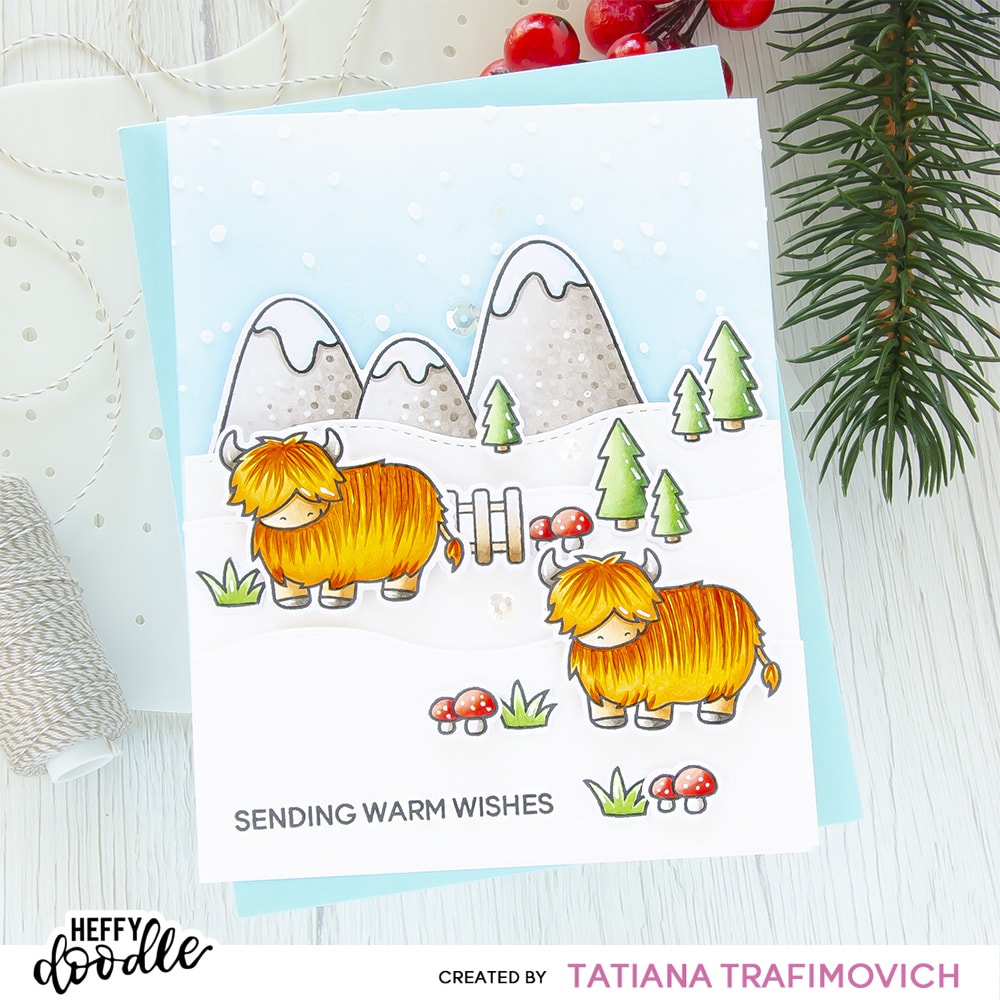
Today I would like to invite you to flip through your crafty stash with me and give another look on the products you may already have on hands since in today’s post I will be illustrating how you can easily create holiday cards from non-holiday stamps and dies. My choice was on super adorable
Highland Honeys! I love so much this stamp set since it filled with the cutest critters and lots of smaller elements perfect for creating scenes all year round. I became a little creative with the sentiment as well, by picking one from a very non-holiday
Get Well Greetings Stamp Set and cutting apart one phrase with a pair of sharp small scissors. This way I achieved a perfect for a holiday card “Sending Warm Wishes” stamp.
Key Ingredients:
Step By Step Instructions:
- Die cut from Alcohol Marker Friendly Cardstock all the elements you need, using the coordinating Highland Honeys Dies, Deer To Me Dies and Heffy Doodle Mini Die Cutting Machine. Save the negative part of the dies.
- Stamp the outline illustration from Highland Honeys Stamp Set and Deer To Me Stamp Set with Memento Tuxedo Black Ink. Use the negative part of the dies as a guide for a perfect alignment inside the stamping positioning tool.
- Color the stamps with COPIC MARKERS. I used on this card:
- cows Y21-YR14-YR24-YR27-E99 & E50-E51-E53-E55
- green YG11-G20-G40-G43-G46
- red R20-R21-R22-R24-R27
- brown E40-E41-E42-E43
- light blue B000
- grey W00-W0-W1-W3-W5-W7
- Trim and score an extended A2 size card base (5 1/2″ x 4 1/4″) from Neenah Solar White paper.
- Ink the card front with a very hight hand, using Tumbled Glass Distress Oxide and the blending brushes.
- Splatter some tiny dots of a clear shimmer spray and heat set the background or let it air dry.
- Tape well First Snow Stencil with Heffy Memo Tape on the card front and apply a white embossing paste all across. Lift up the stencil and immediately wash it with warm water a little bit of liquid soap.
- Die cut from Neenah Solar White paper three snow hills, using Slimline Scenery Dies.
- Cup apart the sentiment from Get Well Greetings Stamp Set with the sharp small scissors and stamp “Sending Warm Wishes” phrase with Memento Tuxedo Black Ink.
- Arrange and glue in place all the elements, using Glubert – Craft Glue and a foam tape to add a bit of dimension.
- Finish with some highlights added with a white gel pen and a couple of clear sparkling sequins.
That’s all for today! Hope you like this sweet winter scene card! Thanks so much for stopping by and have a fabulous day!
Hugs,
Tatiana
