VIDEO: Creating an Interactive Swing Shadow Box Card!
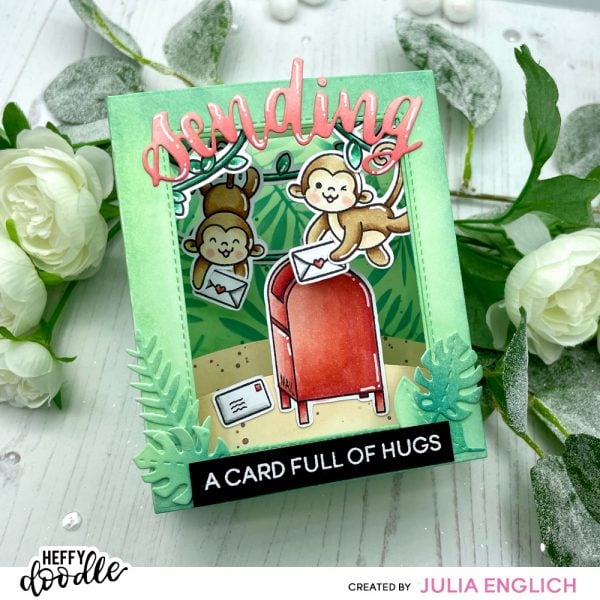
Hello crafty friends, It’s Julia here and I am so excited to share my first video for Heffy Doodle with you. I created a super fun interactive happy mail swing shadow box card! You can watch the video here!

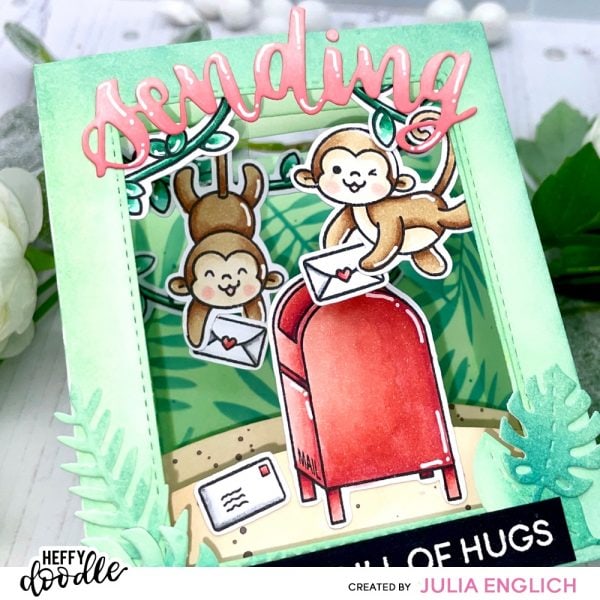
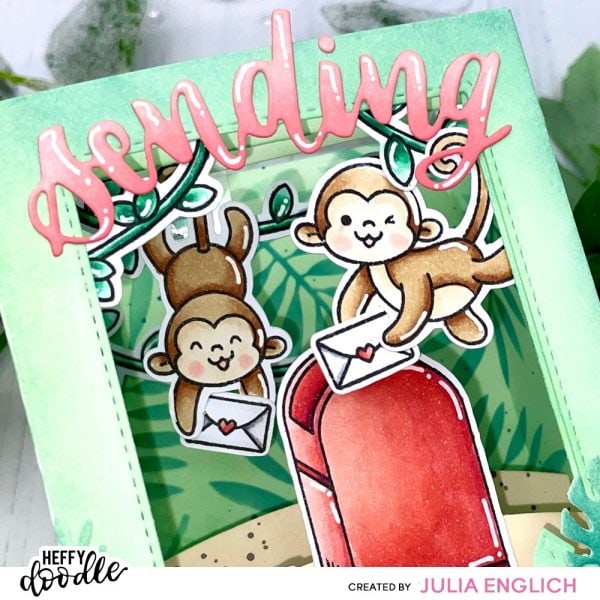
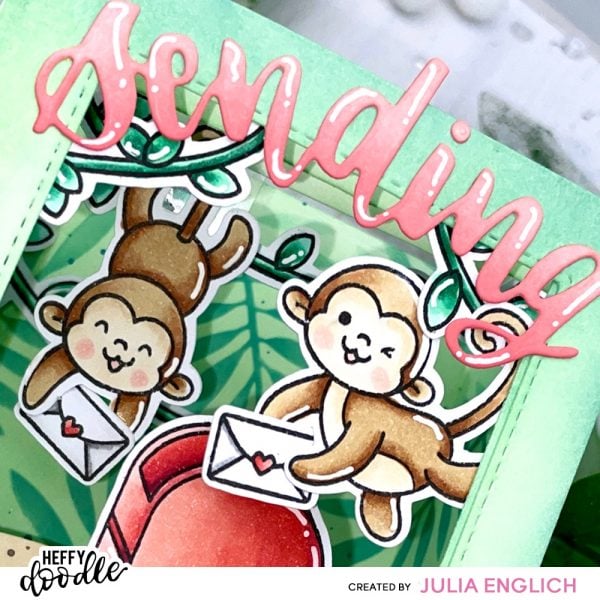
I started by stamping out the images from Chimply The Best and Yappy Happy Mail onto Perfect Coloring Paper and I colored them in using Copic markers. Then, I die cut the main part of the Big Shadow Box Die twice out of Bristol smooth cardstock and I made sure to cut a window into one of them. The hill pieces from the Big Shadow Box Die, I die cut three times. I cut down one hill to make it slightly smaller and I also cut down another into two thin strips to form shelves for the top swing mechanism.

I ink blended the main shadow box using Cracked Pistachio and Evergreen Bough Distress Oxide on the outside and just Cracked Pistachio on the inside. To make the inside a bit more interesting, I added leaves using the UnbeLEAFable stencil and Evergreen Bough and Pine Needles Distress Oxide. Additionally, I die cut the Amazonian Leaves dies and used the same three green shades to add color to them. After that, I ink blended the hills using Tea Dye and added splatters with Gathered Twigs Distress Oxide. For the shelves for the top of the box I just used a little bit of Cracked Pistachio to add a color.

Then it was time to assemble my shadow box. If you want to see exactly how I assembled everything you can check out the video here! To create the swing mechanism I used a strip from an empty lamination pouch, but you could also use thick acetate as well. I rounded the corners at the top, added a hole using a hole punch and glued my cute monkey onto it. Then I used a Spin & Slide Disc and added double sided tape to both sides. I adhered it to the back of the first top shelf, then looped my strip of acetate around it and added a slightly bigger circle of cardstock to close the mechanism. Now our little monkey can swing freely – It’s just such a fun effect! Be sure to check the video to see it in action!

To finish the card I added the rest of my images and die cuts to the shadow box. I die cut the Sending Heffy Cut using the Heffy Doodle Mini Die Cutting Machine and ink blended it with Abandoned Coral and Festive Berries. Then, I heat embossed the second part of my sentiment from Yappy Happy Mail in white onto black cardstock. I added both parts of the sentiment using Glubert!
If you want to see all the steps you can click on the YouTube video below:
Thank you so much for visiting the Heffy Doodle blog! I really hope you enjoyed it and I will see you again soon! Have a wonderful day!
