(Video) Combining Background Dies and Stencils with Channin
Hello Heffy Doodlers!! It’s Channin here and in today’s video I share a fun idea for stretching your stencils and background dies by combining them together to create fresh new backgrounds! You can watch the video below or over at our YouTube channel.
Combining Stencils and Background Dies with Channin Pelletier
Watch below or on our YouTube channel.
https://youtu.be/vGQB3sdiCcw
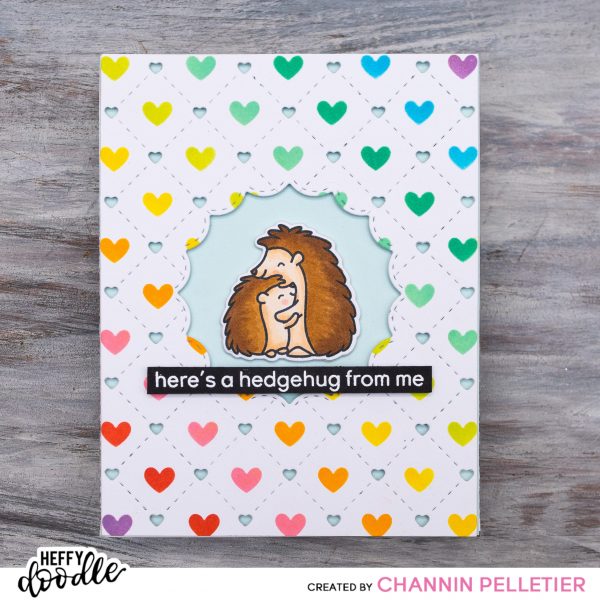
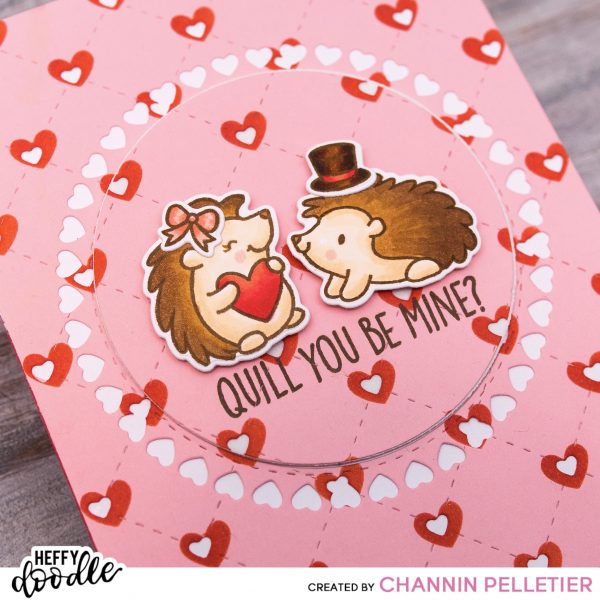
First, I die cut A2 panels of white and pink cardstock with the Quilted Heart Background Die. Next I ink blended over the panels using the Steady Heart Stencil.

I simply blended Candied Apple Distress Oxide on the pink panel but to create the rainbow of hearts on the white panel, I used painters tape to mask off diagonal sections on the stencil and then blended with a nine Distress Oxides, one for each section.

After I ink blended the panels I then die cut a window in the center of each panel using a die from the Fancy Nancy Frames Dies. I saved the pink center but discarded the center for the white panel.
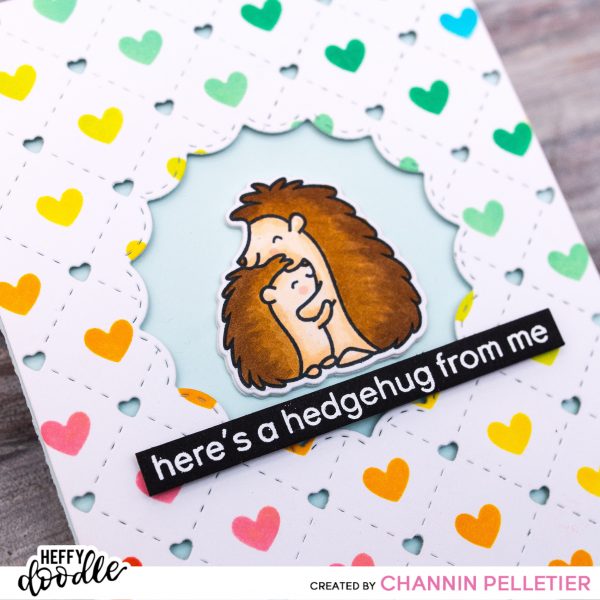
Next, I stamped several images from the Quill You Be Mine Stamp Set in Memento Tuxedo Black and Gathered Twigs Distress Ink. I then copic colored all the images and then die cut them out with the matching dies.

Next, I stamped a sentiment from the Quill You Be Mine Stamp Set onto the pink panel with Walnut Stain Distress Oxide. I also white heat embossed a second sentiment onto black cardstock for the second card.
Next, I assembled the pink card by first adhering a white A2 panel onto an A2 top-folding red card base. I then adhered the pink panel onto top. Next, I adhered a circle of craft foam to the backside of the center circle and then adhered both on to the card. I then added my images with foam squares.

I then assembled the rainbow card by first adhering a panel of light blue cardstock onto an A2 top-folding white cardbase. I then adhered the rainbow panel and sentiment with tiny foam squares. I then finished the card by adhering my image to a craft foam layer die cut with the matching die and then adhering the two inside the window on the card front.
I hope you enjoyed!! Thank you so much for stopping by and I hope you have a wonderful day!
~Channin
Supplies:


Jeanne Beam
January 5, 2020 at 4:33 pmSuch adorable cards!
Thanks so much for sharing…