
To My Significant Otter

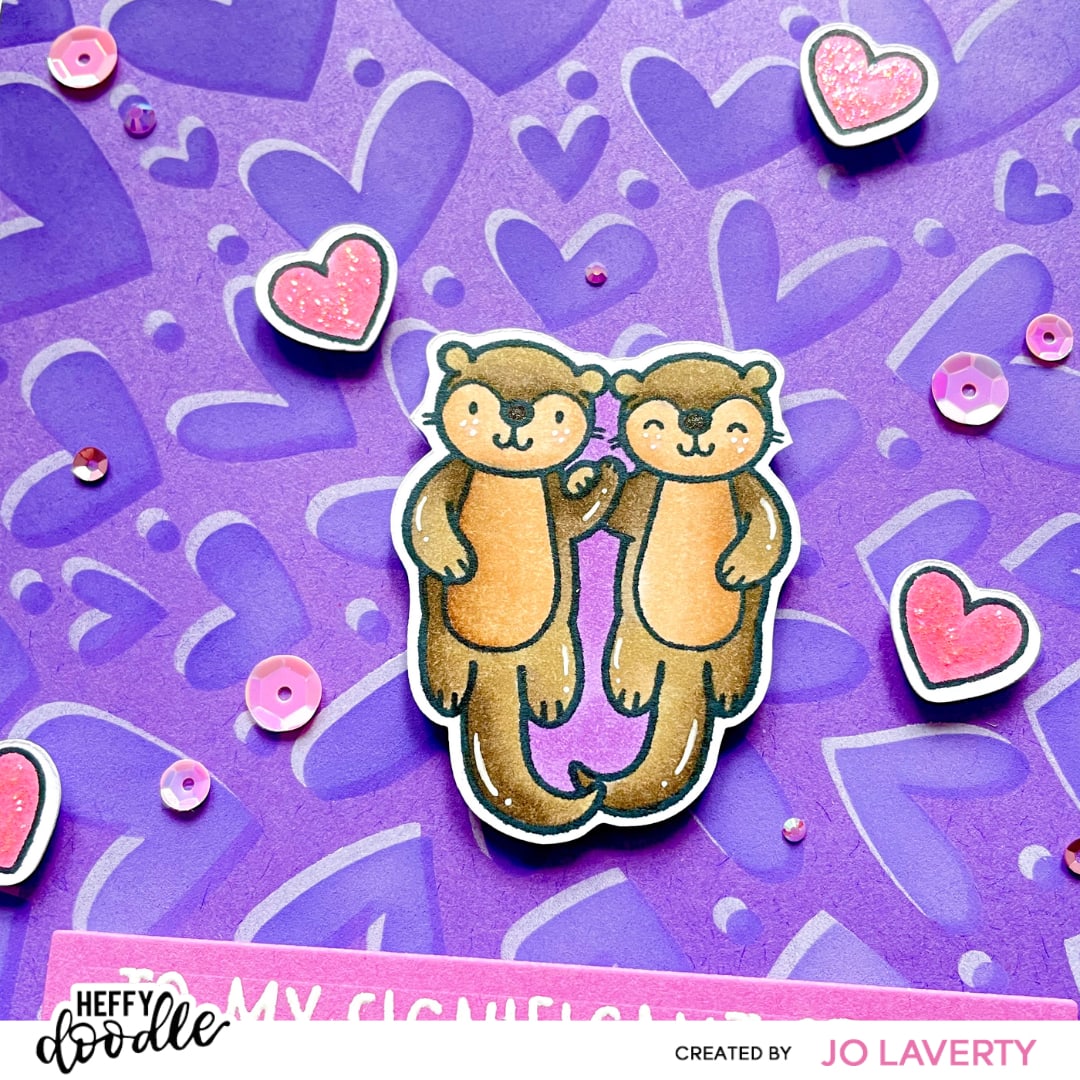
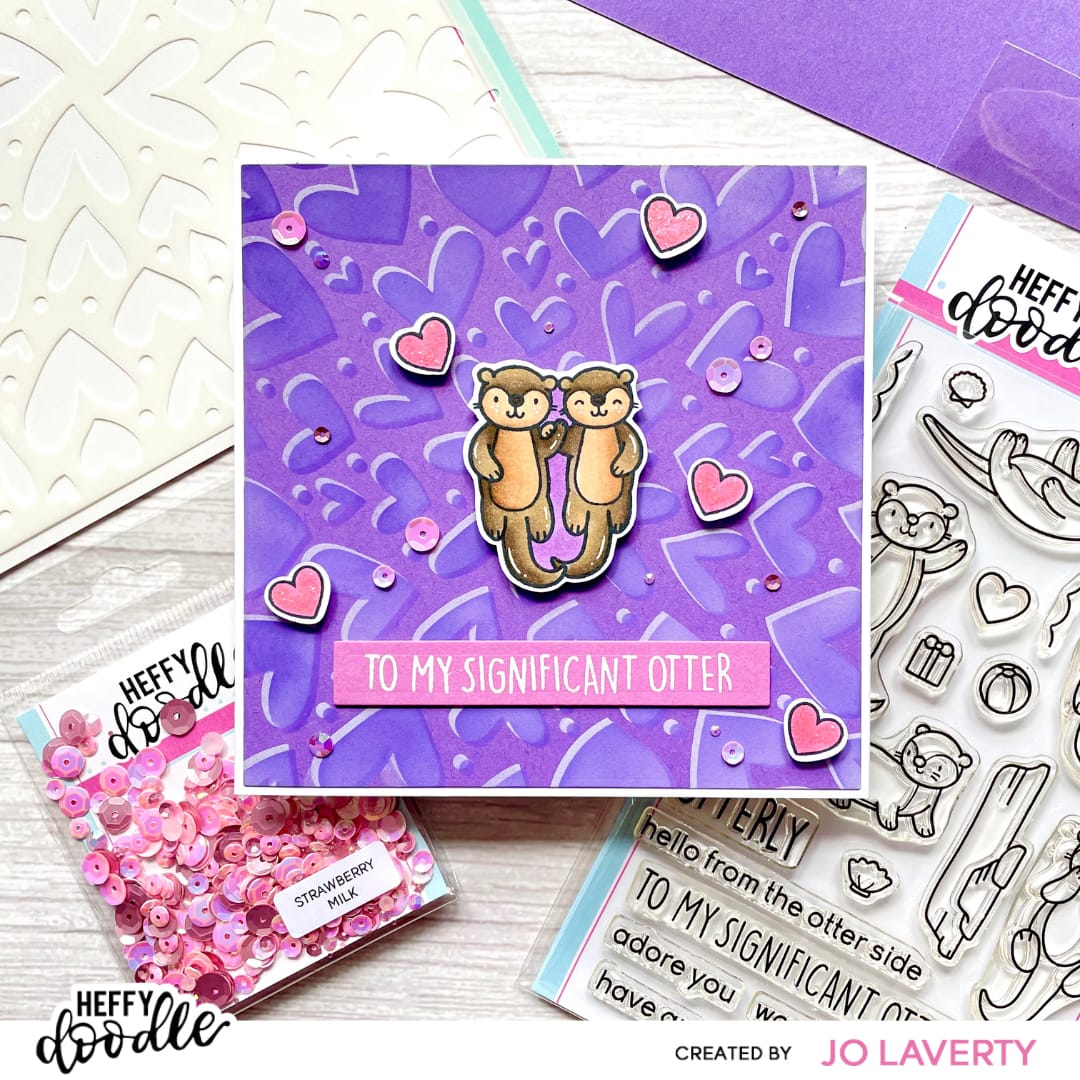
Happy Friday Darlings! It’s Jo Laverty here with an Otterly adorable creation (excuse the pun!). Using the ‘Otter Side‘ stamp set and the ‘Love is Everywhere‘ stencil, I created this heart filled card, perfect to give to your other half. Alternatively you can switch up the sentiment to make a heart warming card for any recipient.
This card is a super easy make so if you would like to find out how I made this card, read on for the step-by-step tutorial.
Background
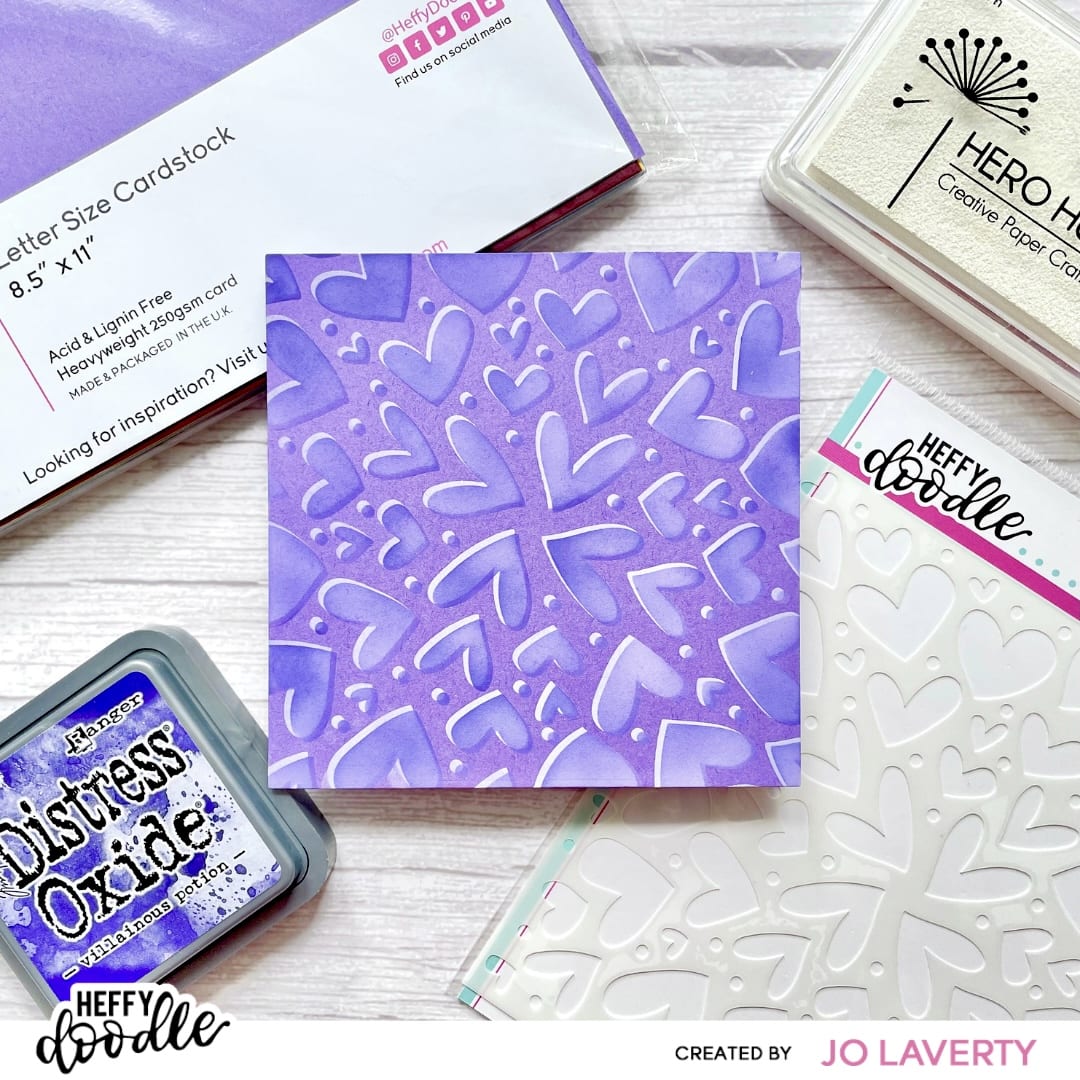
Using a mid-tone purple cardstock from Heffy Doodles ‘Multi Pack 8.5″ x 11″ Cardstock‘ pack and a square die, run both through a die cut machine. Next, place the ‘Love is Everywhere‘ stencil over the cardstock and use a white ink to create the first stencilled layer. Once complete, shift the stencil ever so slightly, and ink blend a second layer using an ink that is a darker shade of purple to the cardstock. This will bring your stencil to life, giving the pattern a 3-D effect 🙂 Simple yet effective!
Sentiment
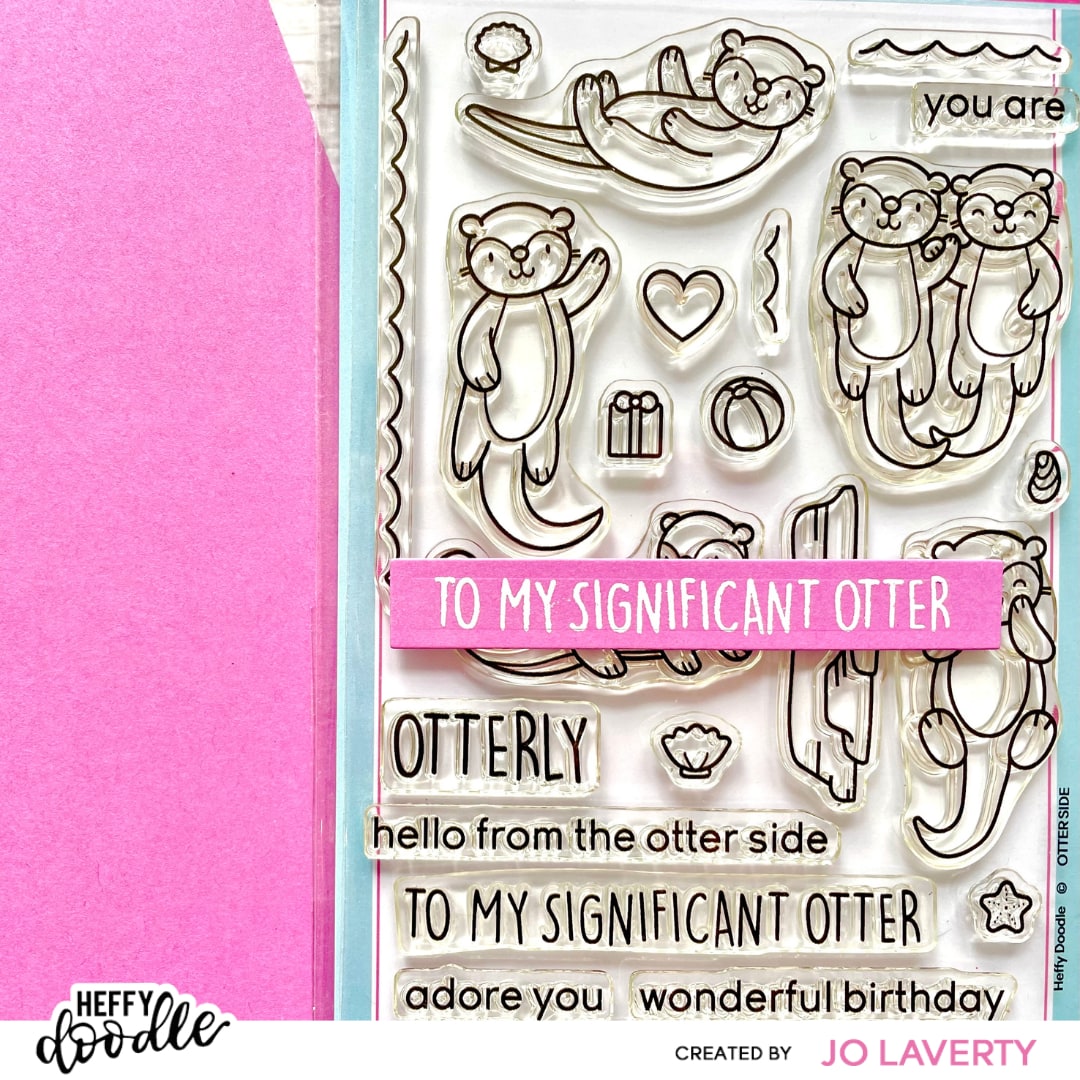
Using a mid-tone pink cardstock from Heffy Doodles ‘Multi Pack 8.5″ x 11″ Cardstock‘ pack, I heat embossed a sentiment from the ‘Otter Side‘ stamp set, using WOW! Embossing’s ‘Opaque Bright White’. I then die cut the sentiment and added some thin foam tape to the back.
Images
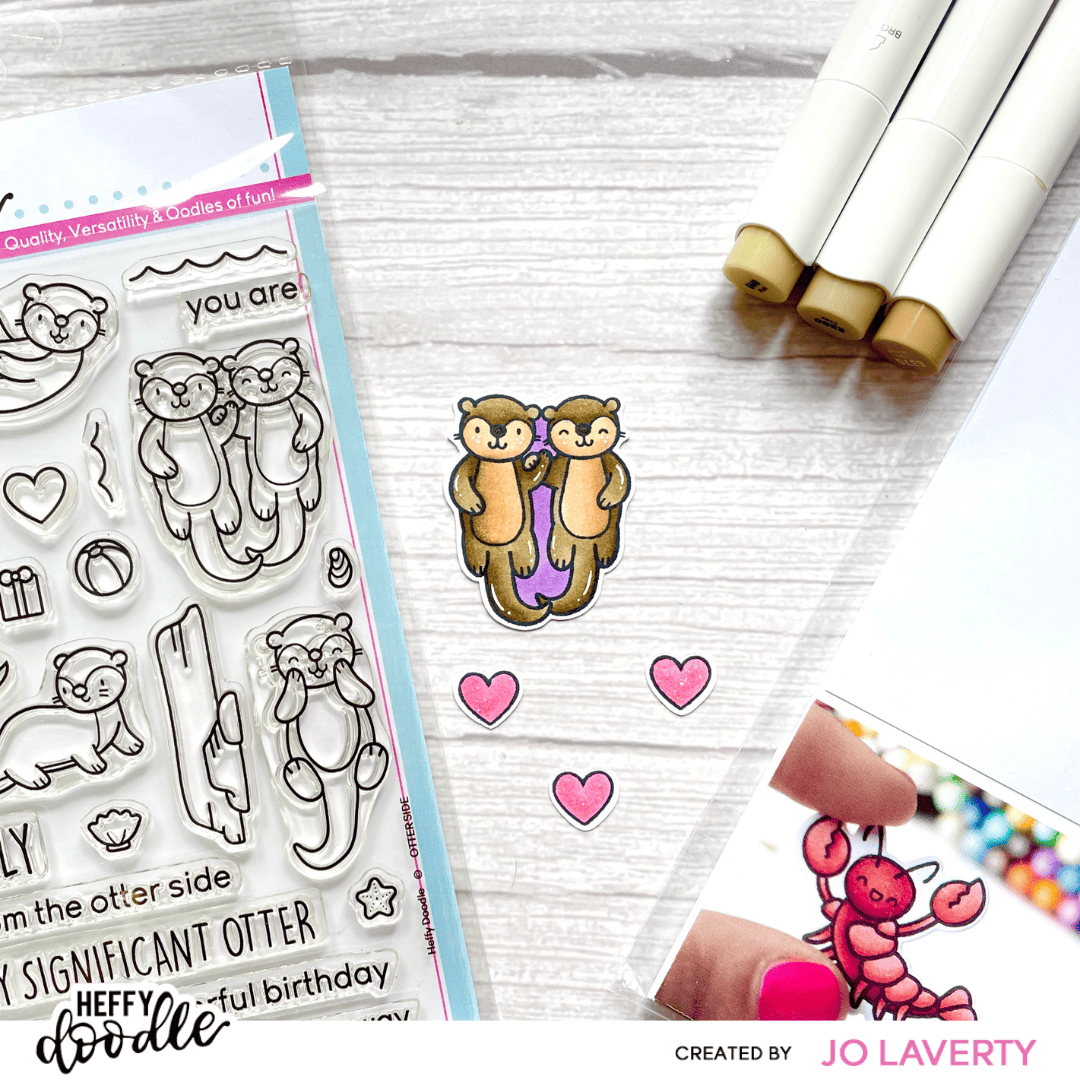
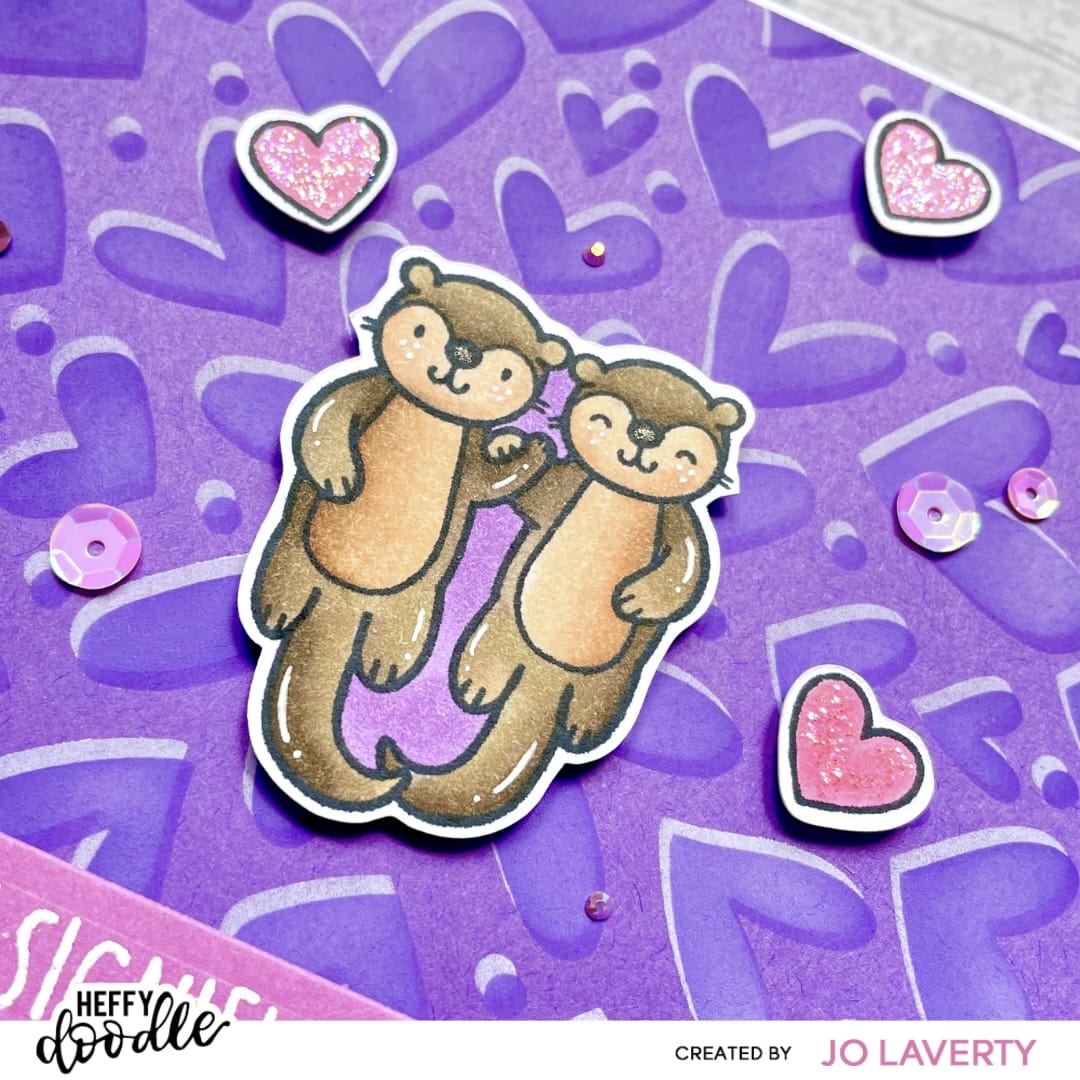
Using Heffy Doodles ‘Alcohol Friendly Marker Cardstock‘, I stamped and die cut a range of cute images from the ‘Otter Side‘ stamp set. I used Ohuhu alcohol markers to color in the images and used a white Gelly Roll pen to add in some highlights. I added some glitter to the hearts using Ranger Stickles in ‘Star Dust’.
Final Touches
To finish off the card, I adhered the images to the background using some thick foam tape and added some sequins from the ‘Strawberry Milk‘ sparkle mix. I LOVE this sparkle mix! The shades of pink are just so pretty 🙂
I hope you enjoy this card and the step-by-step tutorial. Don’t forget to tag Heffy Doodle in all your HD creations so that we can show them some love. Crafty Hugs, Jo x