
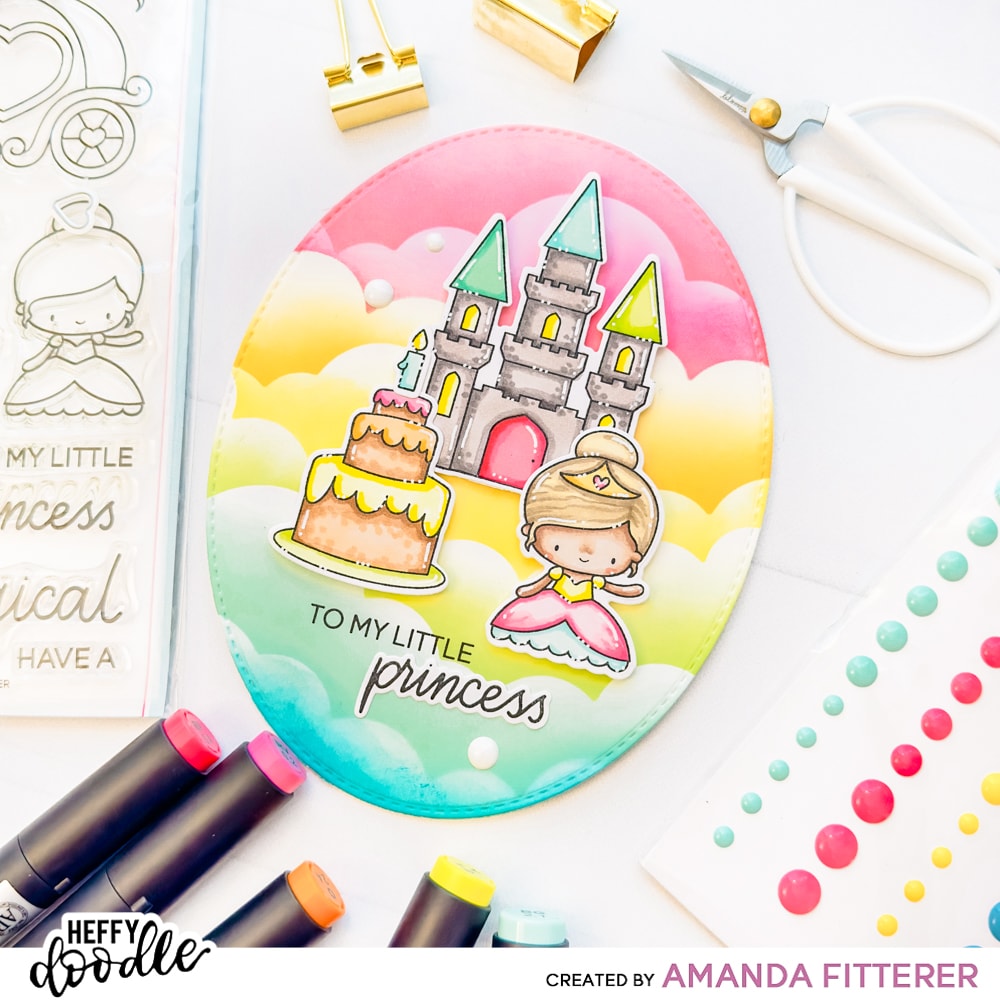
To My Little Princess – Oval Mix and Match Card

Hello, friends! How is your 2023 going so far!? I hope it’s going amazing and you’re finding lots of time to get crafty! I hope this card inspires you to create a non-rectangle card today!!
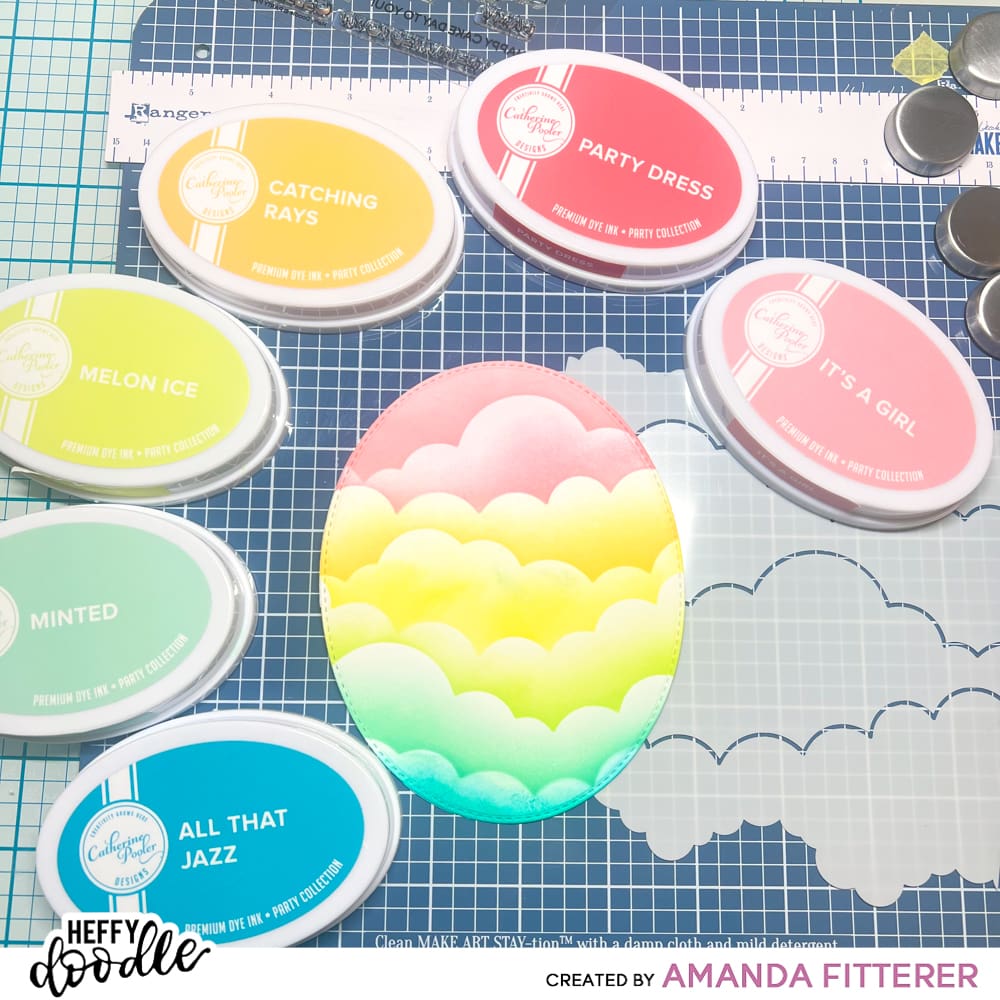
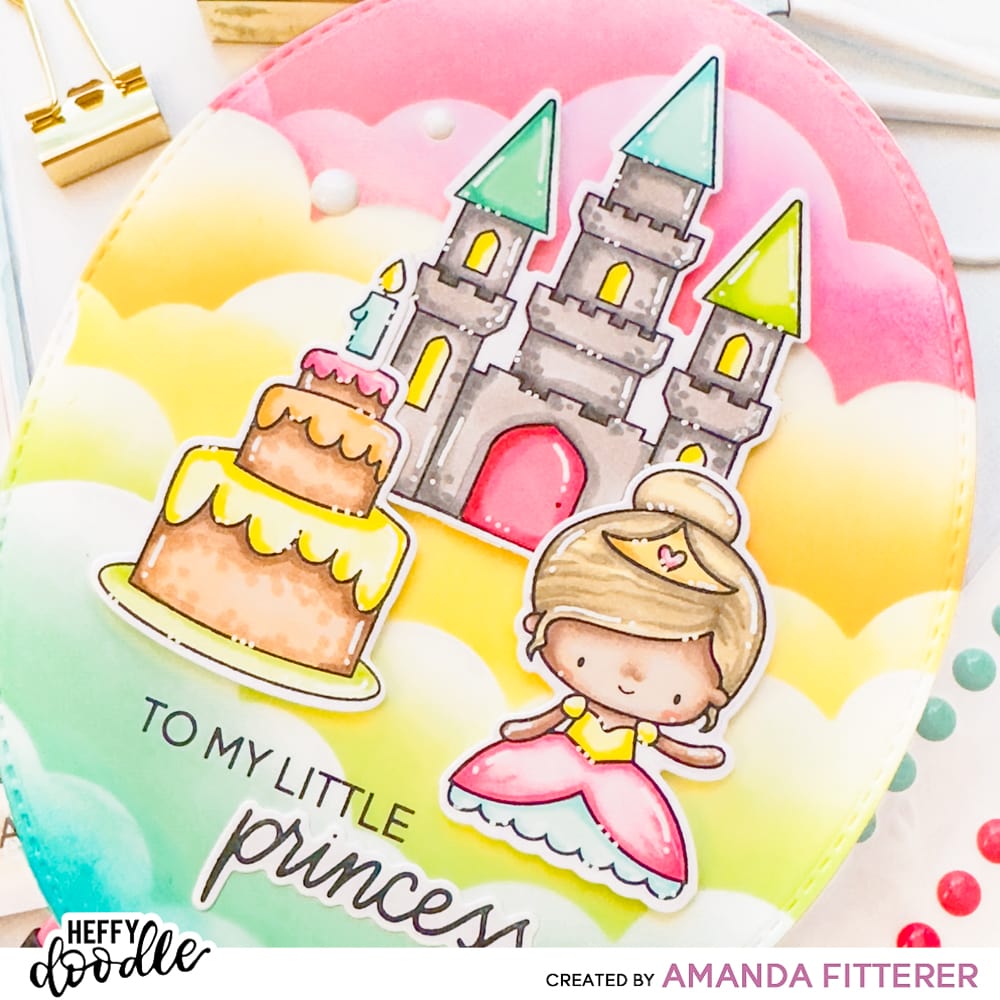
To create this card, I die cut the largest of the Ovally Excited Dies and created my Cloudy Skies Stencil Background. I blended from the top, It’s a Girl, Party Dress, Catching Rays, Melon Ice, Minted, and All That Jazz Catherine Pooler inks.
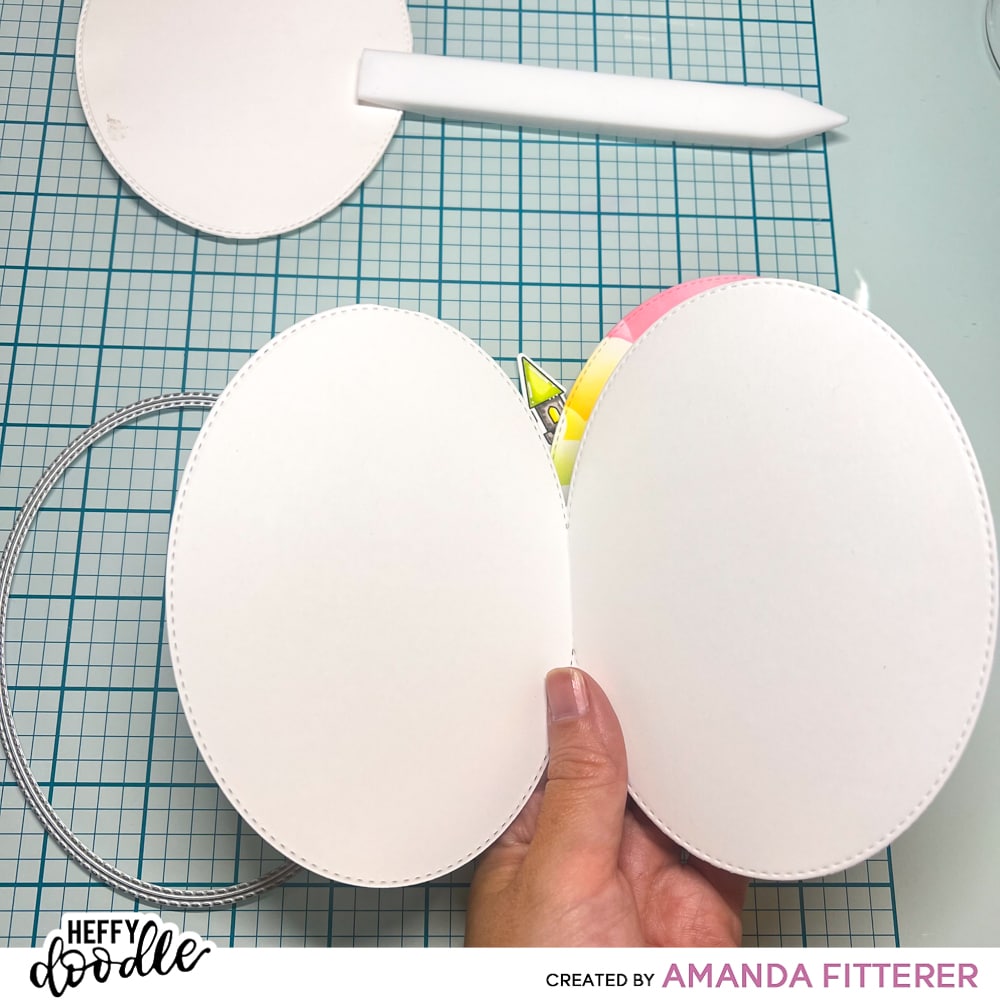
Next, I die cut the largest oval again, using a A2 card base. I lined the oval up on the edge of the A2 card base so that it would leave about a 1.5″ score line.
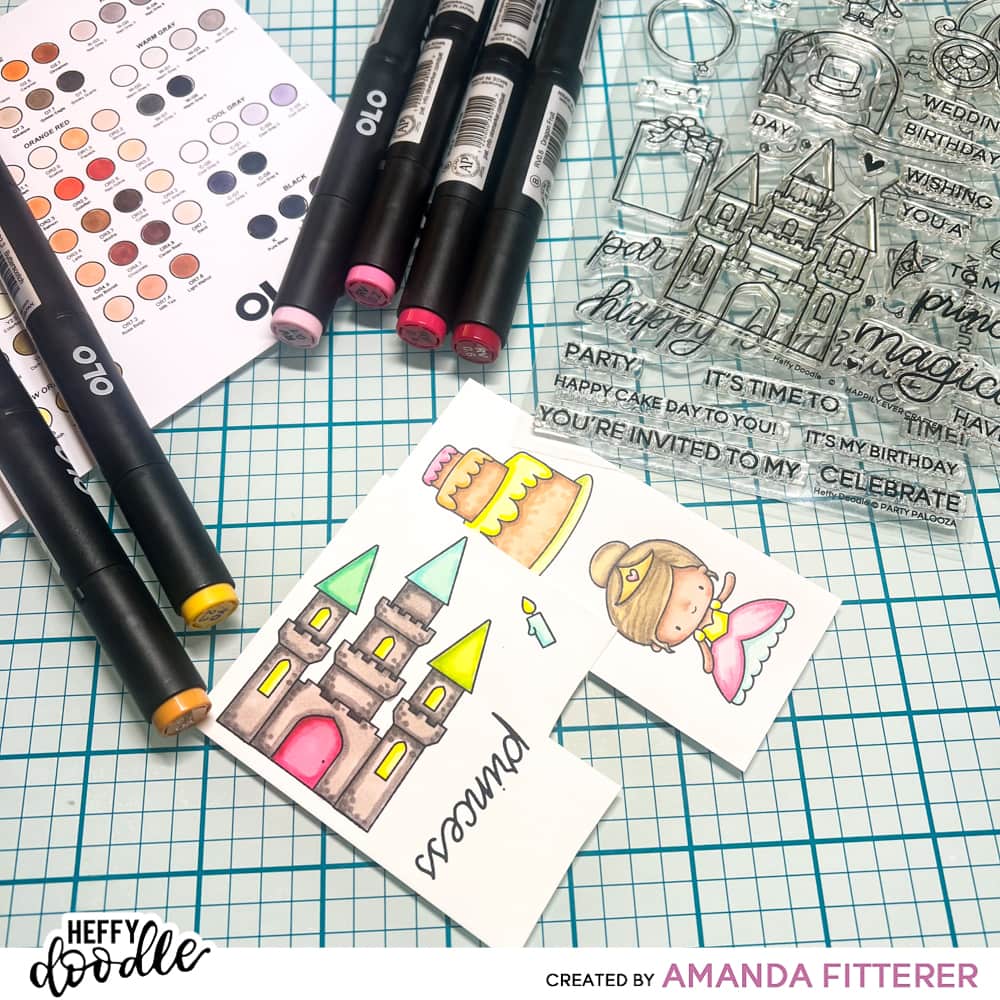
Then, I stamped my images from the Happily Ever Crafter and Party Palooza Stamp Sets. I colored my images with OLO markers and then cut them out with their coordinating die sets.
Next, I stamped my “TO MY LITTLE” sentiment directly onto my card front. Now, it’s time to attach my images to the card front using 3D foam squares. I also added some white Summer Holiday Enamel Dots onto the card front.
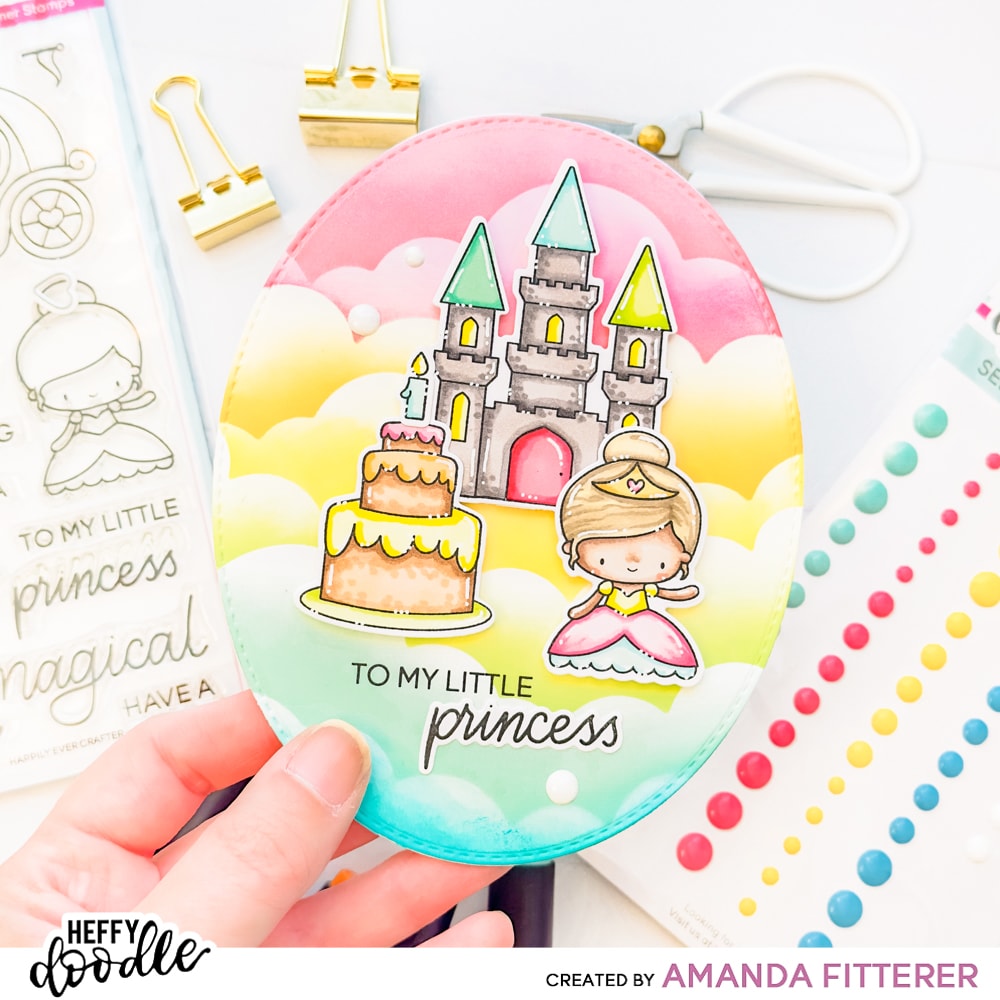
Here is another photo of the finished card!
Thank you so much for stopping by the Heffy Doodle blog today! I hope you’ve enjoyed this post and find some inspiration in it! Xx, Amanda