Shadow Box Slider Seal Friends

Amanda’s Quick Links: My Instagram | My website
Product Quick Links: Sealy Friends Stamp Set | Sealy Friends Dies | Miss You Shadow Heffy Cuts | Close at Heart Sentiment Stamp Set | Breaking Waves Border Die | Big Shadow Box Die | Wavy Water Slides Dies | Heffy Doodle Cardstock
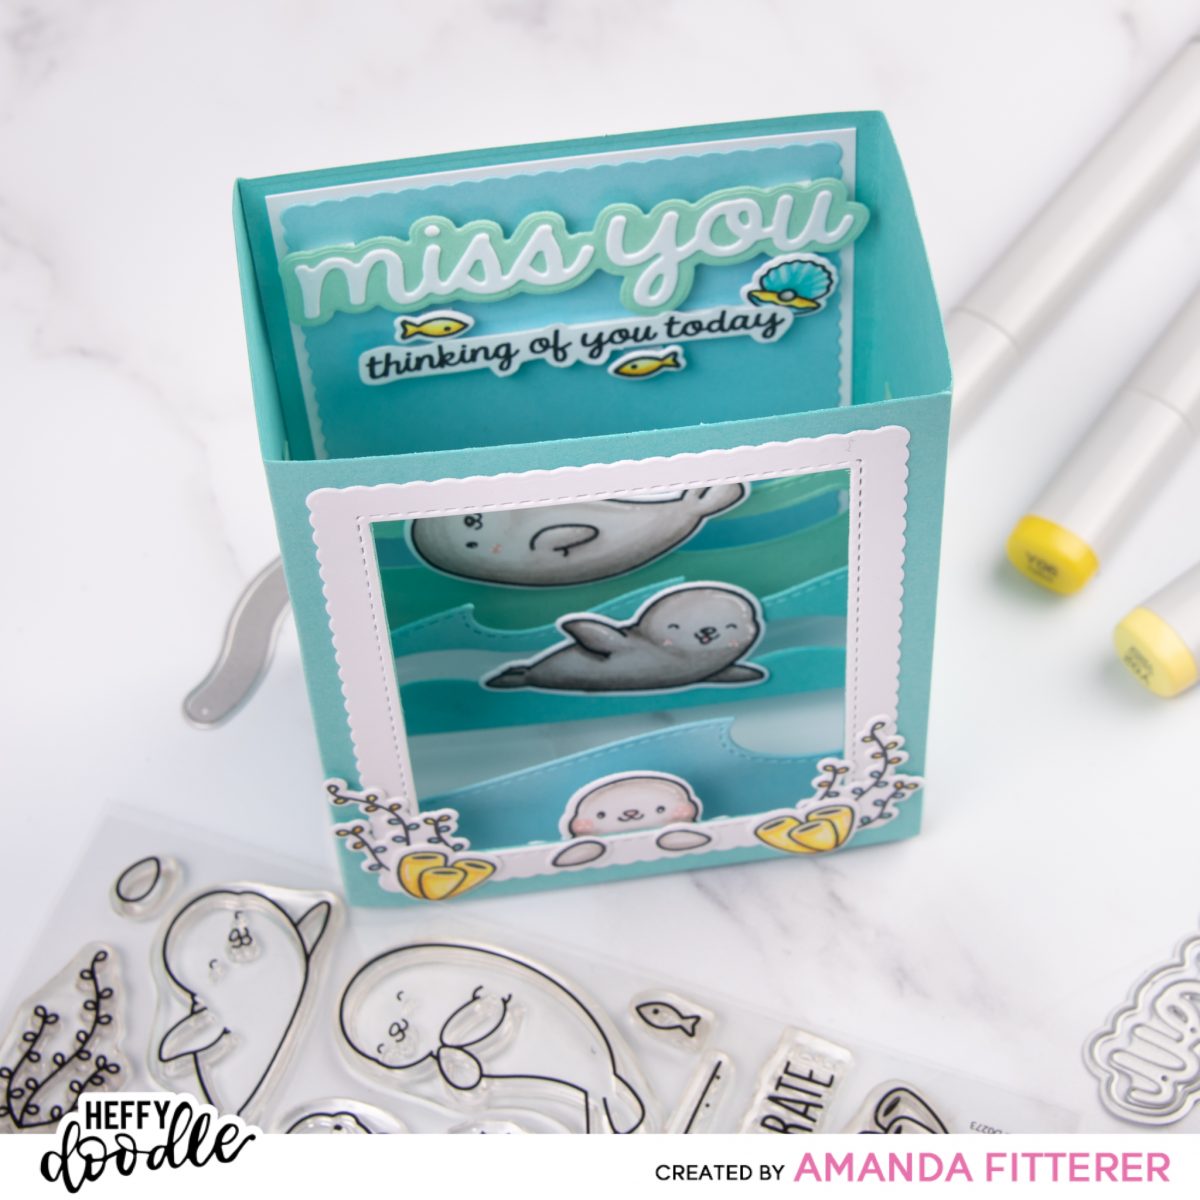
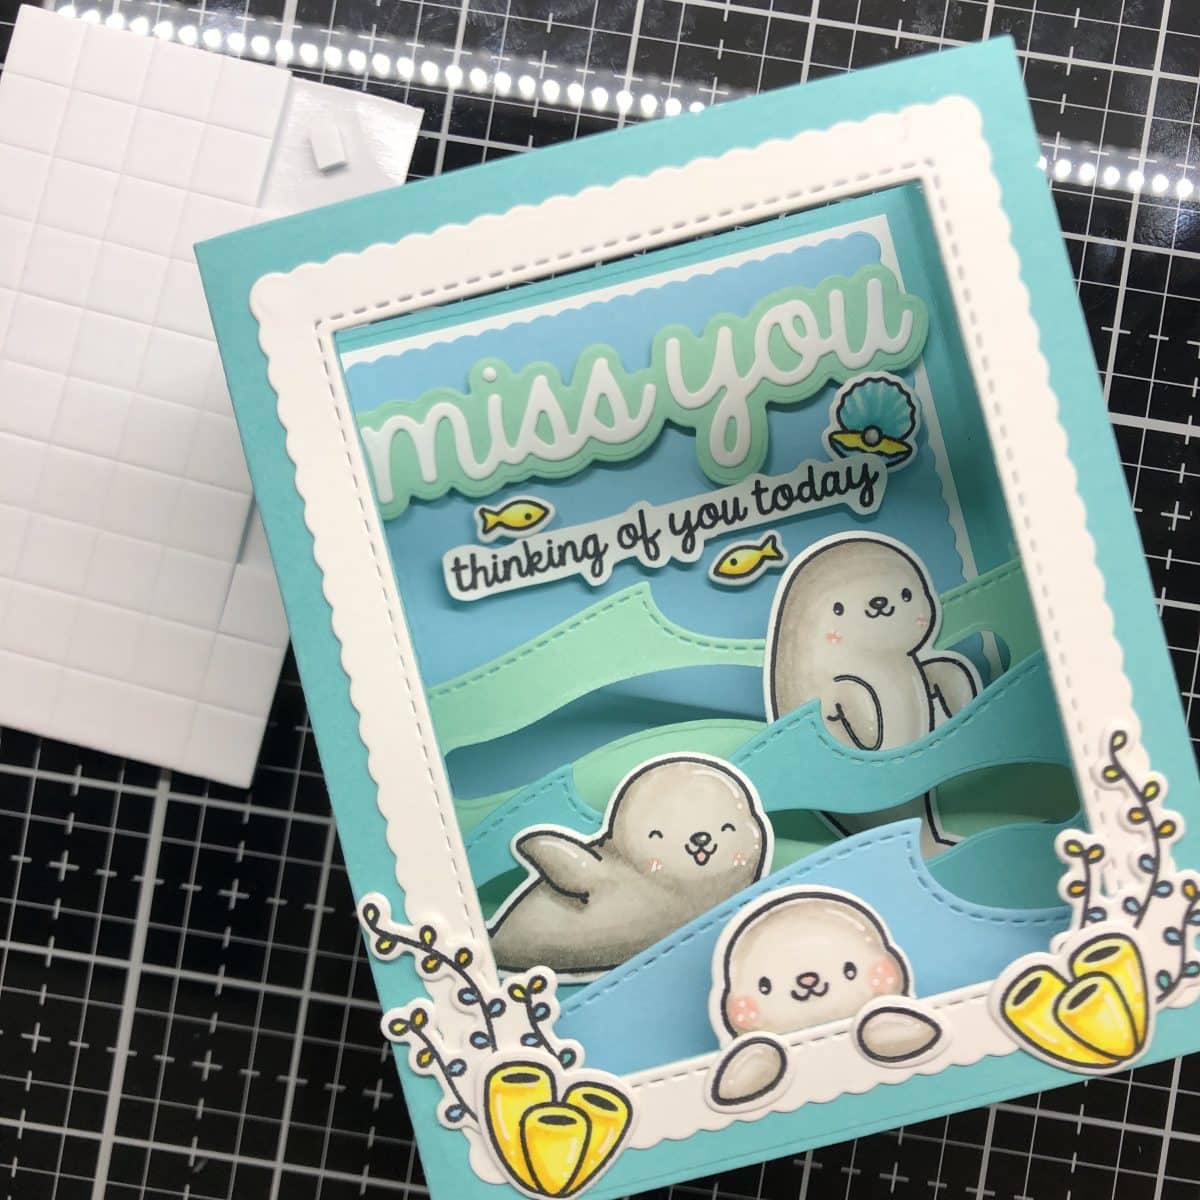
Ahh! The new release is AMAZING, isn’t it?? This shadow box card folds down and fits into an A2 envelope! These seals can slide back and forth! Can you tell I’m excited to share this card with you!?
Just one tip, before I get started on my card:
When you get your Big Shadow Box Die, use a piece of scrap cardstock and assemble your very first one without intentions of making an actual card. Having one plain shadow box die to sit on your desk to use as a reference is key! It will help you plan your project out and get all the kinks out of the way without ruining a card!
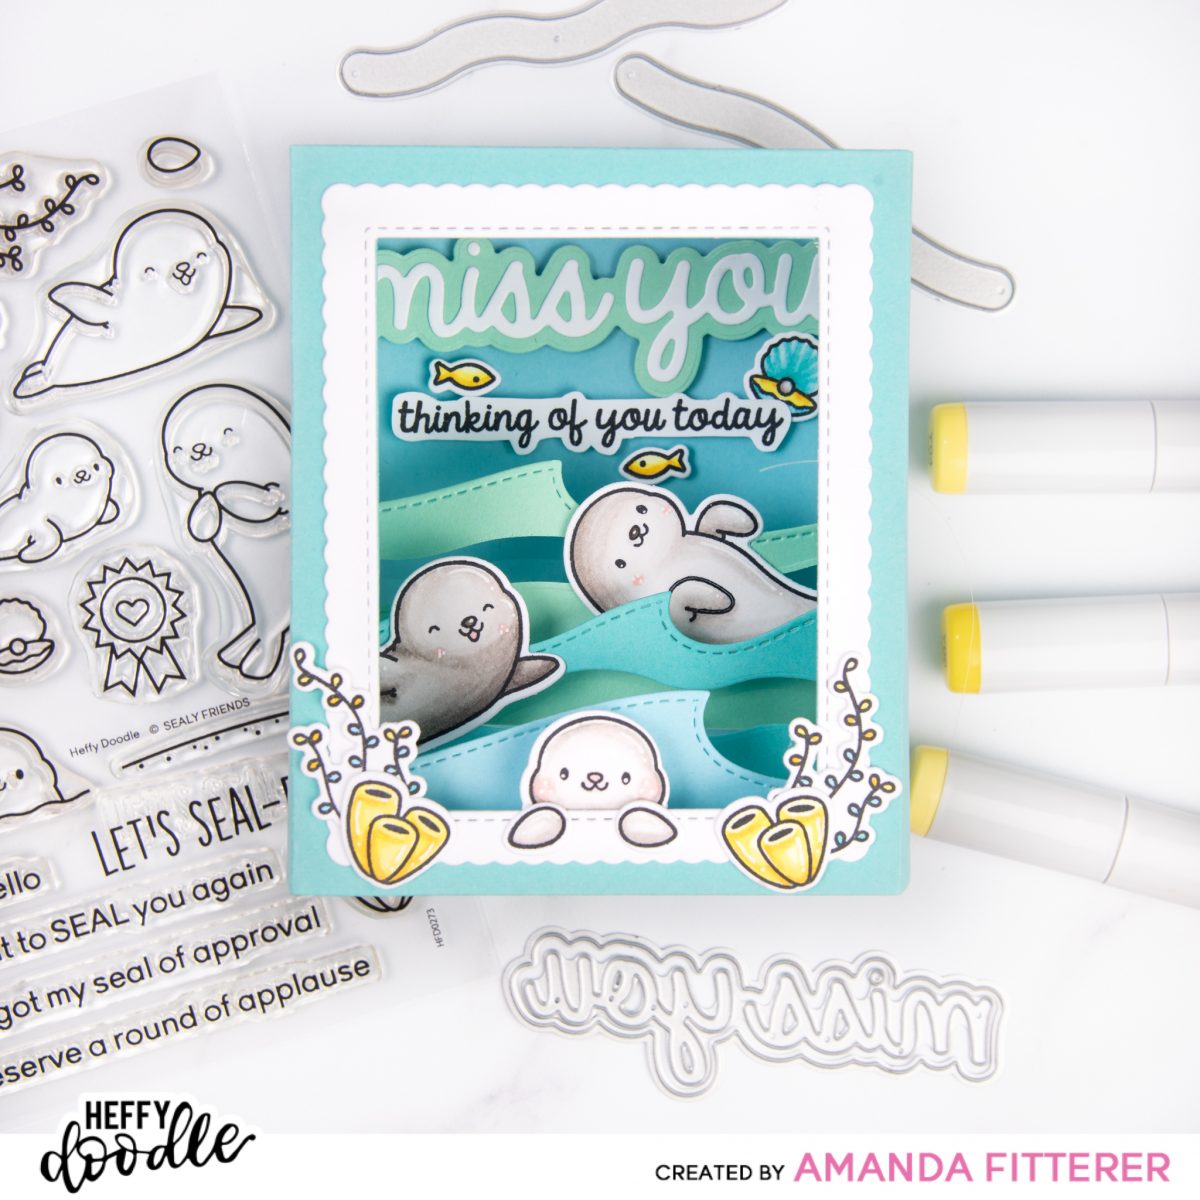
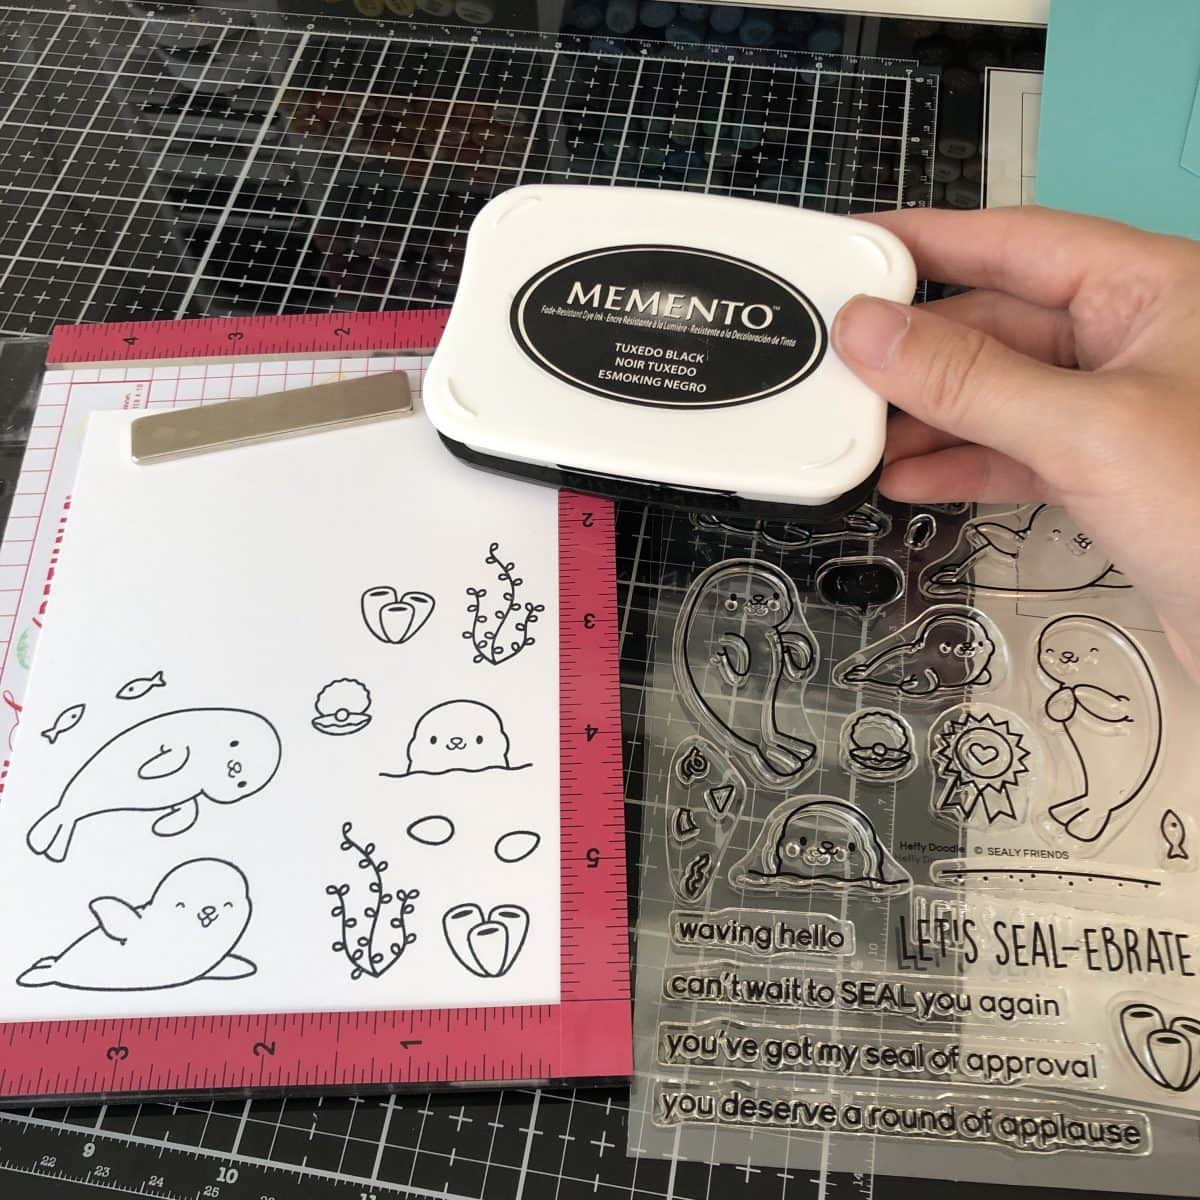
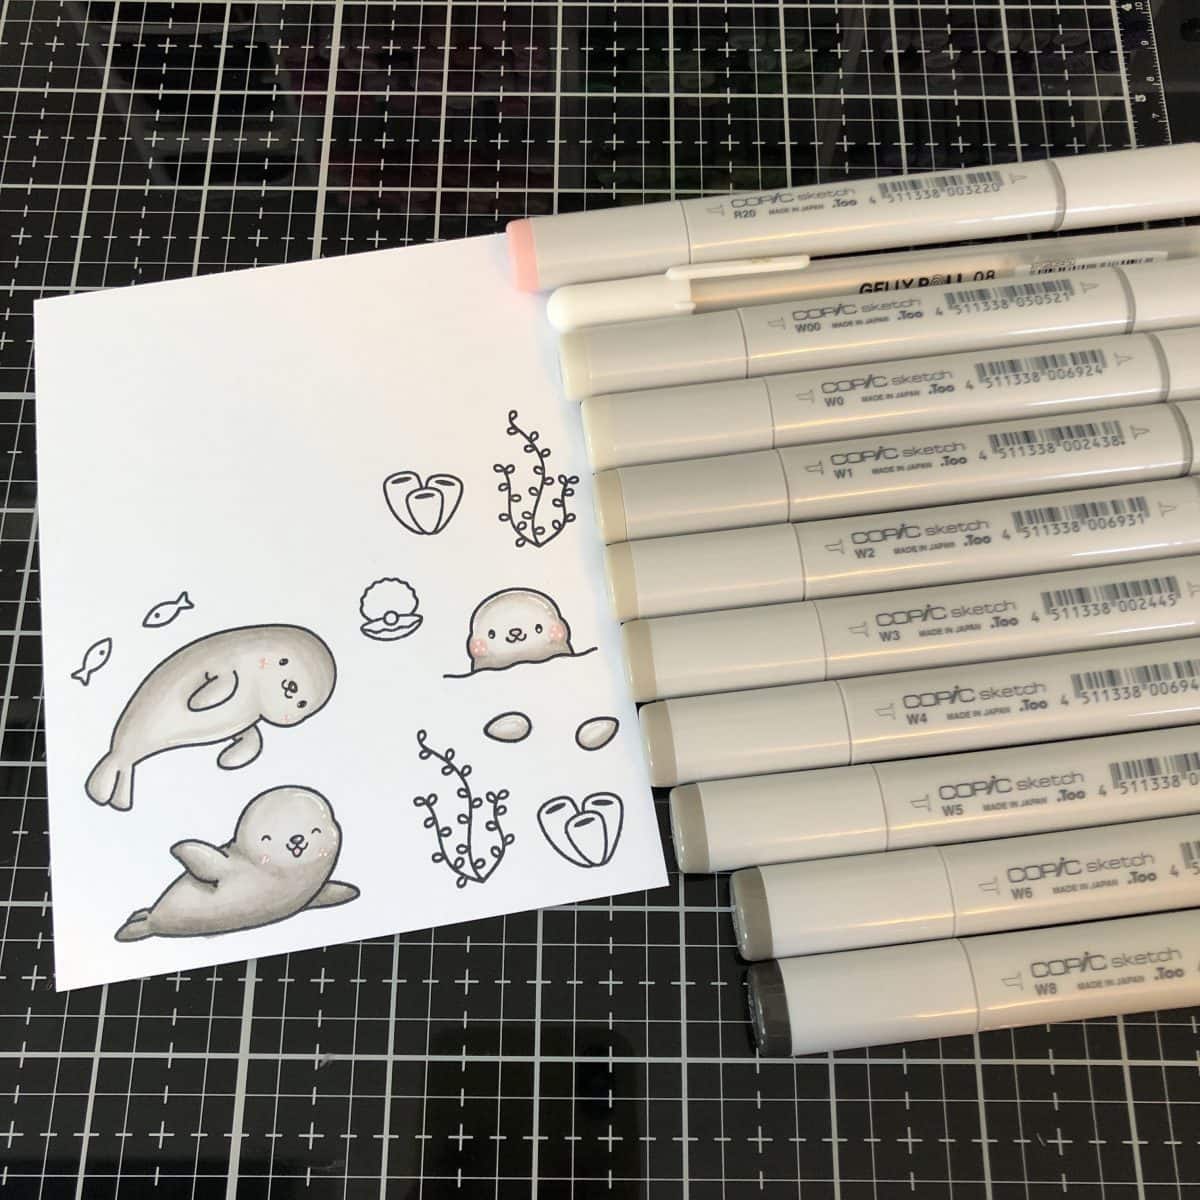
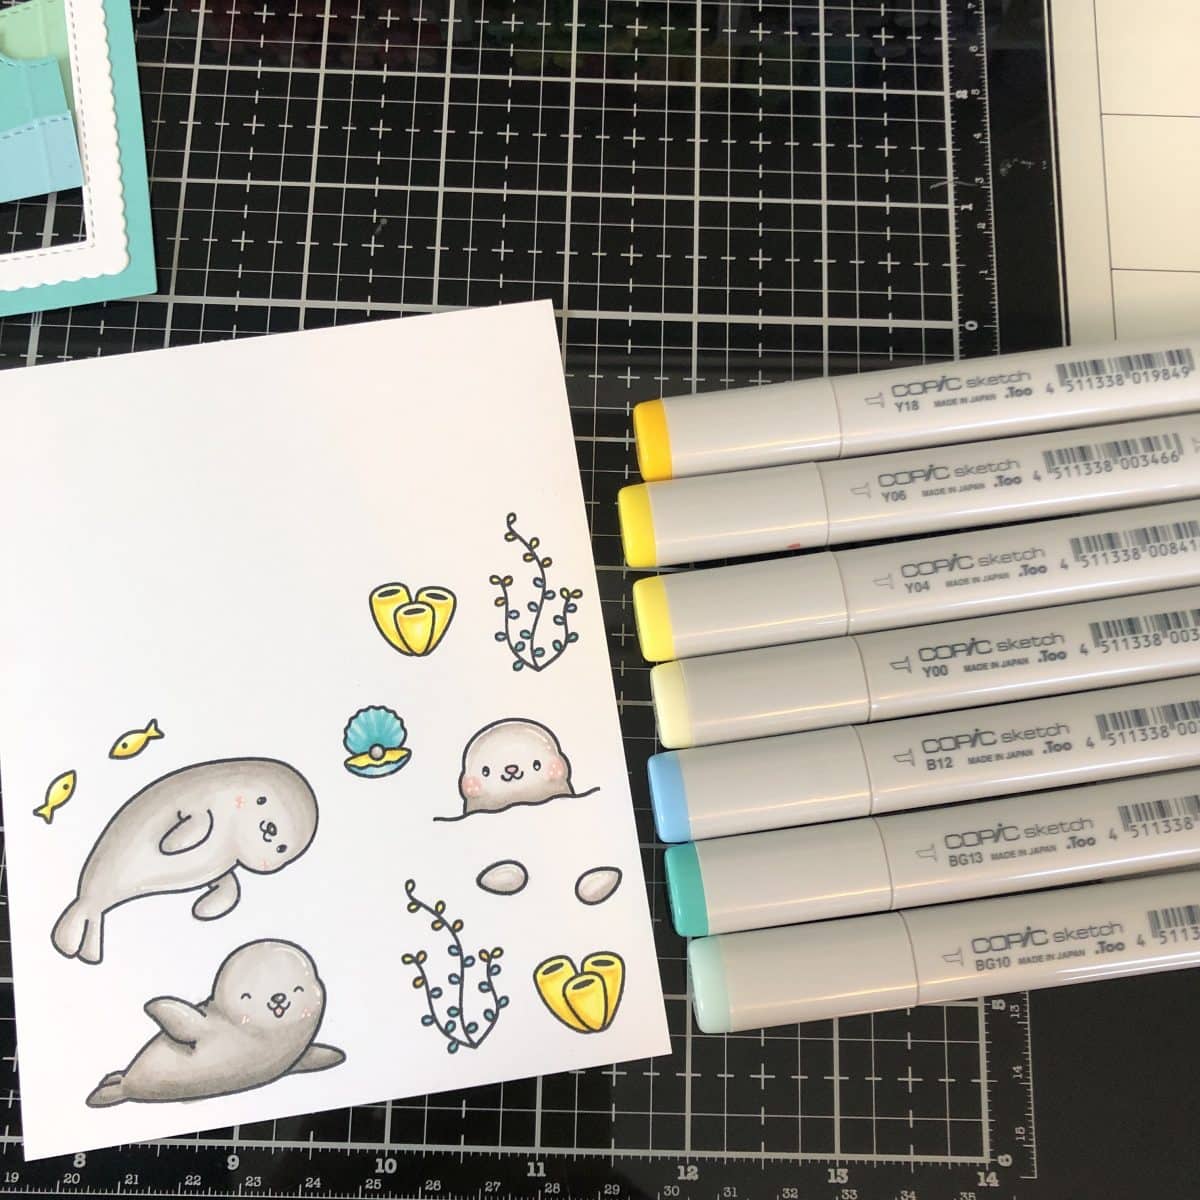
To make this card, I am stamping my images with Memento Tuxedo Black ink. This is my favorite ink for using alcohol markers because it doesn’t bleed at all.
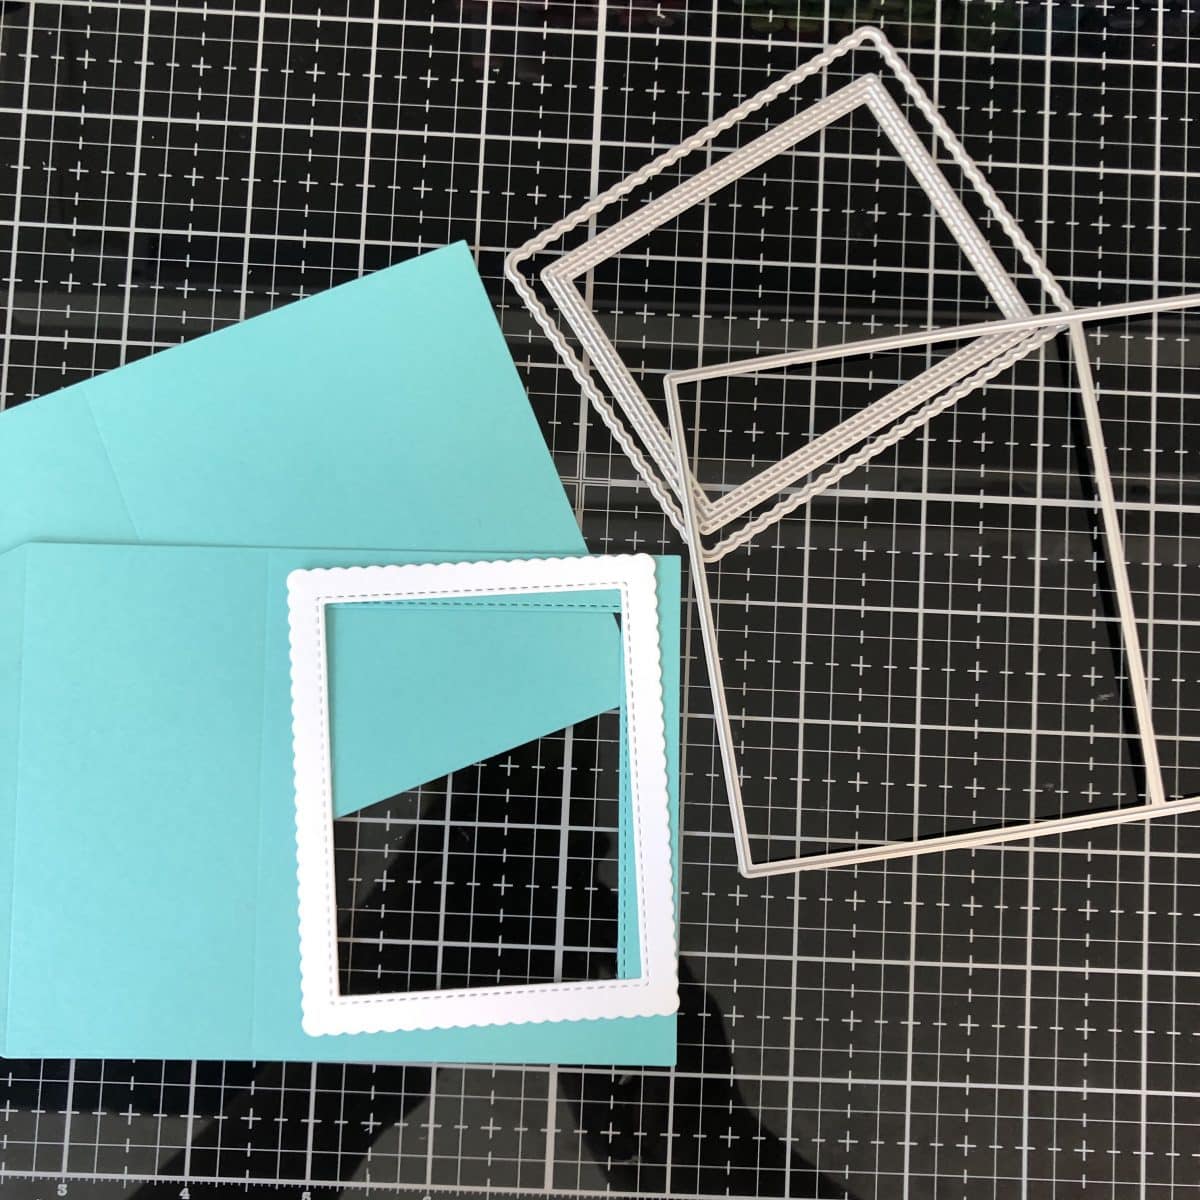
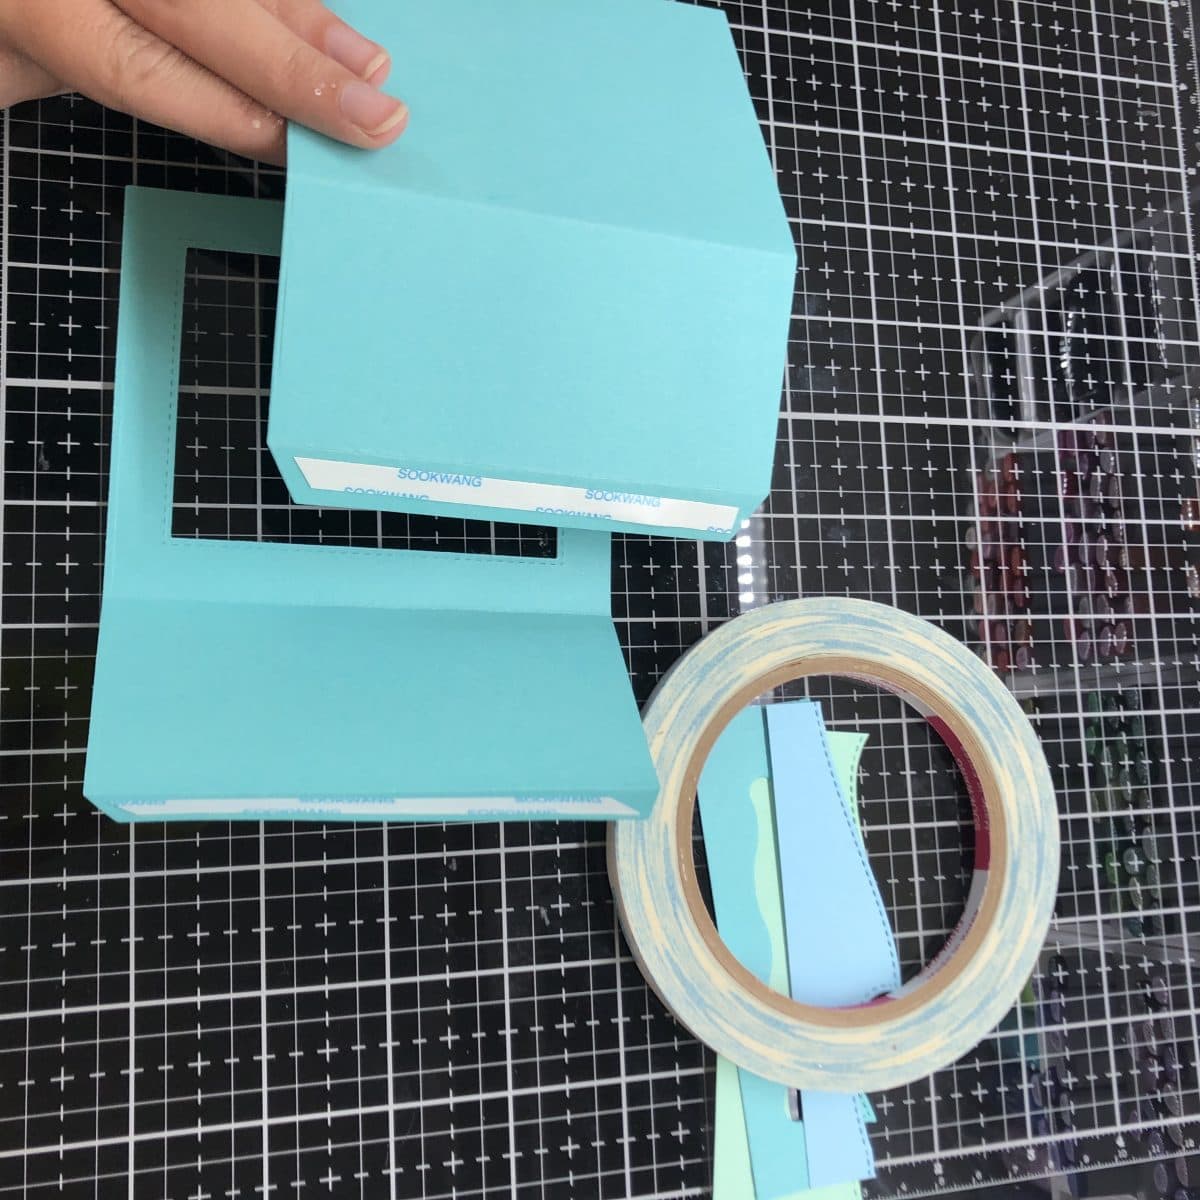
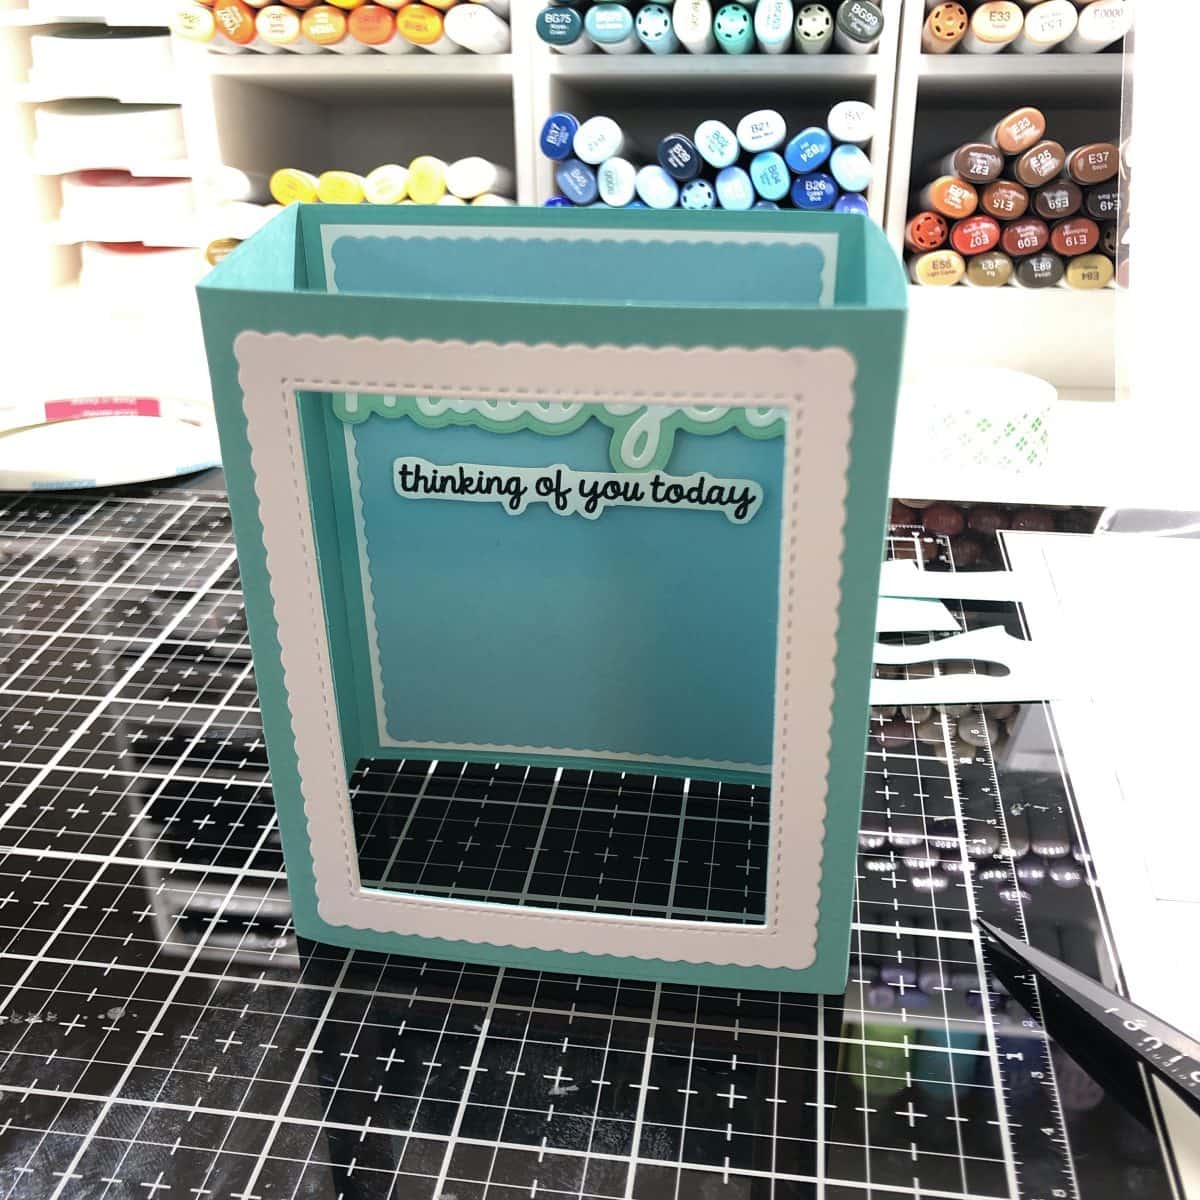
Next, I’m getting my shadow box ready. I am using the dies that come with the set to create a border around my window as well. This beautiful card stock is from Heffy Doodle as well. I am not going to assemble the card yet, though. I want to make sure I put something on the “back wall” first. If I assemble the card, it would be more difficult to adhere anything back there. If you’ll notice that I’m also placing the double sided tape on opposite sides of the tabs. This is to keep from seeing the tab on the “back wall” from the inside of the card. (Note: This is where having a “template” shadow box was super useful. I wouldn’t have known that if I didn’t have my template to practice on!)
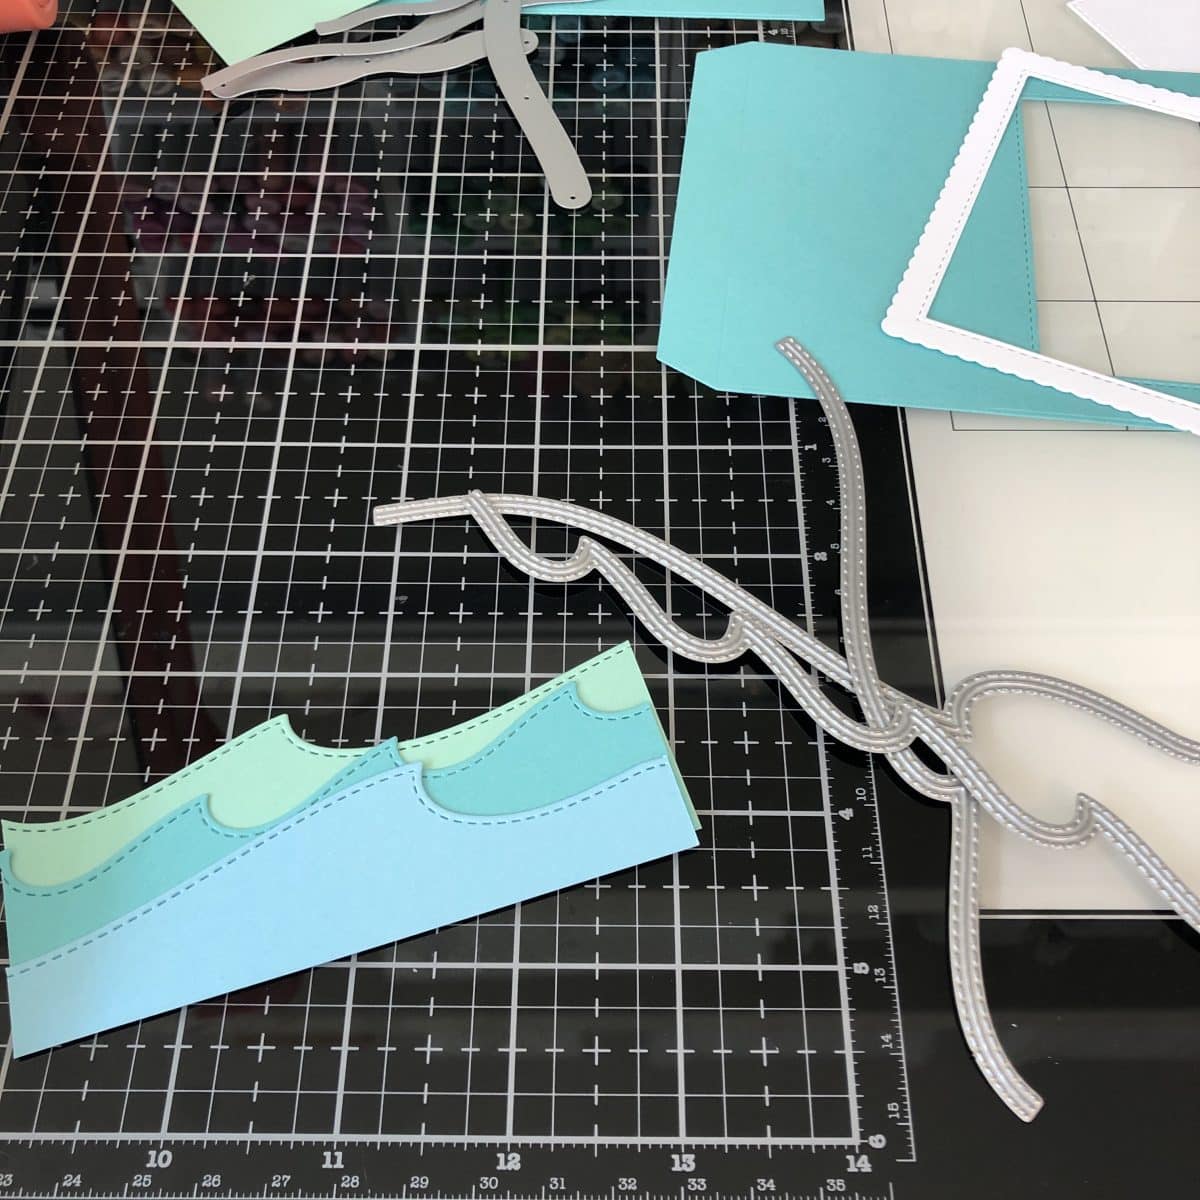
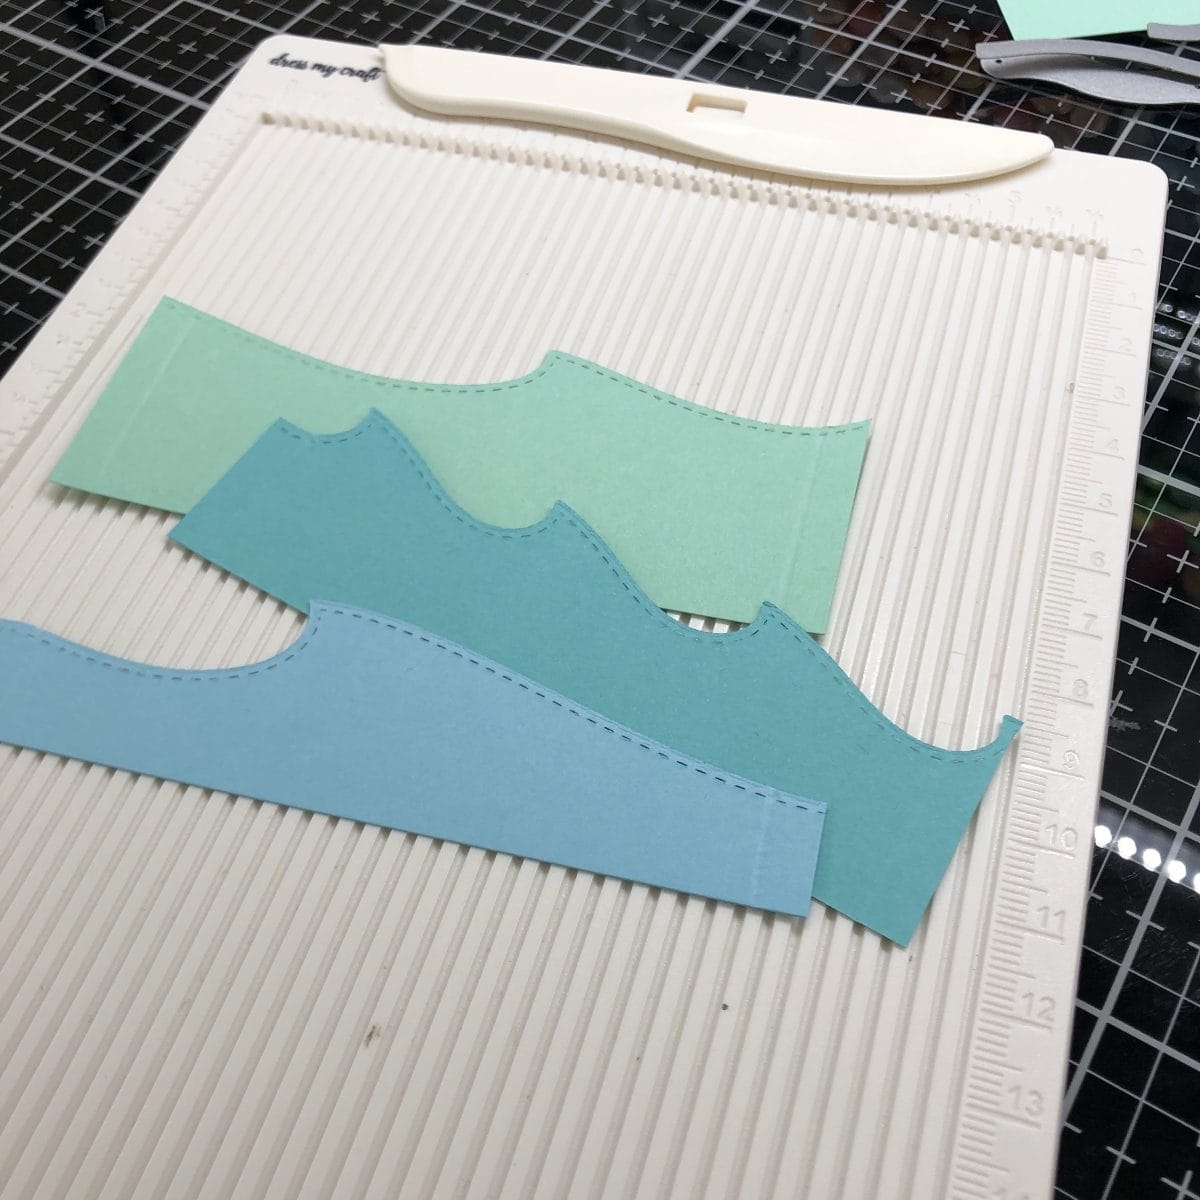
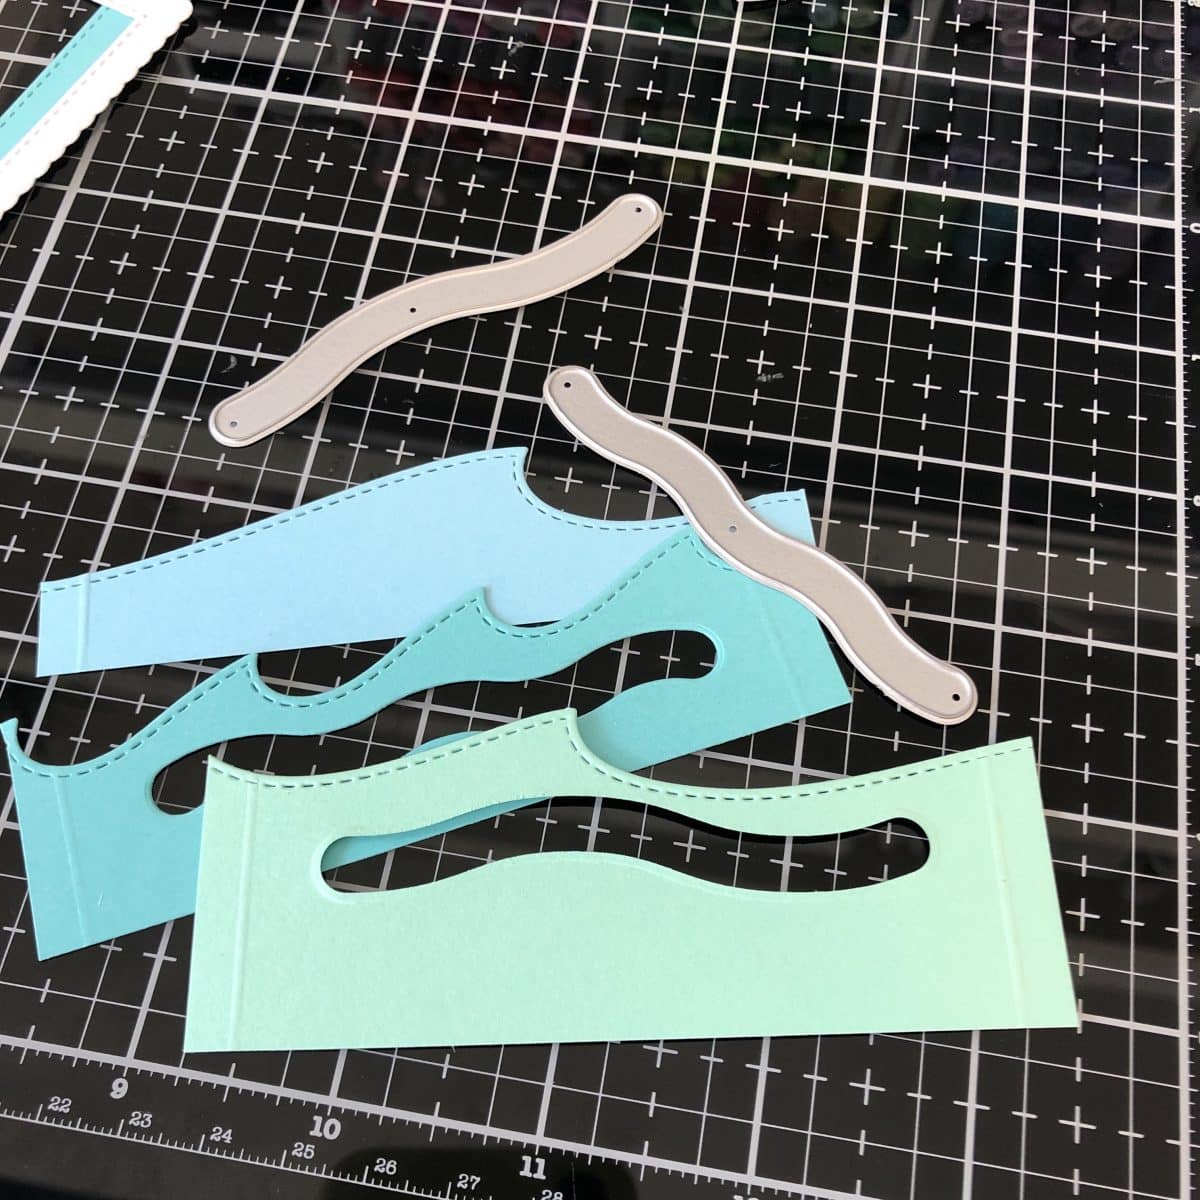
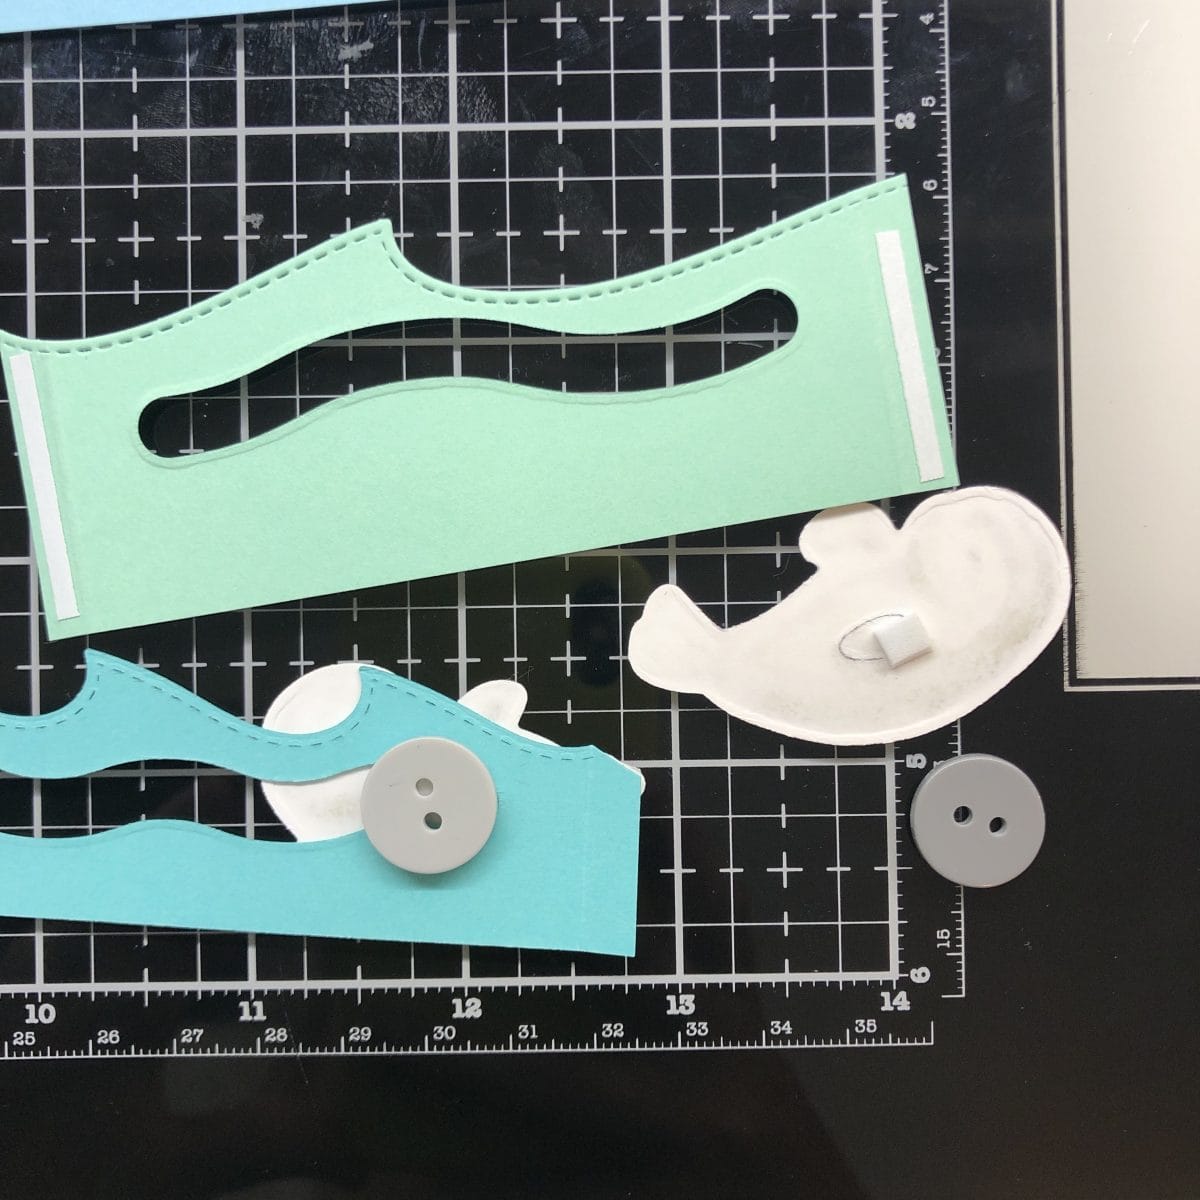
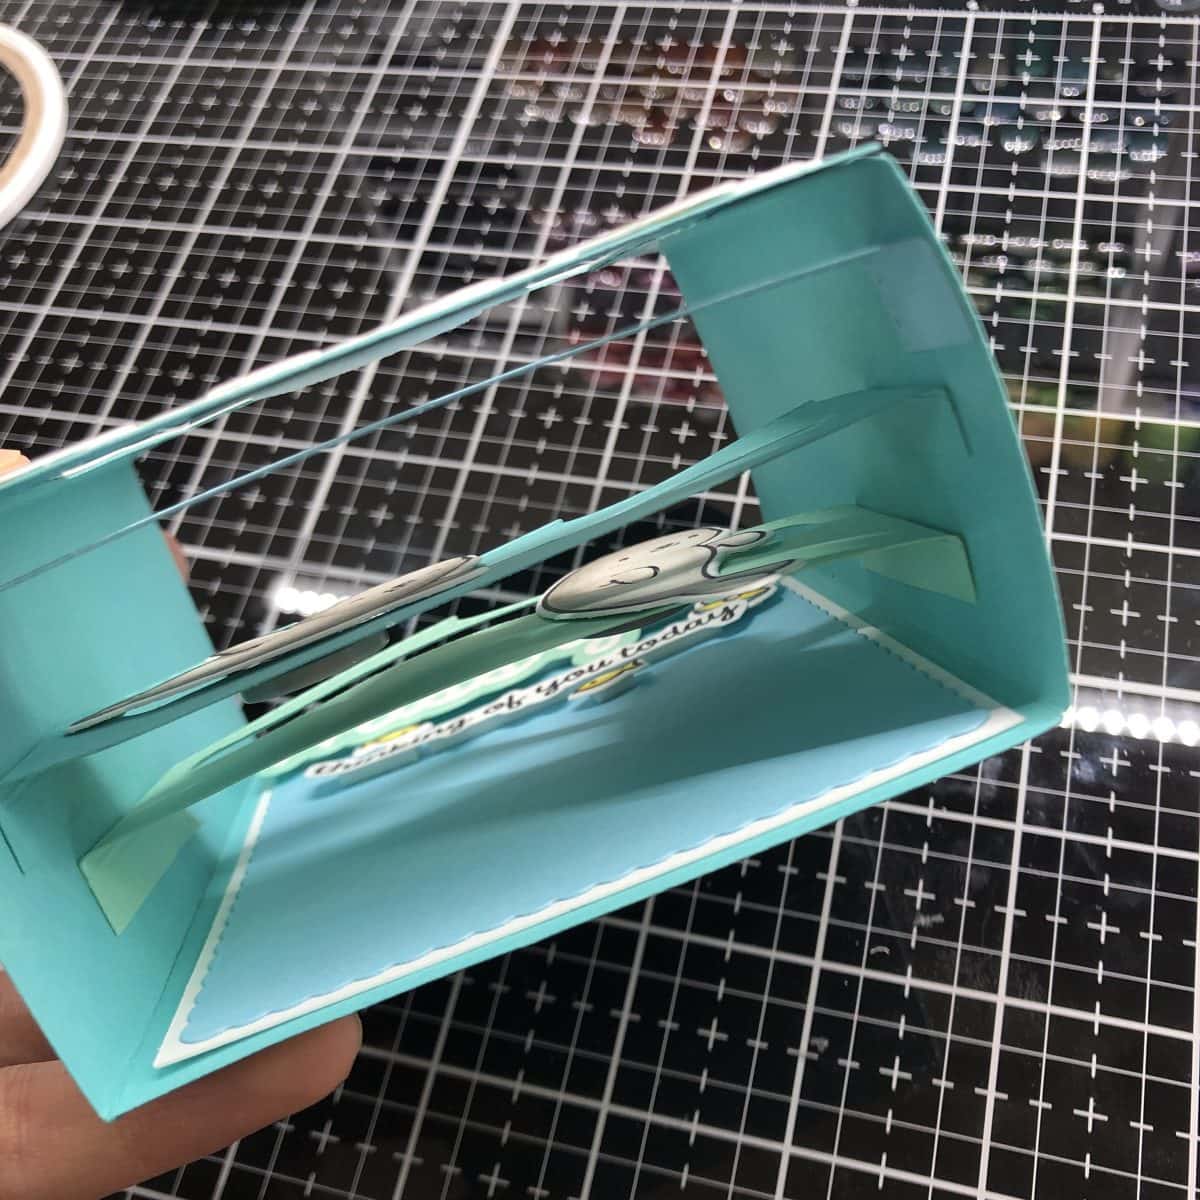
I’m using the Breaking Waves Border Dies to create my waves with the Heffy Doodle cardstock. I am cutting them down to 4.25″ and then scoring the edges so that they fit inside the box (approx. 3/8″). I am also using the Wavy Water Slides dies on 2 of my waves. I can use a button, penny, or even cardstock to attach my seals to the sliders. For this card, I decided to use buttons, so I’m using 3D foam squares to attach my seals to the buttons. I’m also putting double sided tape on my tabs, but leaving the paper backing on them.
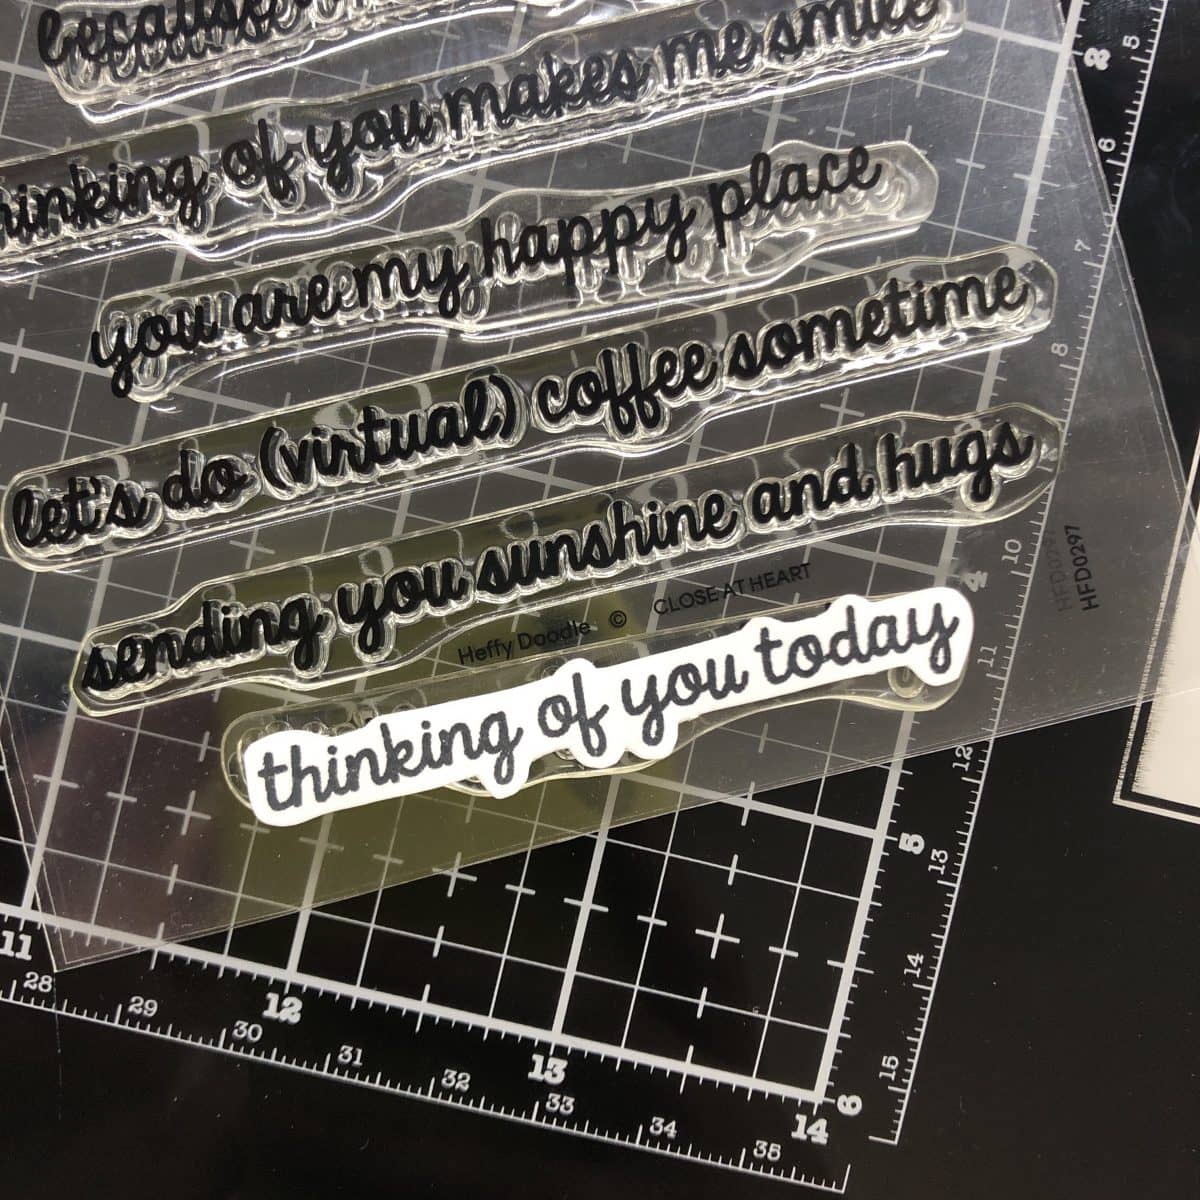
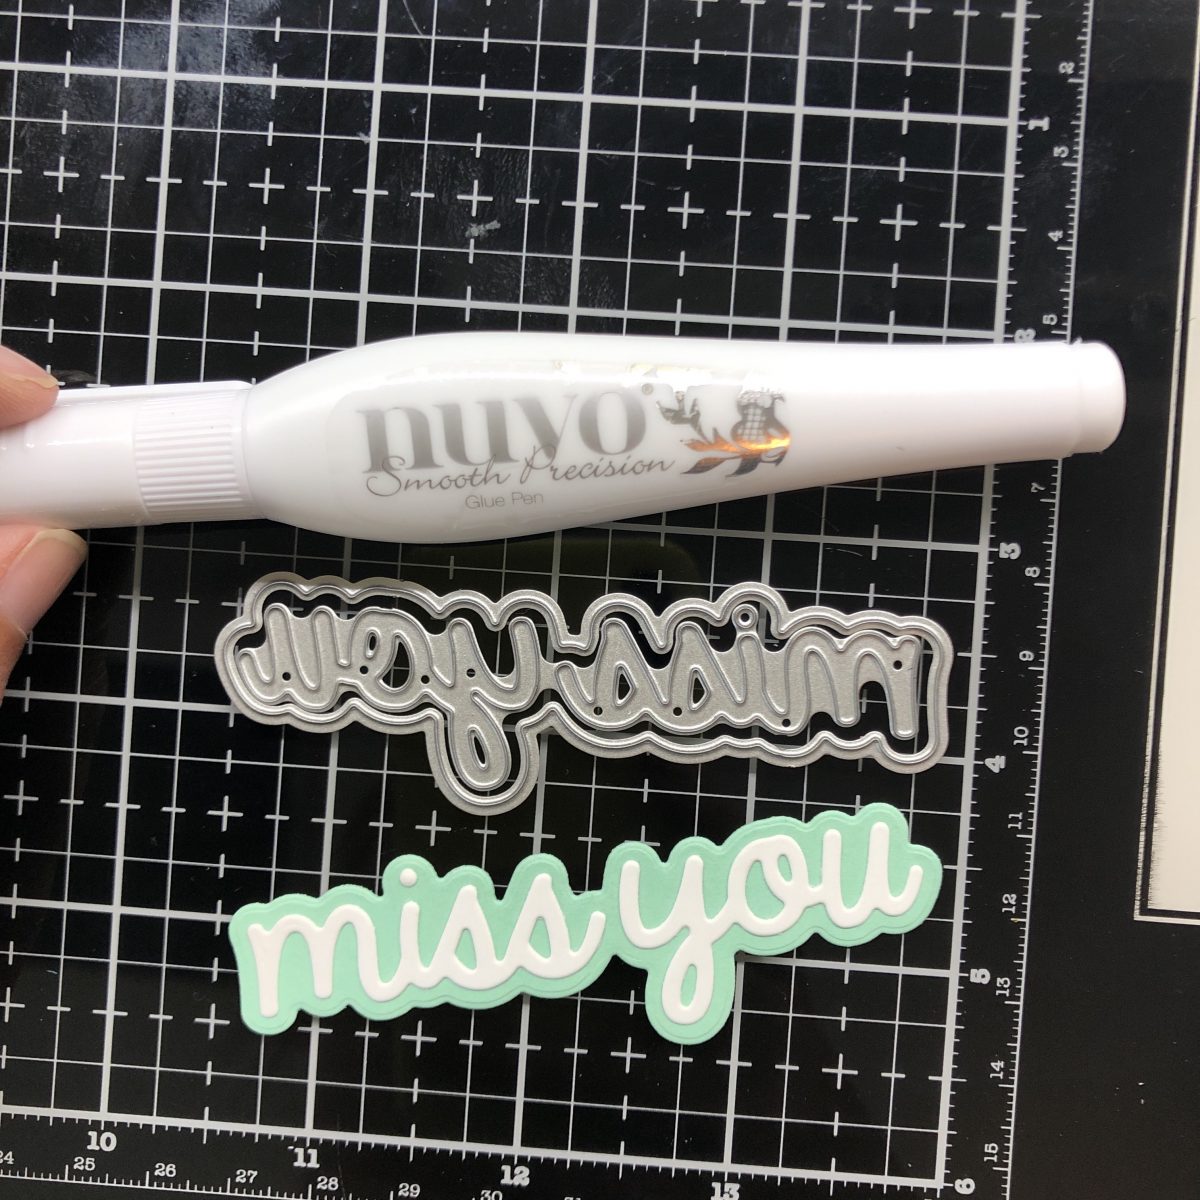
For my sentiments, I’m using the Close at Heart Sentiments stamp set and the Miss You Shadow Heffy Cuts die. As you can see, I put my frame and sentiments on the back wall BEFORE assembling my card. Also, you cannot see the tab in the back because it’s on the backside of the card.
Now, I’m ready to put my waves inside my card. I am peeling the paper backing off of the double sided tape and then staggering the waves how I like them. Then, I’m ready to adhere the rest of my images with 3D foam squares and liquid glue!
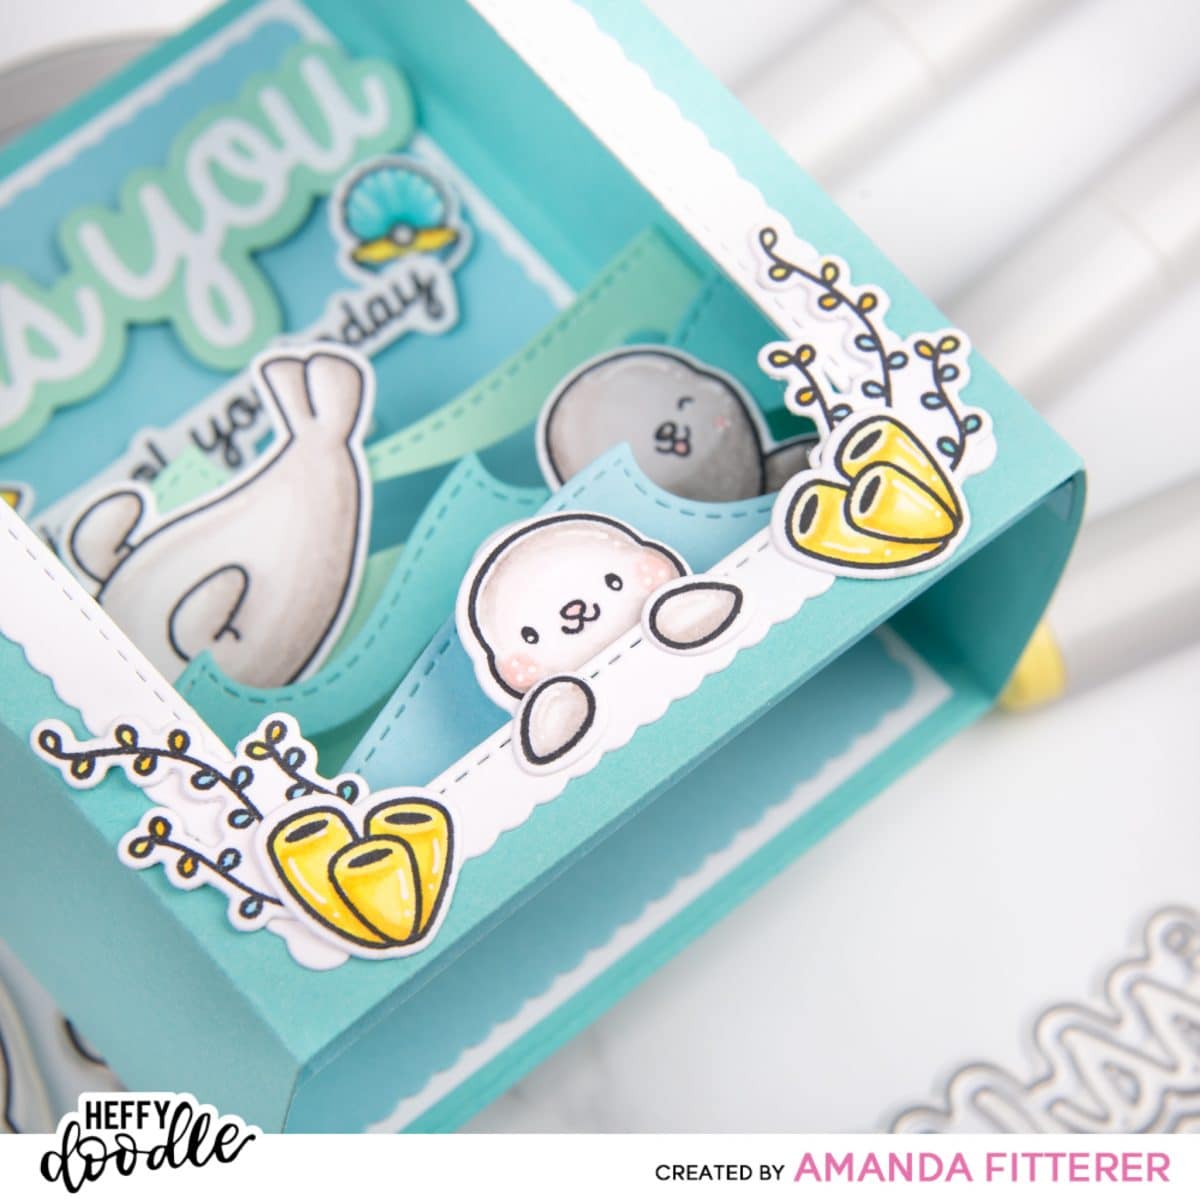
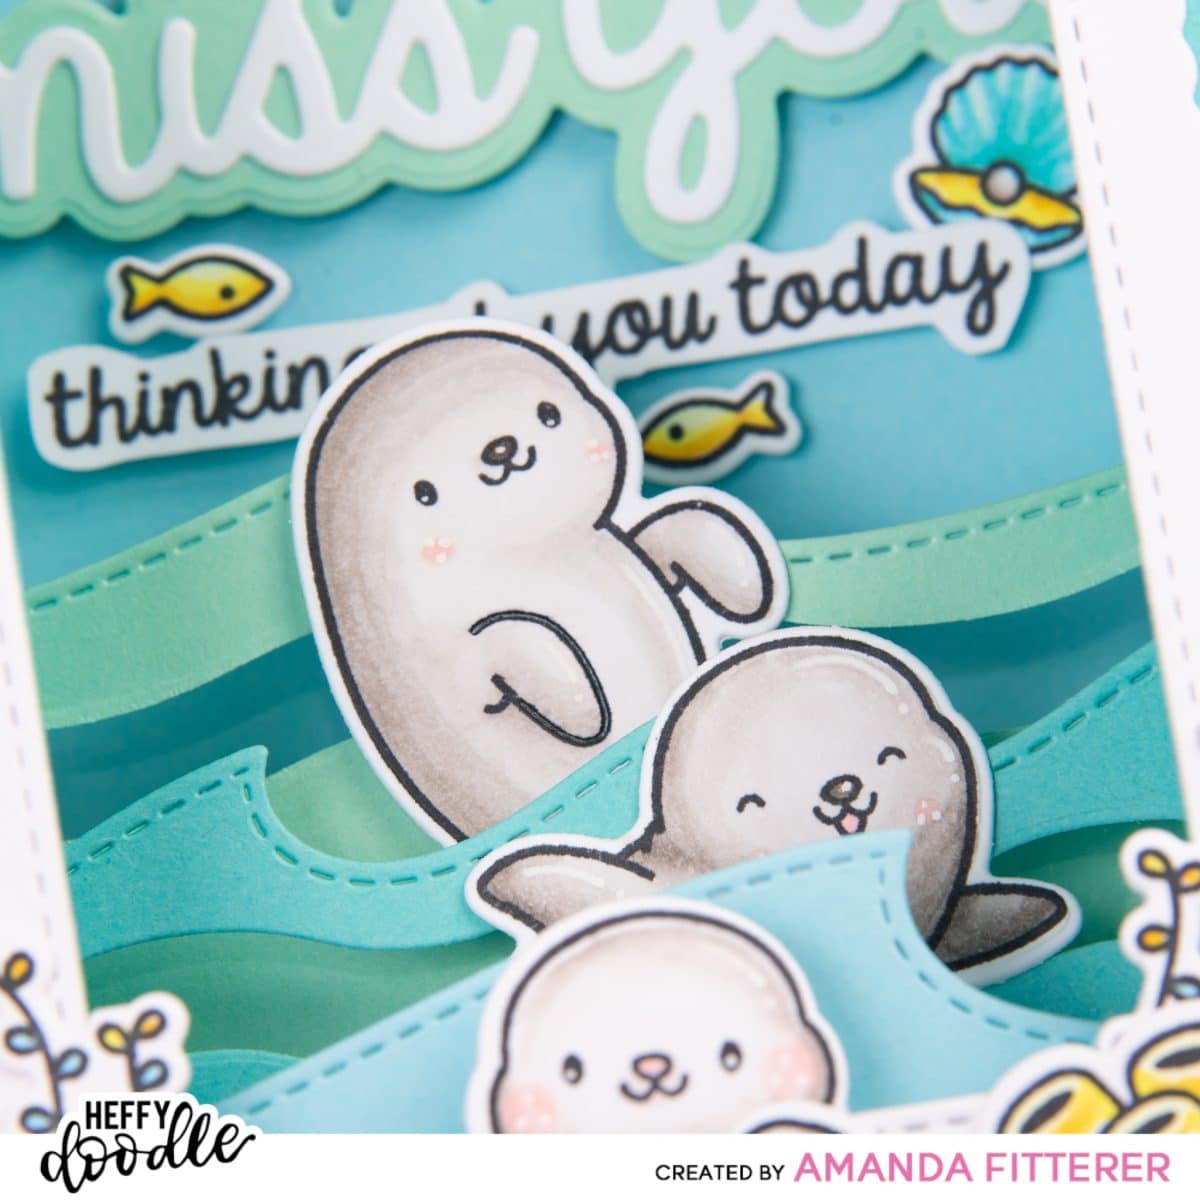
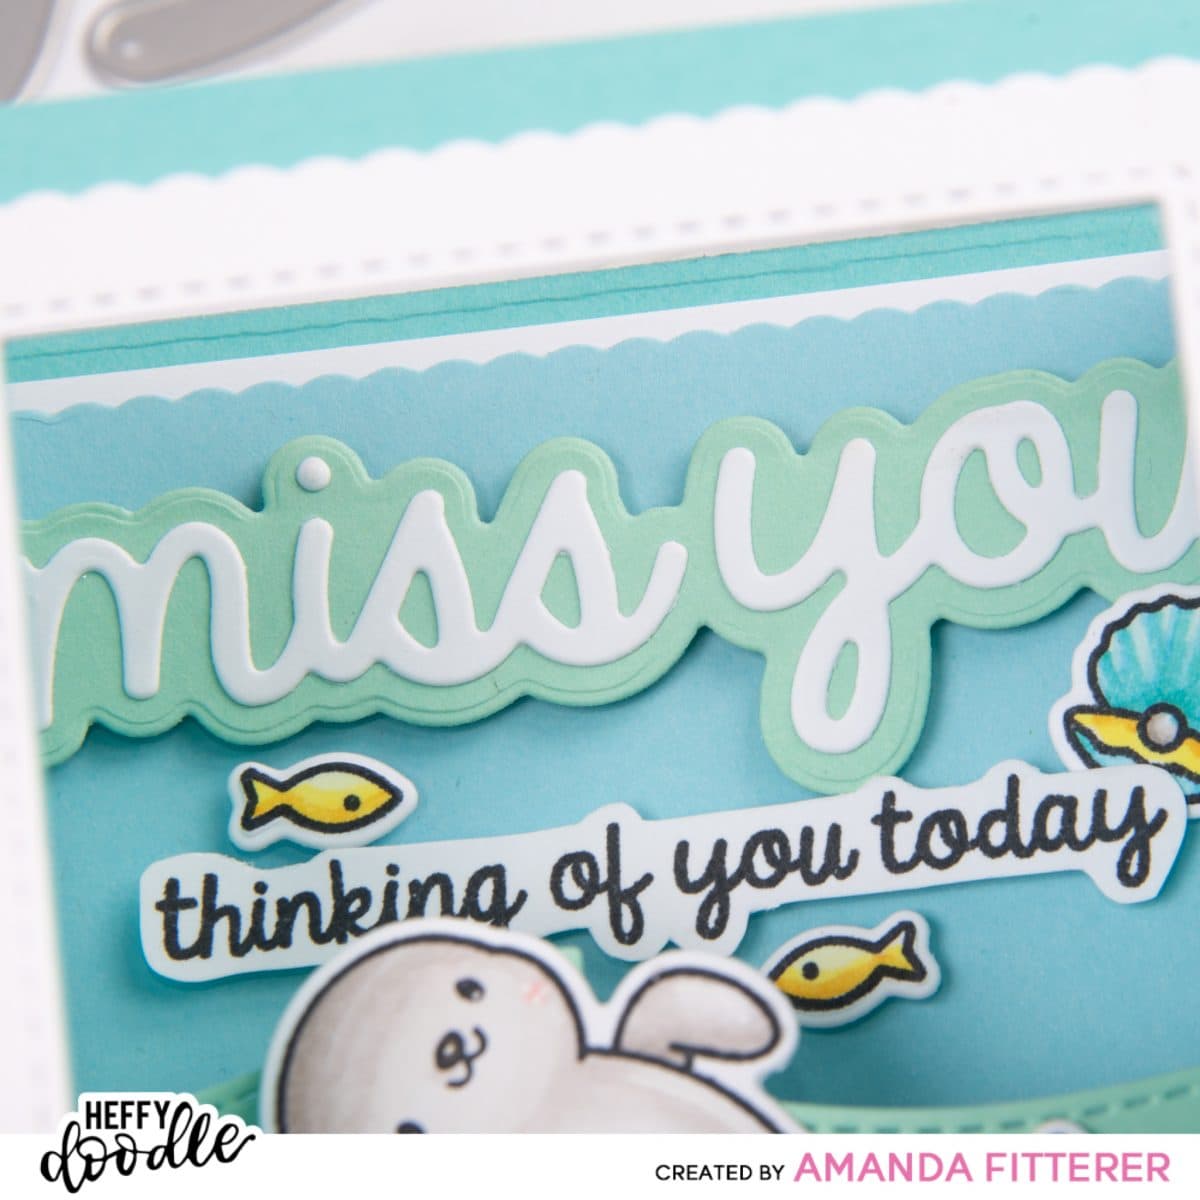
This shadow box slider card was SO much fun to make! I hope you feel inspired!
‘Til next time! Xoxo, Amanda
Amanda’s Quick Links: My Instagram | My website
Product Quick Links: Sealy Friends Stamp Set | Sealy Friends Dies | Miss You Shadow Heffy Cuts | Close at Heart Sentiment Stamp Set | Breaking Waves Border Die | Big Shadow Box Die | Wavy Water Slides Dies

Diane H
July 13, 2020 at 7:35 pmThanks for the step-by-step instructions and pictures! This is SO cute and interactive too! Good job!
Sandra
July 13, 2020 at 7:58 pmthis is precious! Thanks for sharing your process!