Putting the Stitch in Stitched Dies

Hey crafty people ! It’s Tasha here for Heffy Doodle, and today I’m sharing another video tutorial.
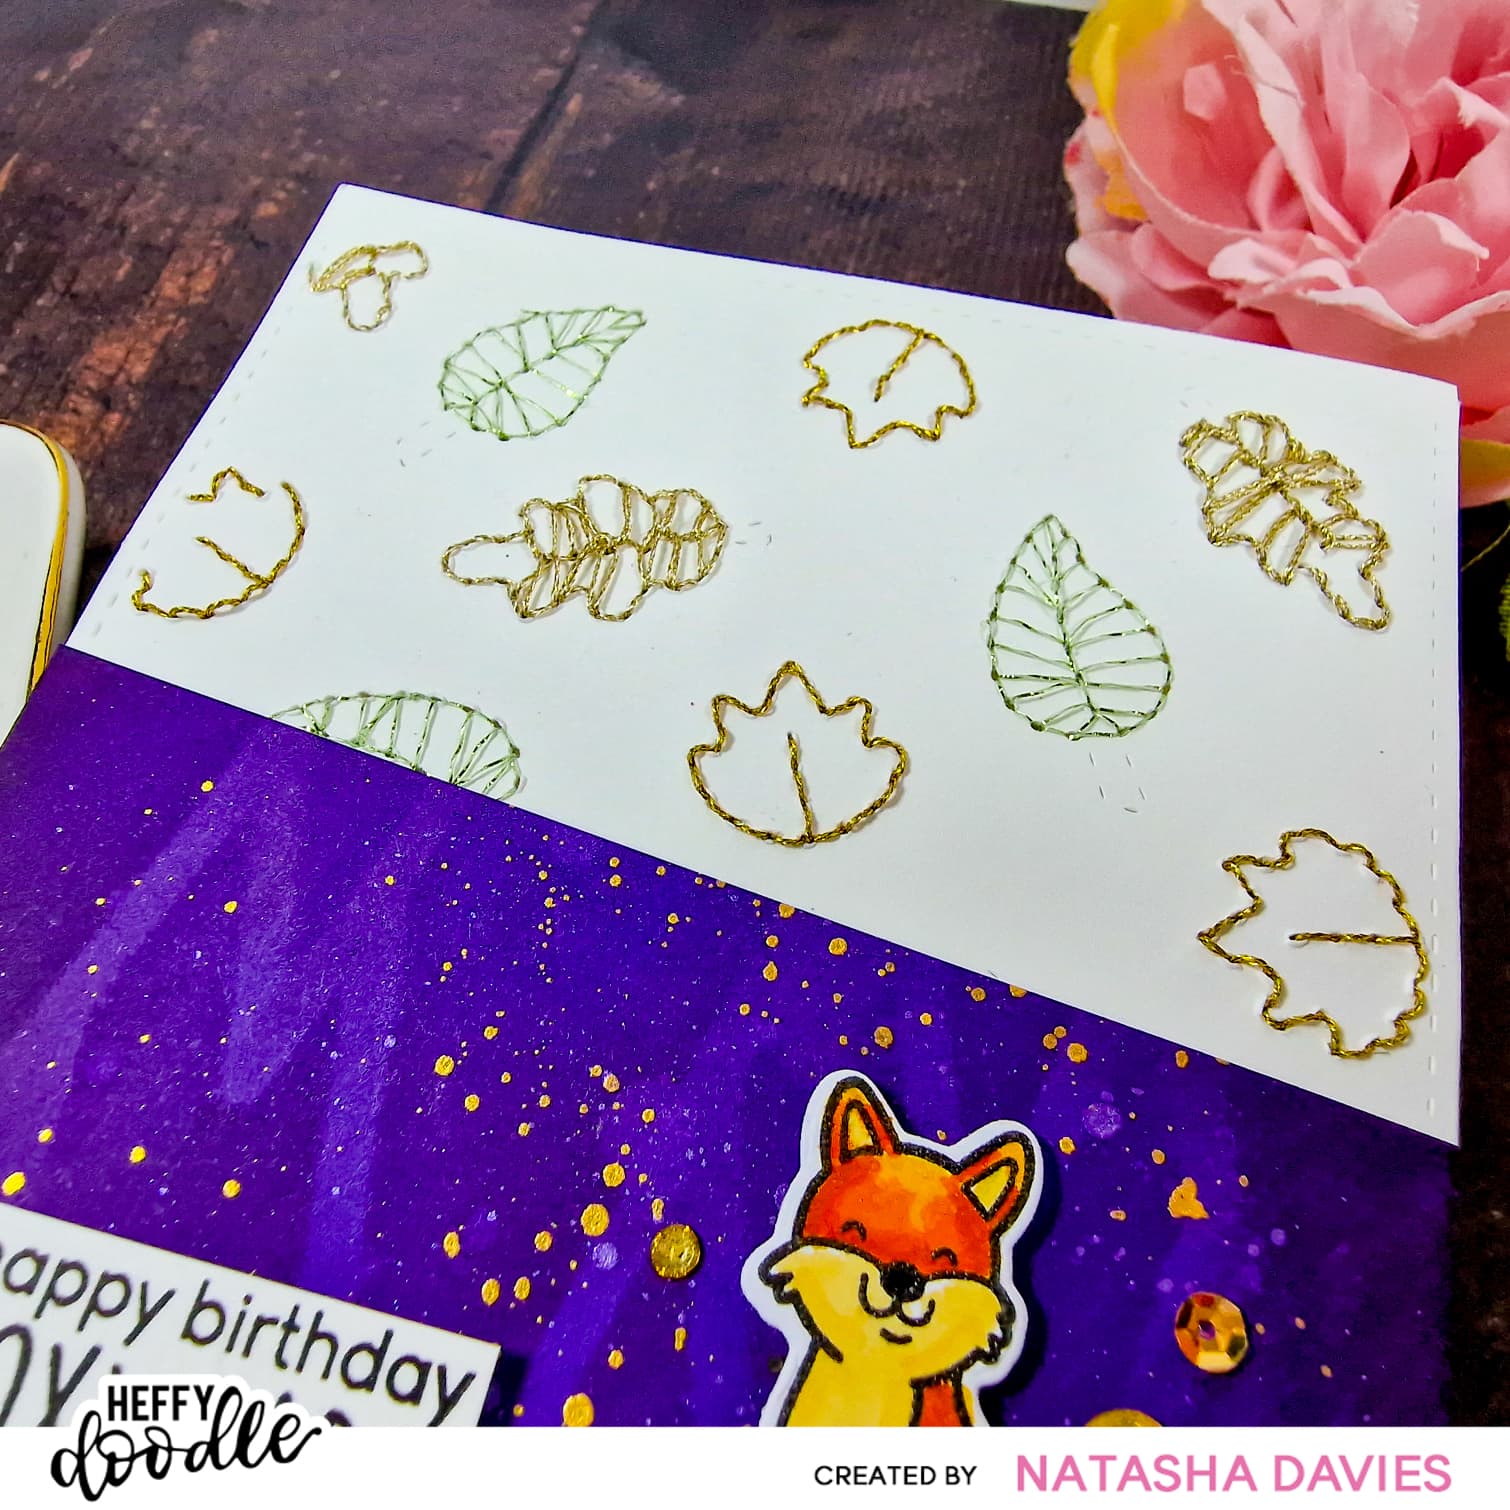
I’m sharing an idea for using our Stitched Leaves Background Die to actually stitch some.
Putting the STITCH in Stitched Dies
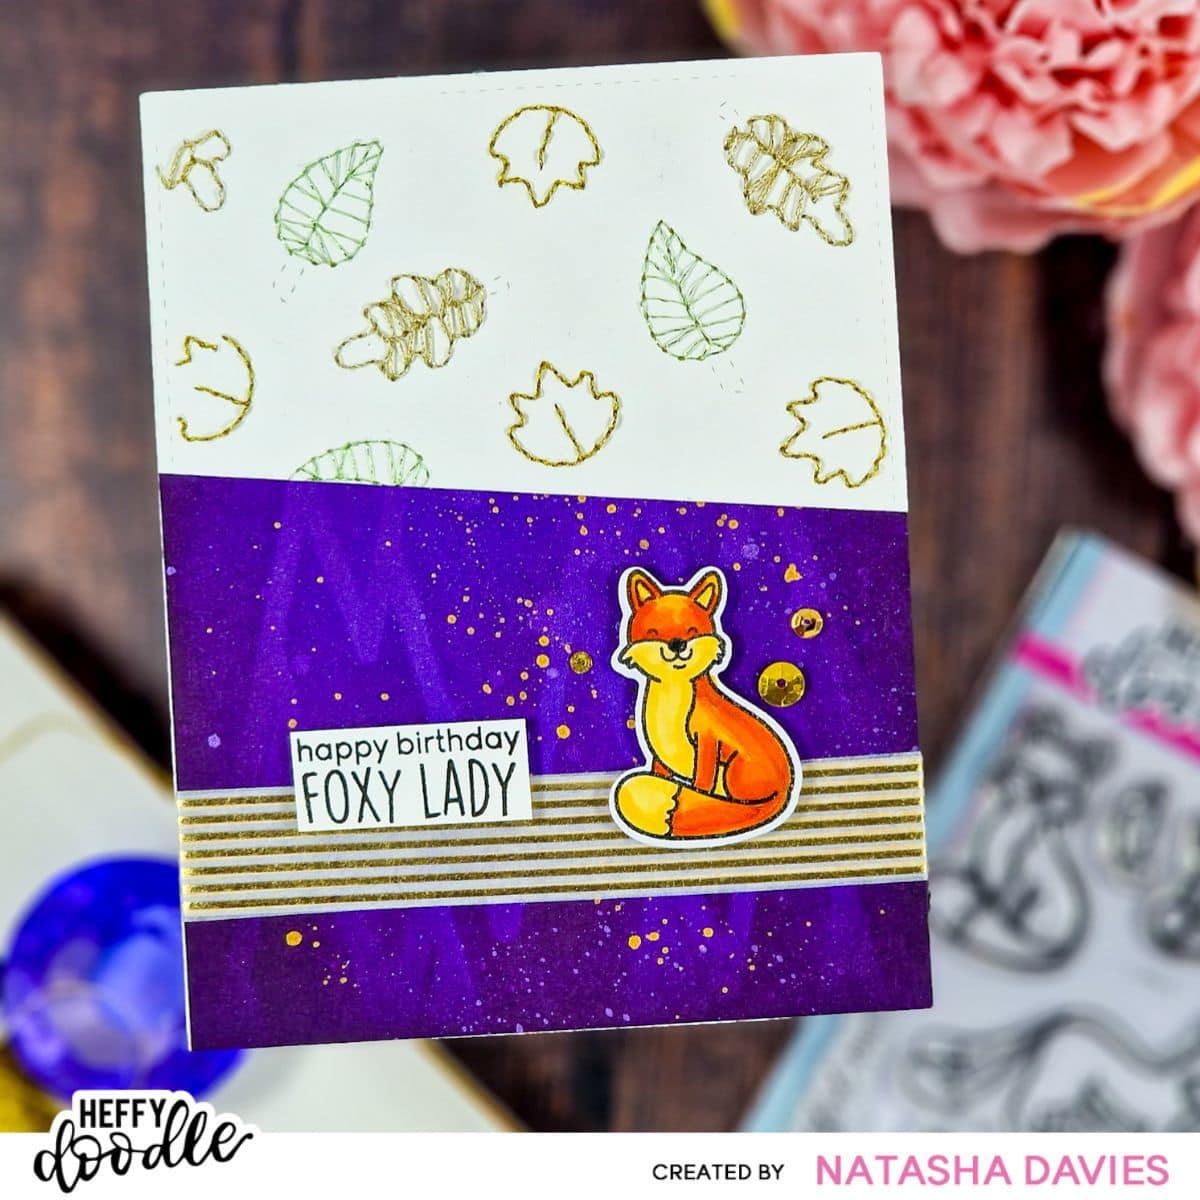
- Using a simple backstitch, sew the outlined leaves that the Stitched Leaves background die creates with a variety of metallic threads. Secure the ends with extra strong double sided adhesive from behind.
- Ink blend with the Trendy Tree-angles stencil onto an a2 panel of Grape Soda cardstock with an ombre of purple Catherine Pooler inks. Lift the stencil and flip it 180° round, now repeat the inking with the ink left on your ink blending foam.
- Darken the edges with the darkest purple ink and add a cool grey to deepen the very edges.
- Spritz a little water on, let that sit for a few seconds and soak up with a rag.
- Splatter with metallic purple & gold watercolour, then set aside to dry.
- Trim the purple panel to a diagonal edge (see my video for a hack to get this right perfect the first time!) Then glue onto the stitched panel.
- Add strips of gold striped washi tape across the purple section, folding the edges over to secure to the back of the panel. (Layer 2 strips of the washi on top for a more opaque look.)
- Add an image & sentiment from Mischief Makers, using foam adhesive for dimension.
- Finish with Firefly Sparkle Mix.
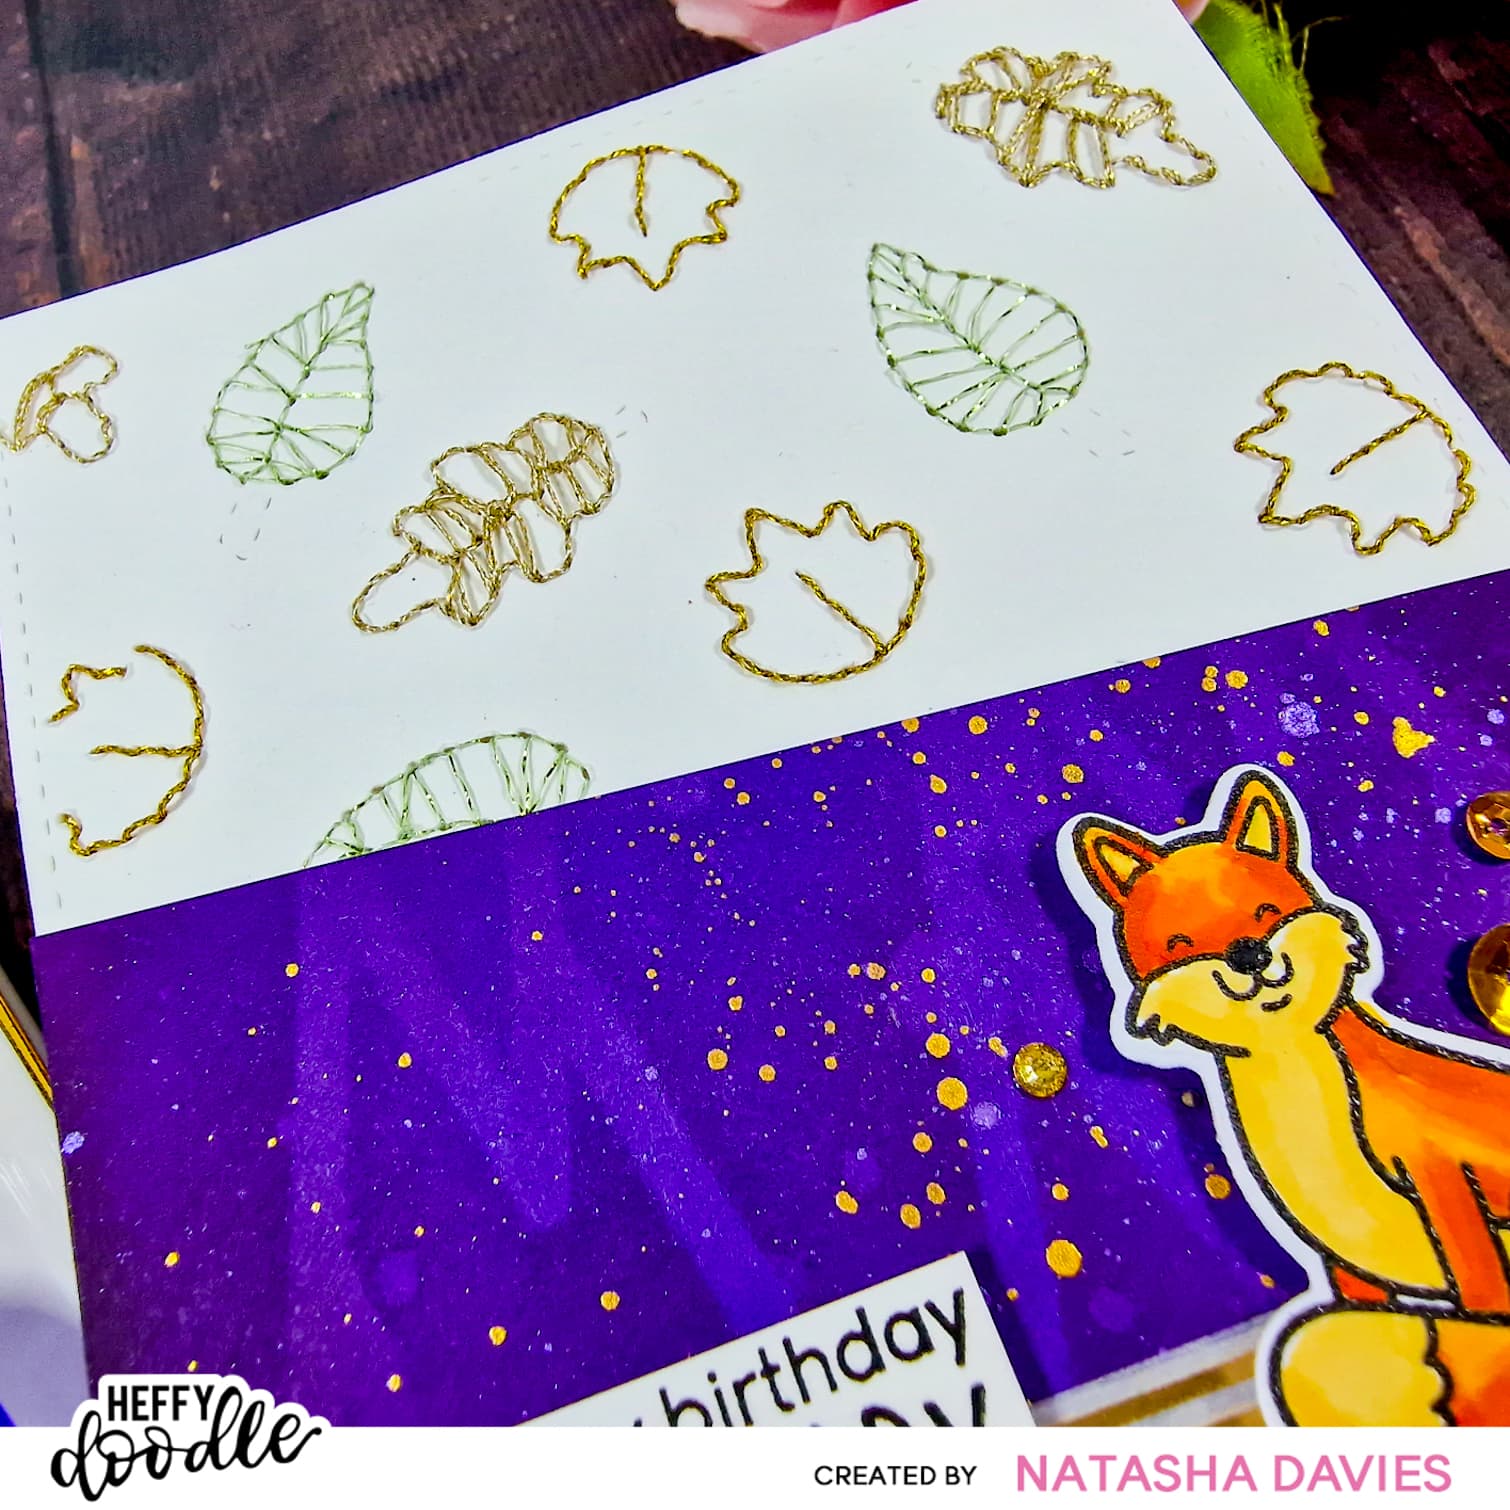
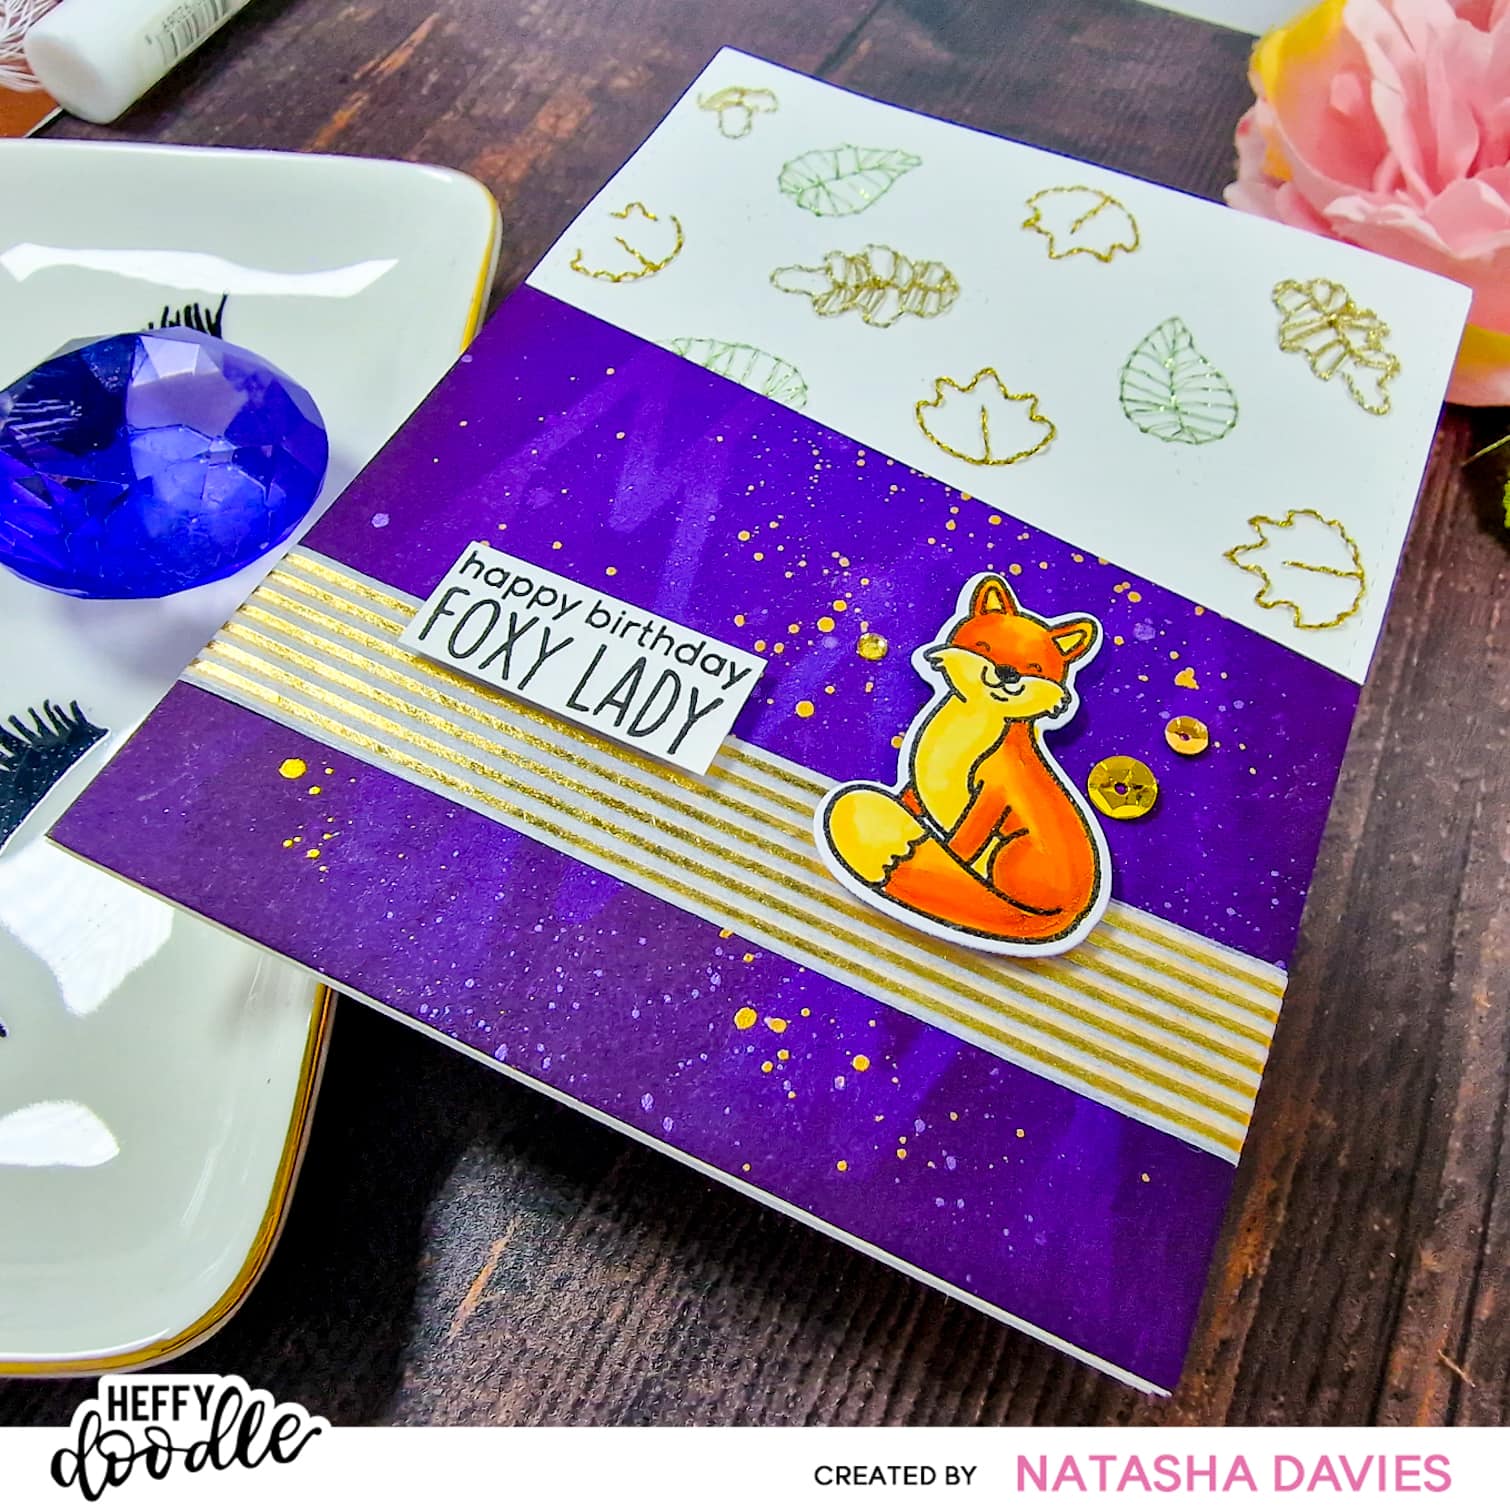
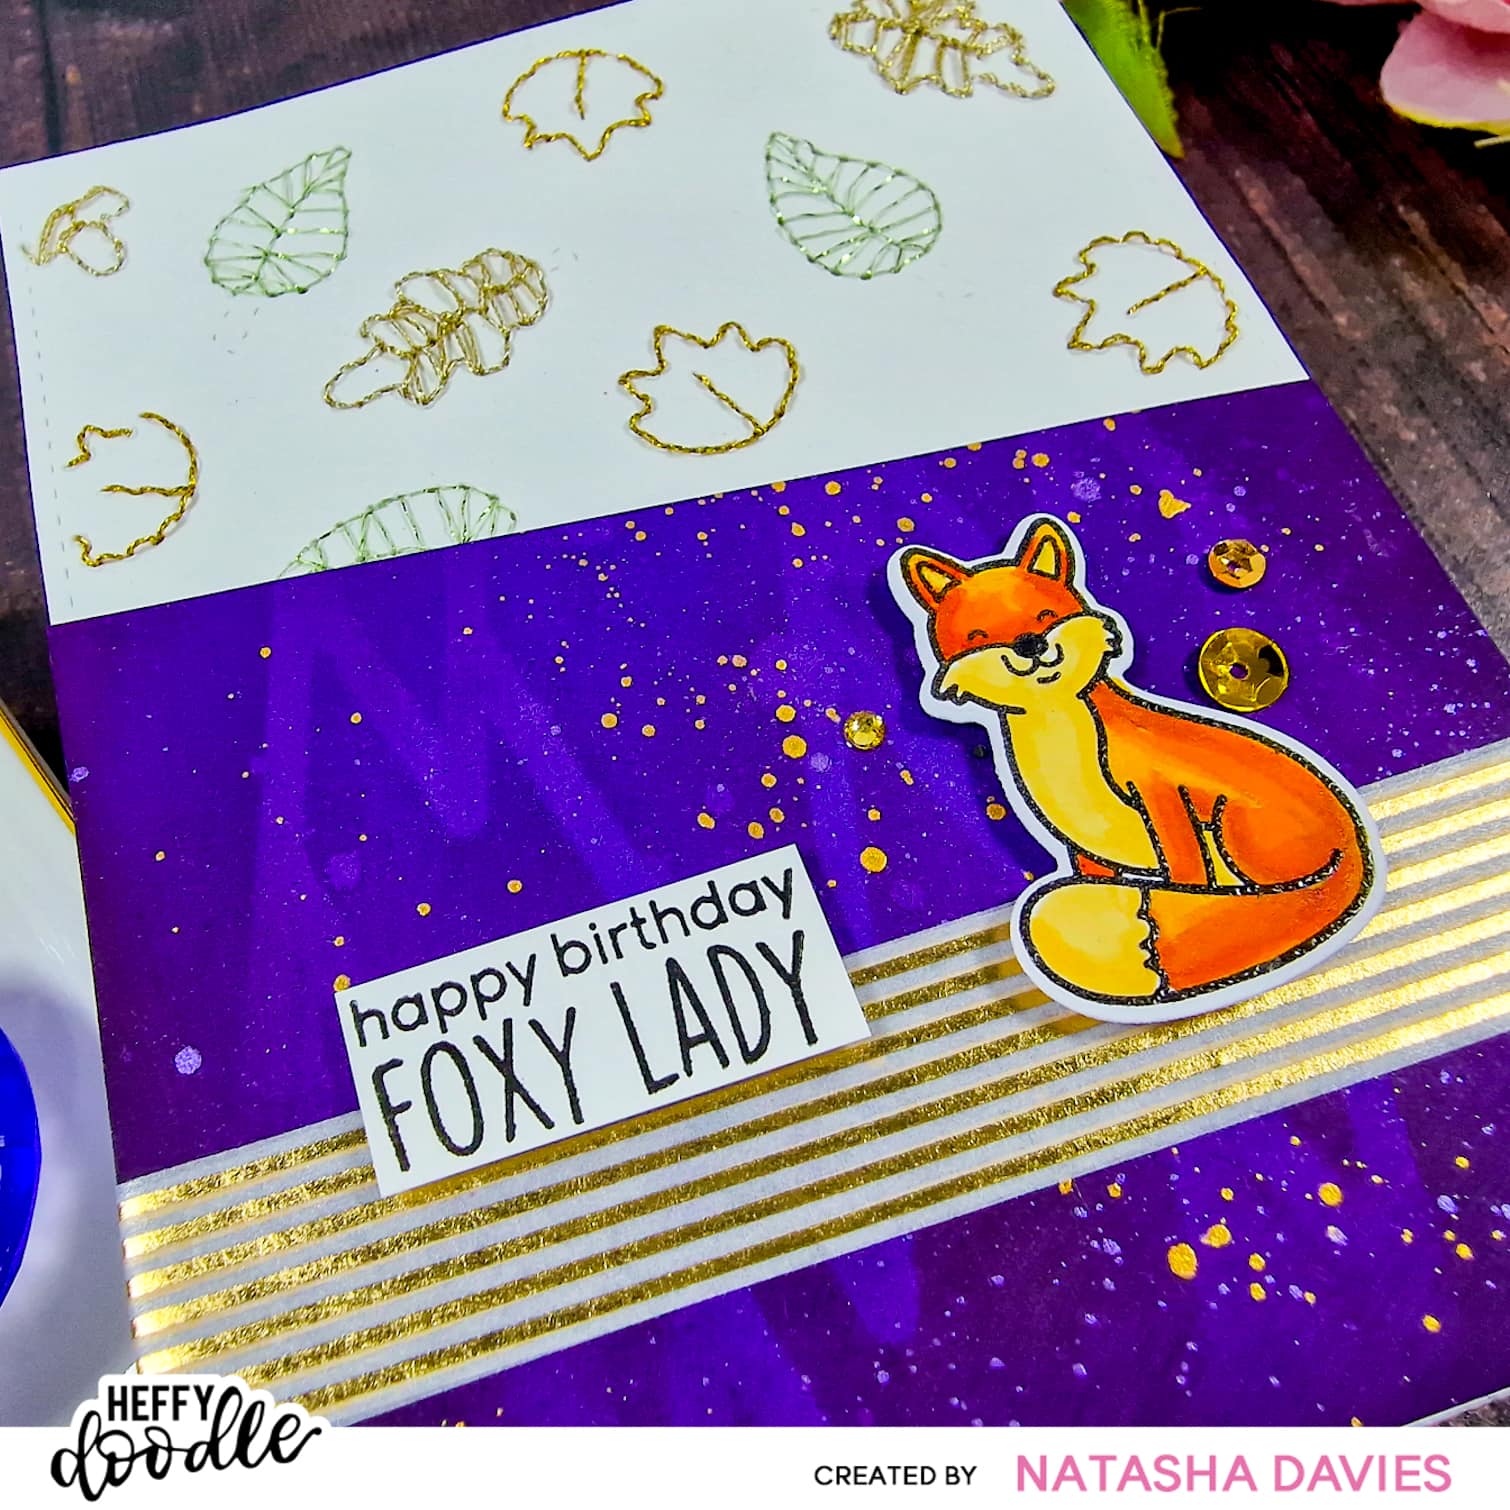
Watch the tutorial:
Thank you so much for spending this time with me, I hope it helps you get your Christmas game face on! 😂🙈
Have a lovely, safe, happy & wonderful week!
Stay Crafty!
Byeee!
Blog | Instagram | YouTube | TikTok
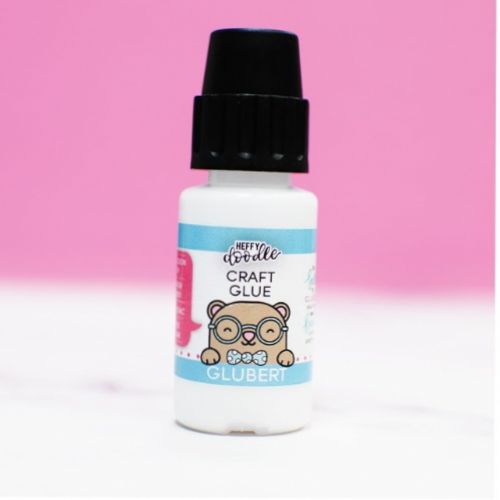 Glubert – Heffy Doodle Precision Craft Glue Shop at: HD |
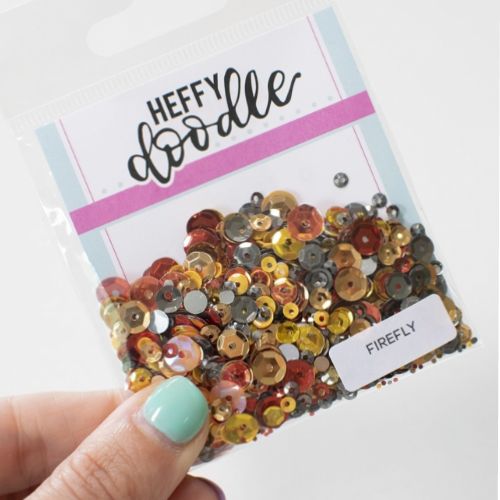 Firefly Sparkle Mix Shop at: HD |
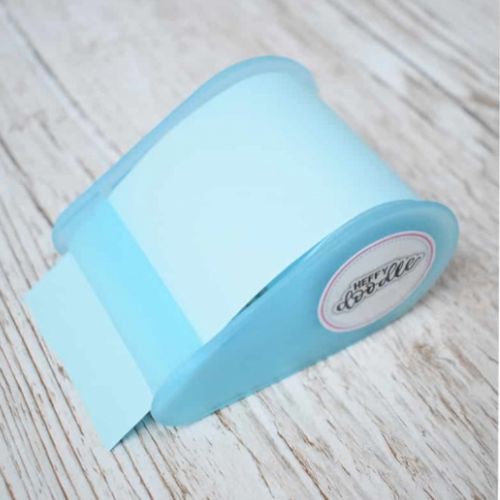 Heffy Memo Tape Dispenser Shop at: HD | SBC |
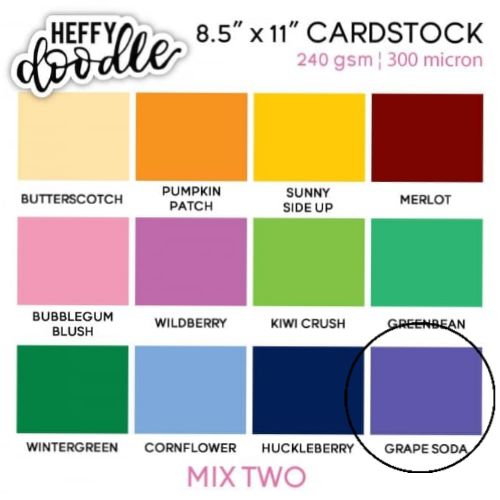 Grape Soda Cardstock (5 pieces) Shop at: HD |
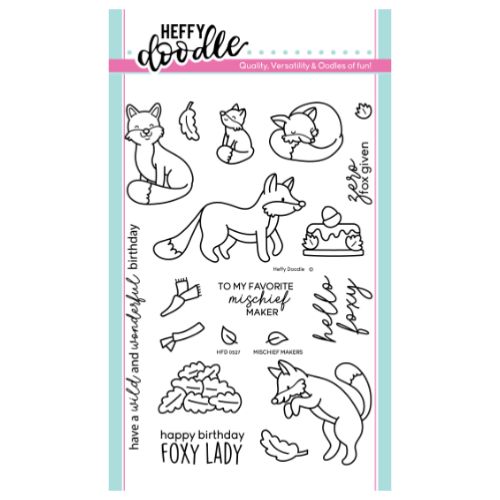 Mischief Makers Stamps Shop at: HD |
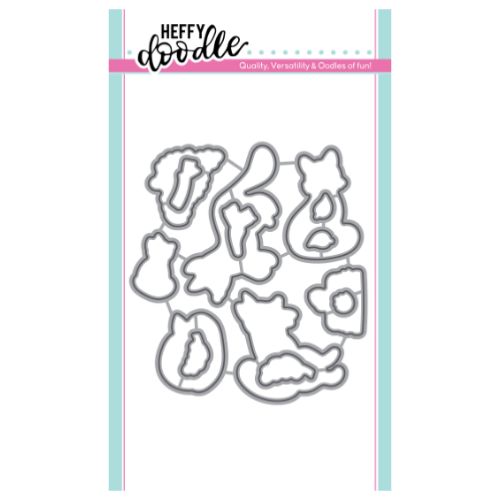 Mischief Makers Dies Shop at: HD |
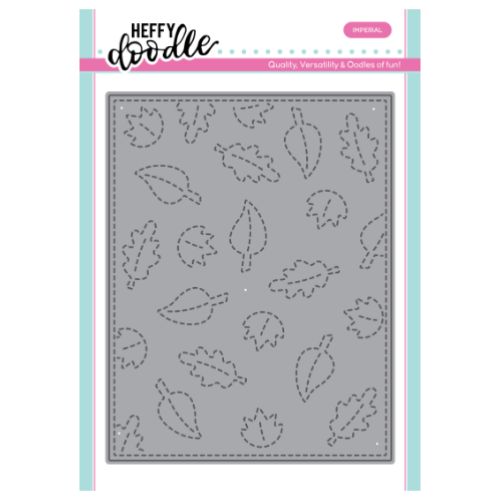 Stitched Leaves Backdrop die Shop at: HD |
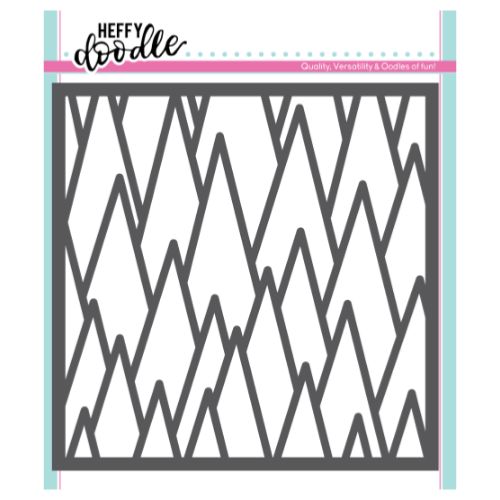 Trendy Tree-angles Stencil Shop at: HD |
