Popping By To Say…
Hey friends! It’s Amanda from Twiddler’s Nook back with my second guest designer card! I had so much fun creating today’s project; I hope you enjoy it too!
I love making interactive cards and today’s is so cute and was easy to pull together. Here’s how I did it.

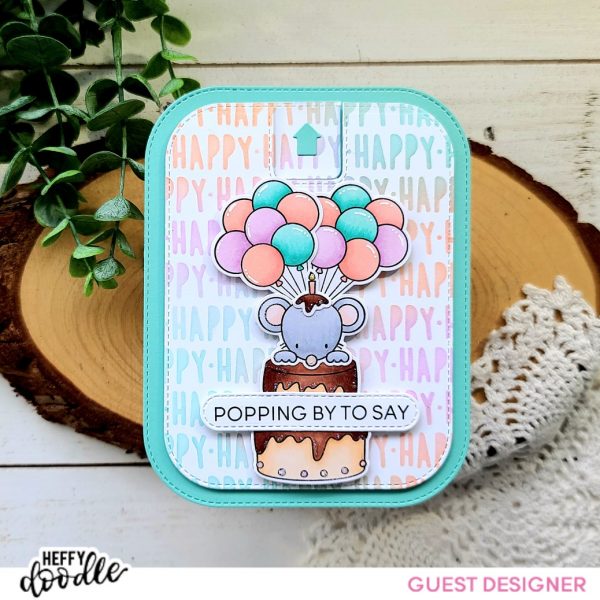
I started by stamping images from Popping By and colored them with my copic markers. Then I used the coordinating dies to cut them out. I used liquid glue to adhered the mouse, cake, candle and balloons together and set them aside to work on the rest of the card.
Pulling from the color palette in the balloons, I inked up the Lots of Happy stencil on a white panel. Then I used the second largest Stitched Rounded Imperial Rectangle dies to cut it out. Next, I used the largest to cut a teal panel which will be my card front.

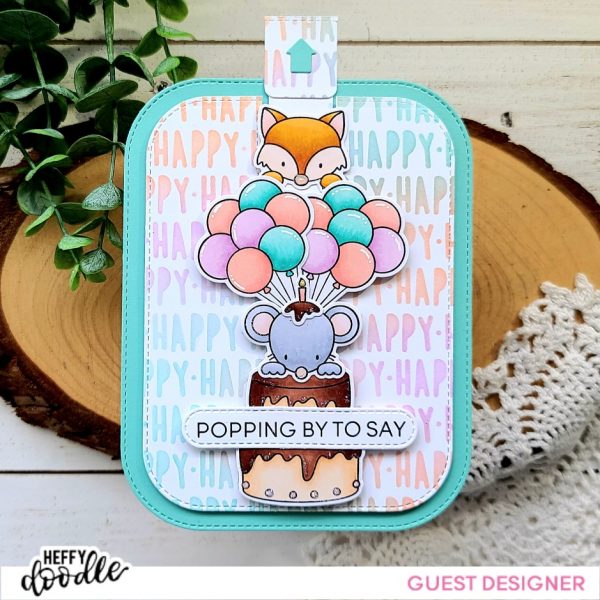
I took out the Slimline Pull Tab dies and cut the mechanism pieces from white cardstock. I lined up the notch die and cut it from the top of my stenciled panel, careful to keep the tab because I wanted to use it. I built my mechanism without using the stabilizer piece because there wasn’t enough room. This isn’t really an issue because the pull tab doesn’t go up very far so I’m not worried about it wobbling too much. I added foam tape to the back of the stenciled panel, placing strips right next to the pull tab which almost acts as a stabilizer to help guide it anyway, removed the backing paper and popped it on the teal panel.
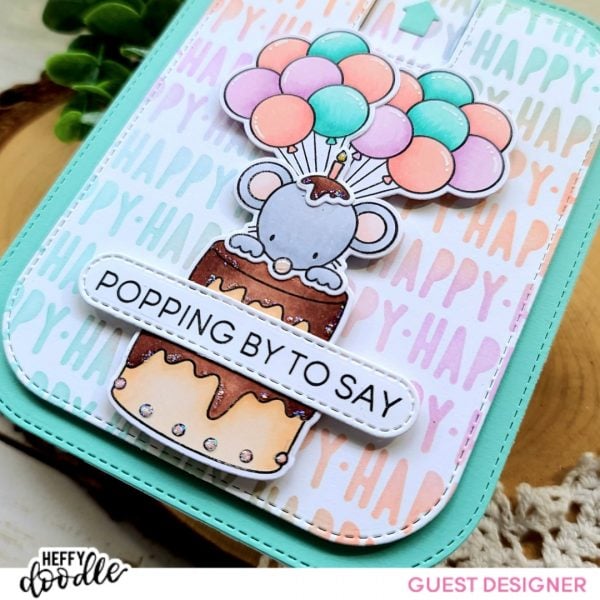
Then I added foam squares to the back of my mouse, cake and balloons, careful to avoid where the fox will be moving and added it on the card front. Last, I stamped the sentiment on a white scrap of cardstock and carefully used the smallest Stitched Rounded Imperial Rectangle die to cut half of it, I slid it over and taped it back down and die cut the other half to create a longer sentiment strip. Then with a combo of liquid glue and foam squares on the end I added it across the bottom of the cake.

For finishing touches, I die cut the pull tab from teal cardstock and just glued the arrow to the notch and saved the other piece for another project. Then I added white gel pen accents to the balloons and star dust stickles to the candle and cake frosting. I pulled the tab up and added glossy accents to both critter noses and set my card front aside to dry completely before I pushed the tab back in.
To create my card base, I took a 4.25×11 inch piece of cardstock and folded it in half. Then I placed the largest Stitched Rounded Imperial Rectangle die just over the fold line and die cut it to create a shaped card base. I used liquid glue to adhere my card front to the base.

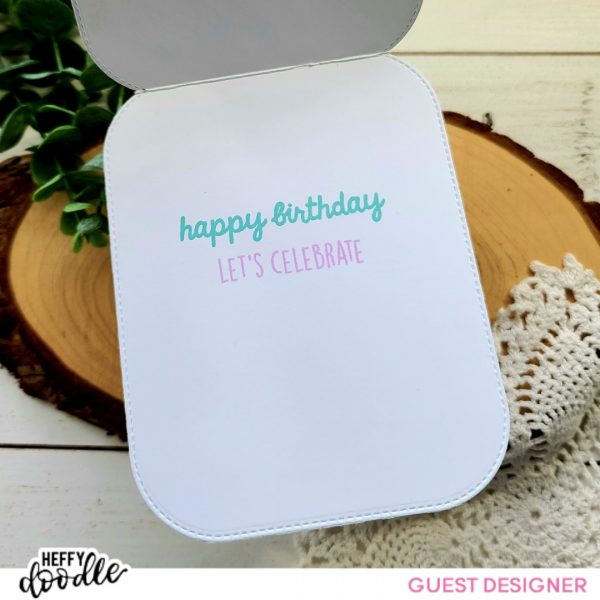
Instead of leaving the inside blank for a message, I decided to stamp two sentiments from Popping By on the inside for fun. I used the same inks that are blended on the Lots of Happy stenciling so it all ties in together.
Products used on today’s project:
Popping By stamps and dies
Stitched Rounded Imperial Rectangle dies
Slimline Pull Tab dies
Lots of Happy stencil
I hope you enjoyed today’s card and found some inspiration to create something wonderful and share it with someone!
I have had so much fun guest designing for Heffy Doodle and want to thank them so much for having me!
I appreciate you sharing your time with me. Have a fabulous day!
