
Hello Everyone,
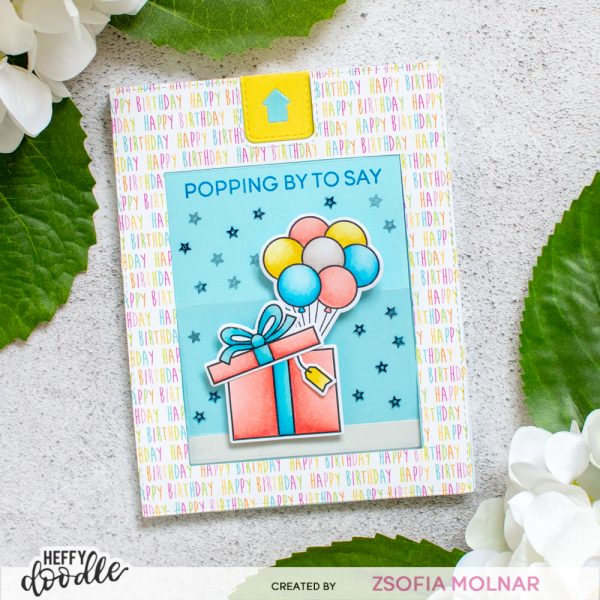
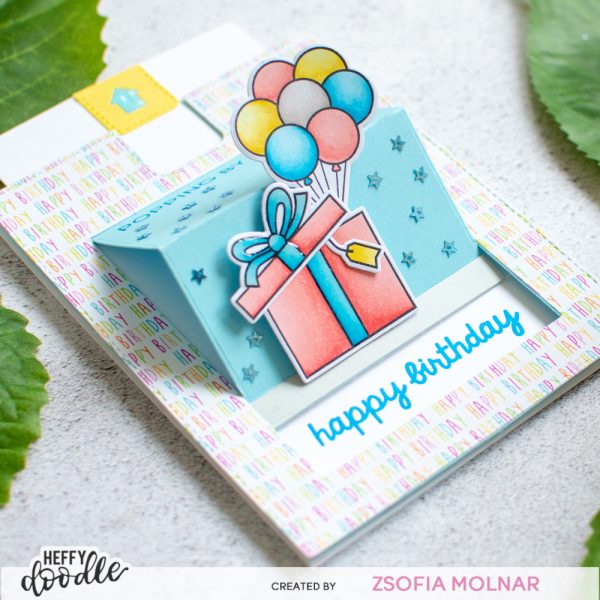
It is Zsofi here, welcome to another edition of my Perfect Combos series. May is a birthday heavy month in my family and I thought I would show you an sweet interactive card today made with stamps and dies from the new release. Usually I am intimidated from interactive cards but the new
slider pop-up is super easy even if you are not an experienced crafter. Let me guide you through the process.
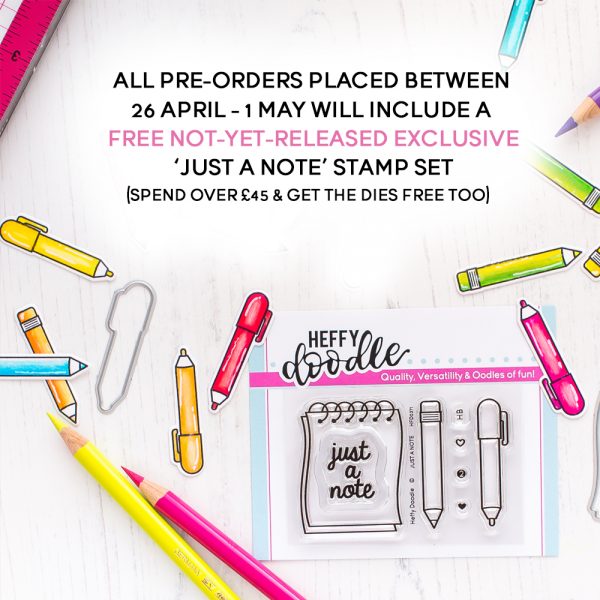
Pre-orders are open and all order get a freebie stamp – if you spend above 45 GBP you even get the coordinating die!
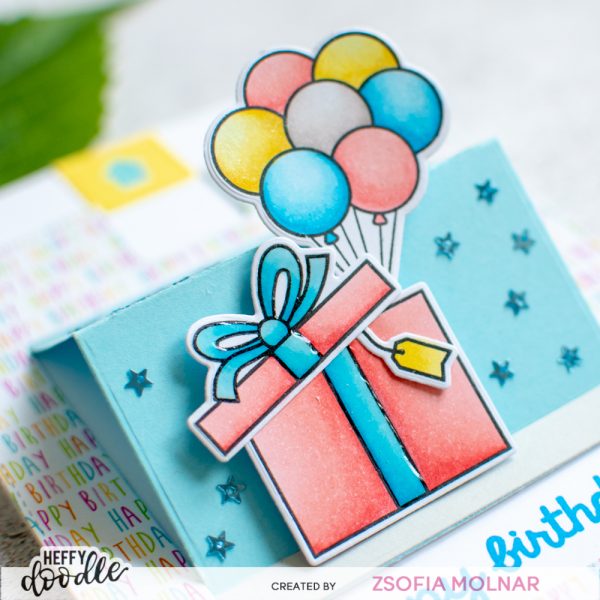
First I stamped and coloured the images from the
Popping by stamp set using Copic markers. I went with cheerful, rather girlish colours but I cannot wait to make the same with more masculine colours too. I die cut all with the
coordinating dies and assembled the little present using
Glubert.
Then I created the interactive part: first I die cut the stitched frame from patterned paper and also from light blue cardstock. I cut off the “flap” of the patterned paper one so all I had left was a frame. I adhered it to the blue panel with
Glubert and folded the flap at the crease lines.
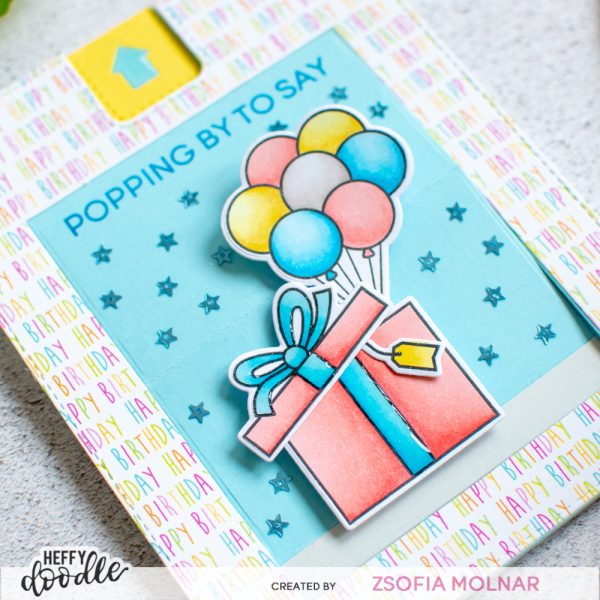
I embellished the flap: added a thin
Oyster Shell strip to the bottom until the first crease line and popped up the coloured image right above using 3D foam tape. I made sure to adhere only the present and let the balloons be free of adhesive so the mechanism could work properly. I needed the insert piece which I die cut from white cardstock, and adhered the bottom of the blue flap to it (until the first crease line). The top of the insert I embellished with a small die from the
Slimline Pull Tab dies: I cut the stitched part from
Banana Split and the arrow from
Ice blast cardstock scraps.
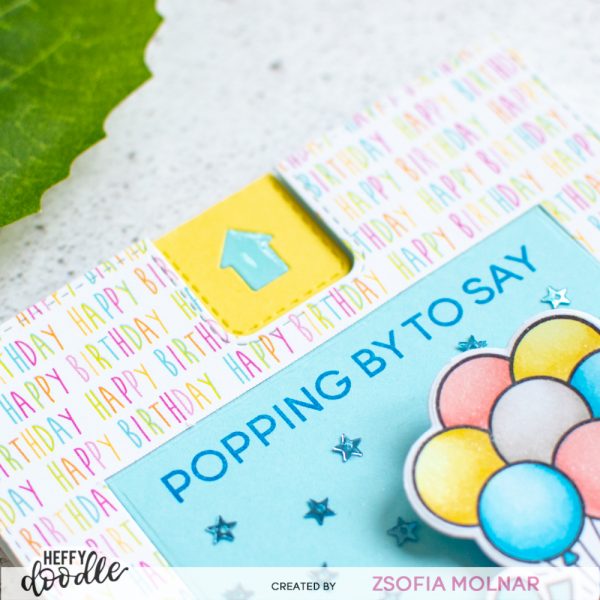
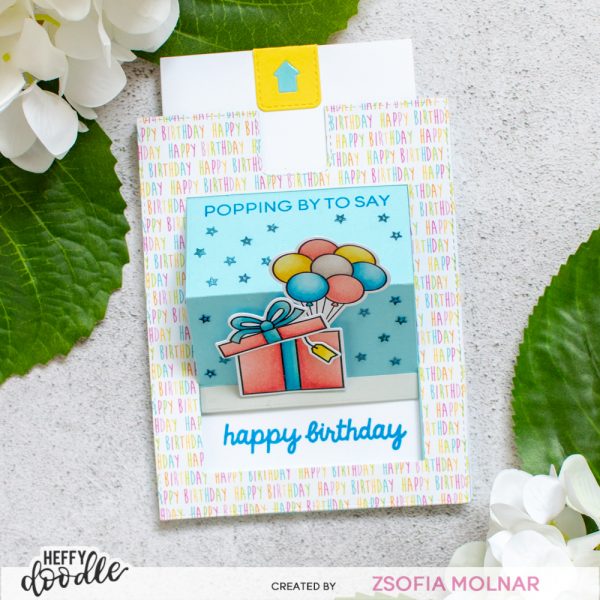
The first half of the sentiment I stamped directly on the top of the blue flap using a
Catherine Pooler ink. The other half of the sentiment I stamped directly on the white card base. To ensure the right placement I put the frame on the card base in my
Misti, in this way I could see where the sentiment had to be.
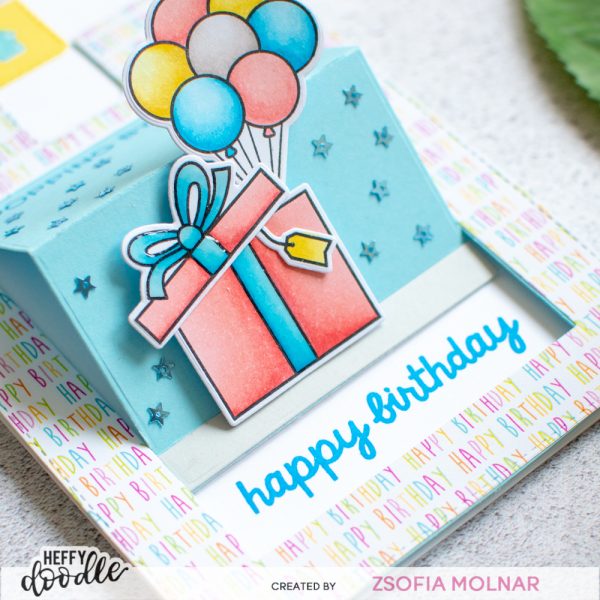
Finally it was time to assemble the interactive part: I put
thick 3D foam strips on the back of the frame in a U shape, leaving the top free. I adhered it to the card base and it was all done! So easy! As a finishing touch I covered the balloons with clear shimmer and added glossy accents to the ribbon. I also adhered a bunch of blue star sequins to the background to make it even more festive!
I hope you enjoyed today’s Perfect Combo and will check back later for more inspiration. If you like my cards, please make sure to follow me on
Instagram where I share my happy creations! Thank you!
See you soon,
Zsofi
