Mark My Words
Bookmarks and Critters
Happy Saturday, Heffy Doodlers!
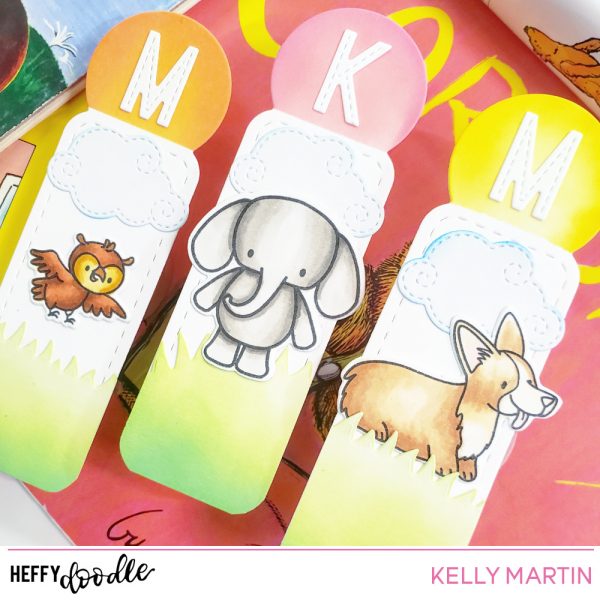
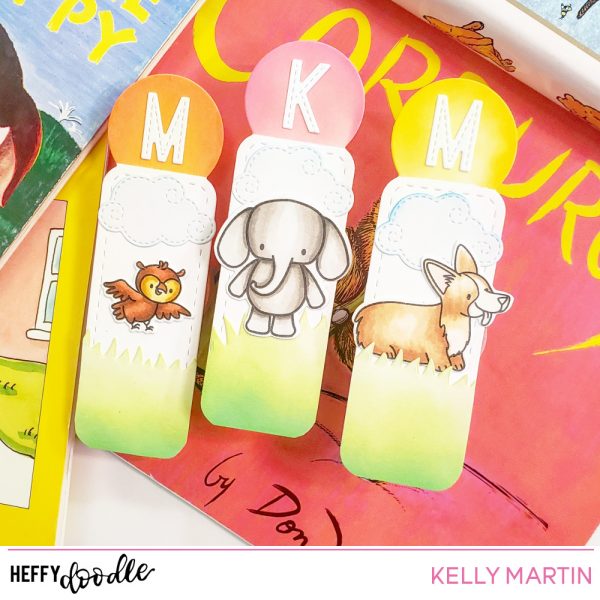
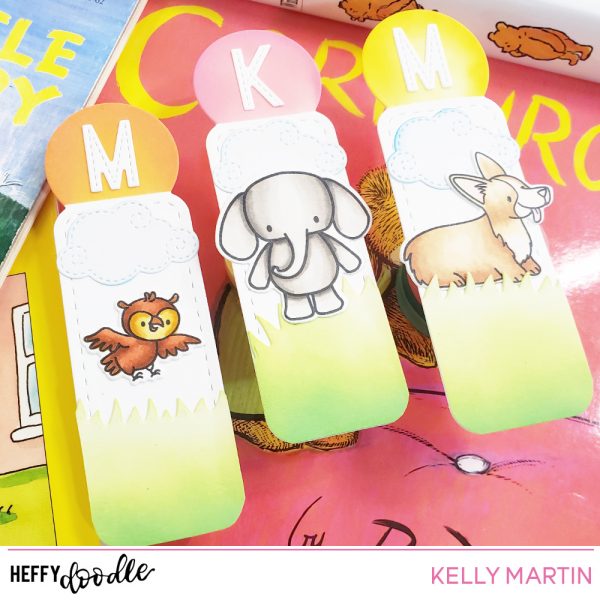
I was so excited to finally use the Mark My Words die for my project today! I was wanting to make some gifts for my nieces, and I figured these would be perfect!
The great thing about this die is its size: You can create so many different scenes on the bookmarks and include so many different types of images on them!

These were really easy to pull together, so let me tell you how it’s done!
Just die cut three bookmarks, and die cut one grass panel. Blend some ink over the grass panel and then cut it into three separate pieces. Glue it on to the bottom of the bookmark and then trim off the excess around the edges.

Choose your main critter focal image, stamp, die-cut, and color the image before gluing it on to the bookmark. You can also die cut and blend some ink on the edges of a cloud die cut and glue that on as well to finish off the scene!
Then, mask off the actual scene of the bookmark and then blend some ink on to the round portion of the bookmark for an added pop of color! I added a die cut monogram letter on the top of the bookmark to personalize them for my nieces as a special addition.

Is this not the quickest and easiest project to pull together?!?! So pull out your Mark My Word die and GET GOING! 🙂 These bookmarks make great gifts!
Thanks so much for joining me on the blog today, and have a great weekend!
Kelly
Supplies Used:
Stamps:
Dies:
Inks:
