Let’s Seal-ebrate with Davina
Hello friends! Davina here on the blog today with a “sealy” cute card and a war story. I have been out of town and working tons, so I fell behind on my projects and was not prepared. As I brainstormed this little card for today, I had every intention of making a short slimline shaker card. But it was an epic failure and I had to conduct emergency surgery to try and salvage it. Thankfully I was successful, and we have version #2, minus the shaker.
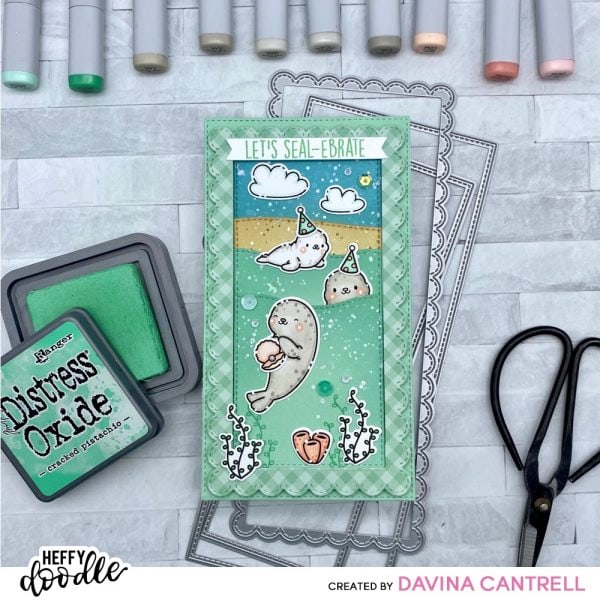
I like to make two sizes of slimline cards. The standard 3.5×8”5, and a shorter version that is 3.5×6.5. Originally, before there were slimline dies, I just cut everything by hand or with my trimmer. But now, with so many amazing dies, like the Heffy Doodle Stitched Slimline Pull Tab and Stitched Slimline Trio, there are many fun options to creating my slimlines. I wanted to use the beautiful stitched scallop panel as a frame for my shaker card. So I found some subtle patterned paper that matched the Hint of Mint Heffy Doodle cardstock. I placed my die on the paper, but made sure the top cutting mat did not cover the entire die. I only covered about 5 inches of the die. I carefully repositioned the die at the 6 inch mark making sure the stitching resettled into the already cut areas. I taped it securely down and put my cutting mat on only the remaining inch. It worked perfectly to create a 6 inch panel. I used the same technique with the smallest slimline trio die, in the center of the mat, to cut out the middle for the shaker action to take place.
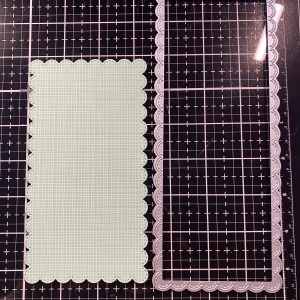
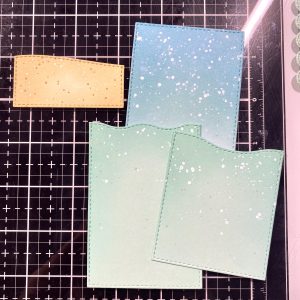
Next, Using the same small trio die, I cut a few panels of Bristol smooth and mint cardstock. I trimmed the mint panel with the Breaking Waves Borders, and I cut a small section from the white Bristol smooth to make a sand bar. I trimmed the white piece to fit into the scalloped cut out. Then, after inking up the small die cut panels, I glued them together, and splattered with glittery perfect pearls and white ink.
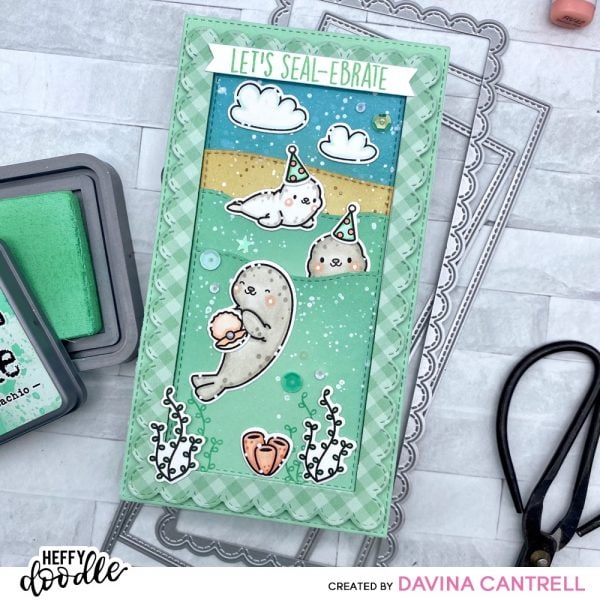
I stamped the images from the super cute Sealy Friends stamp set, and colored with copic markers using warm greys for the seals and soft corals for the accent color. After die cutting the images I added white dot highlights. I stamped the seaweed onto the bottom of the panel using mint colored ink to create a tone on tone look, then I adhered my images.
Originally, this is where I added the acetate and foam strips to create my shaker. And I filled it up with a super fun sequin mix by Lucy Abrams. But when I assembled it, I realized I put too much sequins. And it was stuffed and full of static. My images weren’t very visible and I just wasn’t happ. So I peeled off my scallop frame and spilled all of the sequins all over the floor. I felt so defeated.
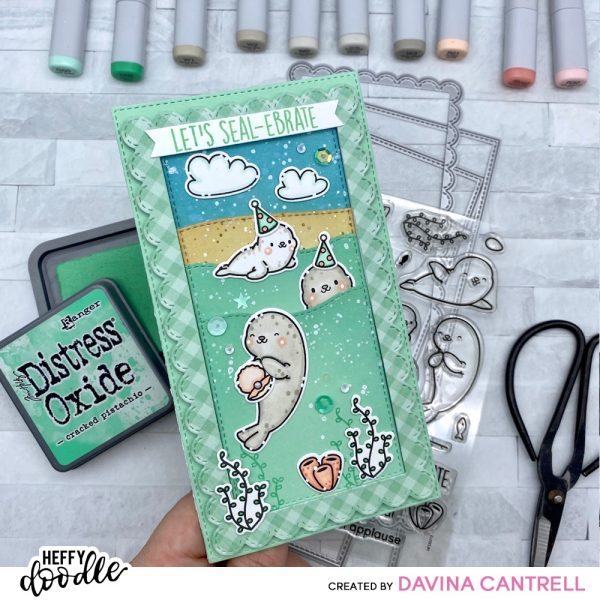
But, I realized the panel was not ruined and was salvageable. So I cut a second scalloped frame and decided to just skip the acetate and make a normal card. I still wanted to pop the frame up with foam, for a little oomph, and I gathered some sequins off the floor and glued a few down. I stamped a banner strip and mounted the frame onto that gorgeous Hint of mint cardstock. It was an emotional rollercoaster but I’m happy with the final results.
The moral of the story is… Don’t wait to the last minute, and even when you mess up and things don’t go as planned, you can still make something wonderful. Thank you for stopping by,
Davina

Kathy Wyatt
August 7, 2020 at 7:03 pmSeriously adorable