Let’s Party at the Beach!

Hey Heffy Doodlers! Jasmin here from Jasmin Crafty Makes back with another celebration card for you. As we start a new year I need to build up my birthday card stash again. I can’t wait for warmer weather again so thought I would create a card full of summery vibes!
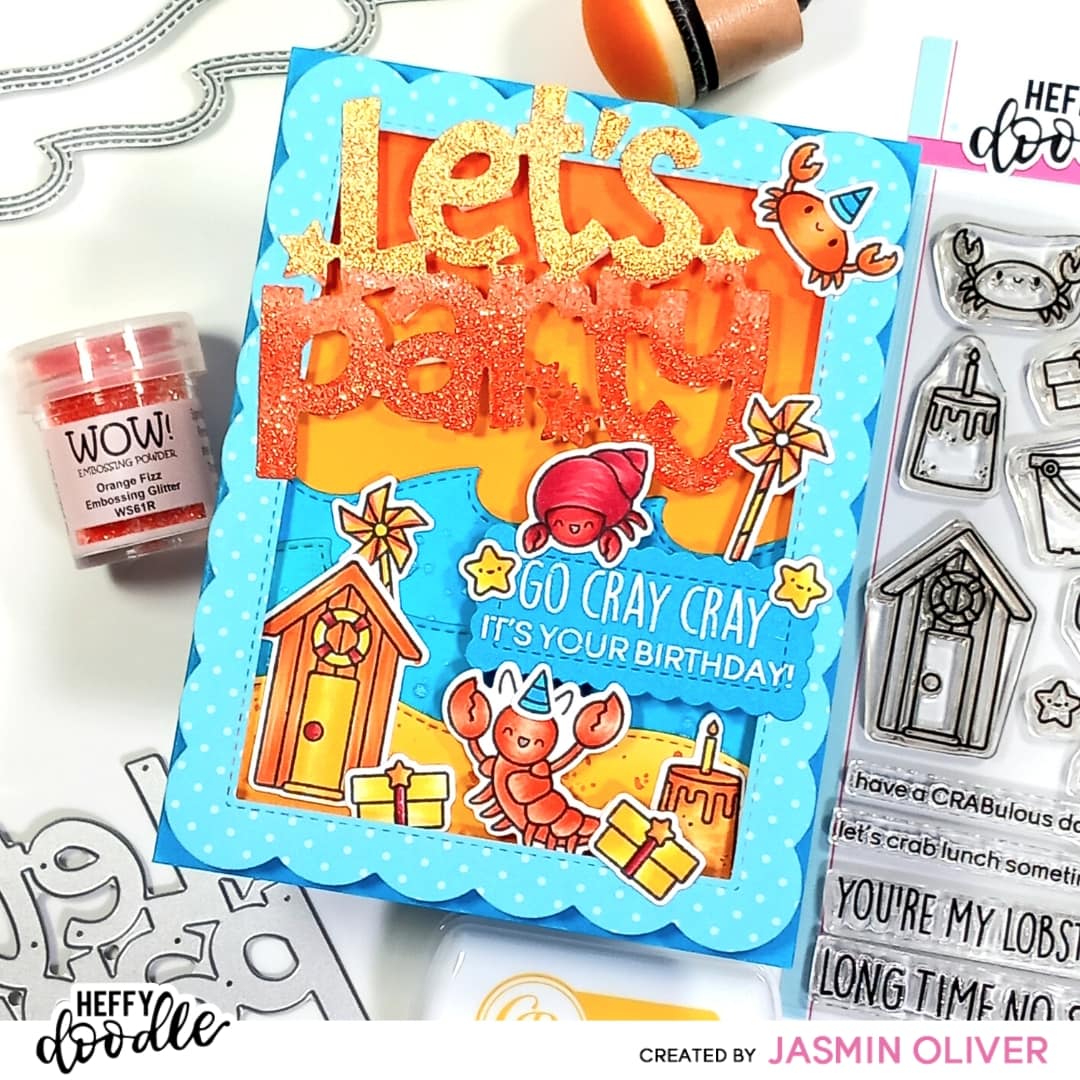
Start with a card base cut from Cookie Monster cardstock measuring 11″ x 4.25″ scored at 5.5″.
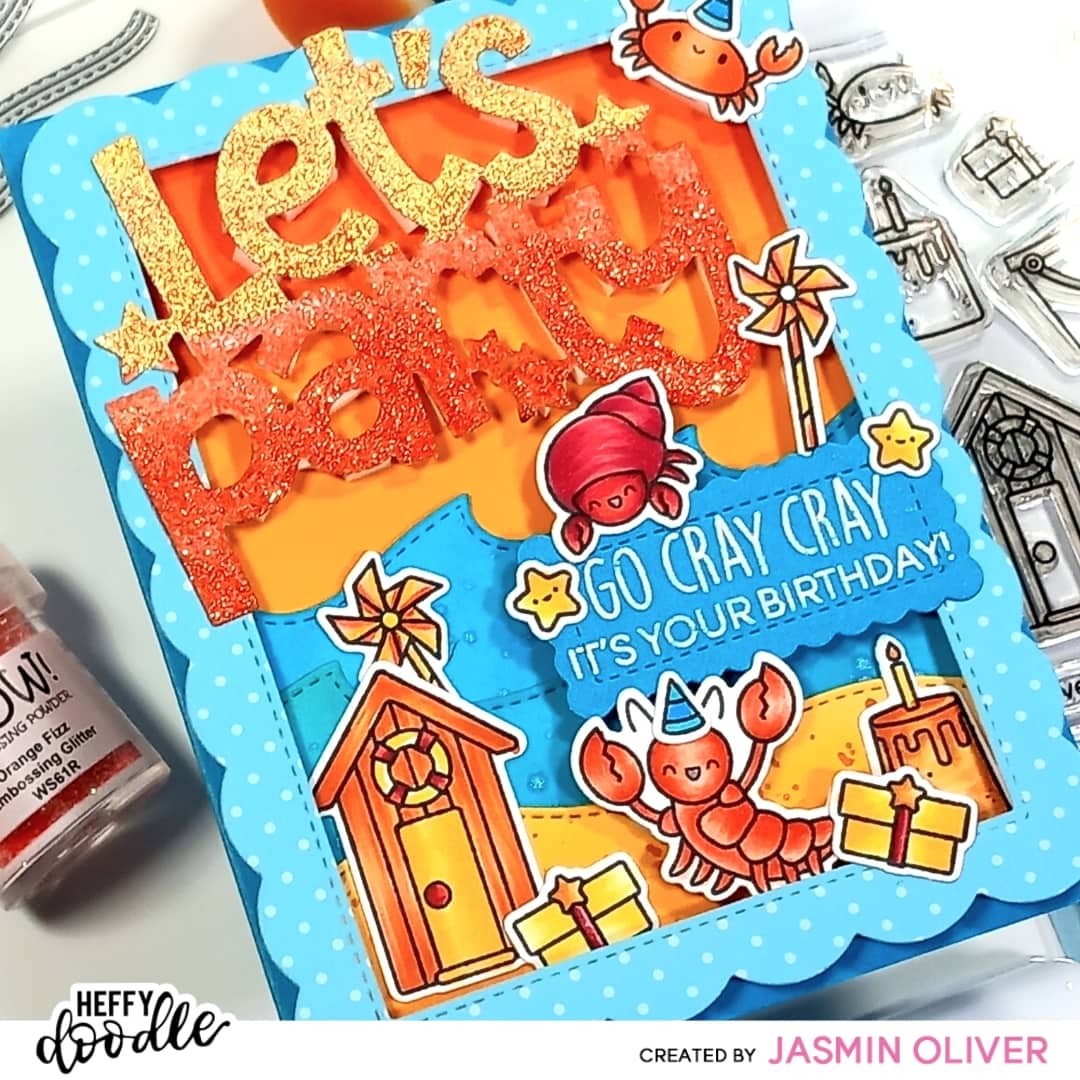
Large sentiments are always fun to create a focal point on your card, I’ve cut the Let’s Party Jumbo sentiment from white cardstock and heat embossed it with WOW Orange Frizz Embossing Glitter and Lemon Twist WOW Embossing Powder.
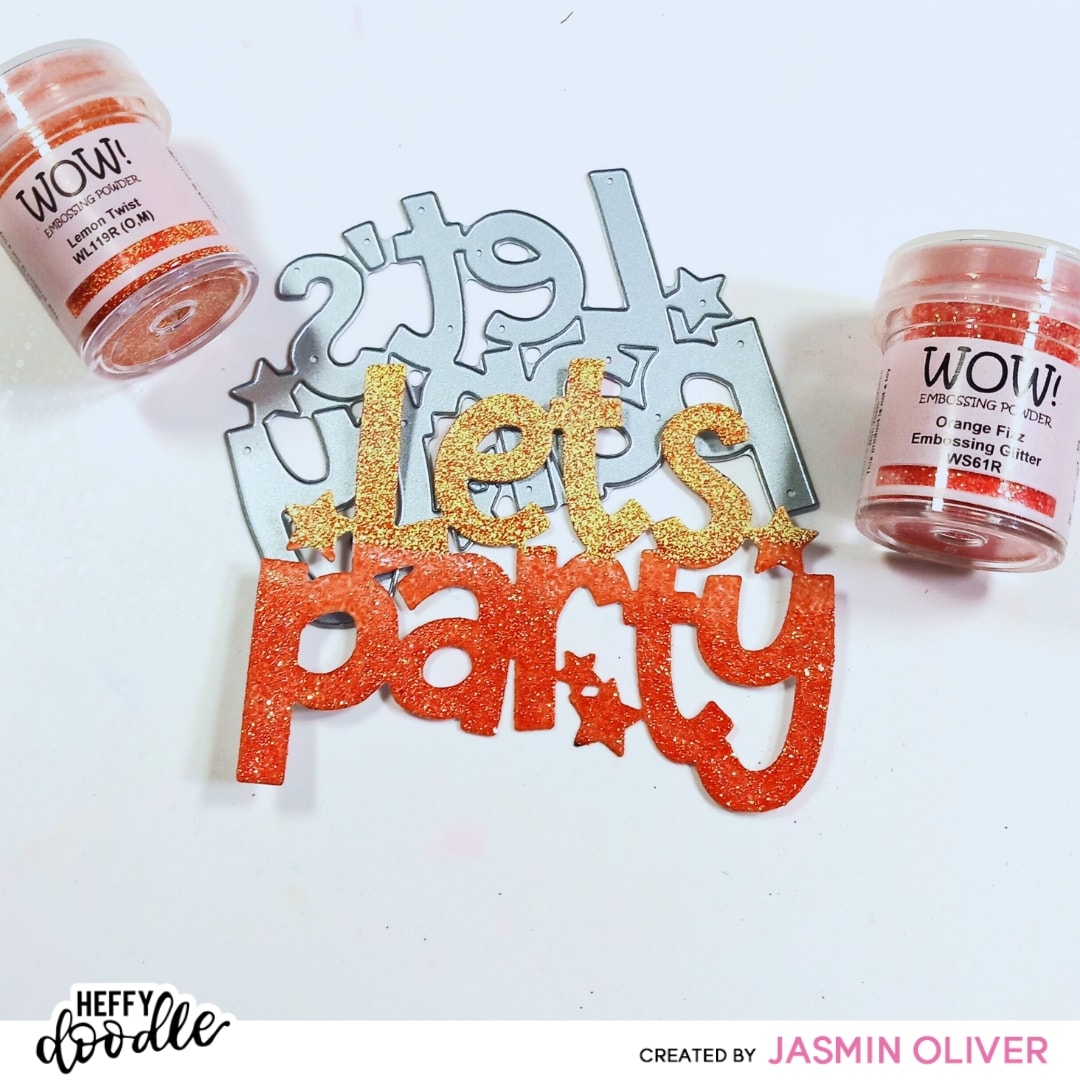
Tip: to get the 2-tone look of embossing powders ink up only half of your sentiment and heat emboss your first color then repeat with the 2nd color. Did you also know you can layer up embossing powders? Not happy with your first layer? Reink the same area and cover in more powder!
To frame my scene I am using the largest nesting die from the Scalloped Imperial Frame die set, cut from the Summer Holiday Paper Pad. Next, I took the largest nesting die from the Skinny Metric Frame dies and die cut waves from the Breaking Waves Border dies using Ice Blast and Butterscotch Cardstock.
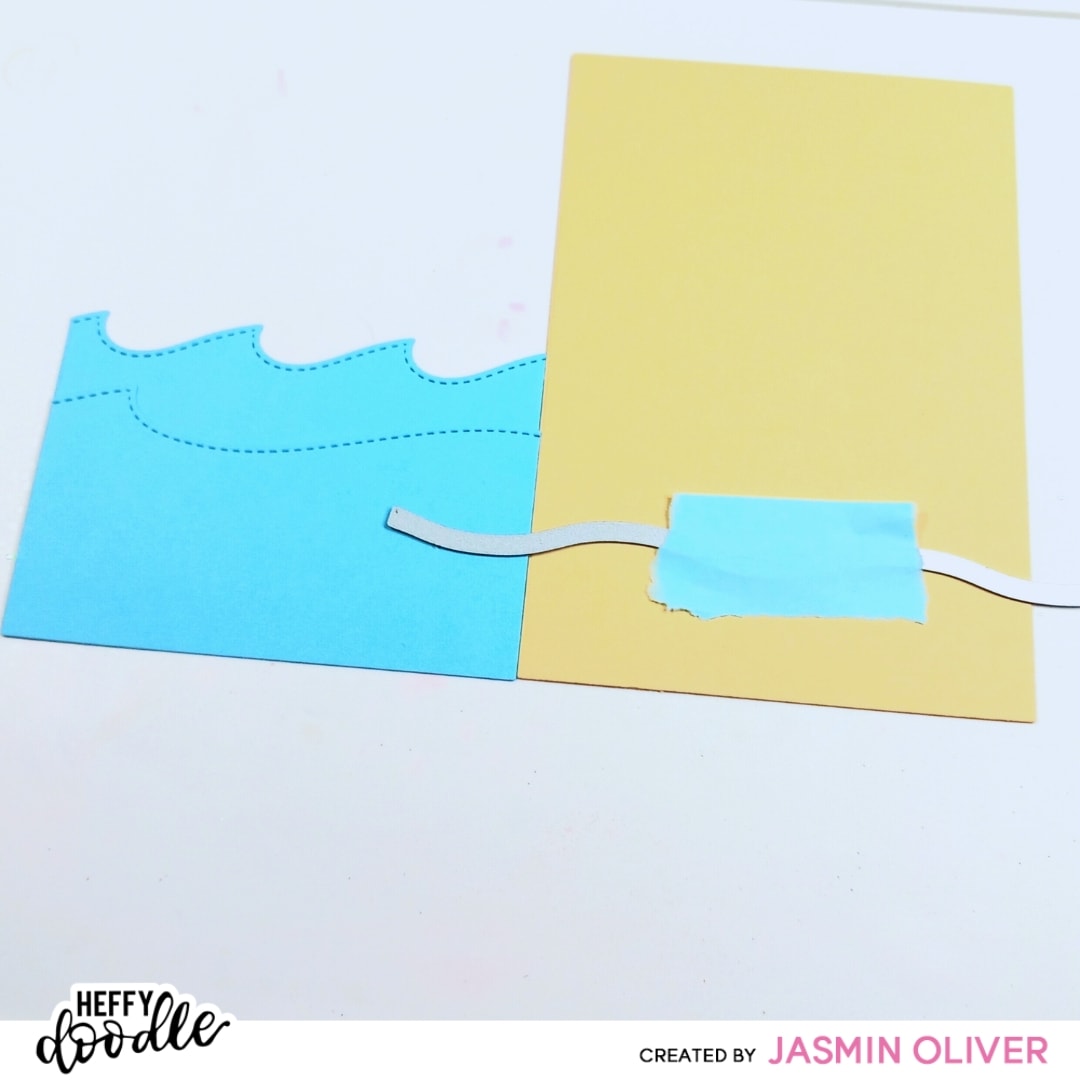
Tip: Line up each layer next to each other to guide where your next wave cut should be. Use memo tape to hold it in place whilst running it through a die-cutting machine.
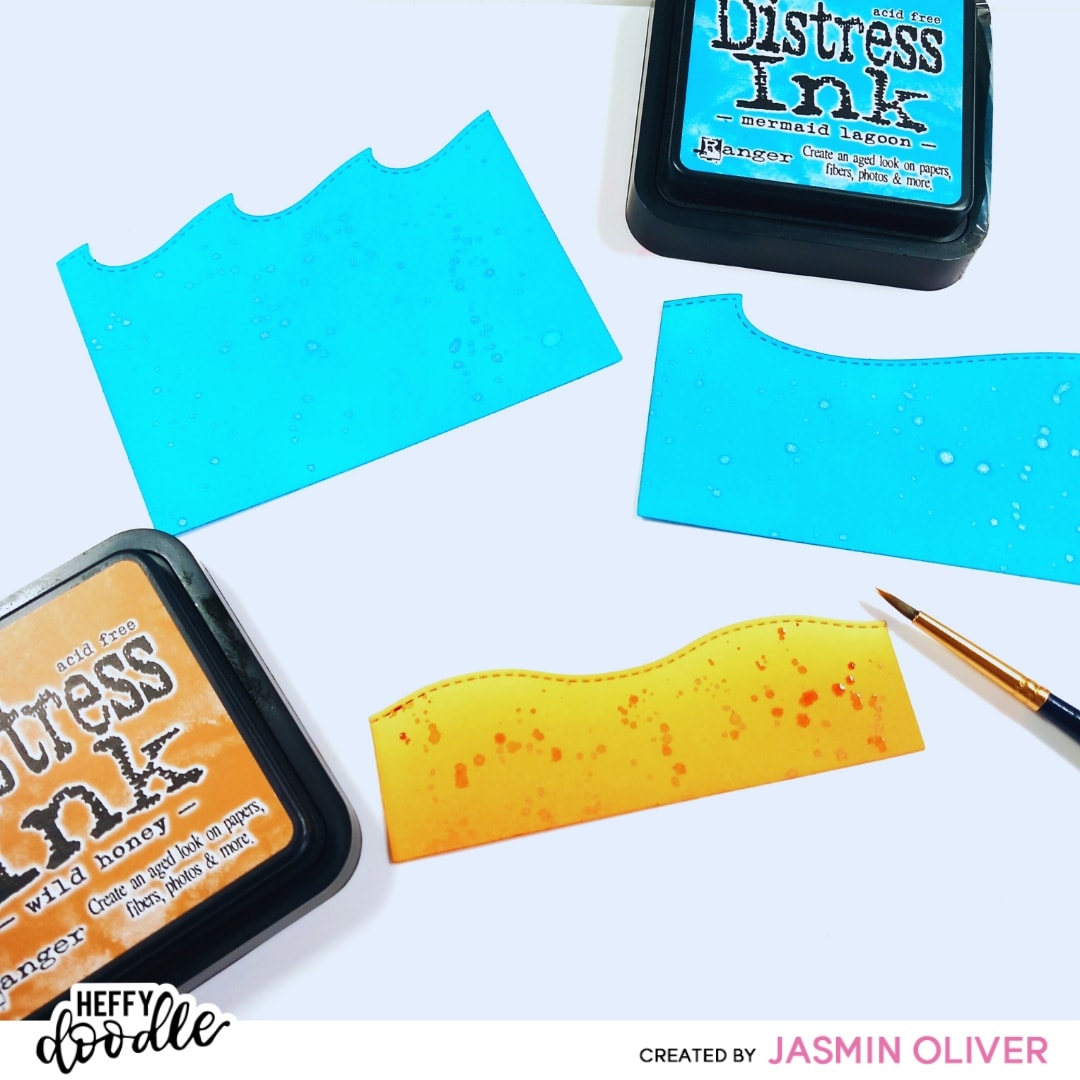
Ink up each wavy panel using Mermaid Lagoon and Wild Honey Distress Ink, add some texture by watering down a small amount of each ink on a media mat, and splatter it onto the panels.
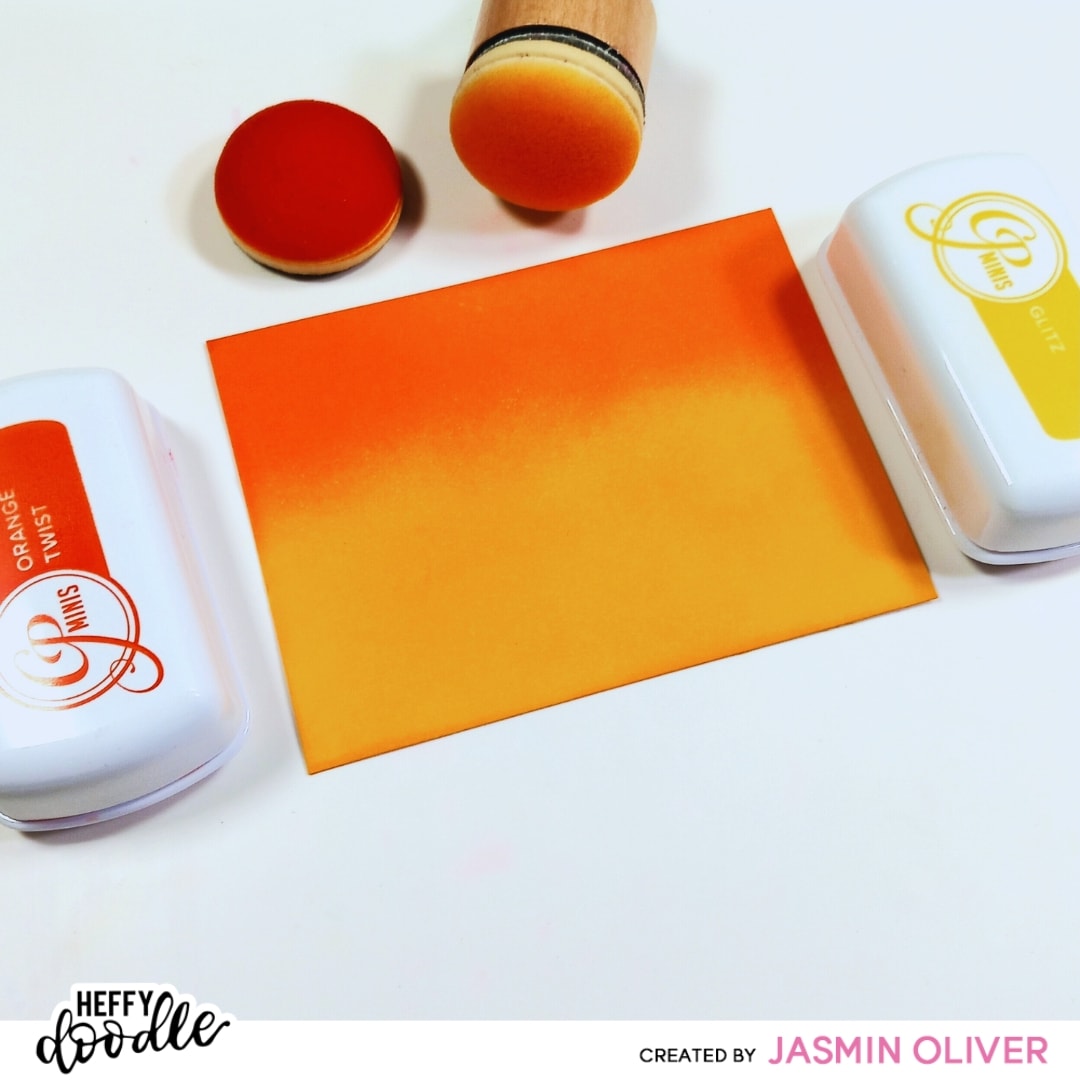
Cut another Skinny Metric Frame Die from white cardstock, this will act as your sky panel albeit a lot of it will be covered with other elements it will add the perfect background to your card. Ink this panel up with Catherine Pooler Ink Glitz and Orange Twist. Use the Heffy Doodle Mini Paper Trimmer to trim this panel down in height to just 3″.
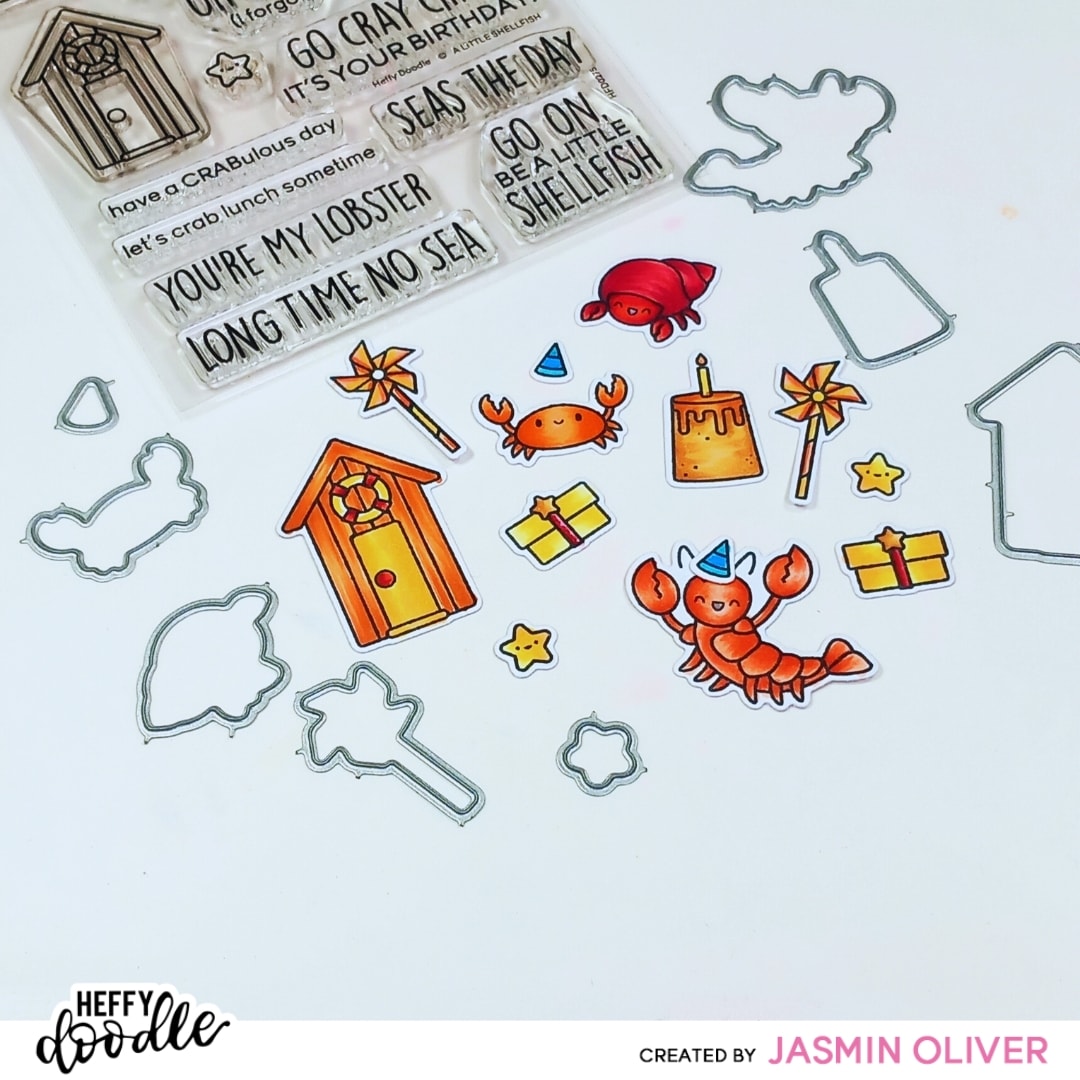
Stamp images from the A Little Shellfish stamp set on Alcohol Marker Friendly Cardstock in Memento Tuxedo Black Ink. I’ve colored my images in Copic Markers and die cut using the coordinating dies running them through my Heffy Doodle Mini Die Cutting Machine.
Adhere your layers with double sided tape. Use the frame die with foam tape to give it some depth and frame your scene! Adhere the remaining images and sentiment with foam tape and adhesive glue to give different layers in your card!
Thank you for stopping by today. I will be back soon with more celebratory cards!
Instagram / Blog / YouTube / Pinterest
Please note this blog features affiliate links, you can shop these links at NO extra cost to you! I may earn a small commission from any sales that continues to support my crafting, thank you! All opinions continue to remain my own and I only truly work with products that bring me joy.
