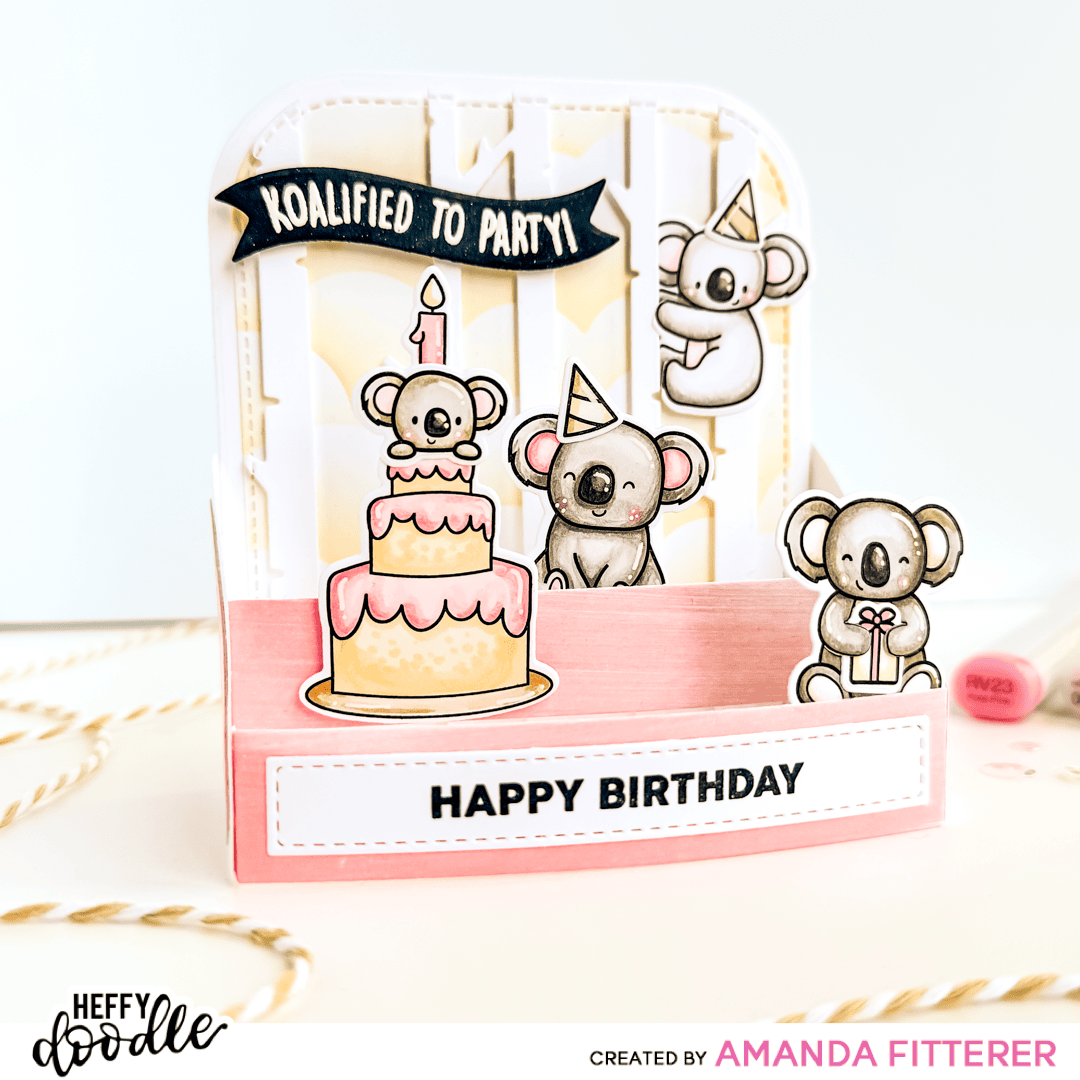
Let’s Make a 3D Koality Hugs Card!
![](https://heffydoodle.com/wp-content/uploads/2021/05/BlogSeriesBanner_MixAndMatch_withAmandaFitterer-1200x225.jpg)
![](https://heffydoodle.com/wp-content/uploads/2024/04/HD-AmandaFitterer-Brooke3D-KoalityHugs-5.png)
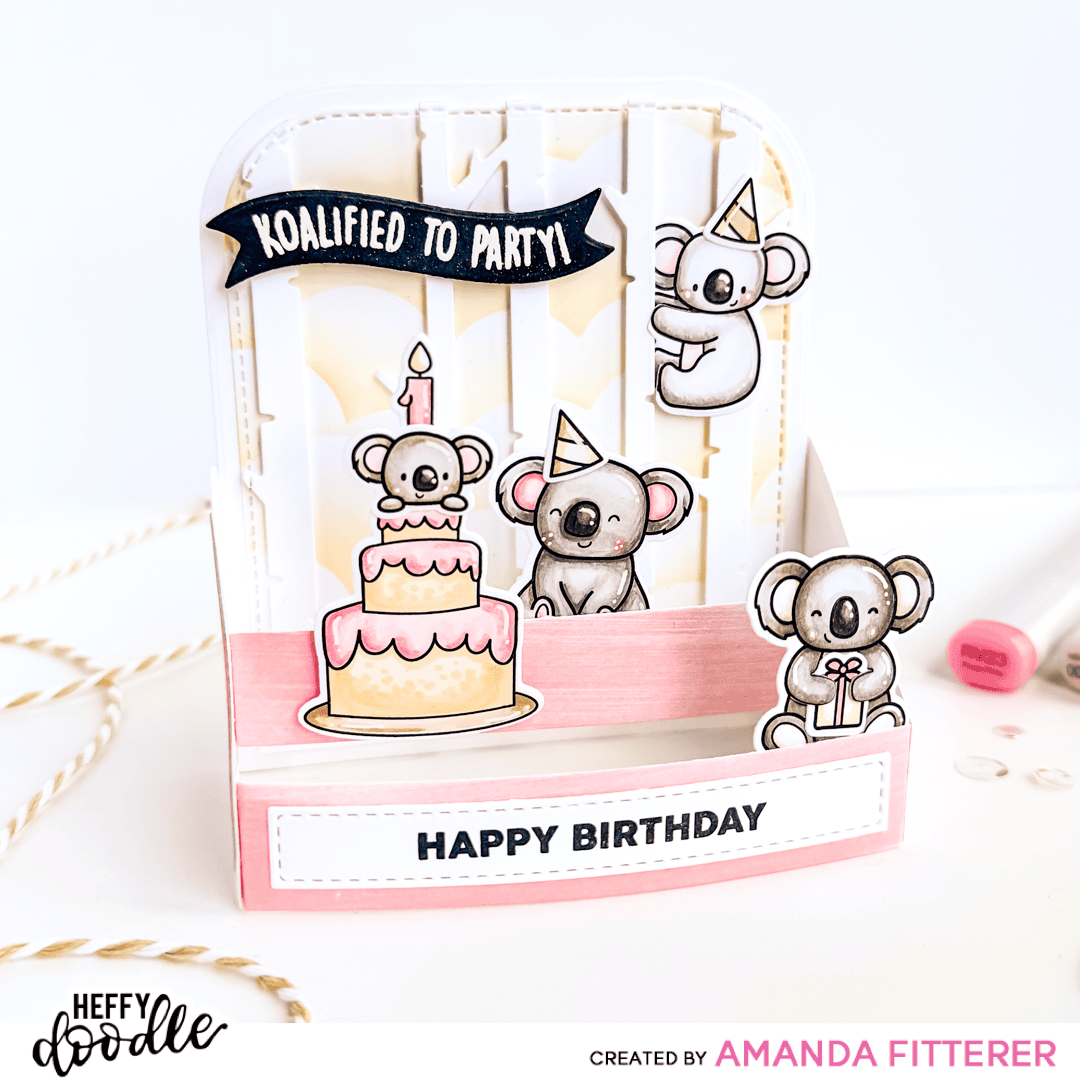
Hello my friends! I’m excited to share with you how easy it is to make a 3D card using the Brooke 3D Box Card Dies!
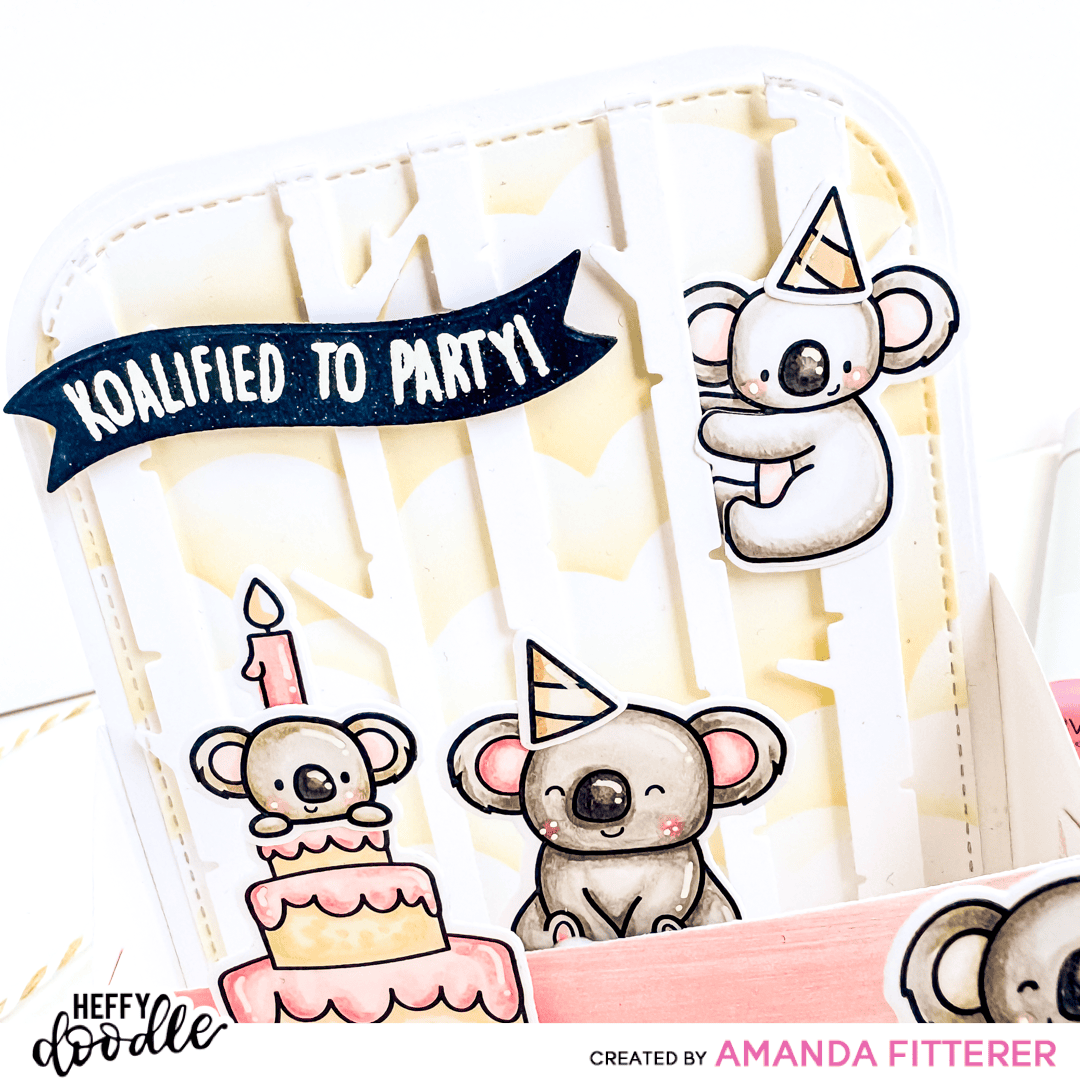
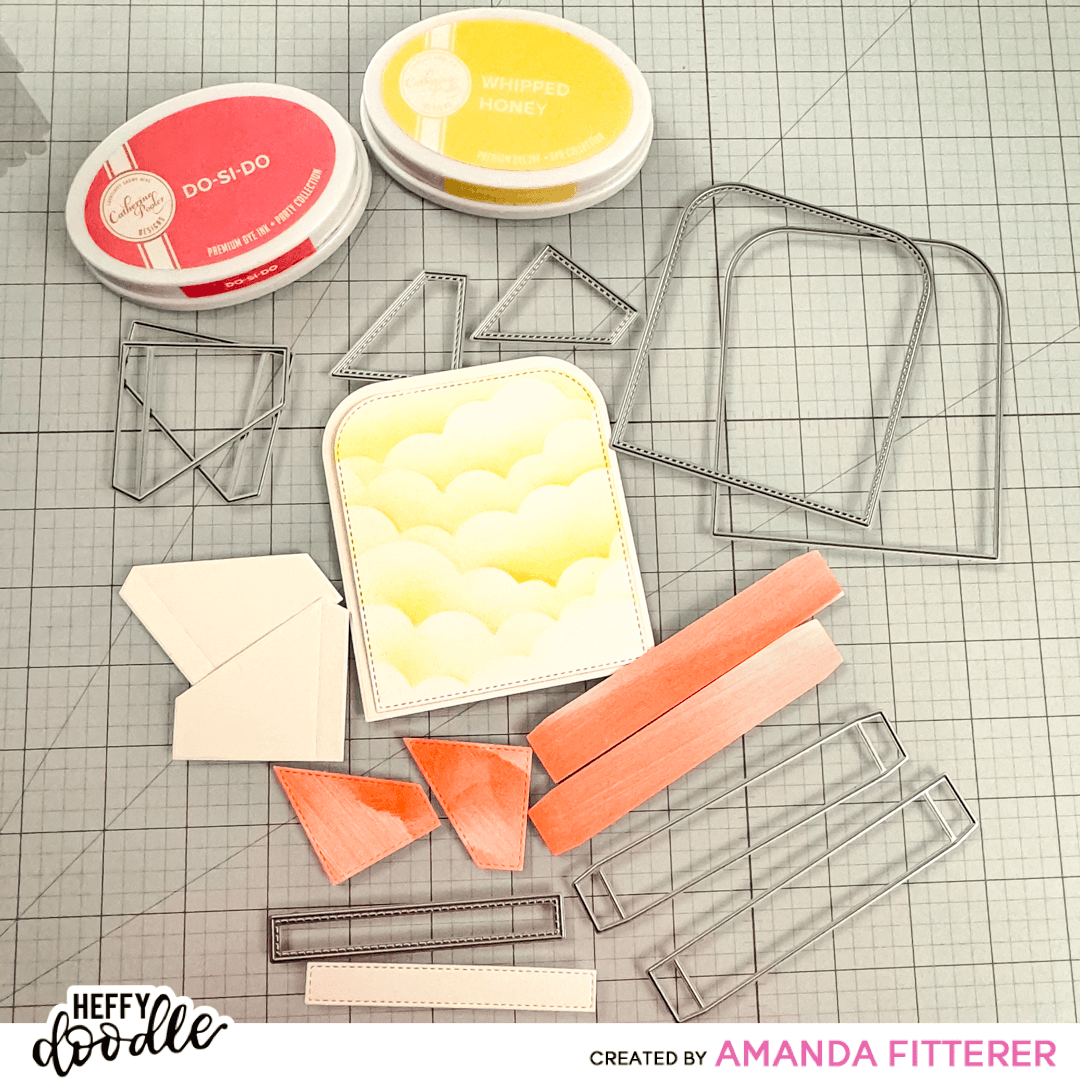
To create this card, I started by cutting out all of my pieces that come with the die set. For my background, I ink blended Catherine Pooler’s Whipped Honey ink through the Cloudy Skies Stencil. I also ink blended Do-Si-Do on my end and middle pieces.
![](https://heffydoodle.com/wp-content/uploads/2024/04/HD-AmandaFitterer-Brooke3D-KoalityHugs-1-1.png)
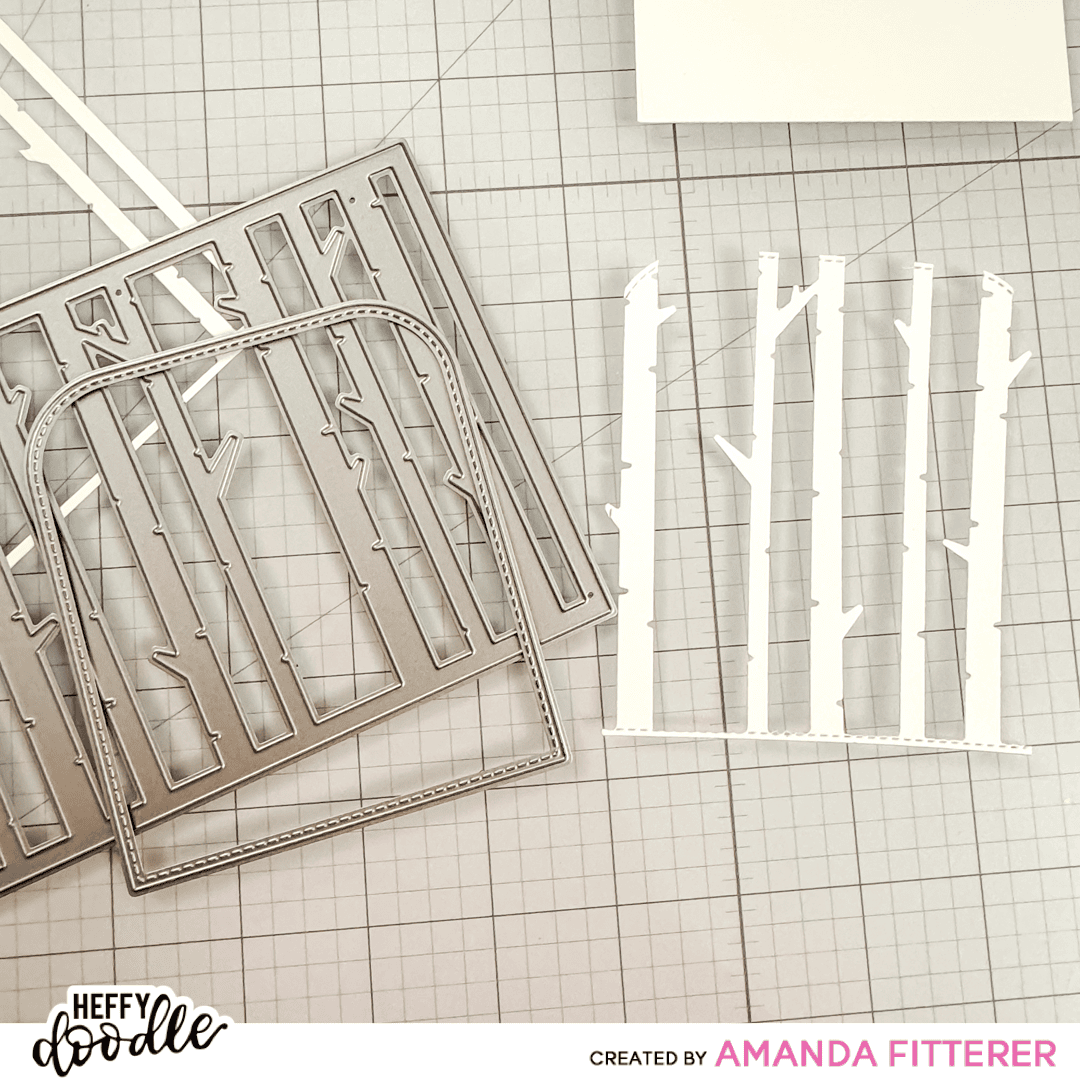
I cut the Bonnie Birch Trees Dies on white card stock, and then I used the arched die from the Brooke 3D Box Card Dies to get the right shape for my background.
![](https://heffydoodle.com/wp-content/uploads/2024/04/HD-AmandaFitterer-Brooke3D-KoalityHugs-2.png)
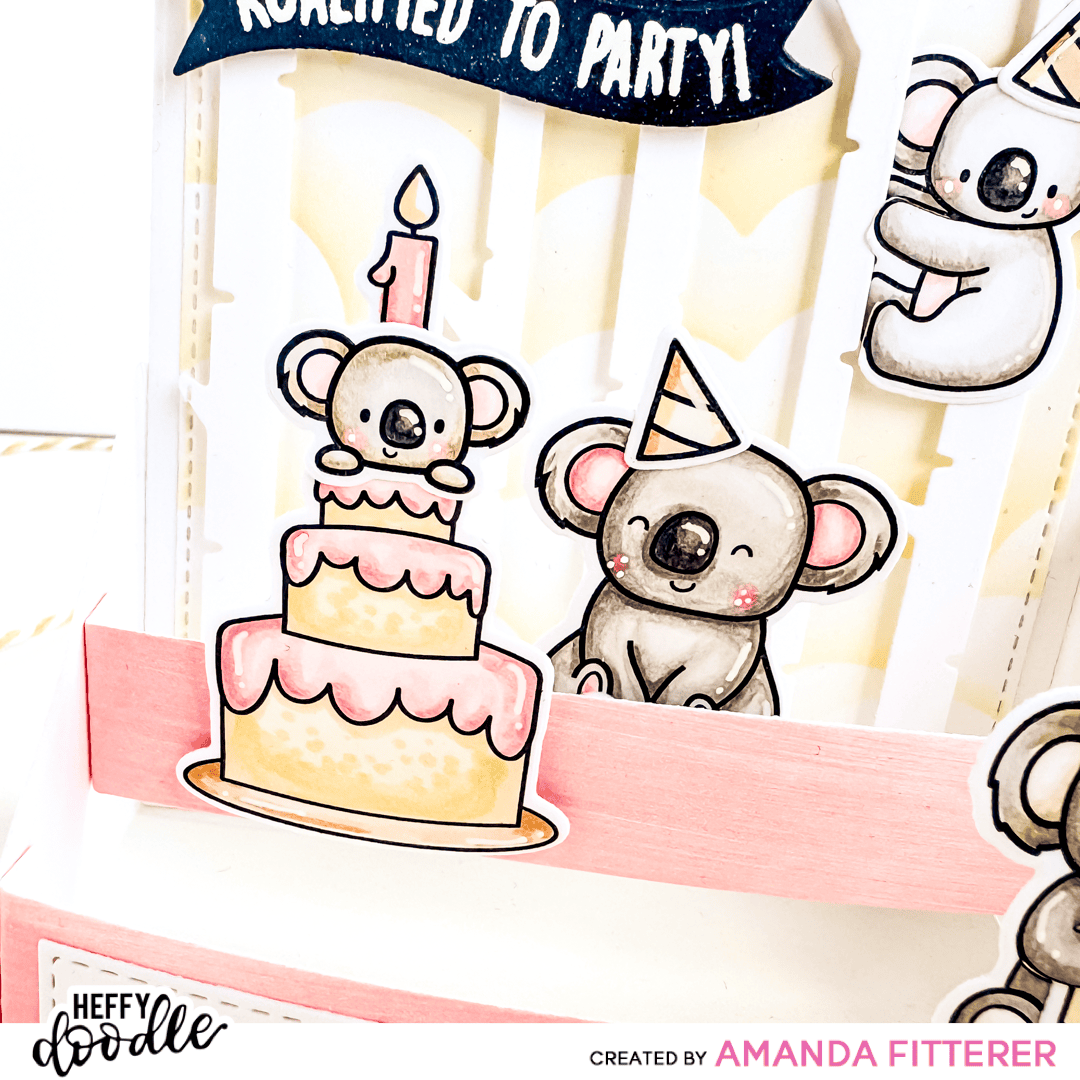
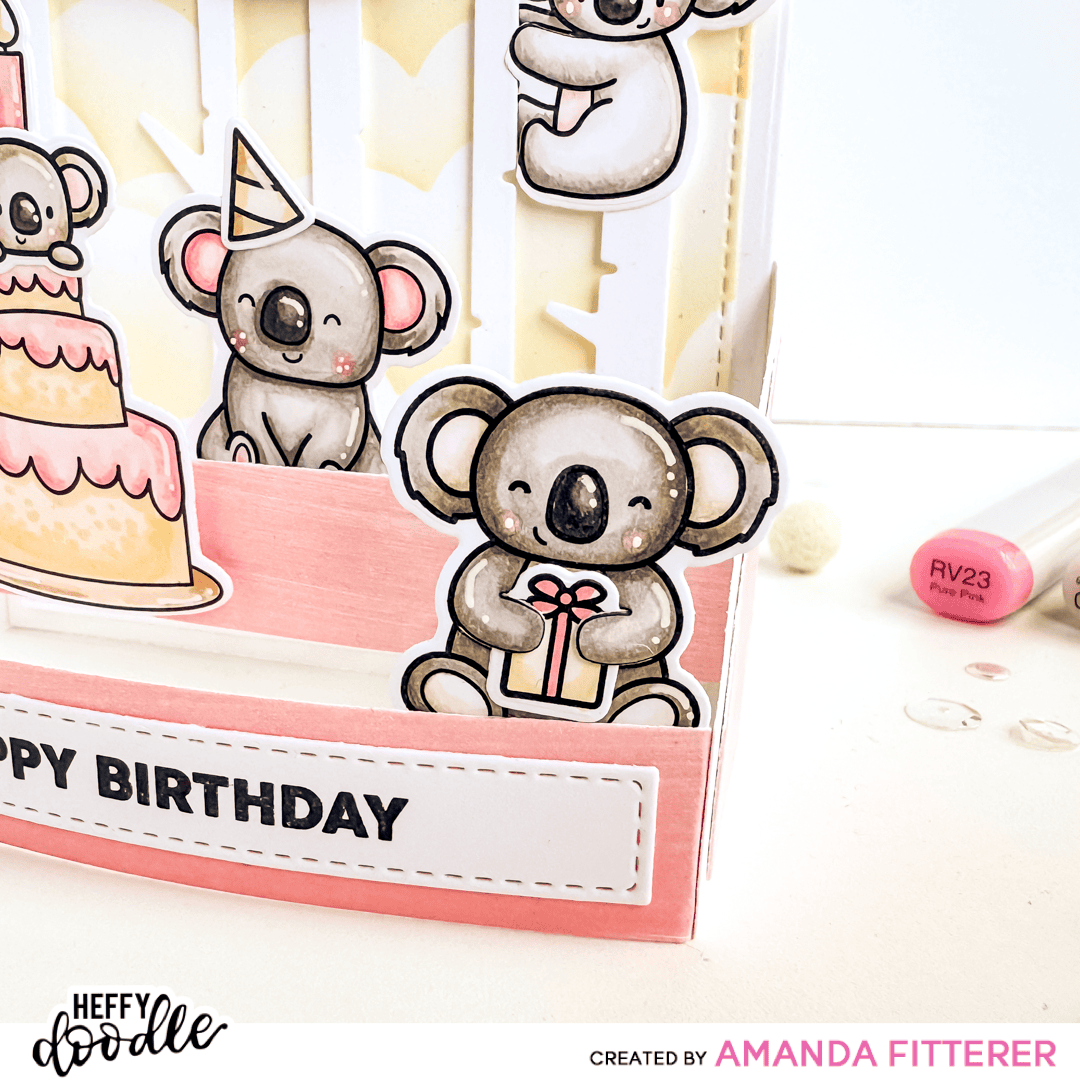
Next up, I stamped my images from the Koality Hugs and Party Palooza stamp sets, colored them in with Copic markers, and then die cut them with their coordinating dies.
![](https://heffydoodle.com/wp-content/uploads/2024/04/HD-AmandaFitterer-Brooke3D-KoalityHugs-3.png)
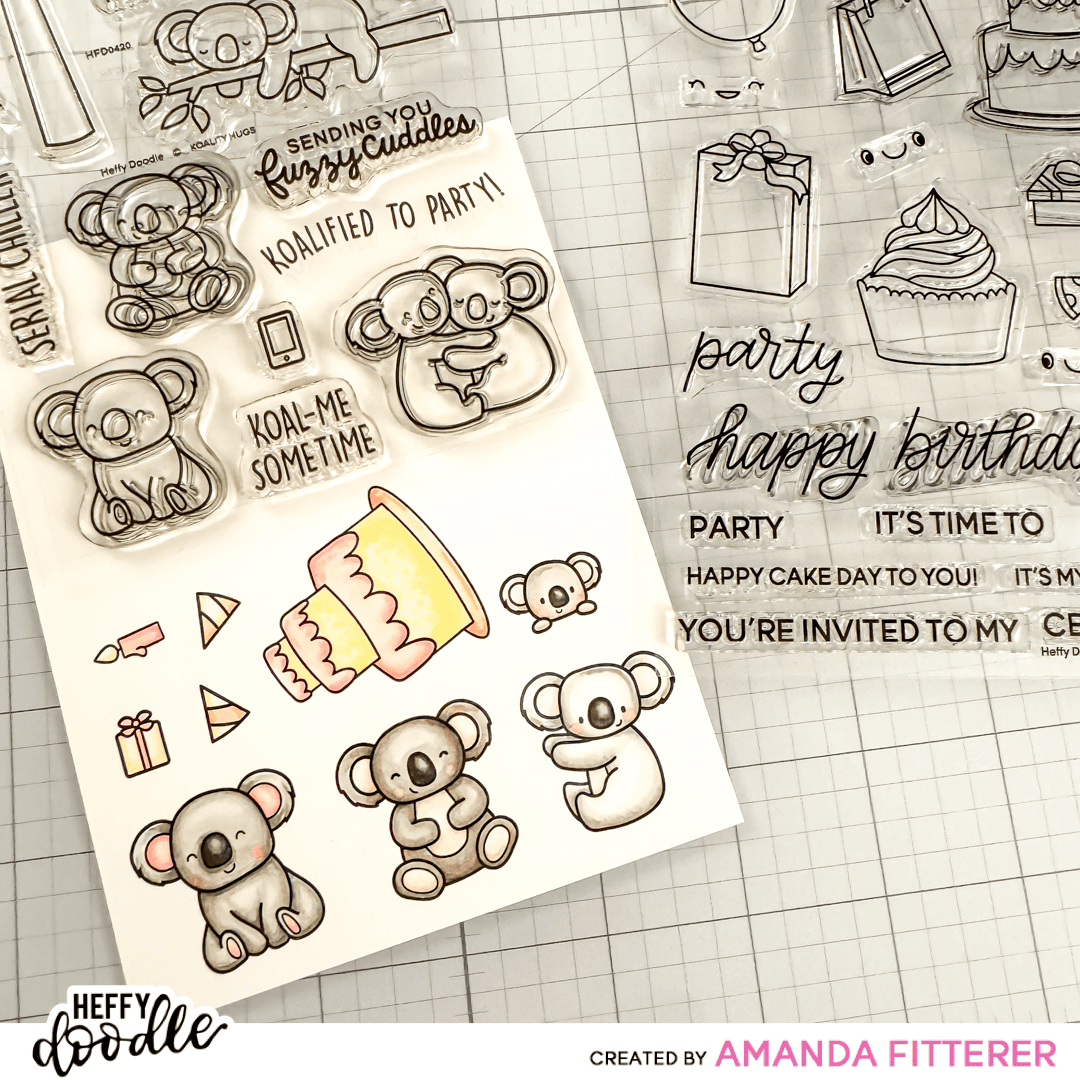
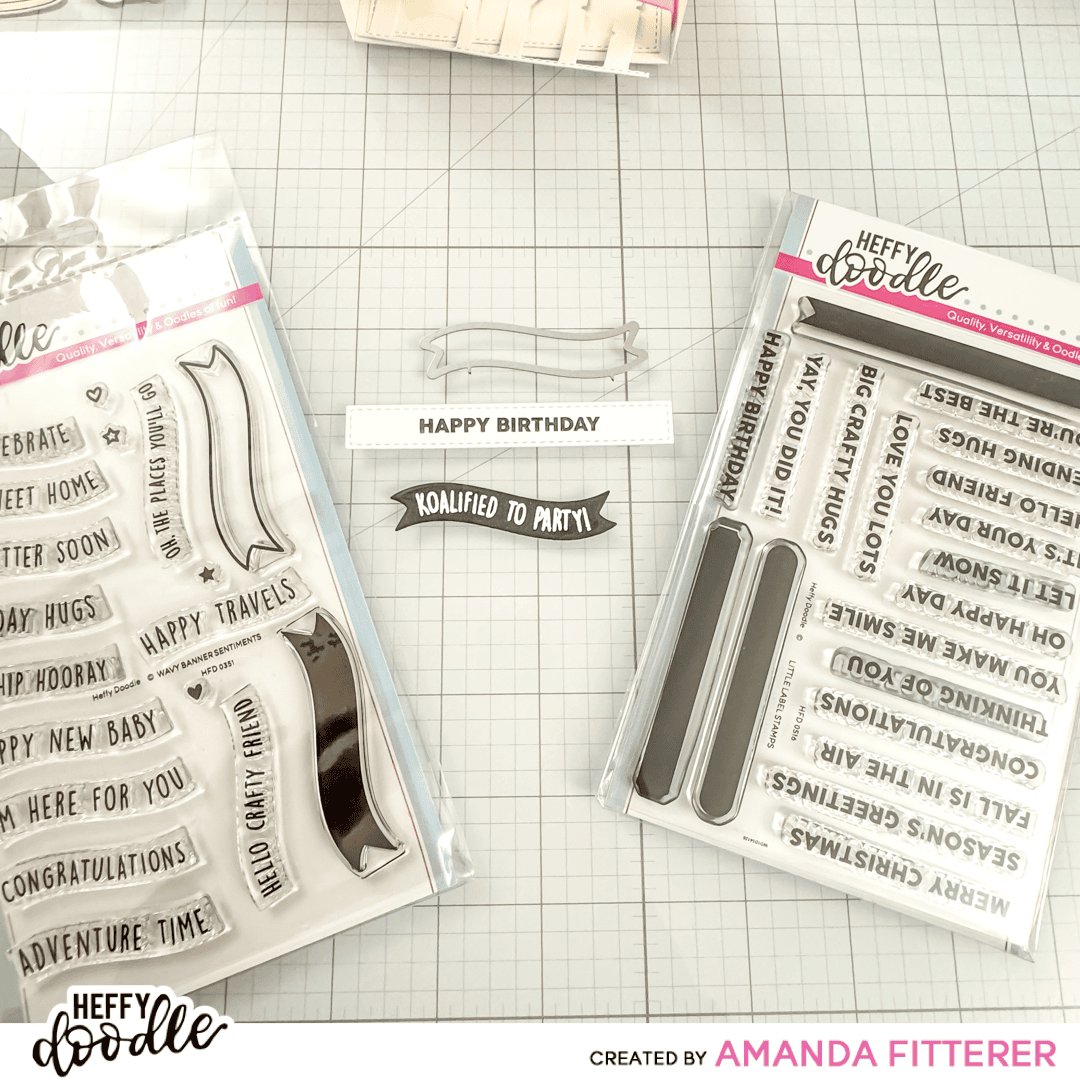
For my sentiments, I used the Wavy Banner Sentiments stamp and dies and the Little Label stamp sets.
![](https://heffydoodle.com/wp-content/uploads/2024/04/HD-AmandaFitterer-Brooke3D-KoalityHugs-4.png)
The last step is just to assemble the box card! I used liquid glue and 3D foam squares to adhere it all together.
![](https://heffydoodle.com/wp-content/uploads/2024/04/HD-AmandaFitterer-Brooke3D-KoalityHugs-6-1.png)
![](https://heffydoodle.com/wp-content/uploads/2024/04/HD-AmandaFitterer-Brooke3D-KoalityHugs-8.png)
![](https://heffydoodle.com/wp-content/uploads/2024/04/HD-AmandaFitterer-Brooke3D-KoalityHugs-9.png)
![](https://heffydoodle.com/wp-content/uploads/2024/04/HD-AmandaFitterer-Brooke3D-KoalityHugs-10.png)