How to Easily Frame Your Card!

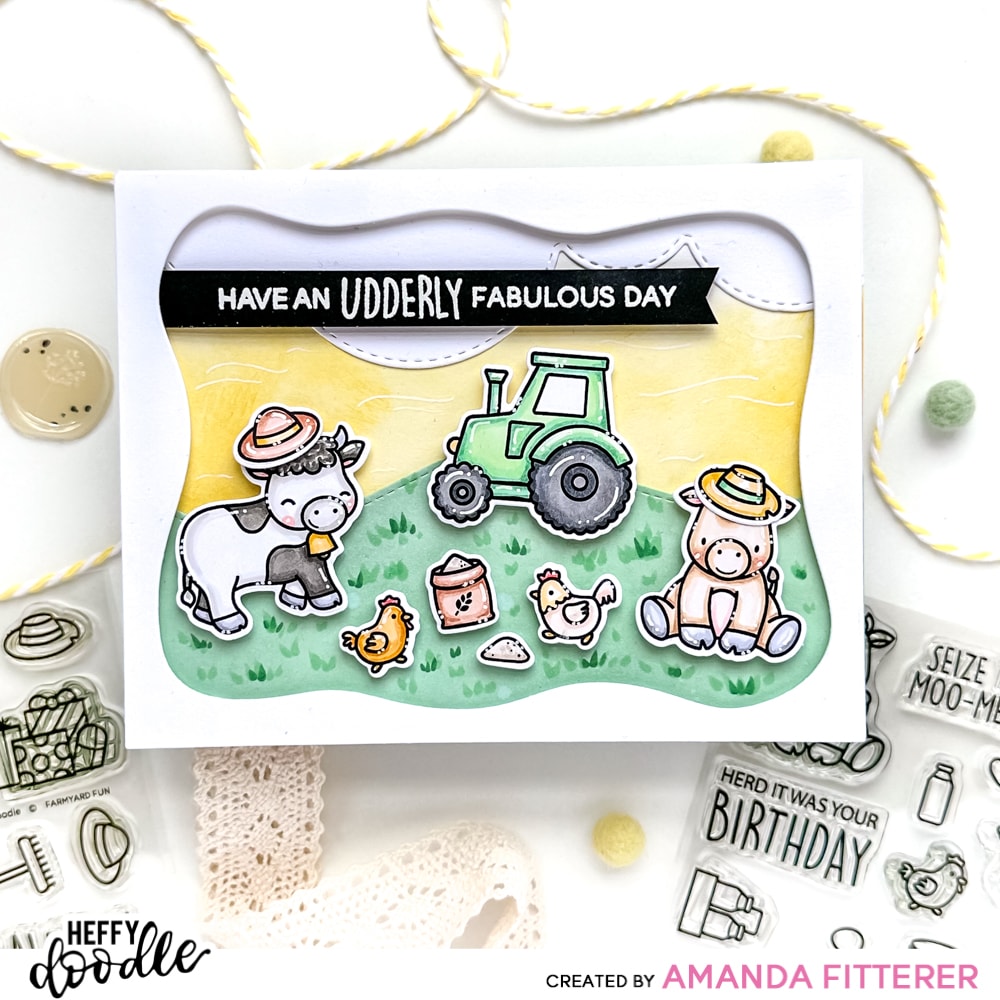
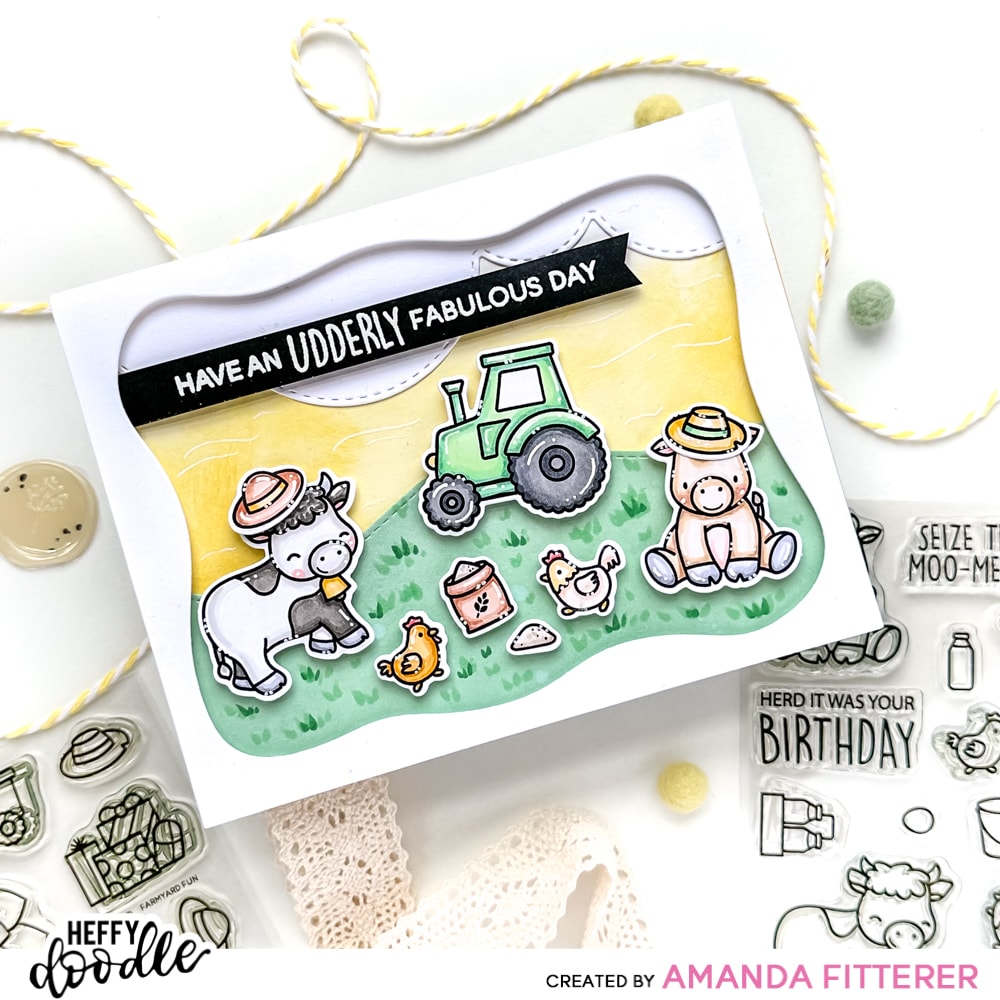
Hey friends! Do you want a quick an easy way to frame your cards and create a focal point? This makes your card look more professional and it’s super easy to do!
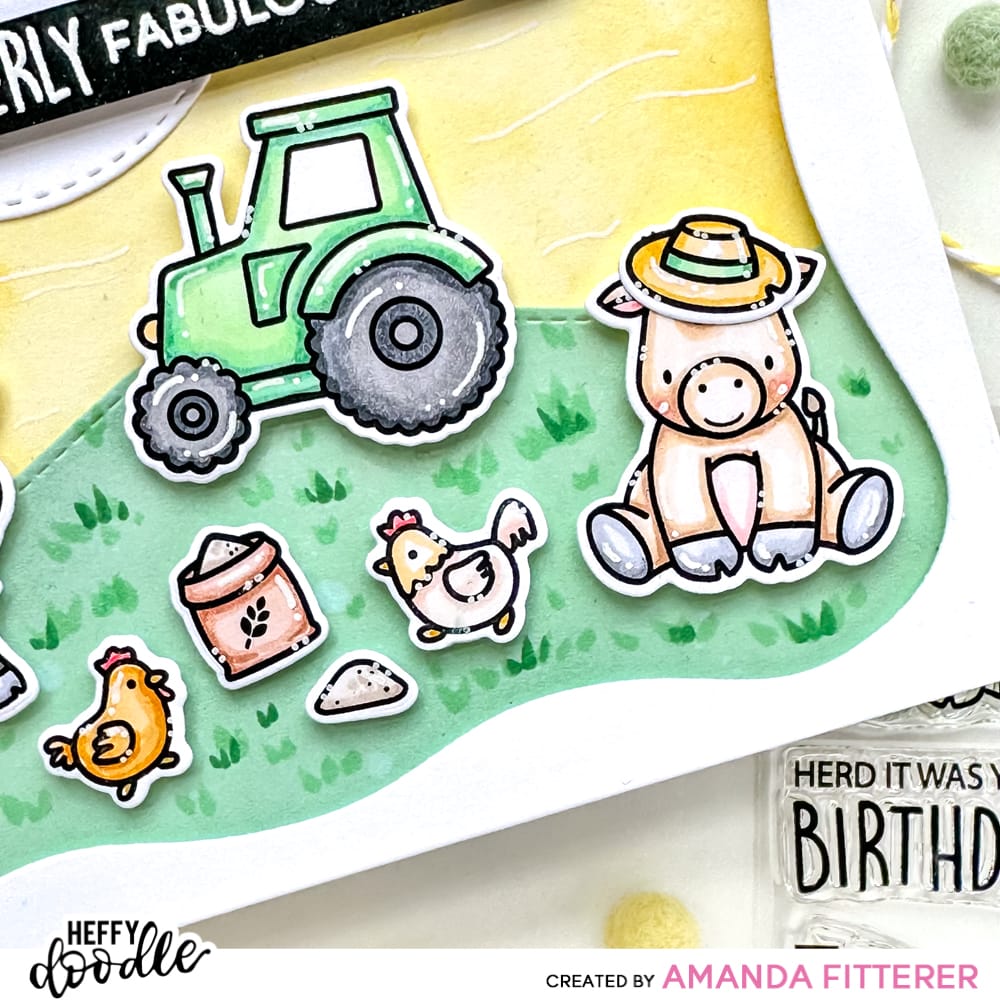
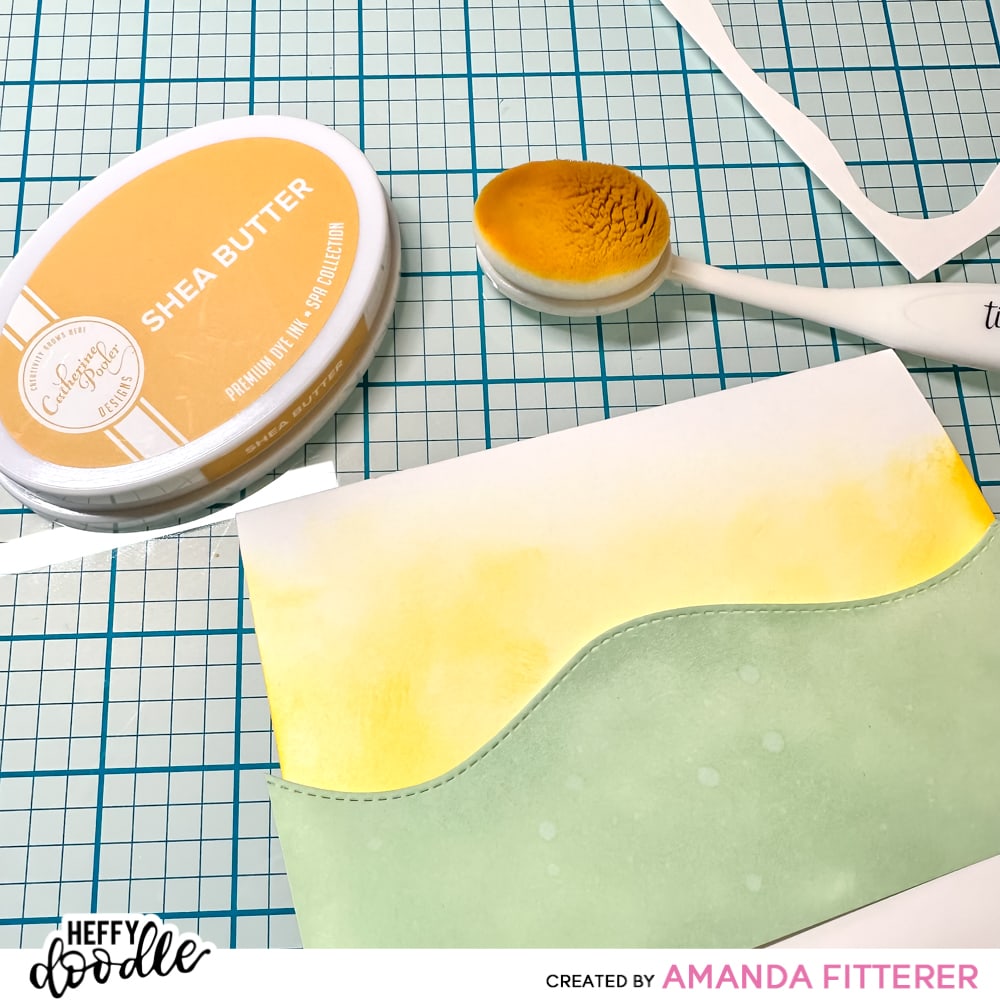
First, we are going to use the Elm Street Dies and create our frame! Then, we’re going to use an A2 panel to create our background. I’ve used Catherine Pooler’s Shea Butter for the background and Wintergreen for the grass. To create the hill, I used the Breaking Waves Border Dies. I’ll also cut out some clouds using the Silver Linings Cloud Border Dies.
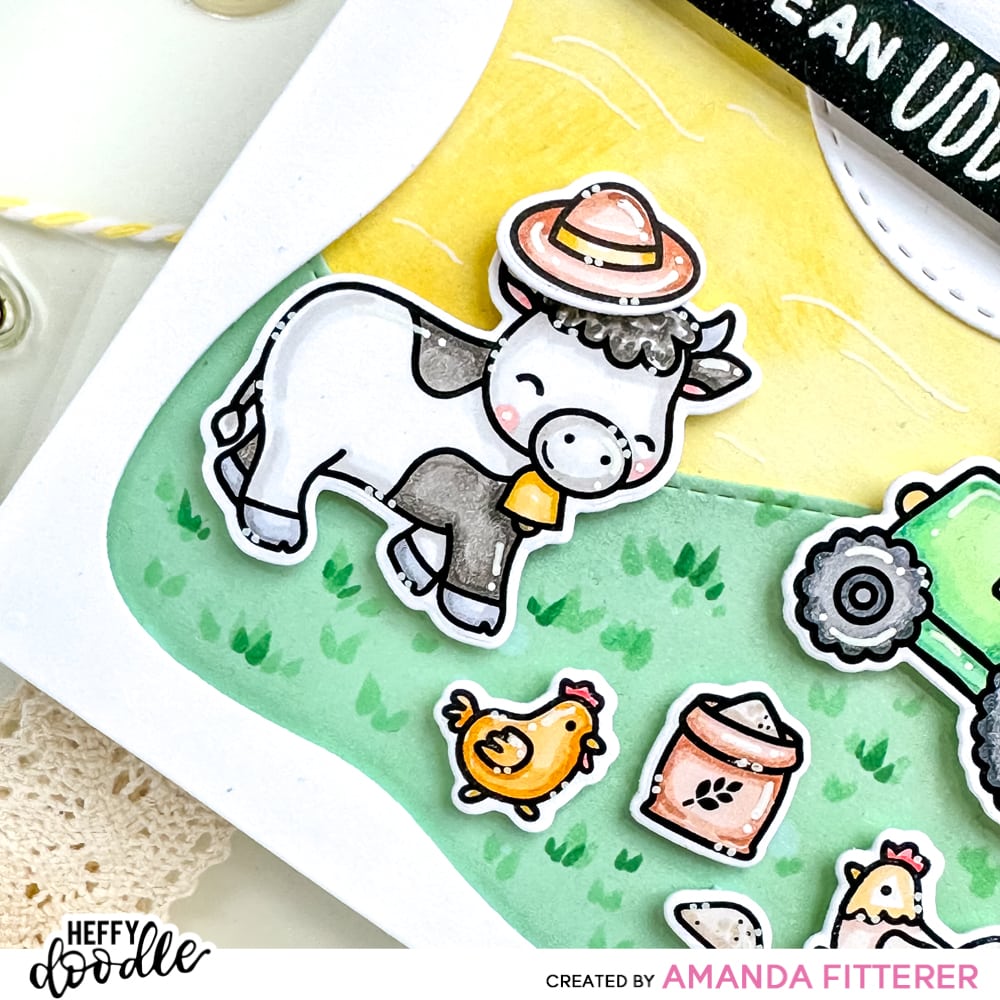
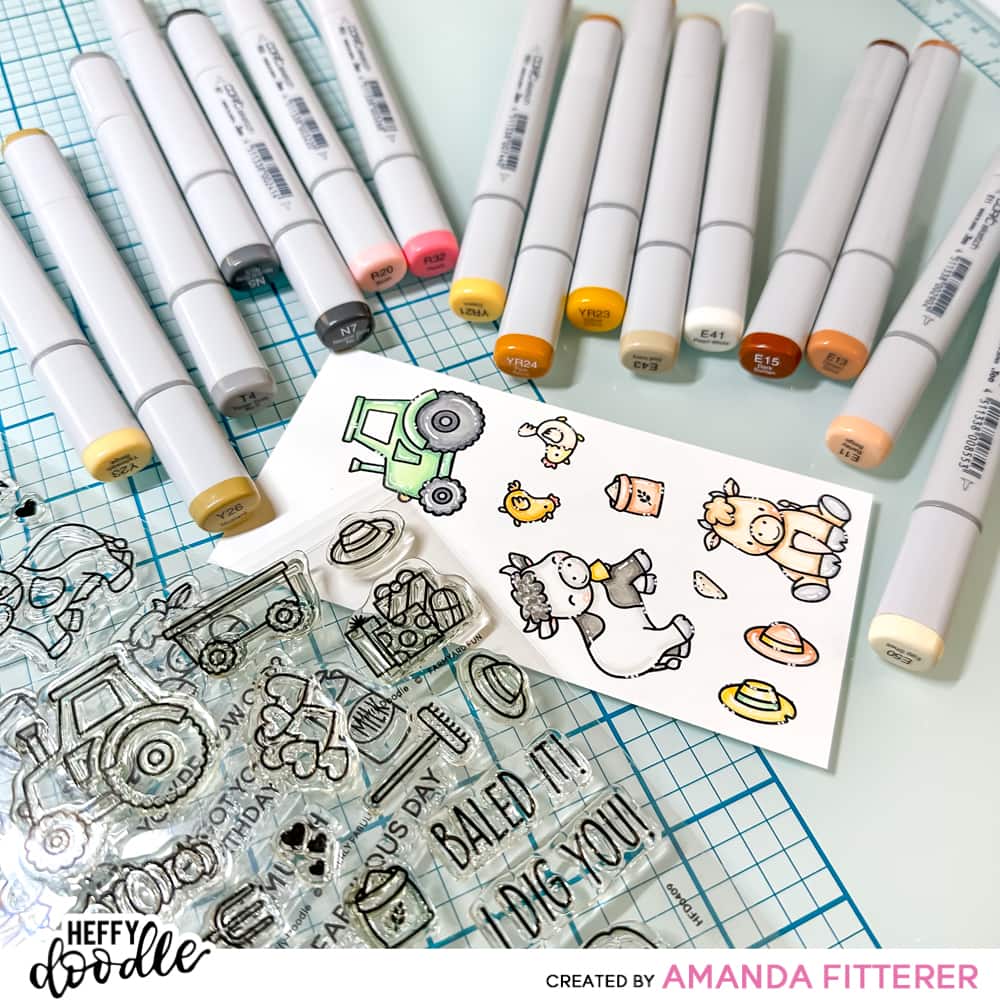
Next, I’m stamping out my images from the Udderly Fabulous and Farmyard Fun stamp sets. I’m coloring them with Copic markers and then I’ll use the coordinating dies to cut them out.
Now it’s time to assemble the card! Creating layers is also super important if you want your card to look professional. The best way to do that is with a combination of liquid glue, 3D foam squares, and Deep Foam Tape. For the background, such as the clouds and grass, I’m using liquid glue. For my stamped images and my sentiment, I’m using 3D foam squares. For my frame, I’m using Deep Foam Tape.
