Cardmaking 101 – Wheely Mice

Hello all my crafty friends!! It’s Amanda here, back with another fun project to share with you!
This week, I wanted to focus on finding inspiration!
Have you ever sat down at your desk, looked at a blank card, stewed for a while, and then just got up and left frustrated because you can’t figure out where to start?
Me? All. The. Time!
Here are a few of my personal tactics for feeling inspired:
- A specific recipient
- A color palette
- A specific stamp set, die, stencil, etc.
- An idea from Instagram, Facebook, or Pinterest
- A specific personal challenge (i.e. create some serious layers, use colored or patterned cardstock, use vellum, create a shaker element, etc.)
Let me break all these down for you:
- A specific recipient – Even if you’re not going to give the card to this specific person, who cares? Use them as inspiration! What would they want on a card? What are their favorite colors, phrases, hobbies? Think about how you could make them smile with a card and then, just go for it! Grab a couple of markers, ink pads, stamps, and sentiments and get to work!
- A color palette – There are some amazing Instagram accounts that you can follow that only post color palettes. Pick one and run with it! You don’t have to use every color and you can always add your own colors, but just use it as a starting point! Here are a few that I follow for inspiration: mr.pugo , color palettes of life, and color explorers.
- A specific stamp set, die, stencil, etc. – Pick out something you have been wanting to use for a while. Build your card around just that one product!
- An idea from social media – Don’t copy, but use the photo as inspiration! For example, take the layout of the card and use different stamps, dies, stencils to make something similar. Don’t feel bad for doing this! Everyone does it! You can even credit that person for the inspiration!
- A specific personal challenge – Try out a new technique you’ve been wanting to try. Have you wanted to make an interactive card? What about the use of vellum? Maybe you want to create a scene that has lots of layers. Whatever it is, make that your starting point!
For this card, I decided to go with #2 – a color palette. I follow many color palette accounts on Instagram and am always inspired. Keep scrolling to see the color palette I chose and the process for making this card!
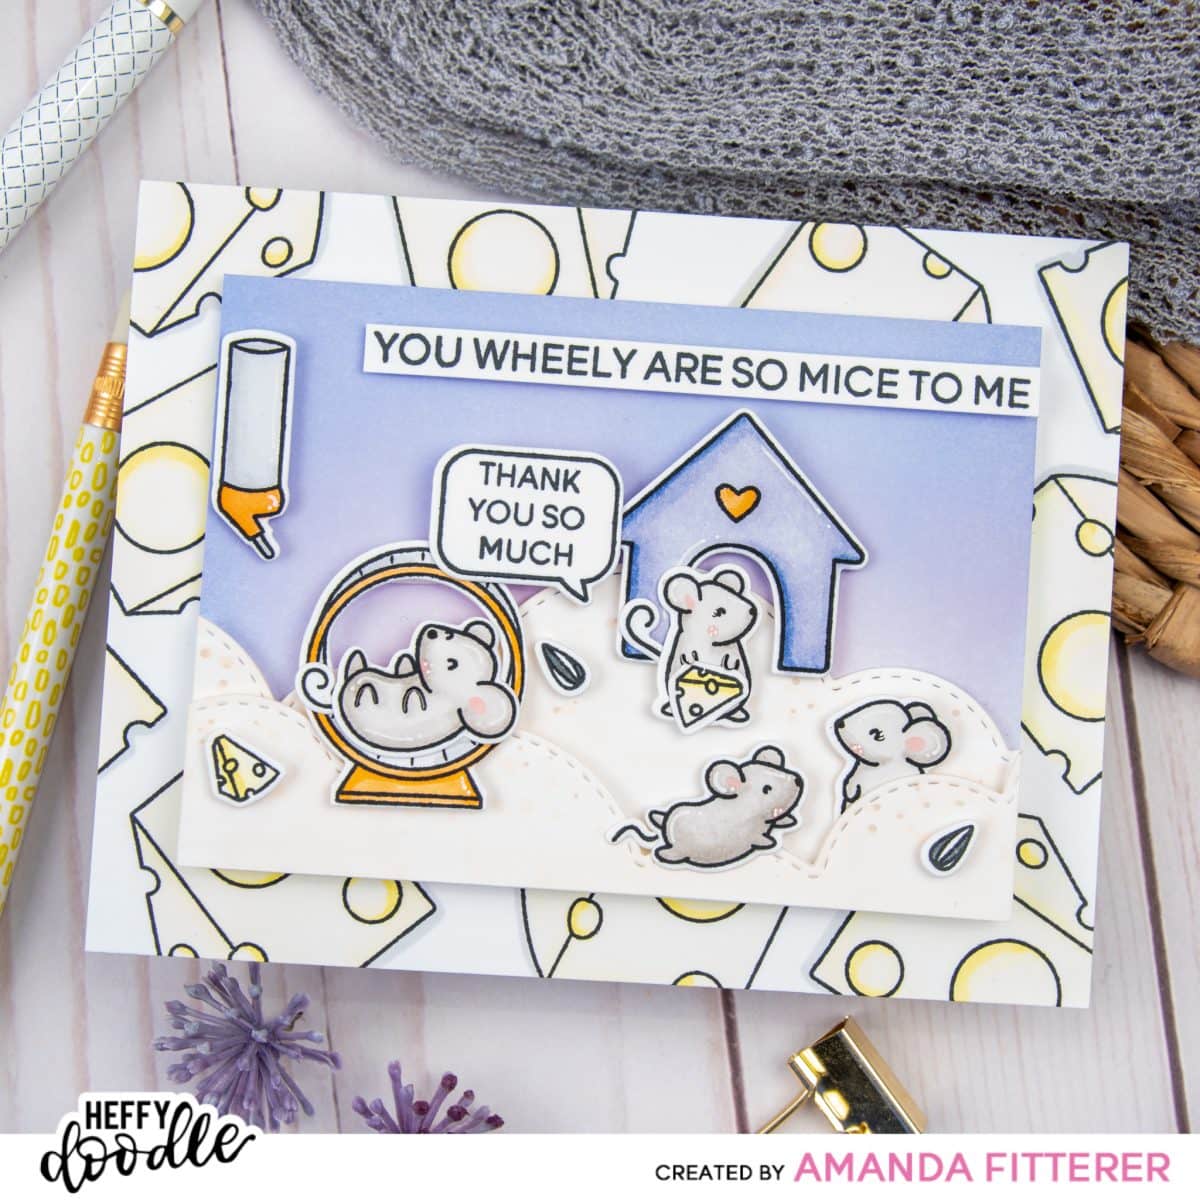
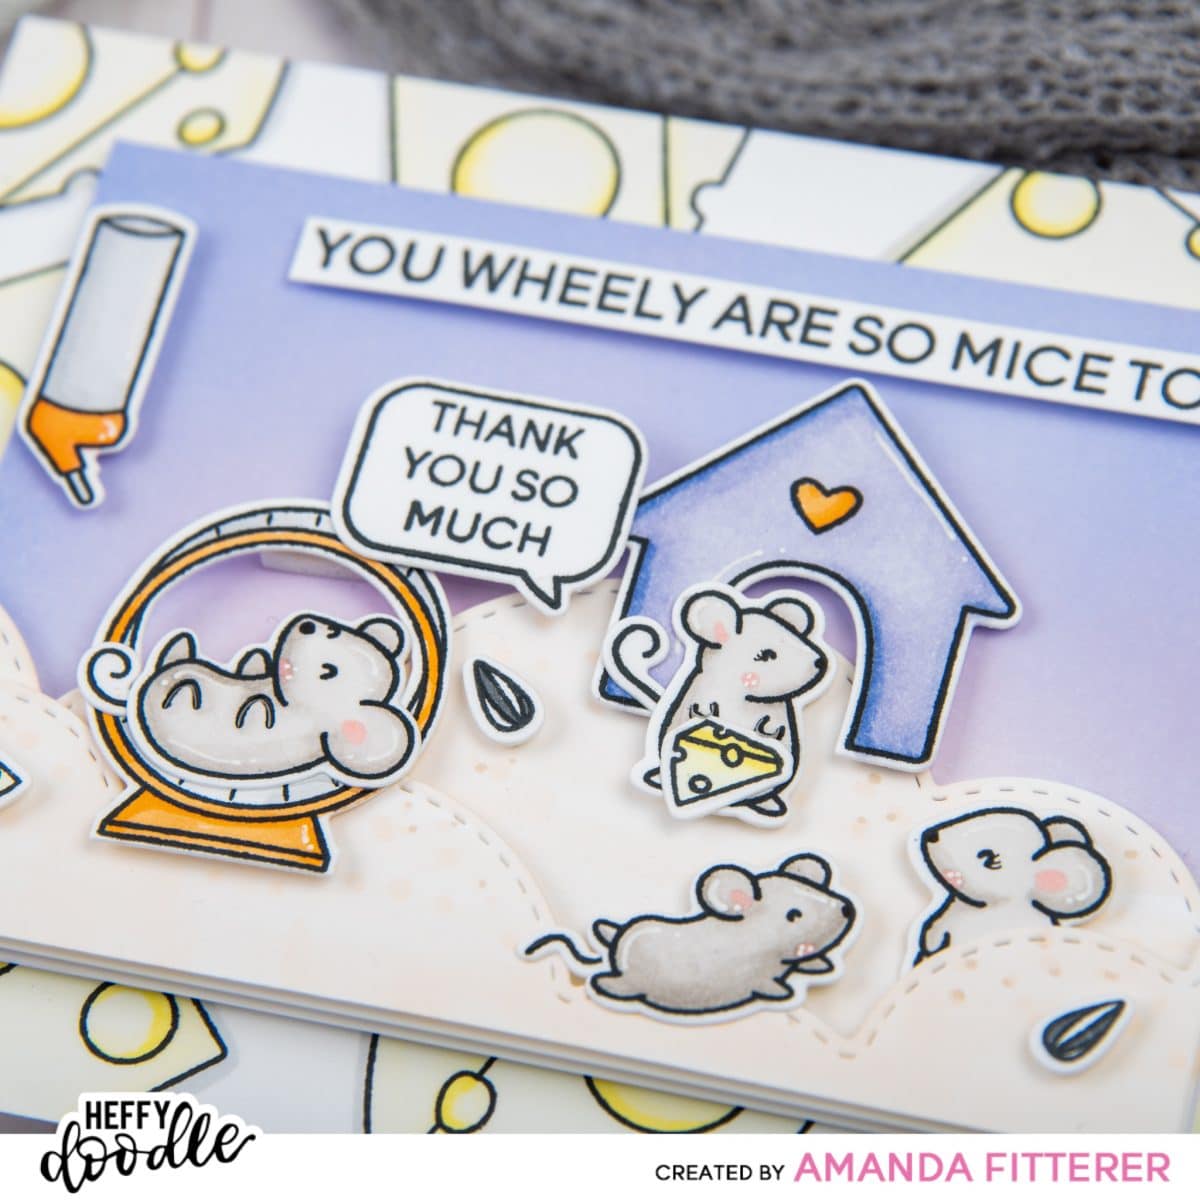
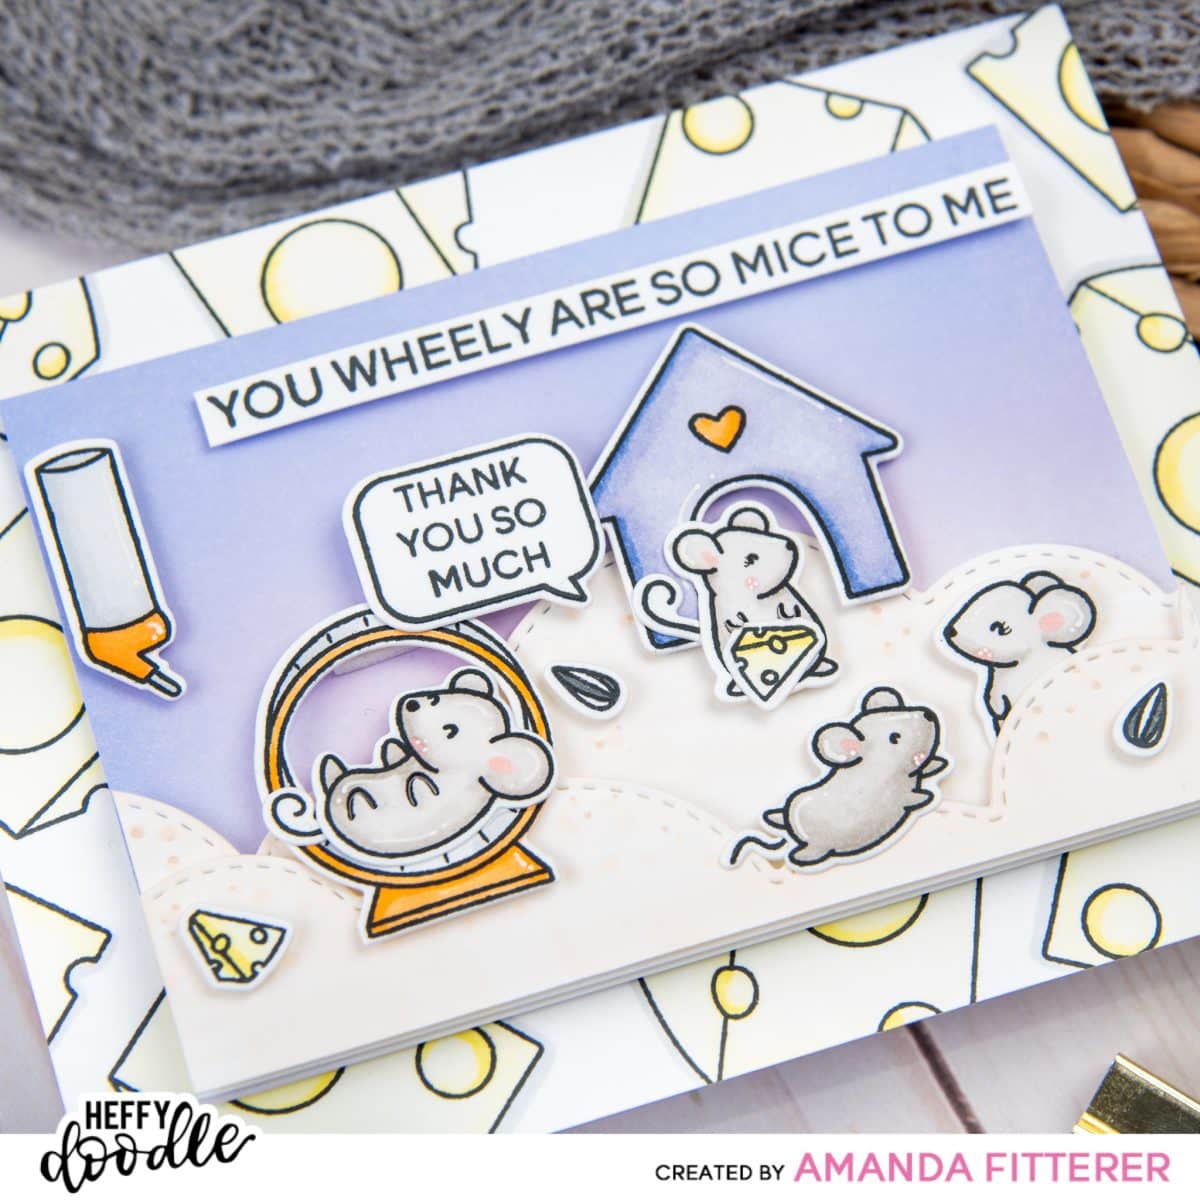
Here’s the color palette I chose from @mr.pugo :
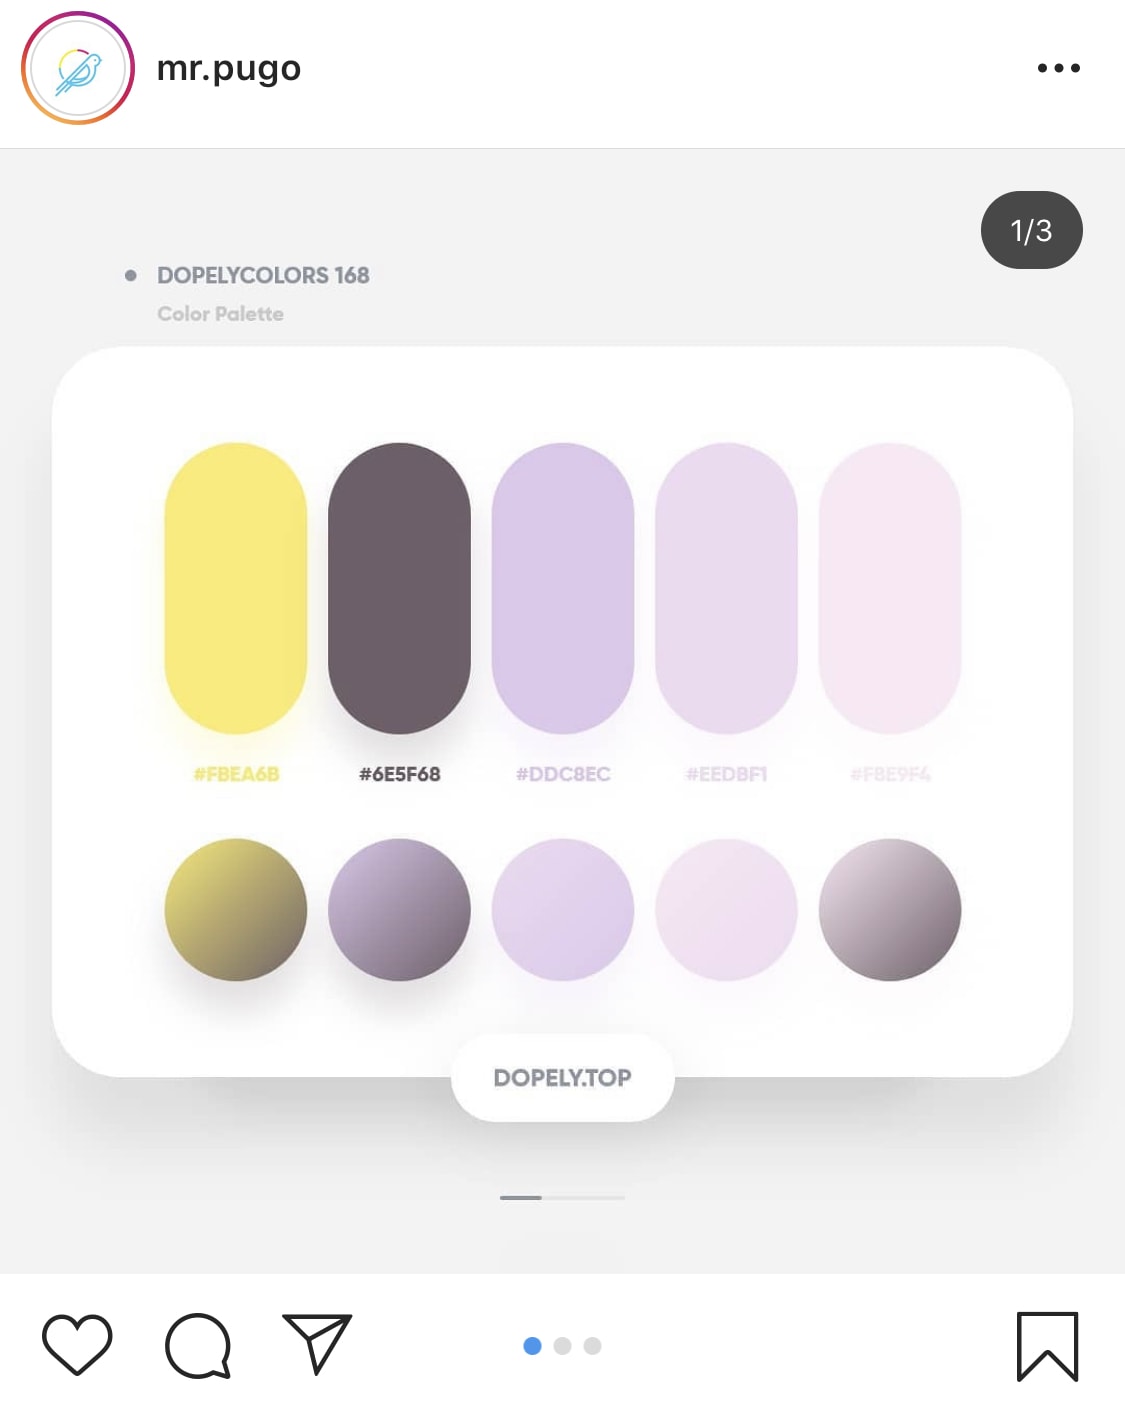
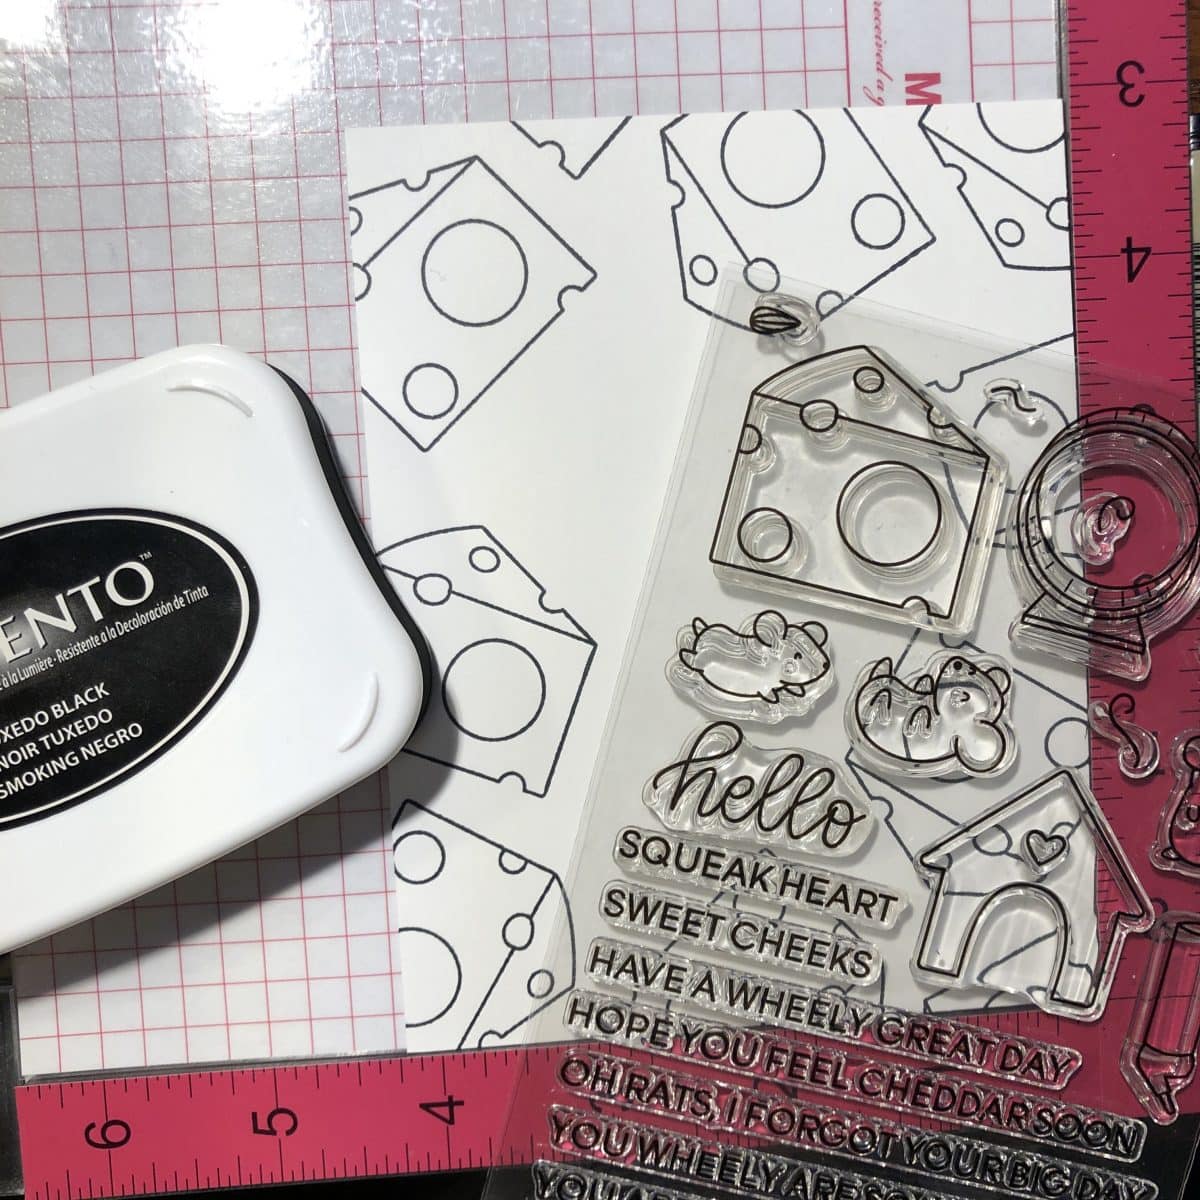
So, the first thing I’m going to do is create a cheesy background using the Hello Squeakheart stamp set. I don’t need to put any cheese in the center because I will be covering up that area.
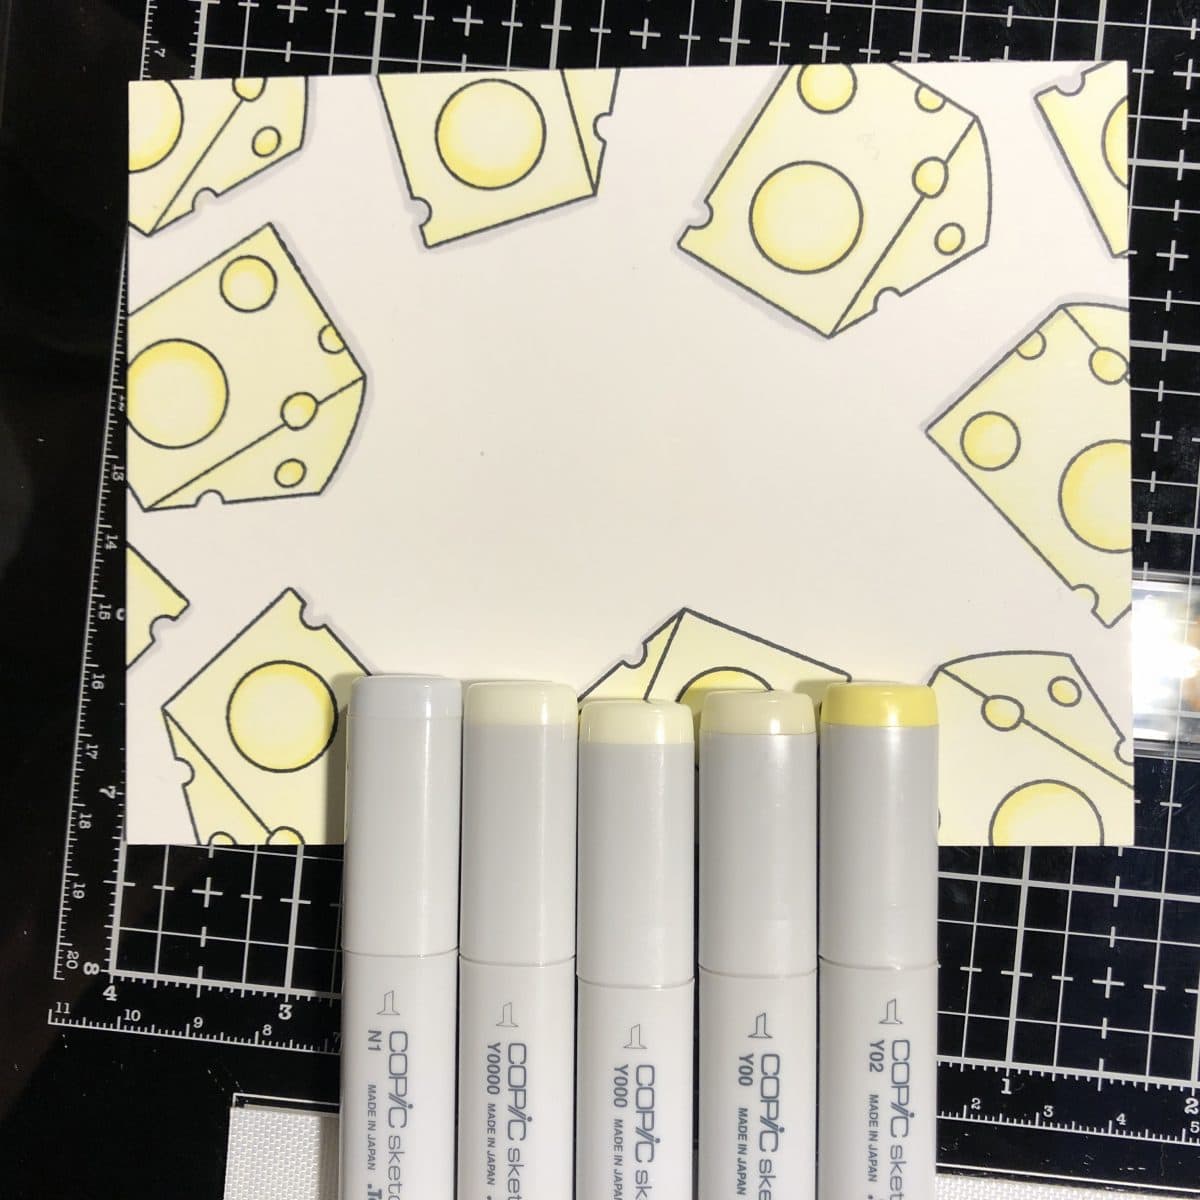
I’m using Y0000, Y000, Y00, and Y02 to color in the cheese. I’m using N1 to create a cast shadow.
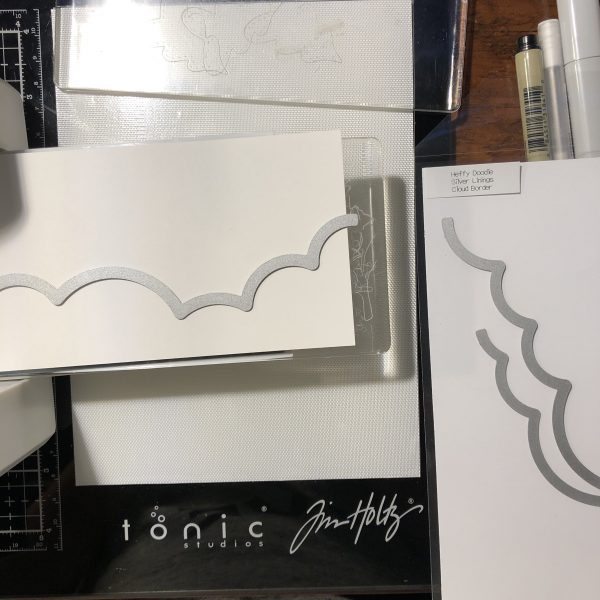
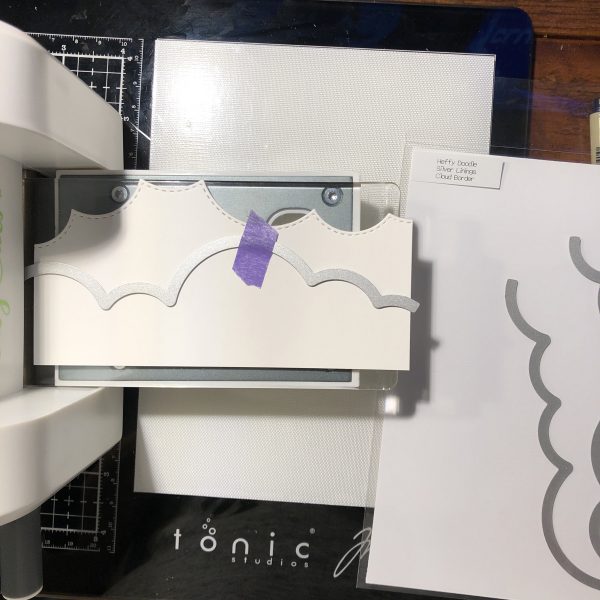
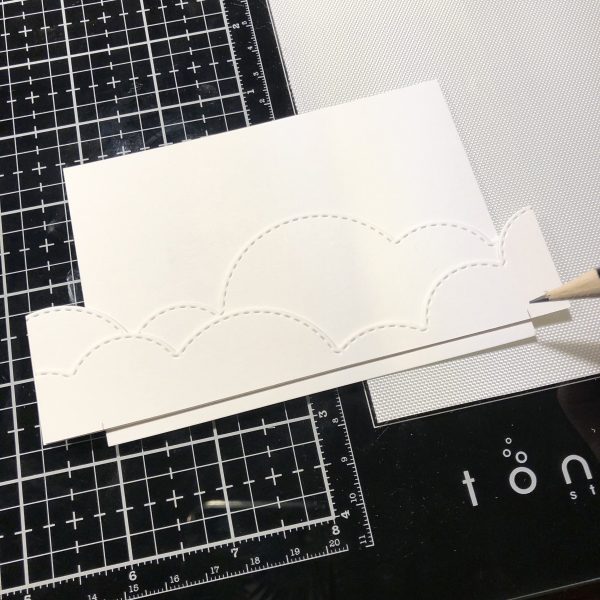
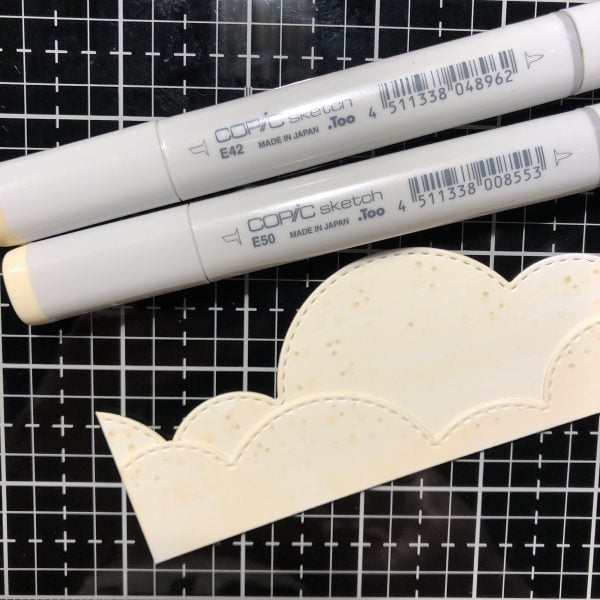
I love a versatile die! I’m going to use the Silver Linings Cloud Border dies to create my hamster cage bottom. I’m coloring the cutouts with E50 and E42.
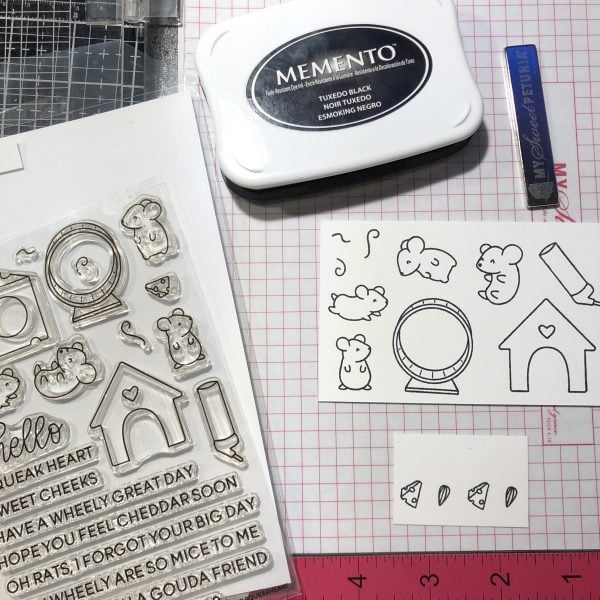
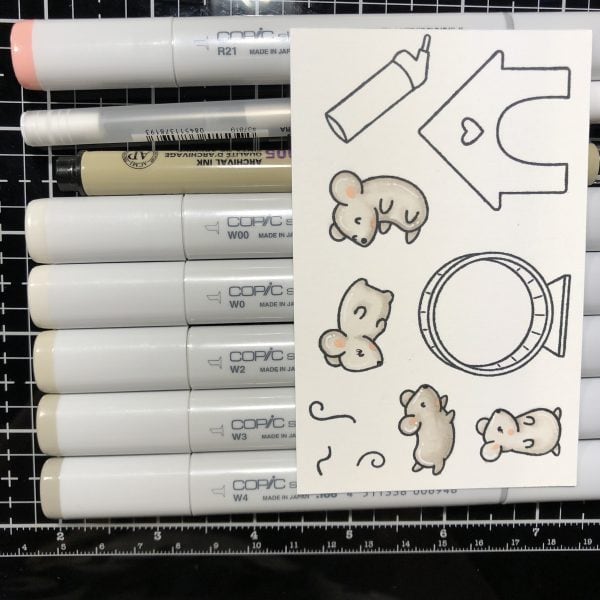
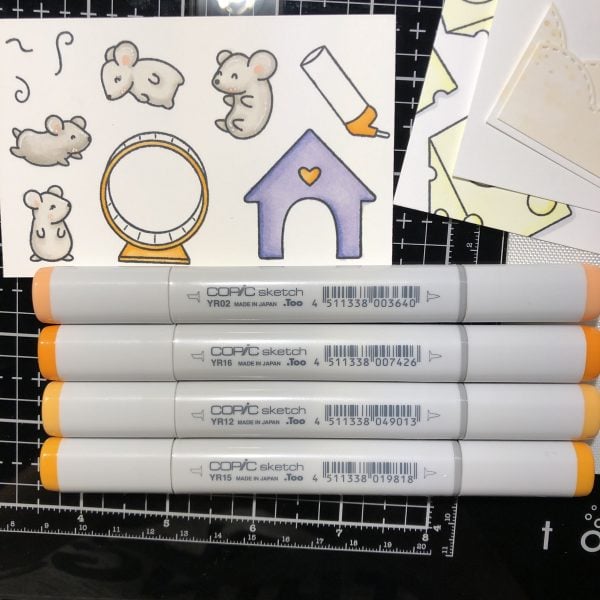
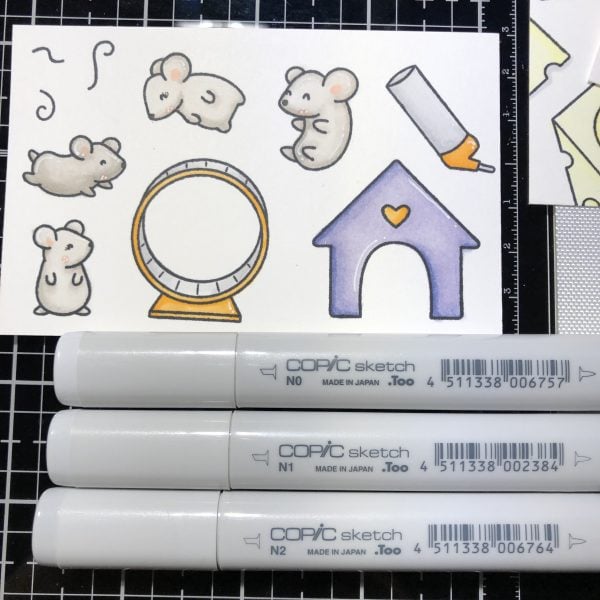
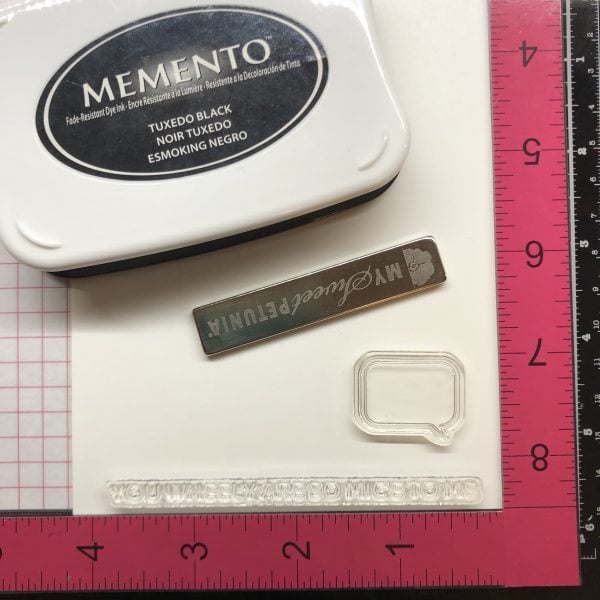
Now for the best part! Stamping and coloring our little guys! I’m stamping with Memento Tuxedo Black ink because it’s Copic-friendly ink.
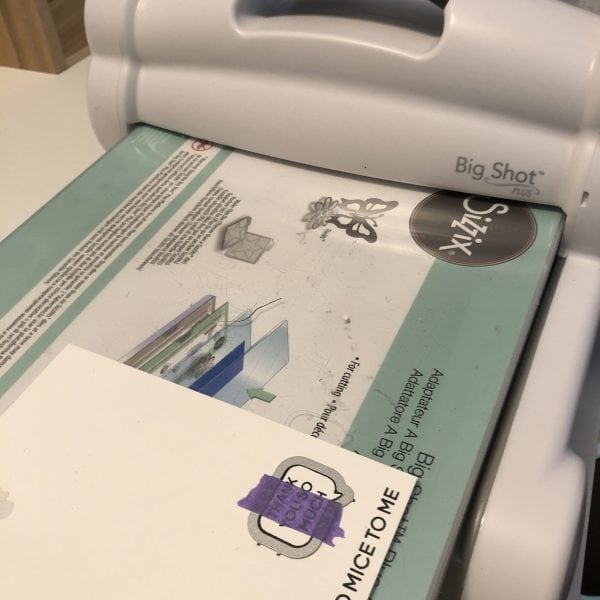
After using the coordinating dies to cut out my images, I am laying everything out to see how I like it so far!
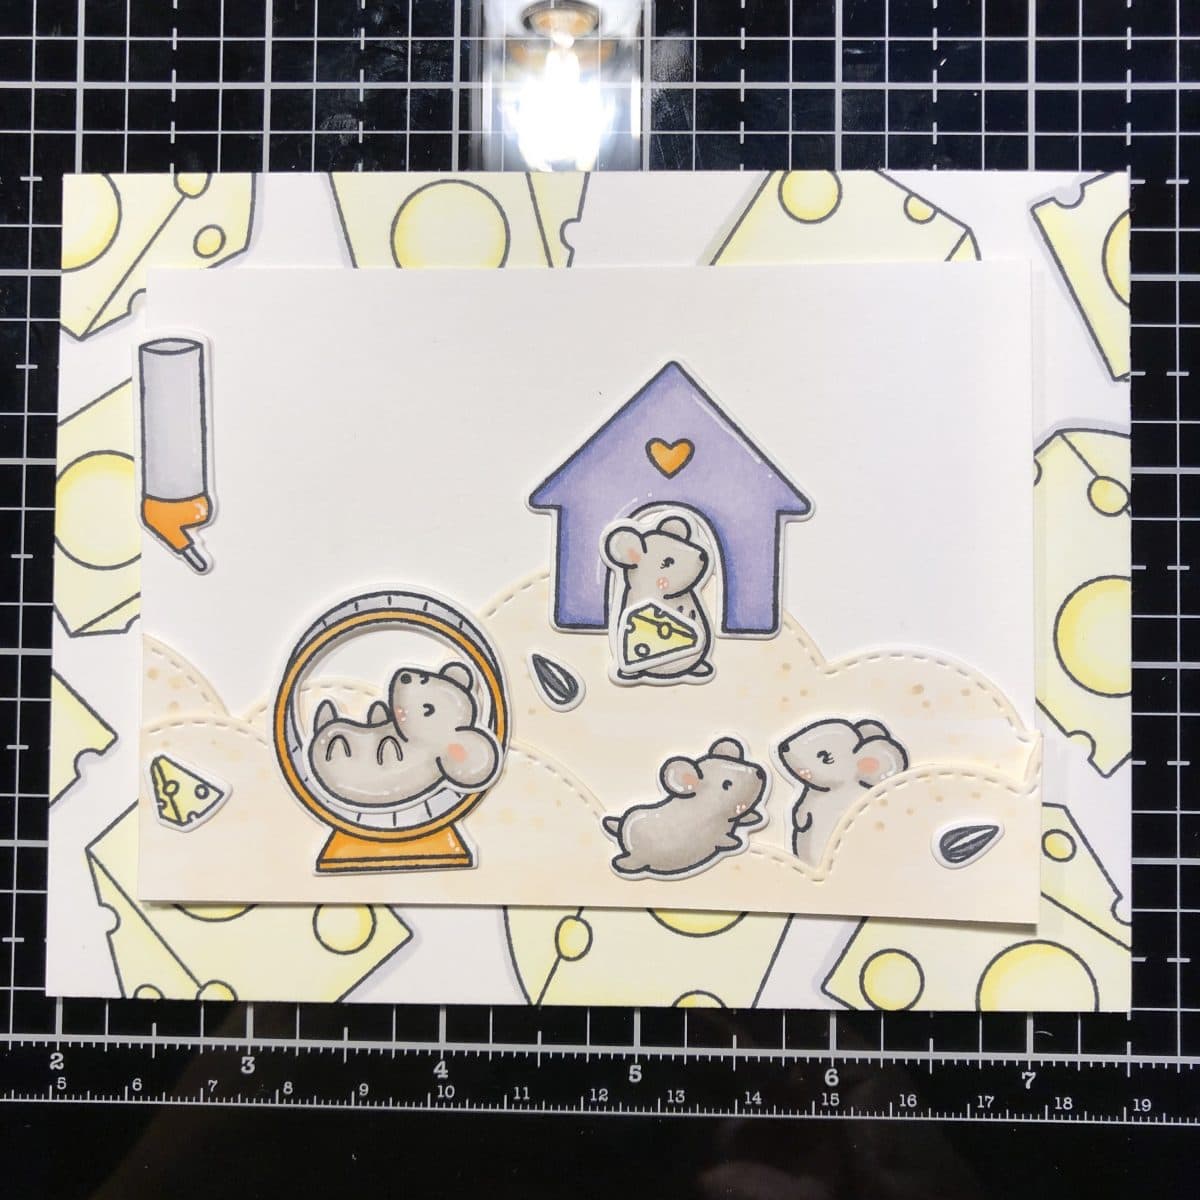
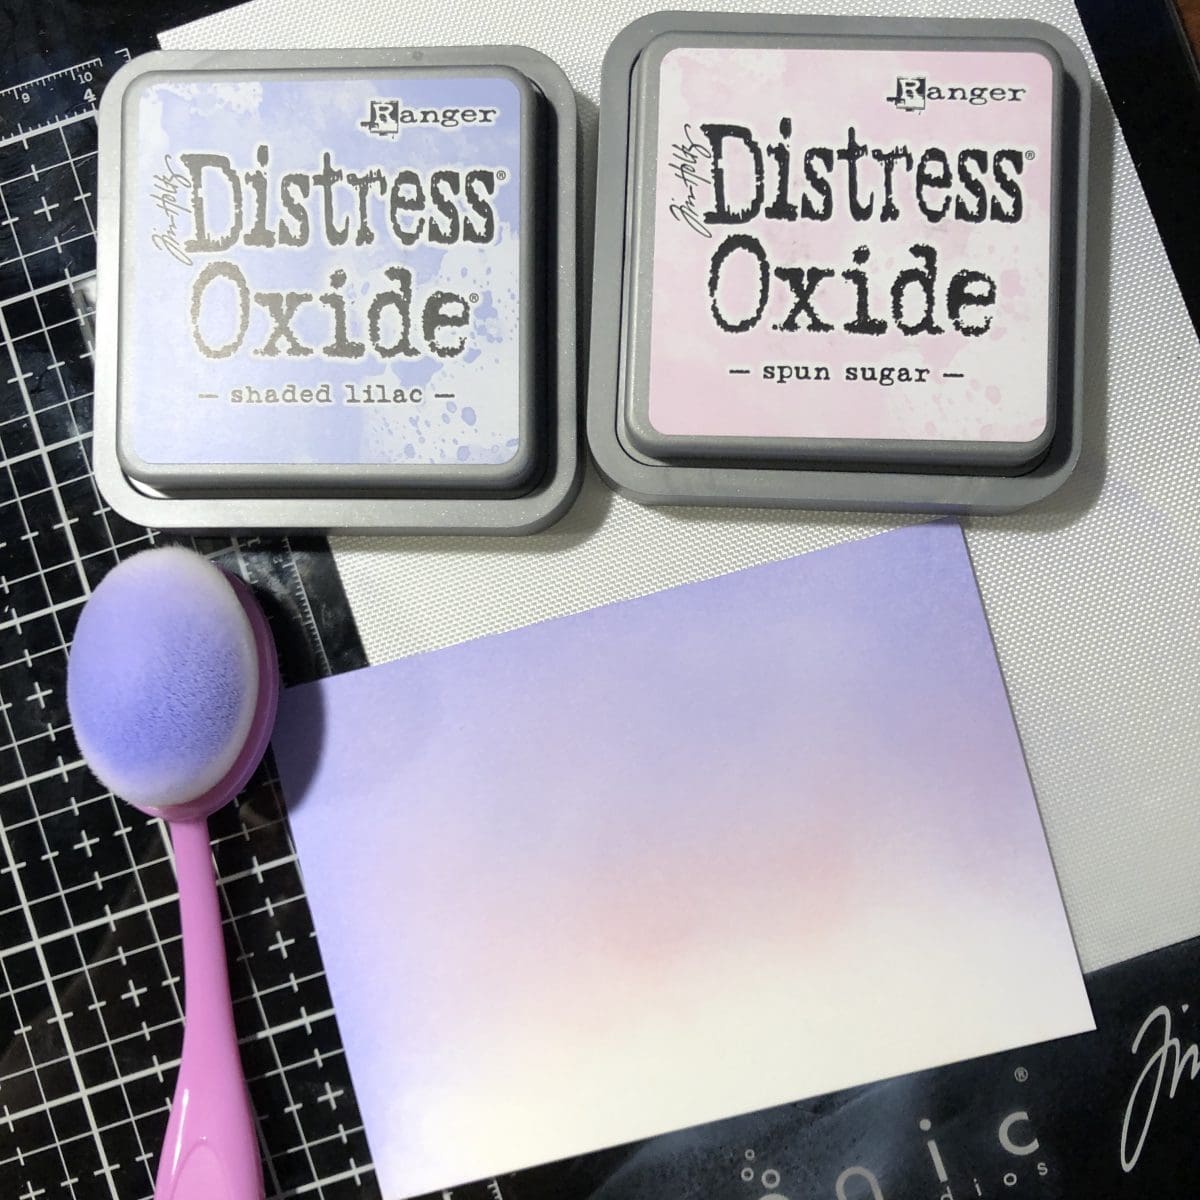
I’m thinking it needs more purple! So I’m using Shaded Lilac and Spun Sugar to blend a background.
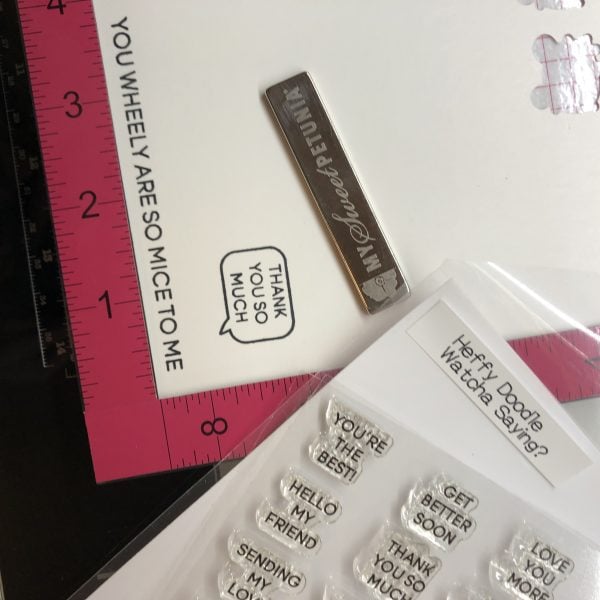
Now, I need some sentiments! I’m stamping “You wheely are so mice to me” from the Wheely Mice stamp set. I’m also stamping “Thank you so much” from the Whatcha Saying? stamp set.
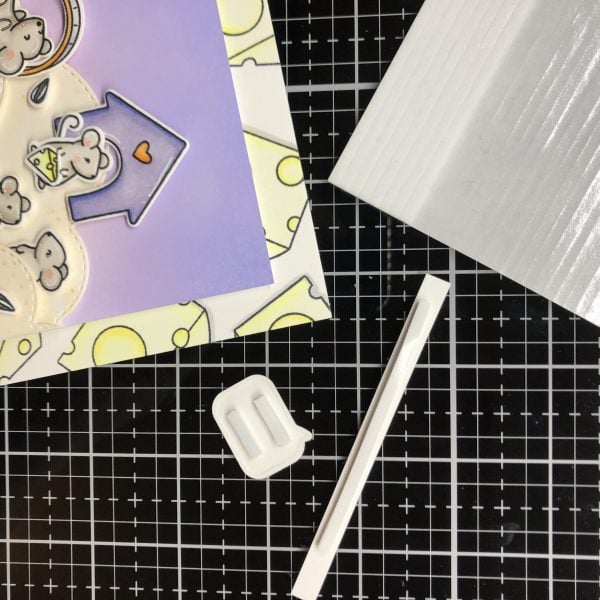
After I’m done with my sentiments, I’m using 3D foam adhesive to adhere all of my images to my card!
Here are a few more close-ups of the finished card!
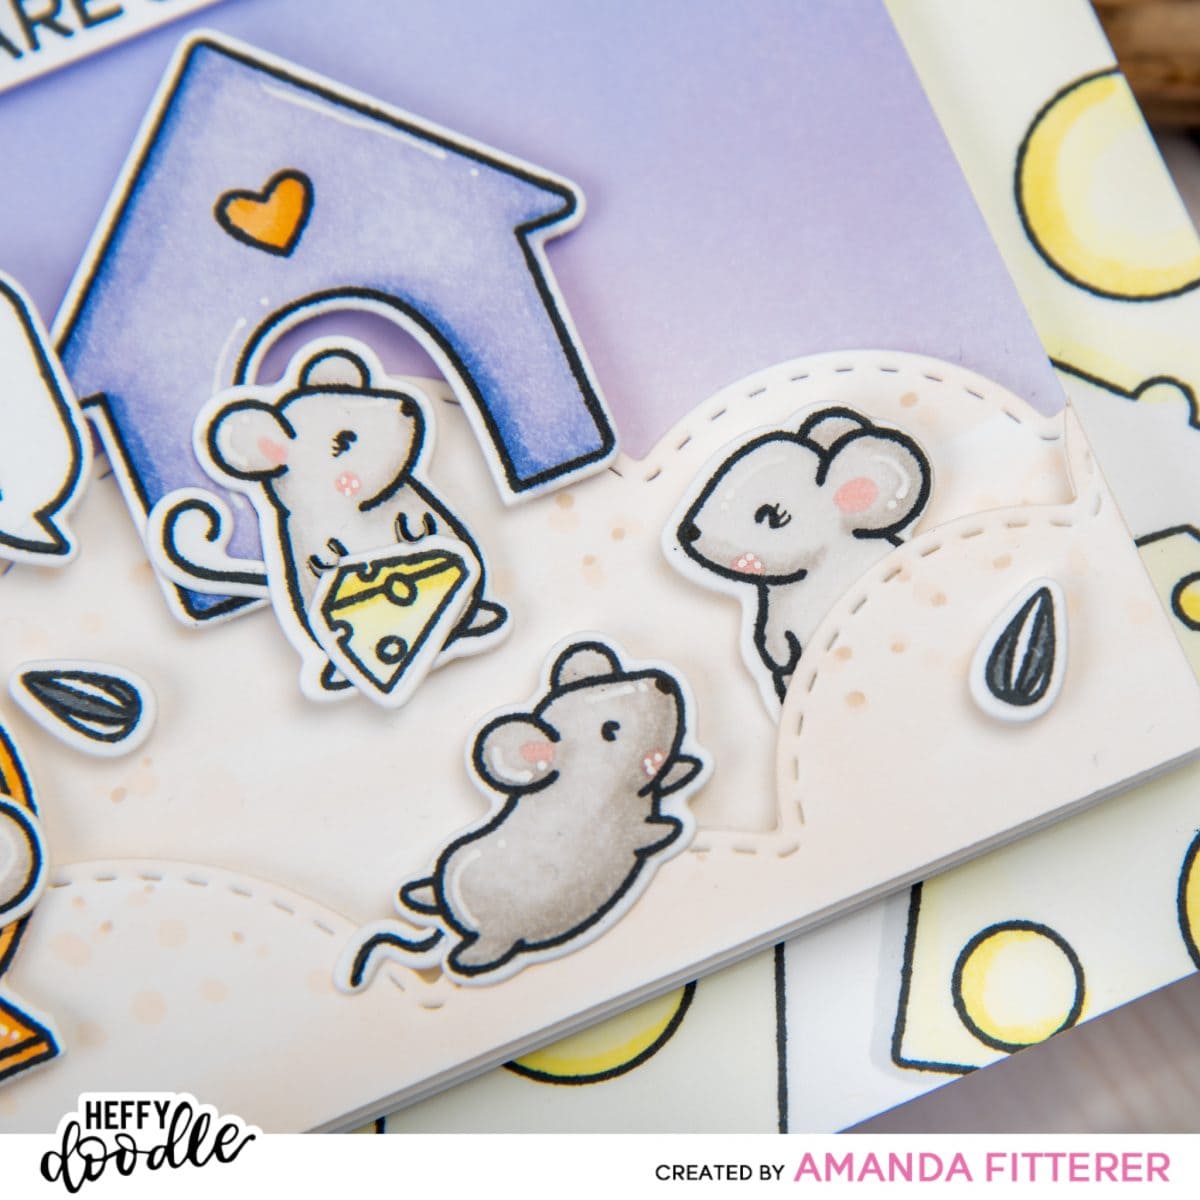
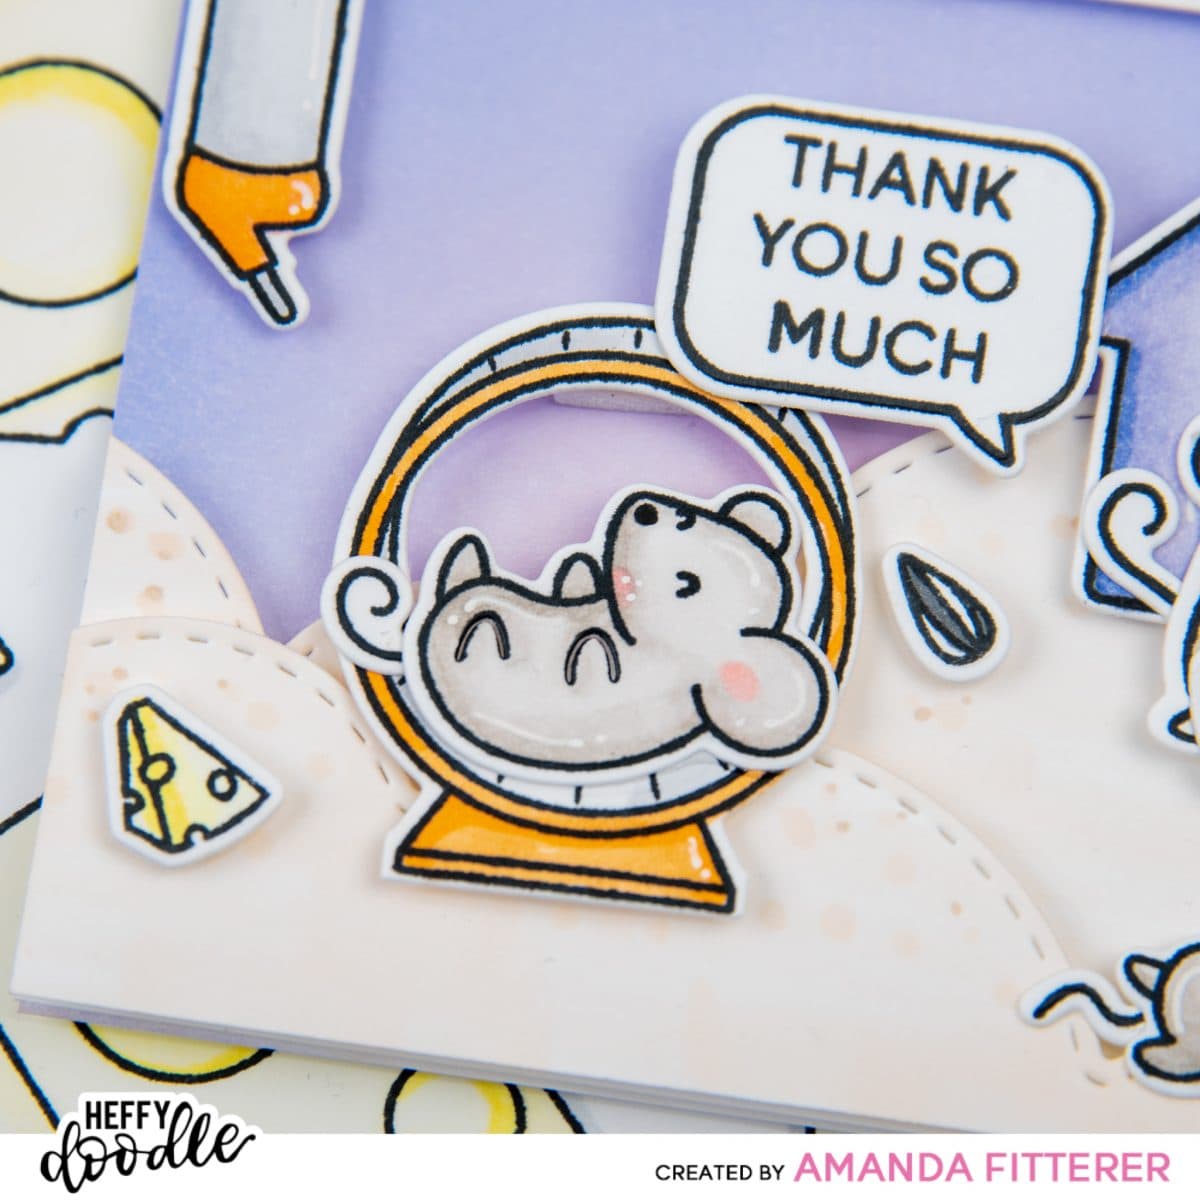
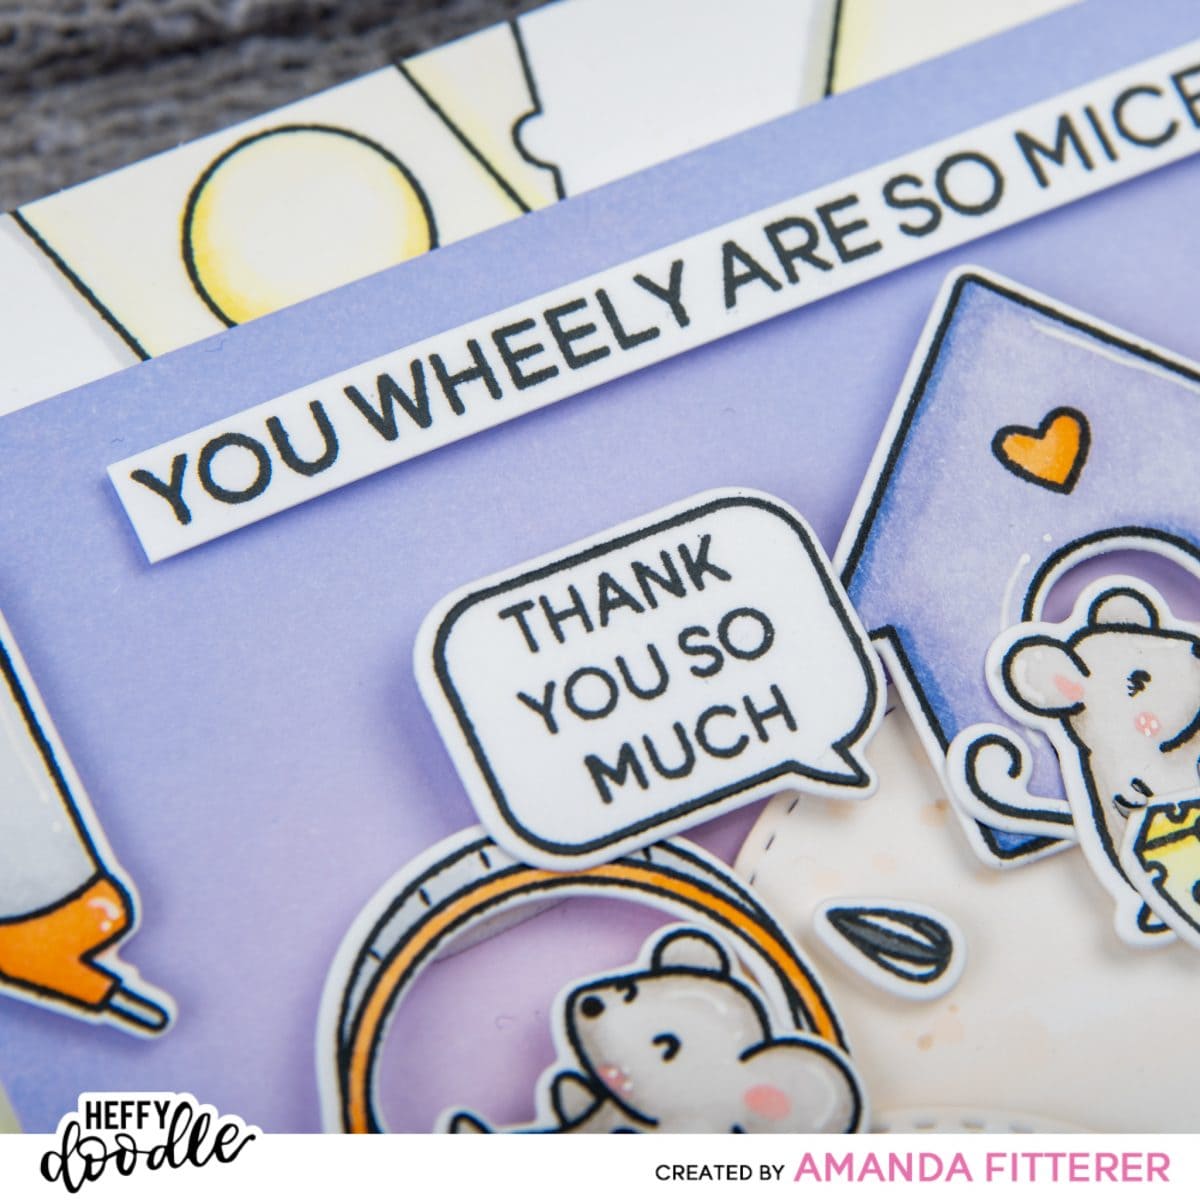
Please please PLEASE, let me know if there’s anything you want me to cover on my next Cardmaking 101 in 2 weeks! Thanks!!

Charlene Glover
February 21, 2020 at 10:53 amThanks for all the tips, it’s been a long time since I’ve made some cards. This was very helpful. Love the cute card.
Shar Zar
February 26, 2020 at 12:12 amThanks for your design tips. Darling card.