A Rainbow Hello

Happy Friday Darlings! It’s Jo Laverty here with a rainbow filled post for you all. I had so much fun creating these cards and making good use of Heffy Doodles ‘Multi Pack 8.5″ x 11″ Cardstock‘ pack.

If you would like to find out how I made these fun little Hello cards please read on for a step by step guide.

Cardstock and Die Cuts
Have fun with die cuts and colored cardstock. I enjoyed putting together colorways using the Heffy Doodle ‘Multi Pack 8.5″ x 11″ Cardstock‘ pack. Unfortunately this wonderful Rainbow die is no longer available from the Heffy Doodle shop, but why not have some fun with Hearts, Stars, Leaves or Clouds? The great thing about this design is that the world is your oyster 🙂 Taking your die shape of choice, and a few different colored cardstock, run everything through a die cut machine.

Background Layer
Using the Heffy Doodle ‘Multi Pack 8.5″ x 11″ Cardstock‘ pack and the ‘Imperial Stitched Rectangles‘ die set, take the largest die and a colored cardstock of your choice and run both through a die cut machine.

Sentiments
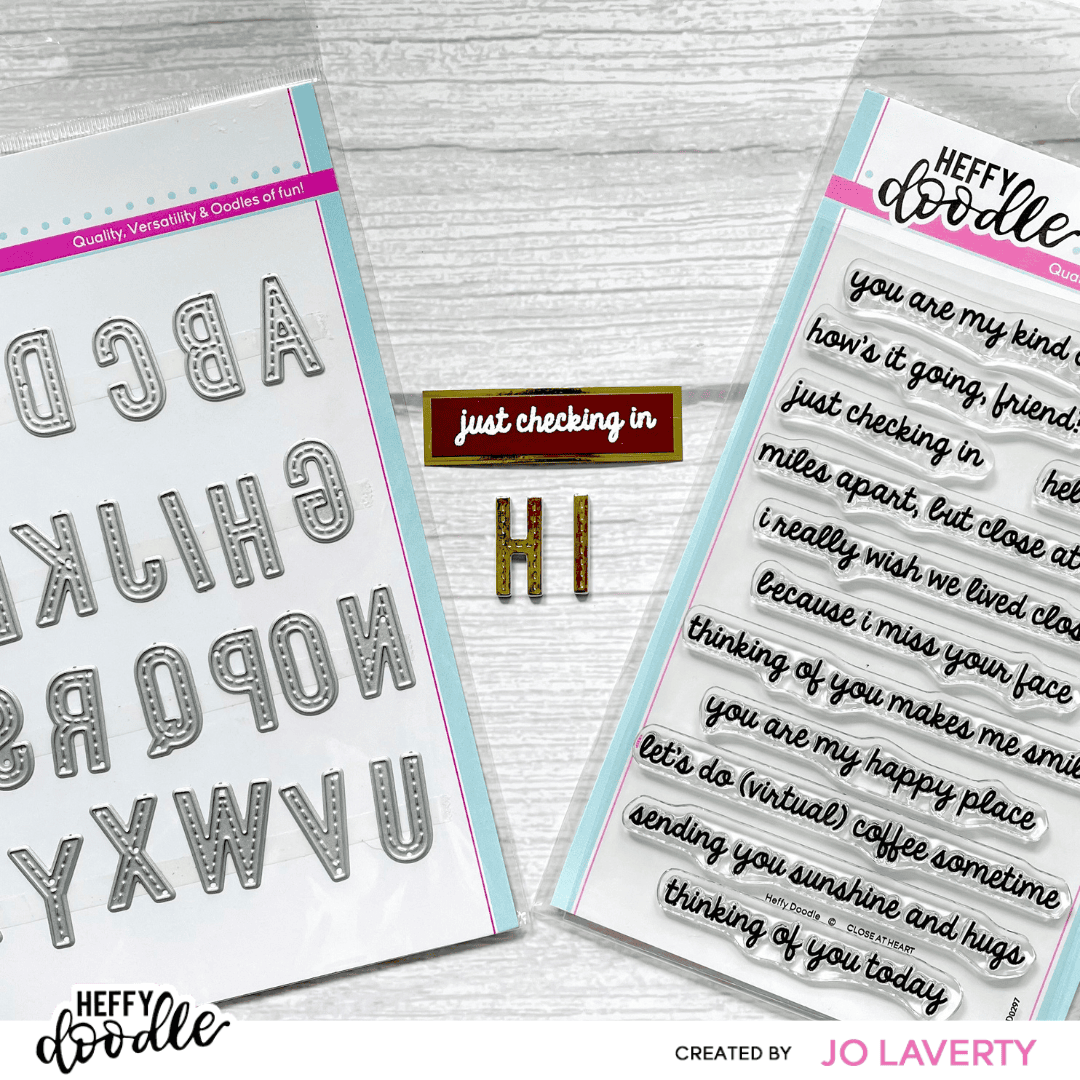
For the ‘HI’ letters, I used some gold cardstock and foam paper and the ‘Stitched Alphabetters‘ die set. For the sentiment, I used the ‘Close At Heart‘ stamp set, some colored cardstock, and heat embossed with some white embossing powder. I used the same gold cardstock to help the sentiment pop out from the background layer.

Finishing Touches
Pull your card together using glue to secure your die cuts in place. Have fun with the placement of your shapes before committing them to the background layer with glue. I finished off my design using Heffy Doodles Enamel Dots in coordinating colors.

I hope you enjoy this card and the step-by-step tutorial. Don’t forget to tag Heffy Doodle in all your HD creations so that we can show them some love. Crafty Hugs, Jo x
