
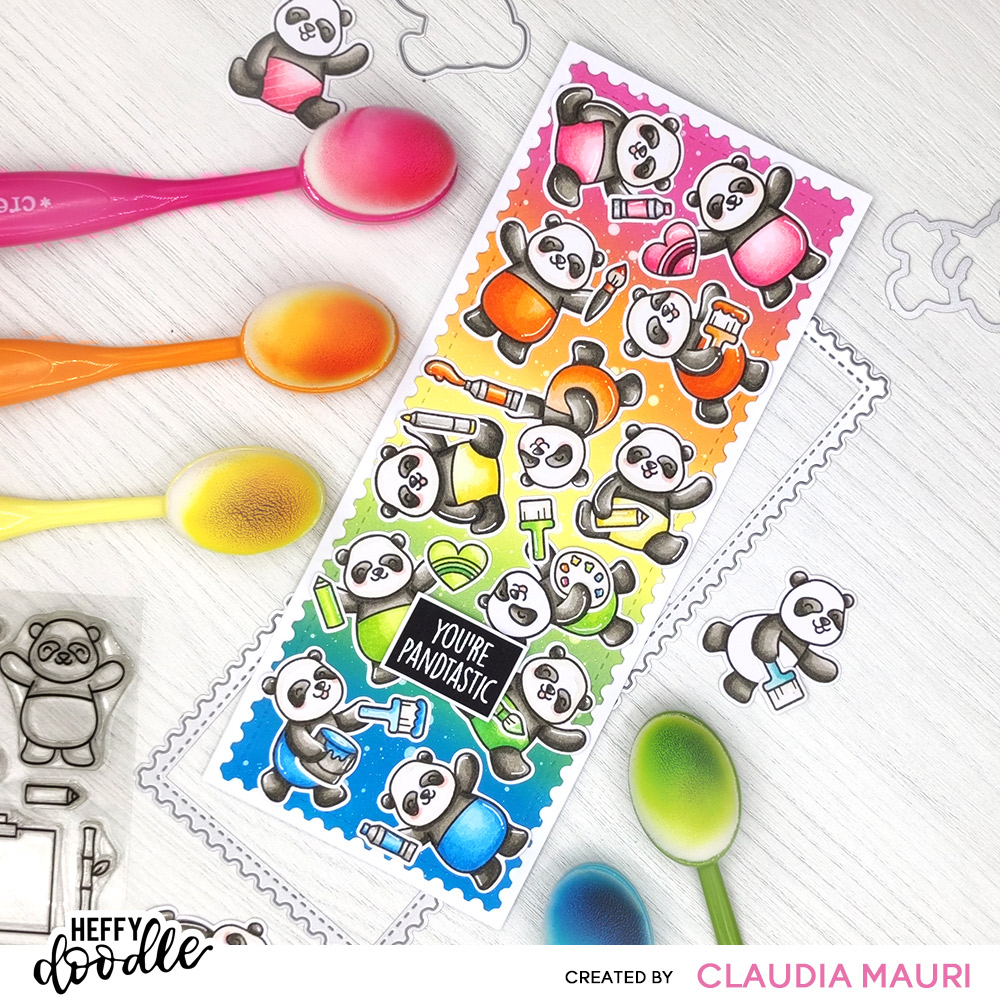
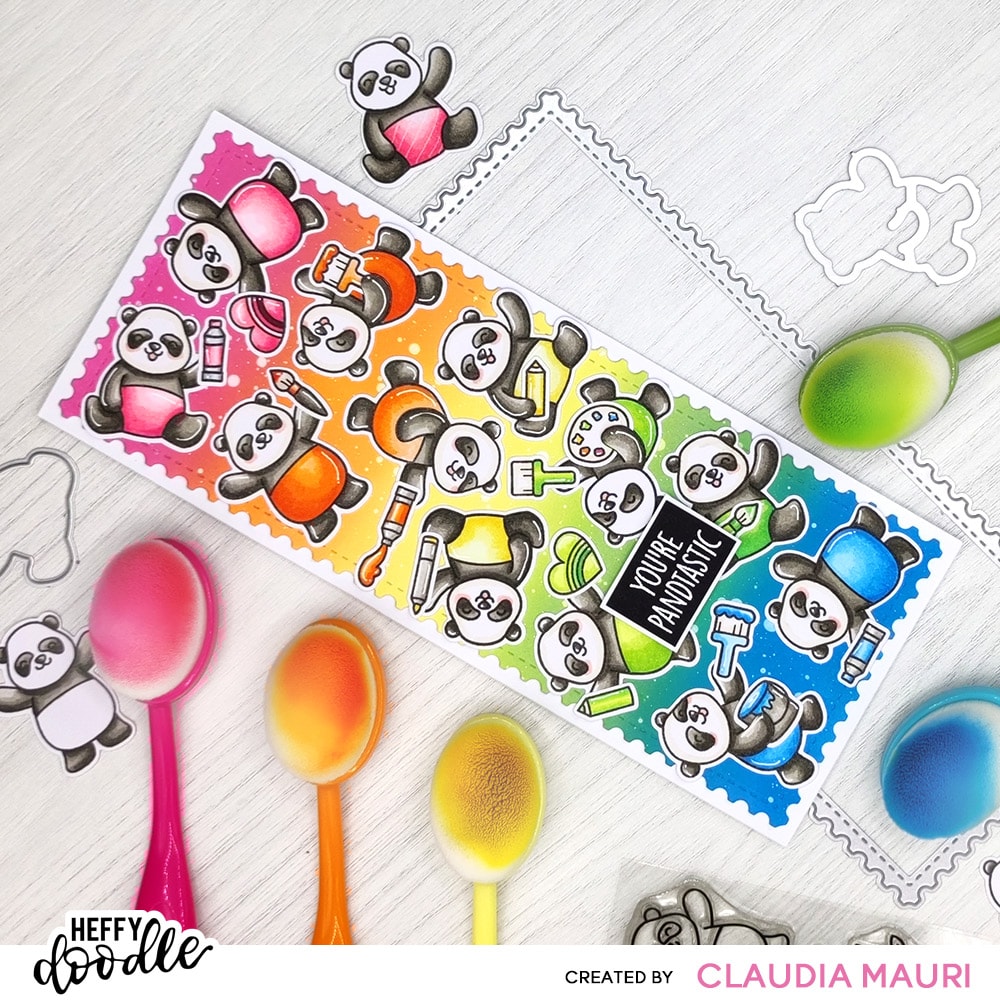
You’re Pandtastic Slimline Rainbow Card

Hi there! Welcome to another Color Me Happy Wednesday. I’m Claudia (@mrsclocards) and today I will show you how I made this card featuring the Pandtastic Painters stamp/dies set and the Slimline Mini Mail dies. I’m also so proud to say that you can find my project-along with other beautiful ones from fellow DT members-on the Papercraft Essentials Issue #213 out now for June! That’s the first time I get published and I’m so excited!
By the way, did you know that Heffy Doodlers June Challenge is Radiant Rainbows? Be sure to join the Facebook group and submit your creations for a chance to win a prize!
For this project I was inspired by a card I made in February, you can find it here. First of all, I needed to know which Copic colors to use for the pandas so the first thing I did was making the background. I trimmed a piece of Heffy Doodle White Cardstock and ink blended it using Distress Oxide in Picked raspberry, Carved Pumpkin, Squeezed Lemonade, Mowed Lawn and Salty Ocean. I splashed it with water and later with white watercolor and then I cut it out using the big die from the Slimline Mini Mail set.
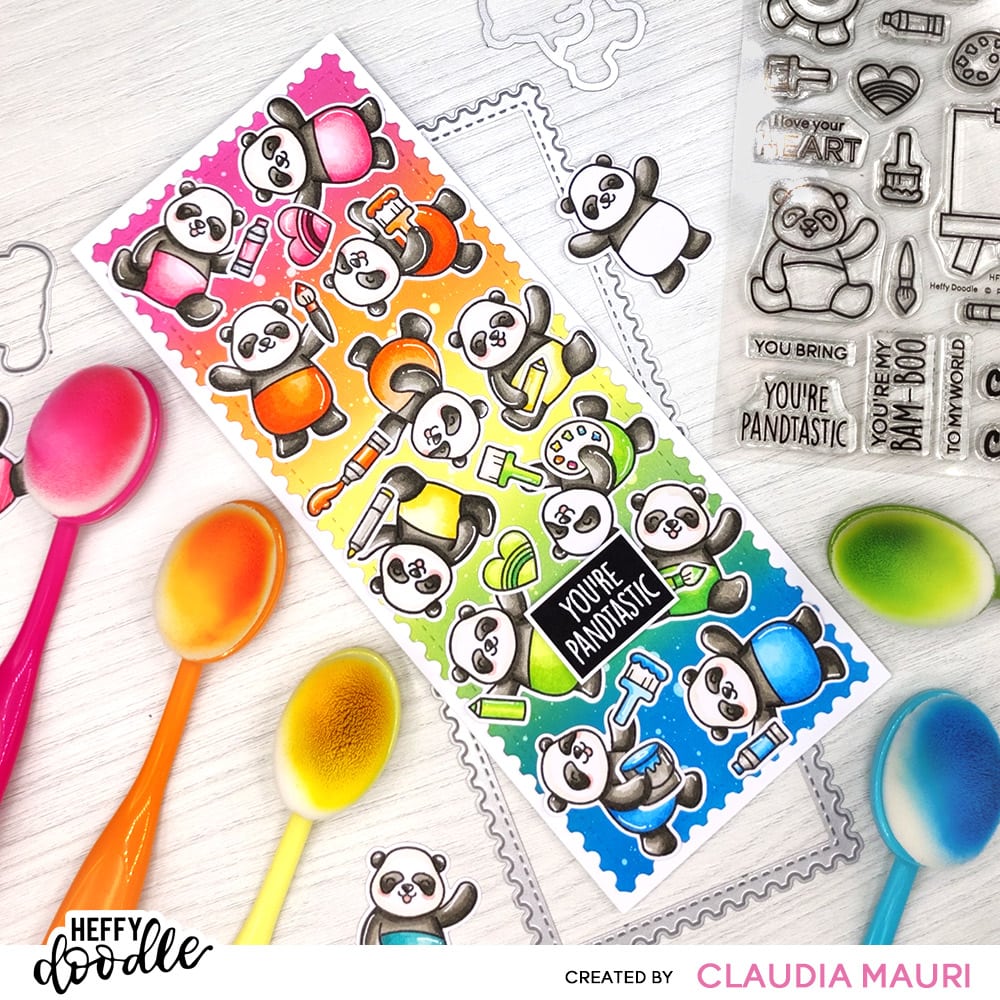
Ready for coloring? You can find the color list below. I stamped the pandas from the Pandtastic Painters stamp set four times (to have spares) and stamped the accessories from the same set twice. I highly recommend using a stamping tool like the Misti, I find it useful to align the stamps on the top (or the bottom) part, this way I can flip the sheet upside down and stamp again the same designs without having to move them.
Using Copic markers, I started to color all the pandas only on the black/white parts; I also used a light brown marker to better define their faces and a pale pink for the cheeks.
Before adding other colors, I cut all the images-including the accessories-using their coordinating dies and placed them over the rainbow background, moving them around until I was happy with the result. At this point, I used bright markers to color the pandas’ “dresses” and all the crafting supplies, being sure I was using colors that would match the background behind them.
COPIC COLOR LIST
PANDAS: W00, W01, W03, W05, W07 – E50 – R20
PINK: RV21, RV23, RV25, RV69
ORANGE: YR00, YR04, YR07, YR09
YELLOW: Y11, Y15, Y17
GREEN: YG00, YG03, YG06, YG09
BLUE: B0000, B00, B02, B05
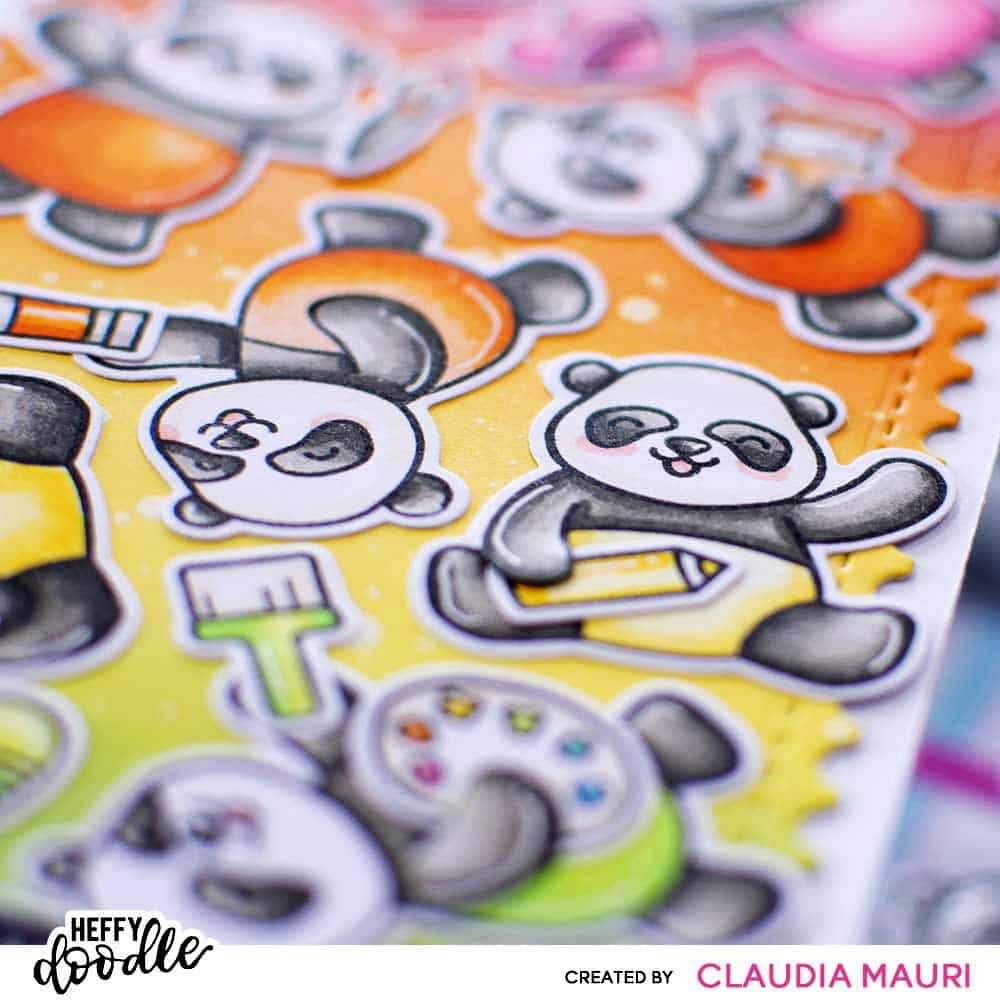
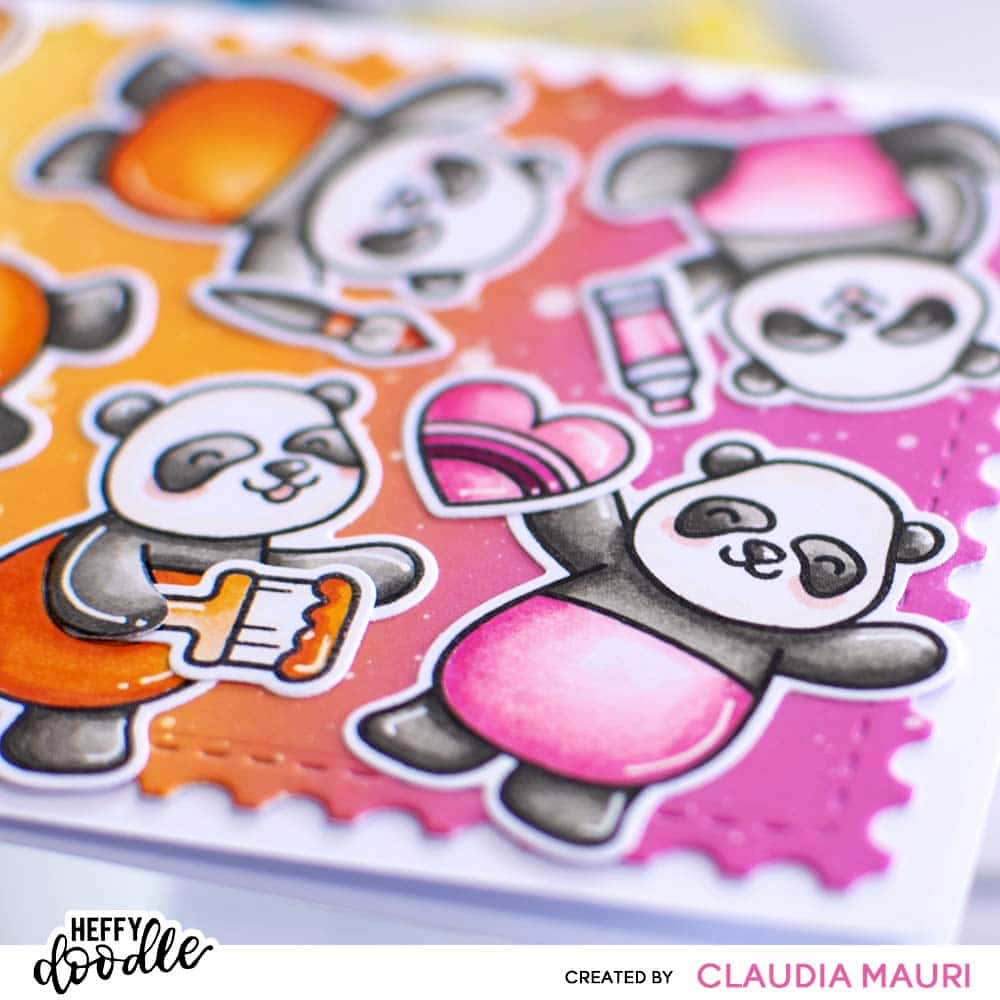
The whole coloring process took ages but it’s really worth it! I also added details with a white gel pen. As you can see in the images above, I fussy cut some of the panda’s paws to have them hold their accessory better. It helps to give the card more dimension! Once all critters were done, I glued the background over a white 3.5″ x 8.5″ card base and then glued all the pandas over it.
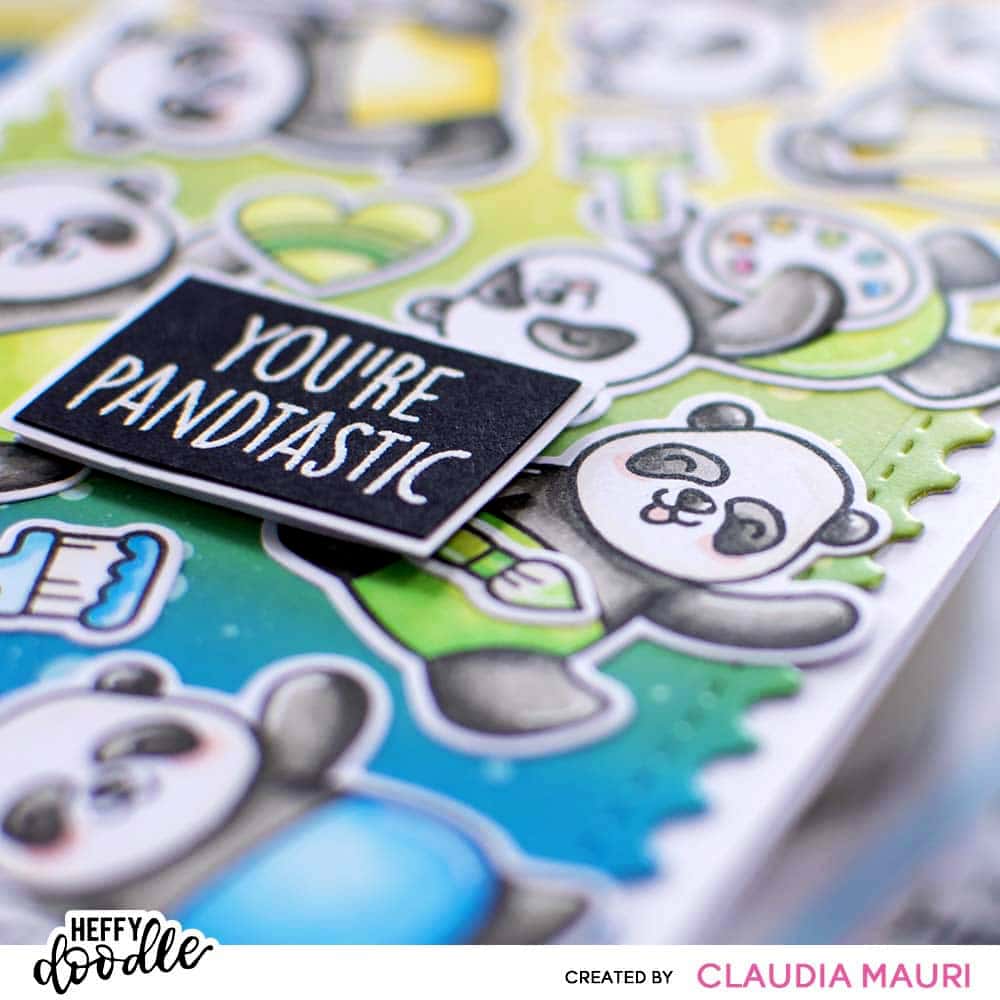
For the sentiment, I chose one from the Pandtastic Painters stamp set and heat embossed it on a little piece of Heffy Doodle Black Cardstock using white embossing powder. I trimmed it down and then did the same with a piece of white cardstock, leaving it a little bigger to give the sentiment a thin border. I used glued to keep them together and a piece of foam tape to attach it to the card.
Making this card required quite a lot of time and effort, but I must admit that I love how it turned out and it’s surely one of my all time favorites! A big thanks to Morgan for the close-up pictures.
Thanks for getting here, I hope you enjoyed my project and feel free to comment if you have any question.
Happy crafting!
Clo