Hello and welcome back to the Heffy Doodle Blog! We are SO glad you stopped by to see what crafty inspiration we have today! Today’s theme is “Stretch Your Supplies” with design team member –
Tatiana!

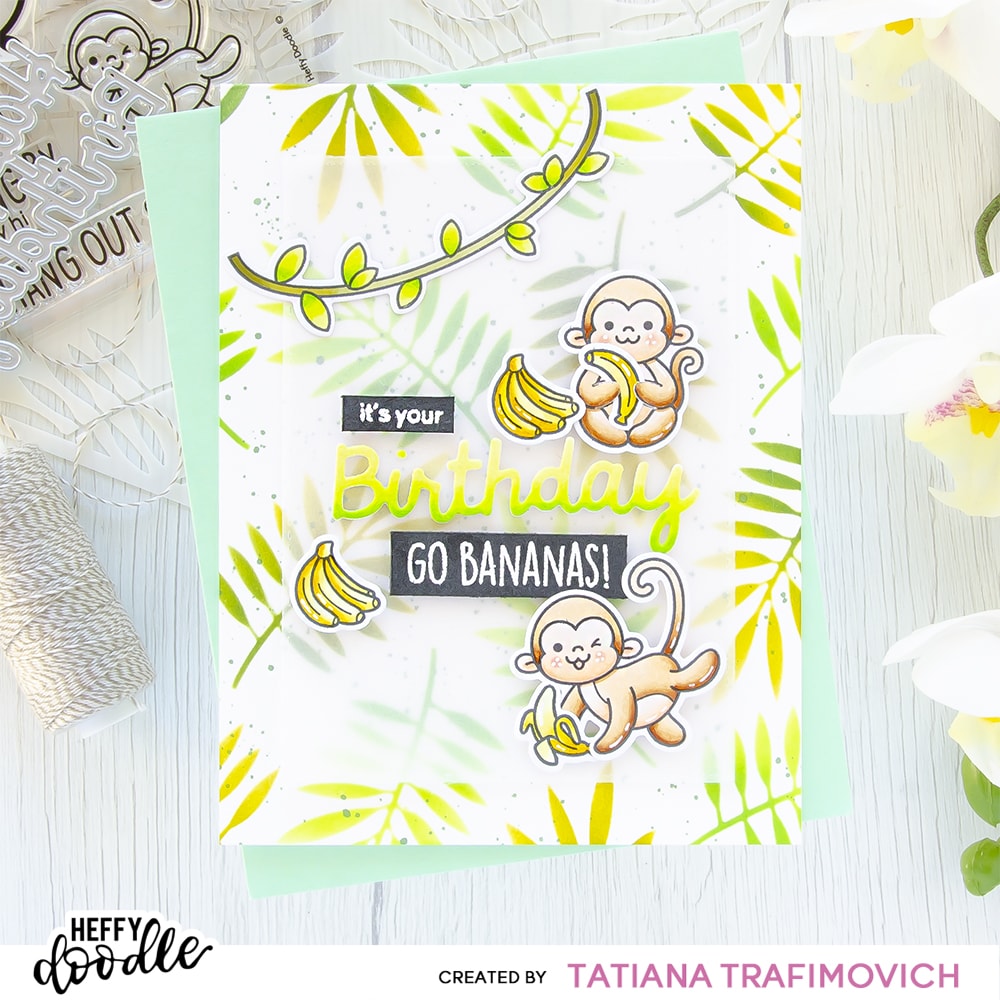
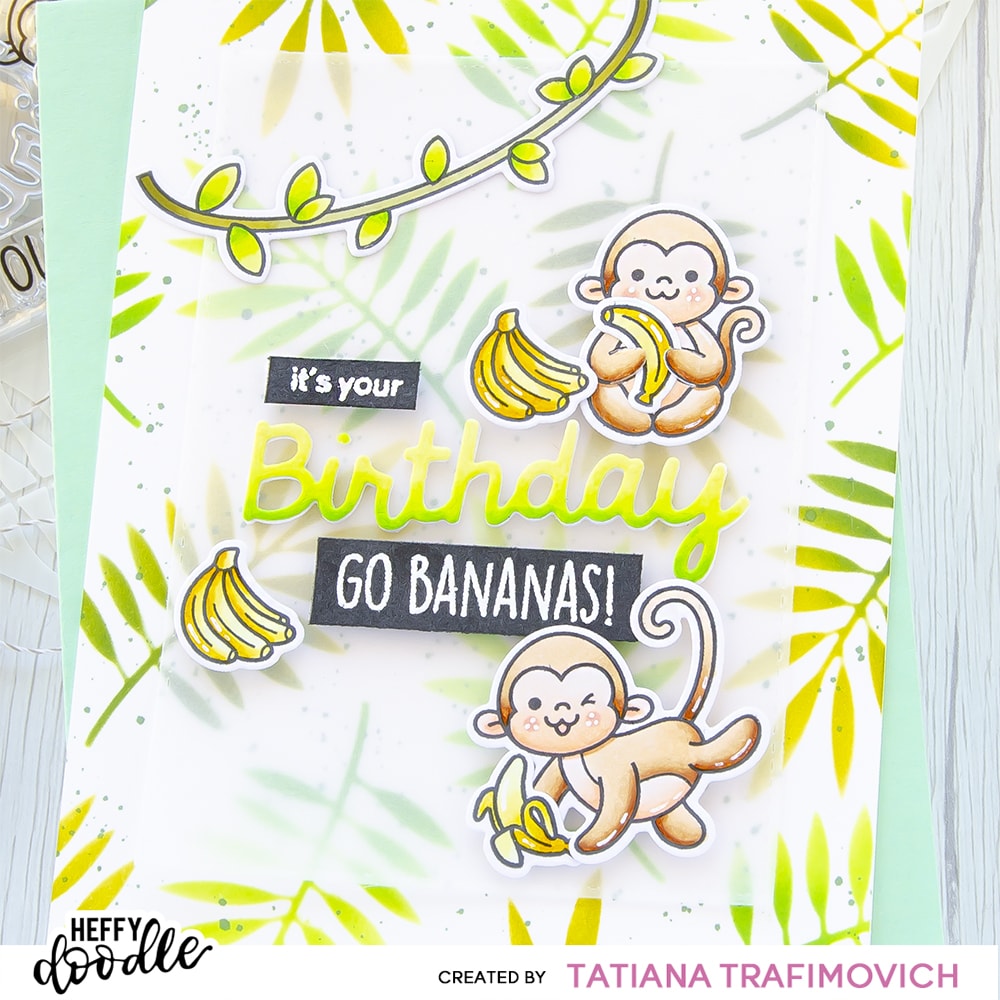
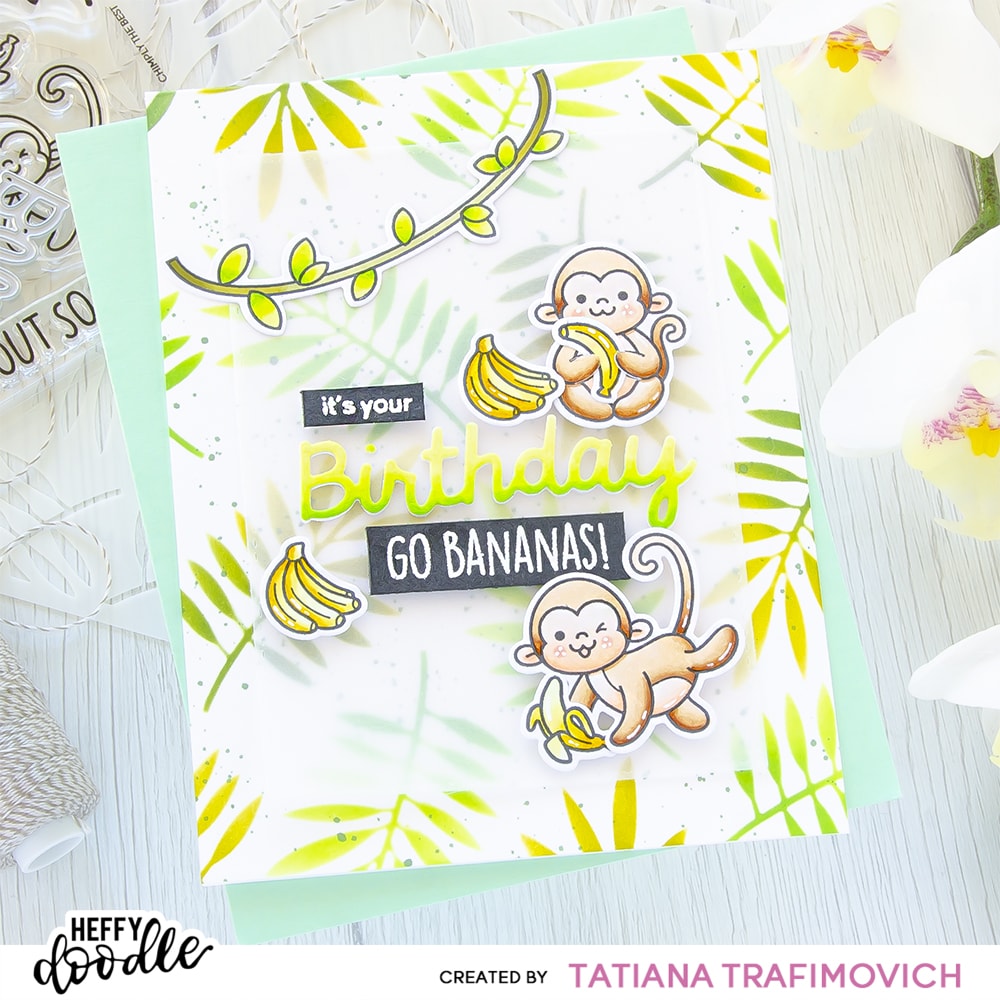
Today I came up with a fun and cute birthday card that is focusing on the most adorable monkeys from
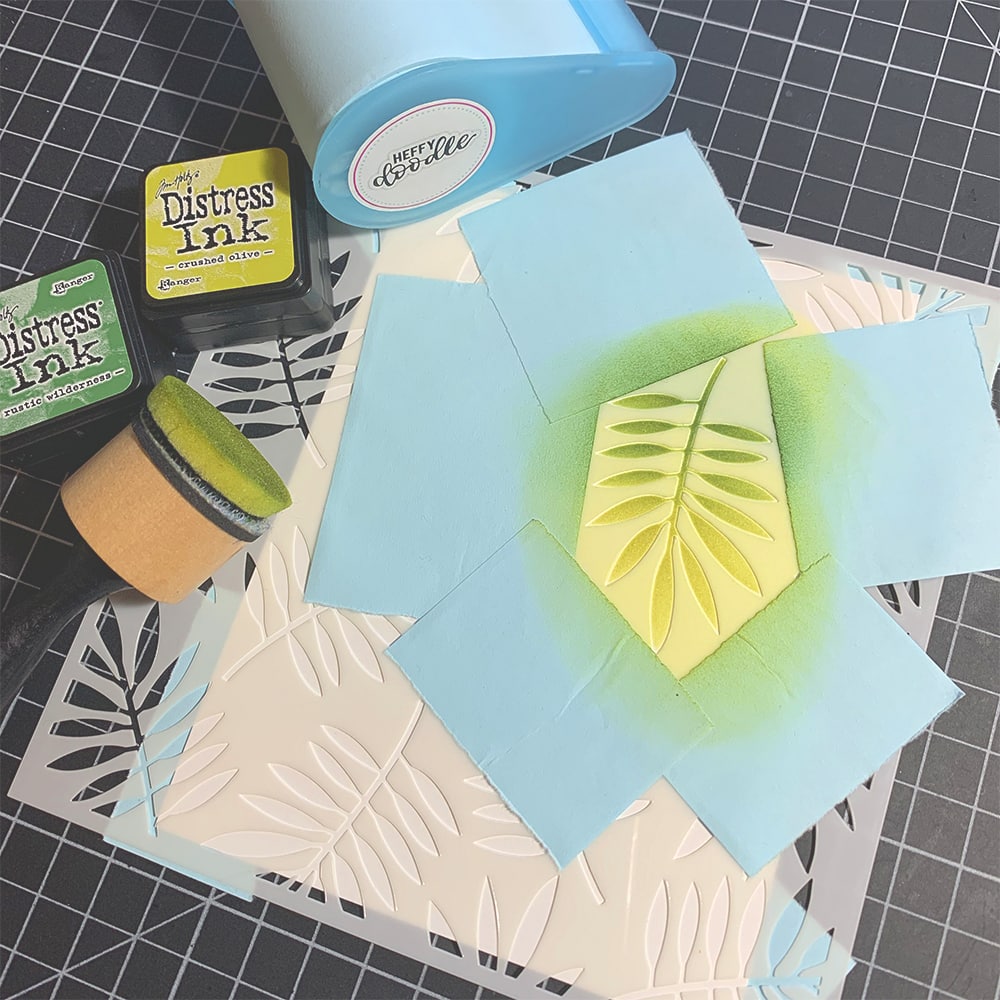
Chimply The Best Stamp Set and a simple multi colour stencil technique that illustrates how to add quickly different shades to the stencil using
Heffy Doodle Memo Tape! I was using this tape for some months by now and really love it!!! It became a must have on my craft desk! It’s a low tack tape that is perfect for many techniques, it comes as a wide roll and what is most important it doen’t leave any sticky residue or imprint on your card! On today’s card I used amazing
UnbeLEAFable Stencil and made a real quick masking with just some pieces of
Memo Tape to delimit every single area and prevent cross contamination of the neighbouring areas!

Key Ingredients:
Step By Step Instructions:
- Die cut from Alcohol Friendly Cardstock all the elements you need, using the coordinating Chimply The Best Dies and Heffy Doodle Mini Die Cutting Machine. Save the negative parts of the dies.
- Stamp the outline illustrations from Chimply The Best Stamp Set with Memento Tuxedo Black Ink. Use the negative parts of the dies as a guide for a perfect alignment inside the stamping positioning tool.
- Color the stamps with COPIC MARKERS. I used on this card:
- chimps E30-E31-E33-E35 & E000-E00-E01-E02 & R20 (blush)
- bright green YG00-YG01-YG05
- olive green YG93-YG95-YG97
- Trim and score an extended A2 size card base (5 1/2″ x 4 1/4″) from Neenah Solar White paper.
- Tape well UnbeLEAFable Stencil on the card front with Memo Tape . Then mask a single leaf with the same Memo Tape and ink it with Distress inks alternating:
- Crushed Olive Distress and Rustic Wilderness Distress inks combo;
- Twisted Citron Distress and Mowed Lawn Distress inks combo.

- Splatter some dark green droplets all across, using Rustic Wilderness Distress ink diluted with a small amount of water.
- Die cut from a vellum a faux stitched rectangle, using Imperial Stitched Rectangles Dies.
- Trim three small rectangles of Neenah Solar White paper big enough to fit the “birthday” word die from Happy Birthday Shadow Heffy Cuts:
- adhere a double sided adhesive on the back side of one piece;
- color the other piece with YG00-YG01-YG05 copic markers.
- Die cut three times the “birthday” word die from Happy Birthday Shadow Heffy Cuts and stack all three layers together with Glubert – Craft Glue, placing the adhesive piece as a bottom layer and the colored die as a top one.
- Cut apart the sentiment from Chimply The Best Stamp Set with the sharp small scissors.
- Heat emboss in white onto black two parts of the sentiment with VersaMark Clear Embossing Ink. Don’t forget to prep the cardstock with a Powder Tool Applicator to prevent the embossing powder to stick where you don’t want it!
- Glue in place all the elements on the card front with Glubert – Craft Glue and a foam tape.
- Finish with some highlights added with a white gel pen.

That’s all for today! Hope you like this fun and cute birthday card! Thanks so much for stopping by and have a fabulous day!
Hugs,
Tatiana
 Join Lesley and 25 + crafty presenters at the Card Maker Success Summit – A FREE online event from 17 – 20 February. Click here for more details.
 Hello and welcome back to the Heffy Doodle Blog! We are SO glad you stopped by to see what crafty inspiration we have today! Today’s theme is “Stretch Your Supplies” with design team member – Tatiana!
 Today I came up with a fun and cute birthday card that is focusing on the most adorable monkeys from Chimply The Best Stamp Set and a simple multi colour stencil technique that illustrates how to add quickly different shades to the stencil using Heffy Doodle Memo Tape! I was using this tape for some months by now and really love it!!! It became a must have on my craft desk! It’s a low tack tape that is perfect for many techniques, it comes as a wide roll and what is most important it doen’t leave any sticky residue or imprint on your card! On today’s card I used amazing UnbeLEAFable Stencil and made a real quick masking with just some pieces of Memo Tape to delimit every single area and prevent cross contamination of the neighbouring areas!


 That’s all for today! Hope you like this fun and cute birthday card! Thanks so much for stopping by and have a fabulous day!
Hugs,
Tatiana
 Join Lesley and 25 + crafty presenters at the Card Maker Success Summit – A FREE online event from 17 – 20 February. Click here for more details.
