A Deer Christmas Scene
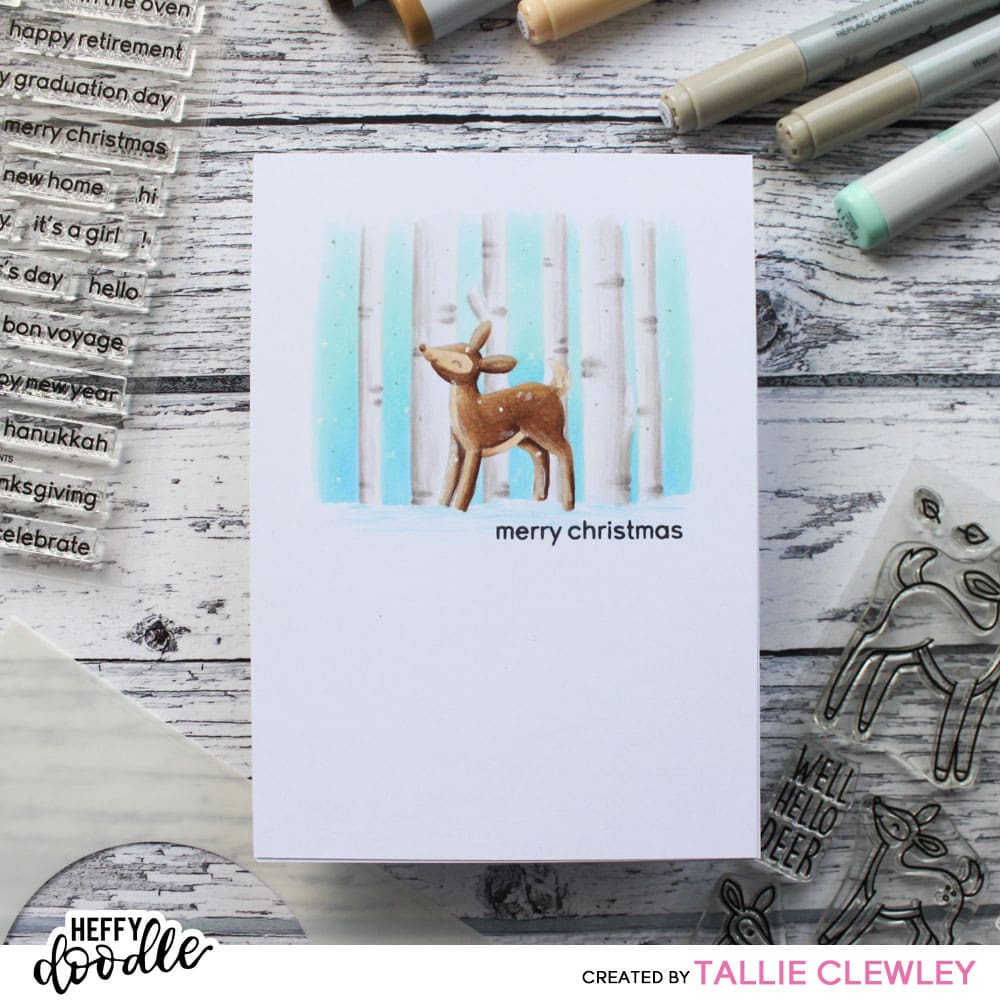
Hello, Heffy Doodlers! Tallie here and I’m starting in on my Christmas Card sets before the crazy month gets here! Today’s card is focused around this cozy little winter woodland scene, featuring the Deer to Me stamp set. These scenes are easy to create – take one main feature stamp (in this case, the deer), mask it off, build up the background elements to create your scene and stamp the final sentiment to finish it off.


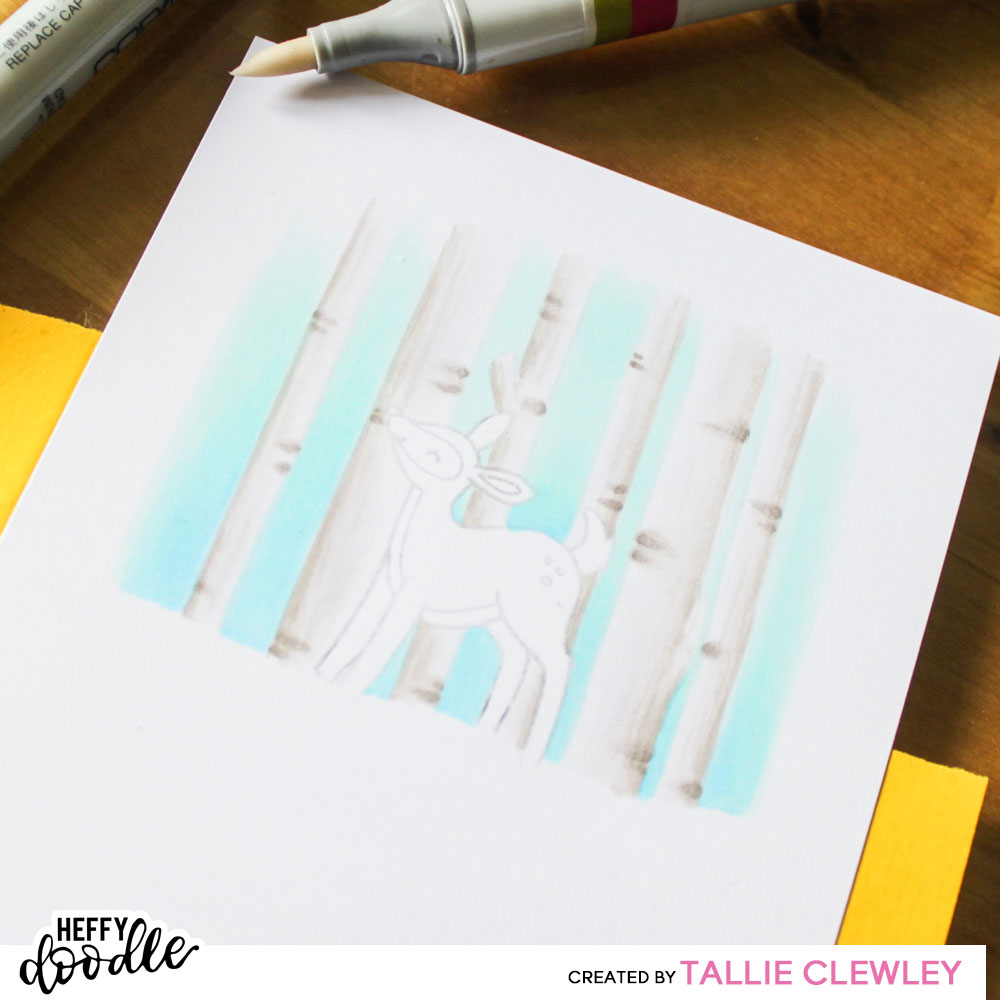
 I then took out my Copic markers, keeping to very light blue-green markers for the sky and warm greys for the trees. I then used some very warm mid brown markers (in the E50 family) to bring the deer forward in the scene. Some coloured pencil and gel pen added in some of those extra wintery details.
 And there you have it! Each of these types of card take me about half an hour to create if you get a supply chain going – perfect for creating multiples.


1. Choosing a feature element.
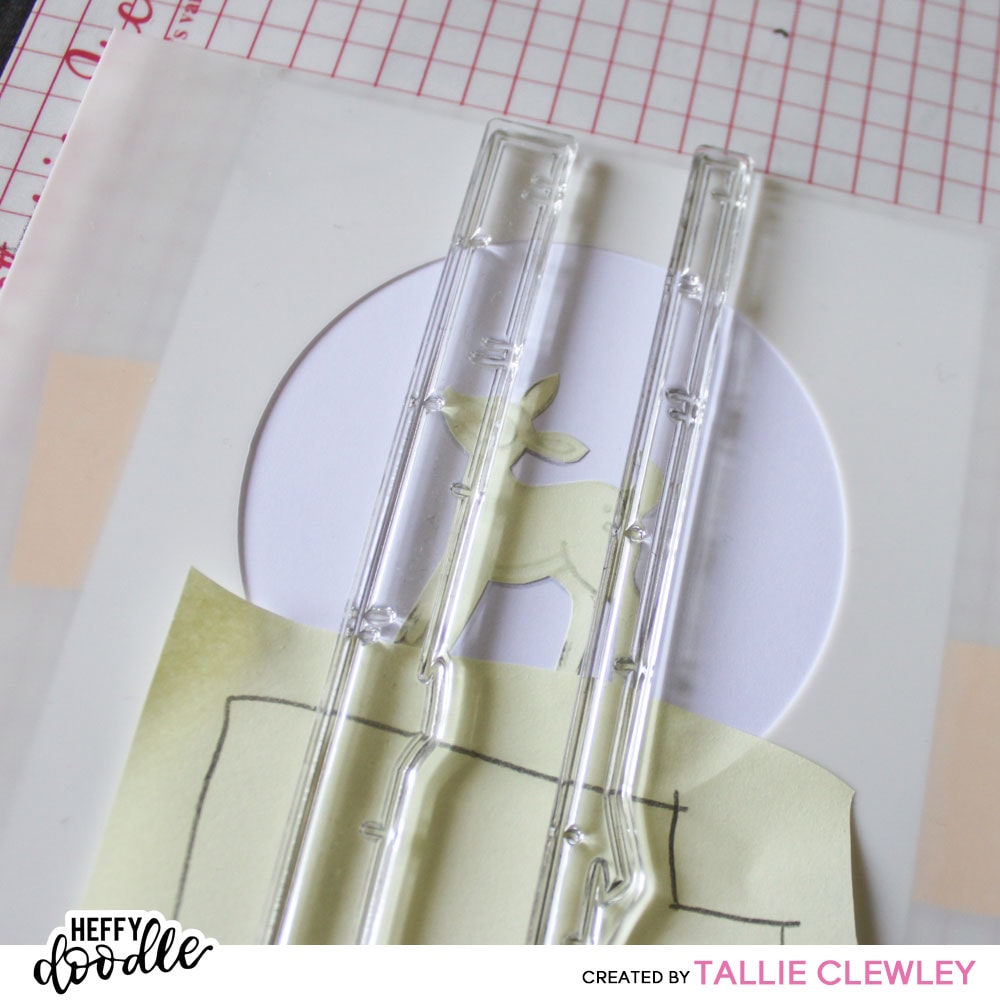
You want to choose something that will ‘fit’ in the size planned for your scene. I had originally planned for a circular window for this card so I used the Circle Masquerade stencil to get my alignment. You want something that will be the central focus, but still leave enough space to fit in the background elements. The medium deer from the set turned out to be the perfect size.
2. Building up the background elements.
I created a mask from some scrap sticky notes so that I could keep my deer in the foreground. I also cut a vaguely snowy hill like shape to give me a grounding to the scene. The birch trees from the set were perfect for repeat stamping, though be careful to give more of a random layout for them to make them look more natural. It’s not often you’ll see perfectly aligned and spaced trees in a wood! I then took out my Copic markers, keeping to very light blue-green markers for the sky and warm greys for the trees. I then used some very warm mid brown markers (in the E50 family) to bring the deer forward in the scene. Some coloured pencil and gel pen added in some of those extra wintery details.
3. Adding the sentiment
I love to keep my sentiments short, simple and sweet when creating these more detailed scenes, so I chose the simple ‘merry christmas’ from the Classic Sentiments stamp set, stamped out in some black ink. And there you have it! Each of these types of card take me about half an hour to create if you get a supply chain going – perfect for creating multiples.

