Swinging by Interactive Pop-up Card

This interactive card was so much fun to make! Join me as I walk you step-by-step through the process as part of my Cardmaking 101 series!
To see this card in action, go here.
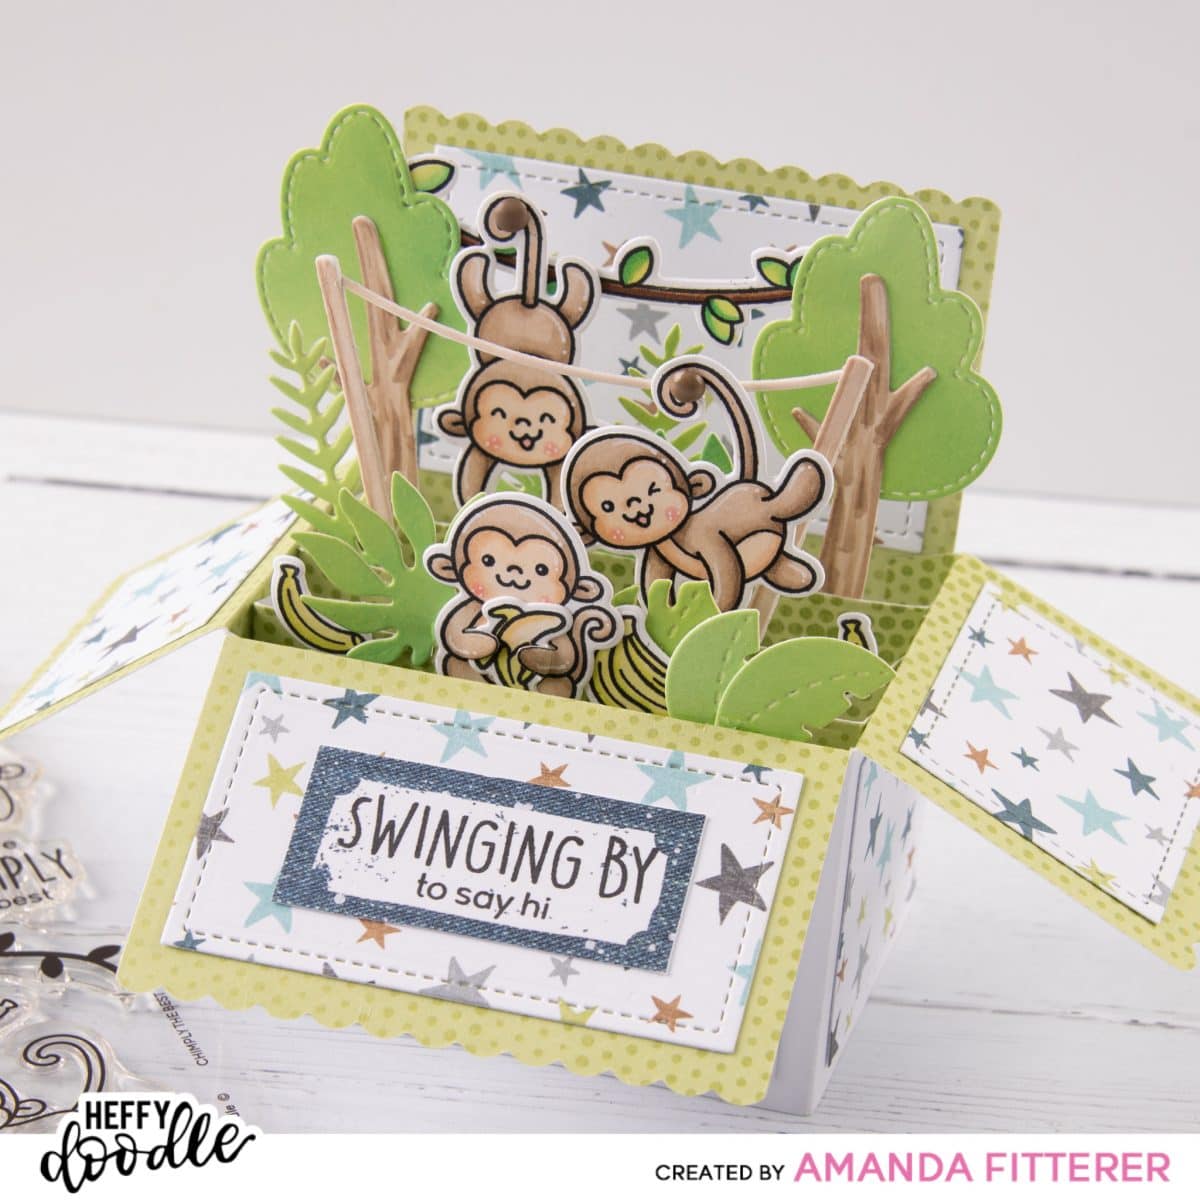
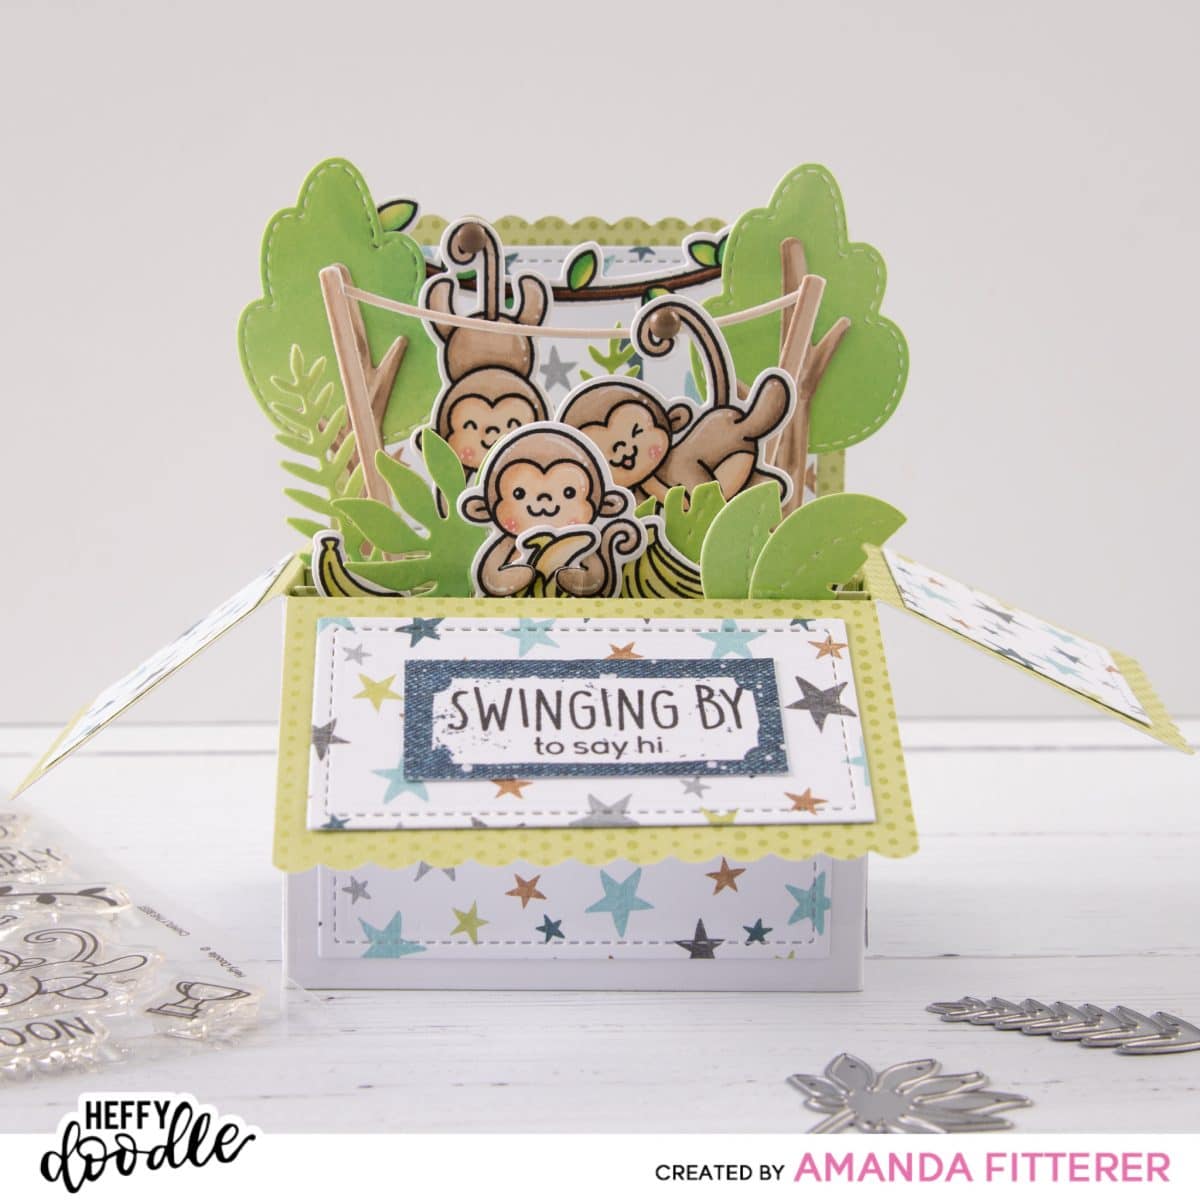
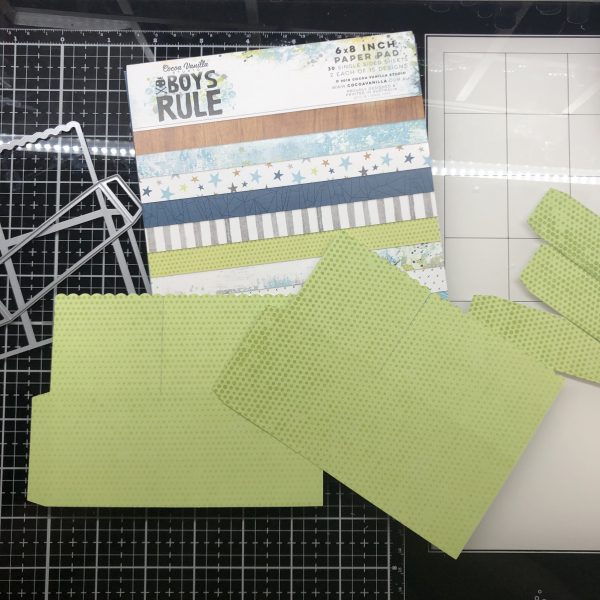
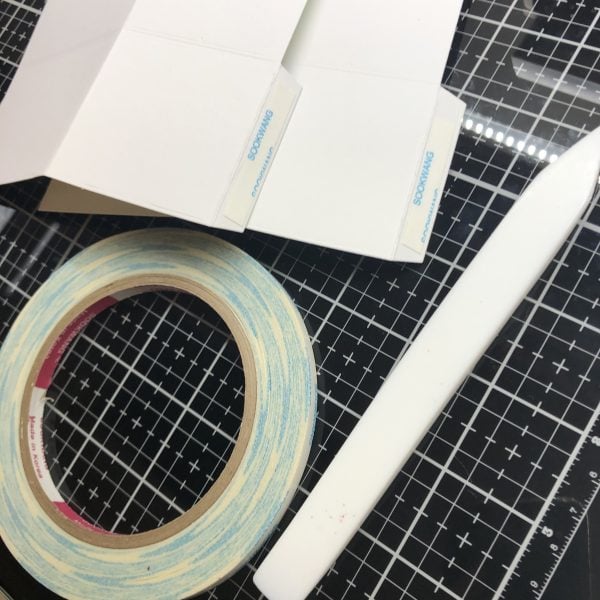
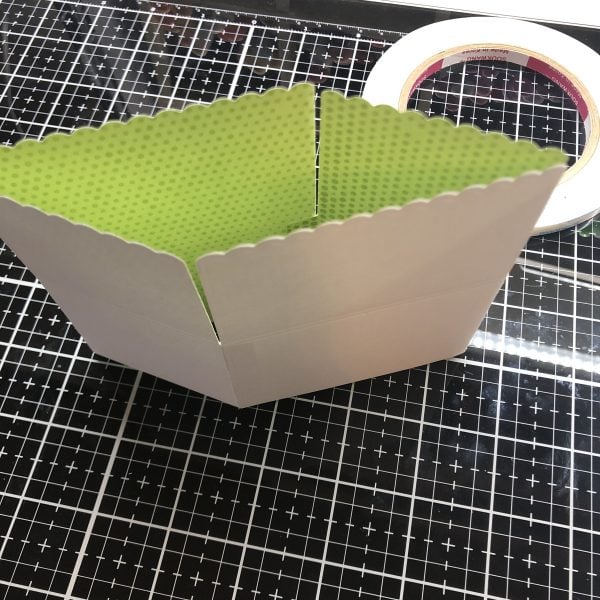
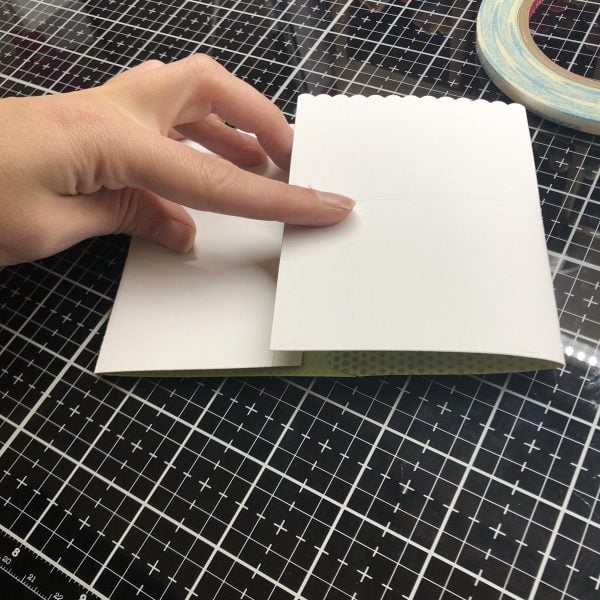
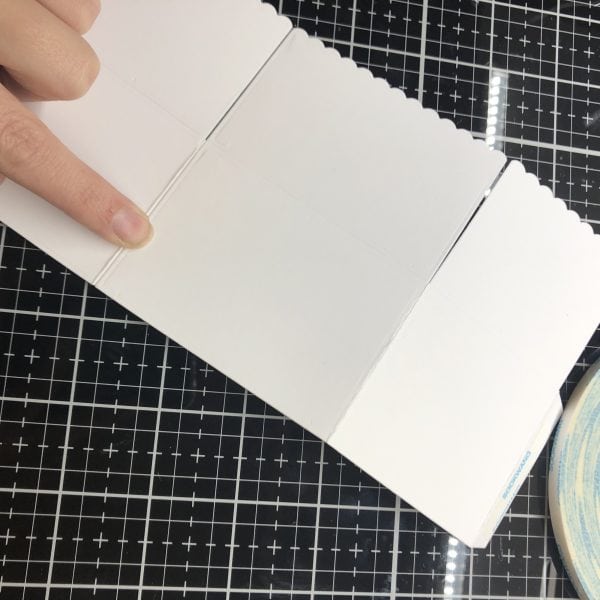
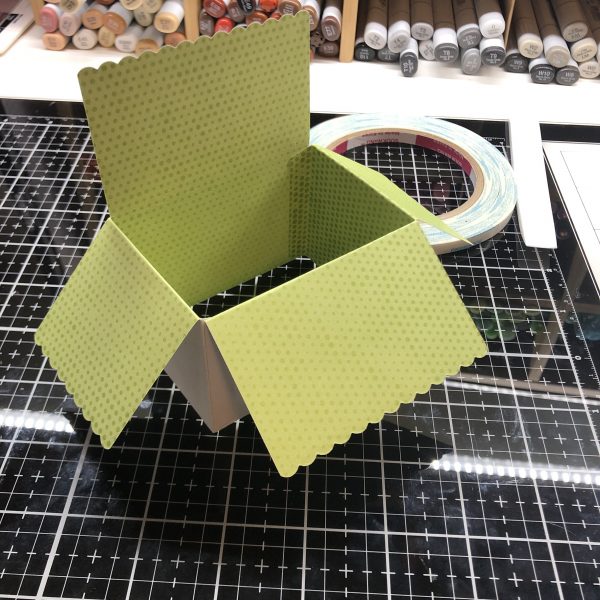
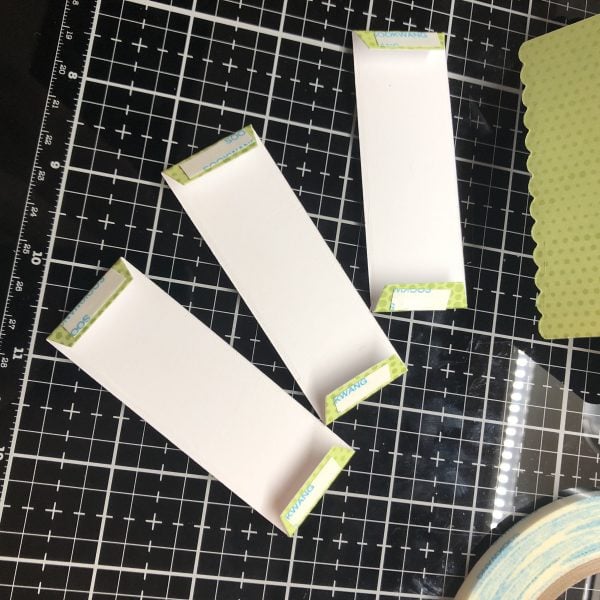
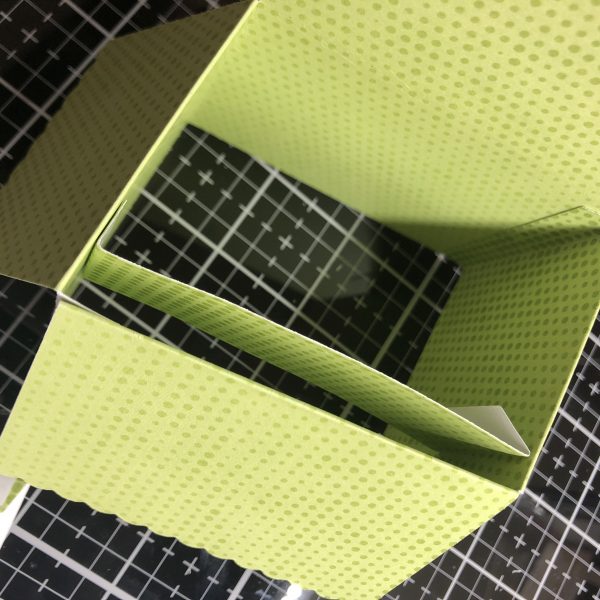
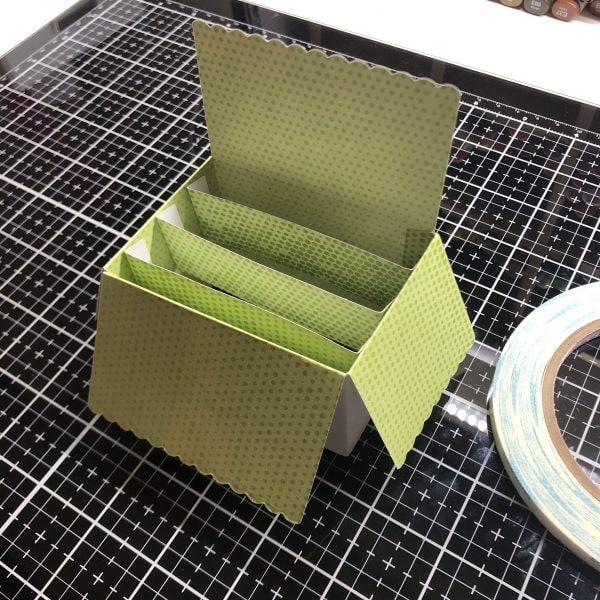
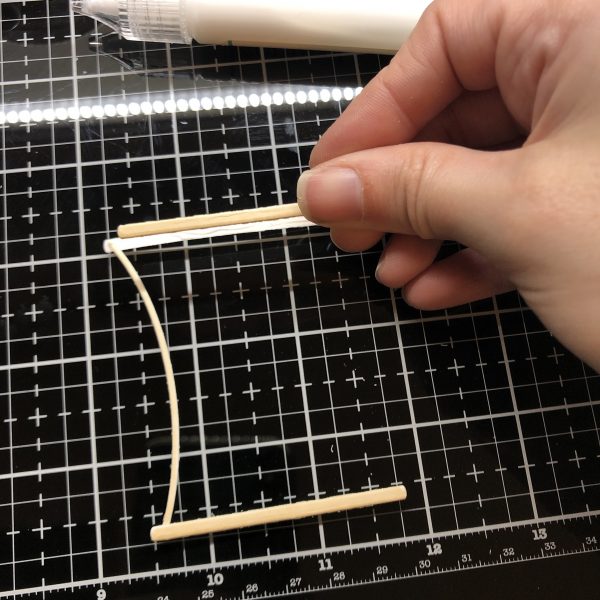
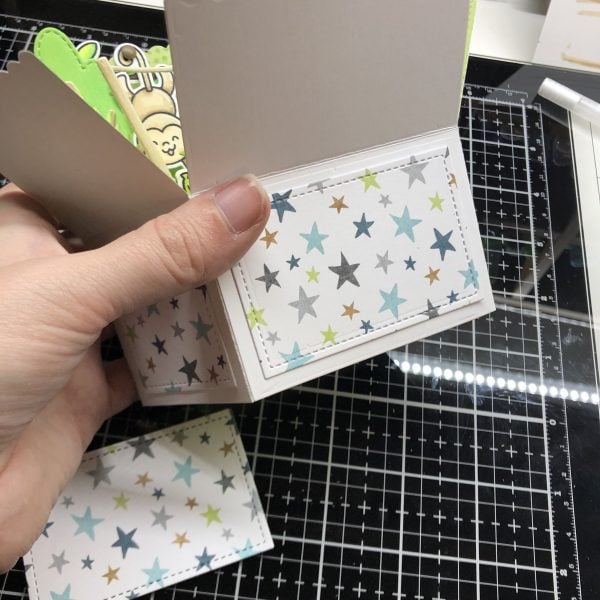
The first thing we’re going to do is assemble the pop-up card. This Scalloped Box Card Pop-up die set is from Lawn Fawn. There are tons of videos on how to construct this card, but here are a few photos.
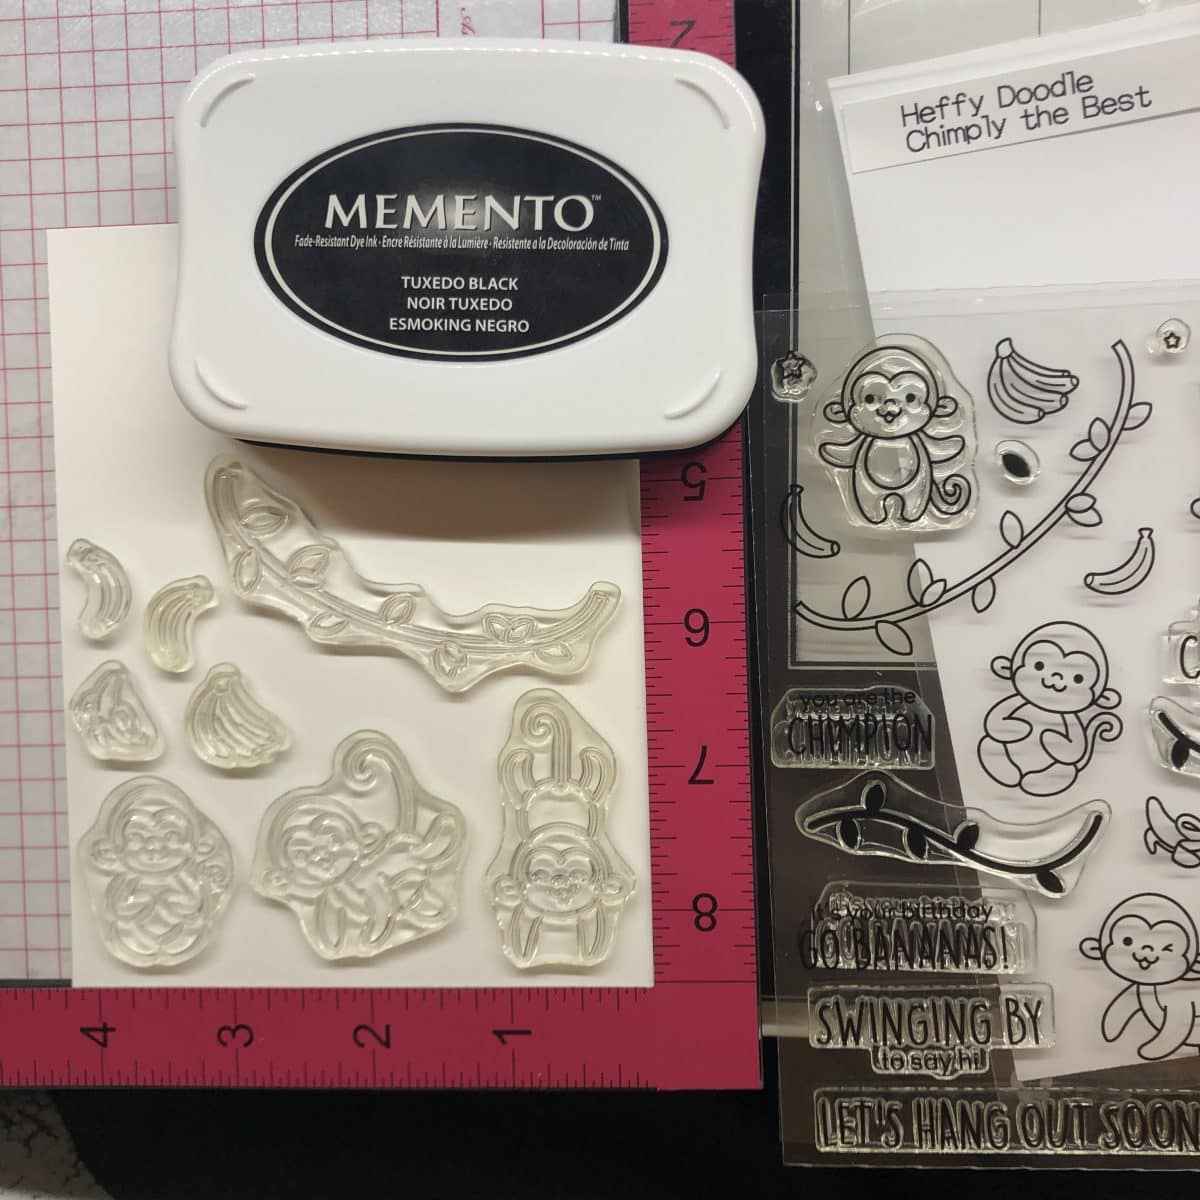
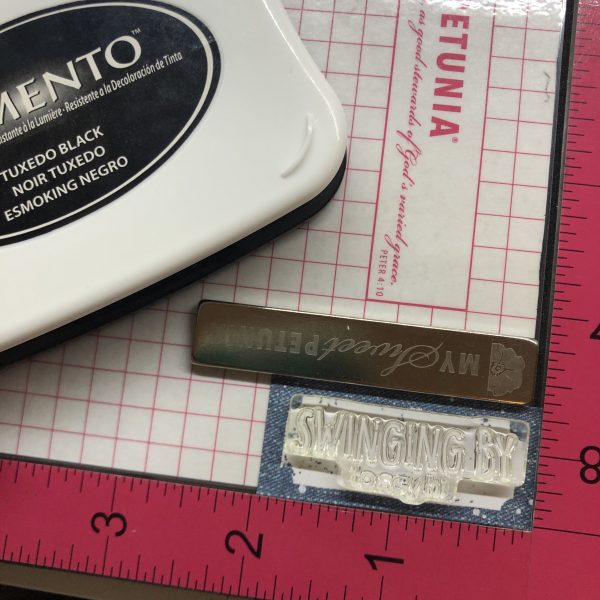
Next, I’m going to stamp my images from the Chimply the Best stamp set. I’m using Memento Tuxedo Black ink because it’s a Copic-friendly ink pad.
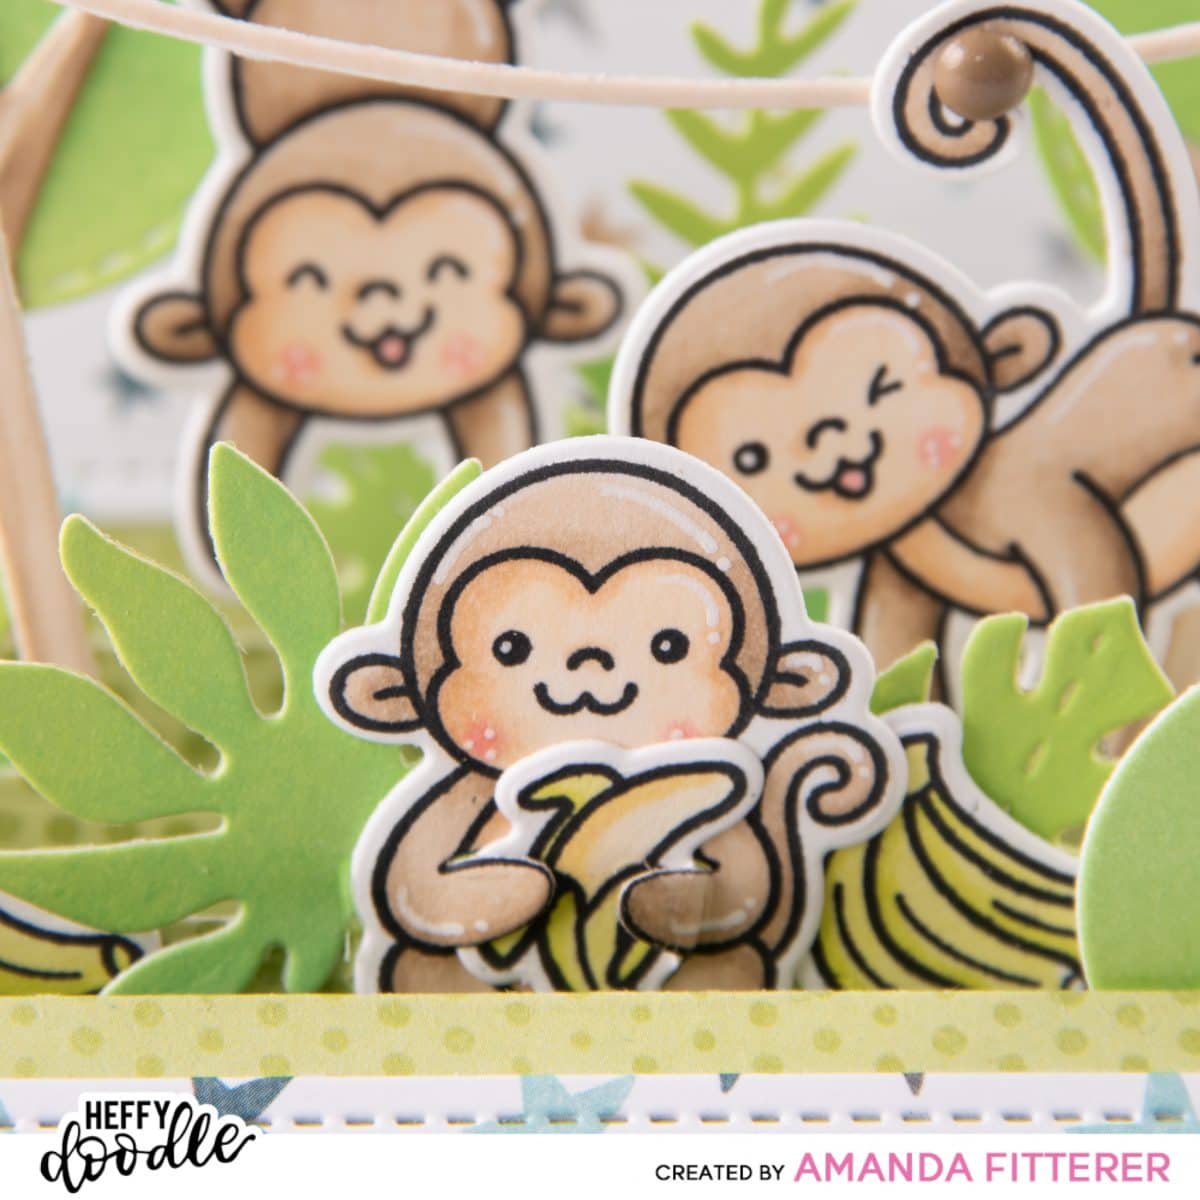
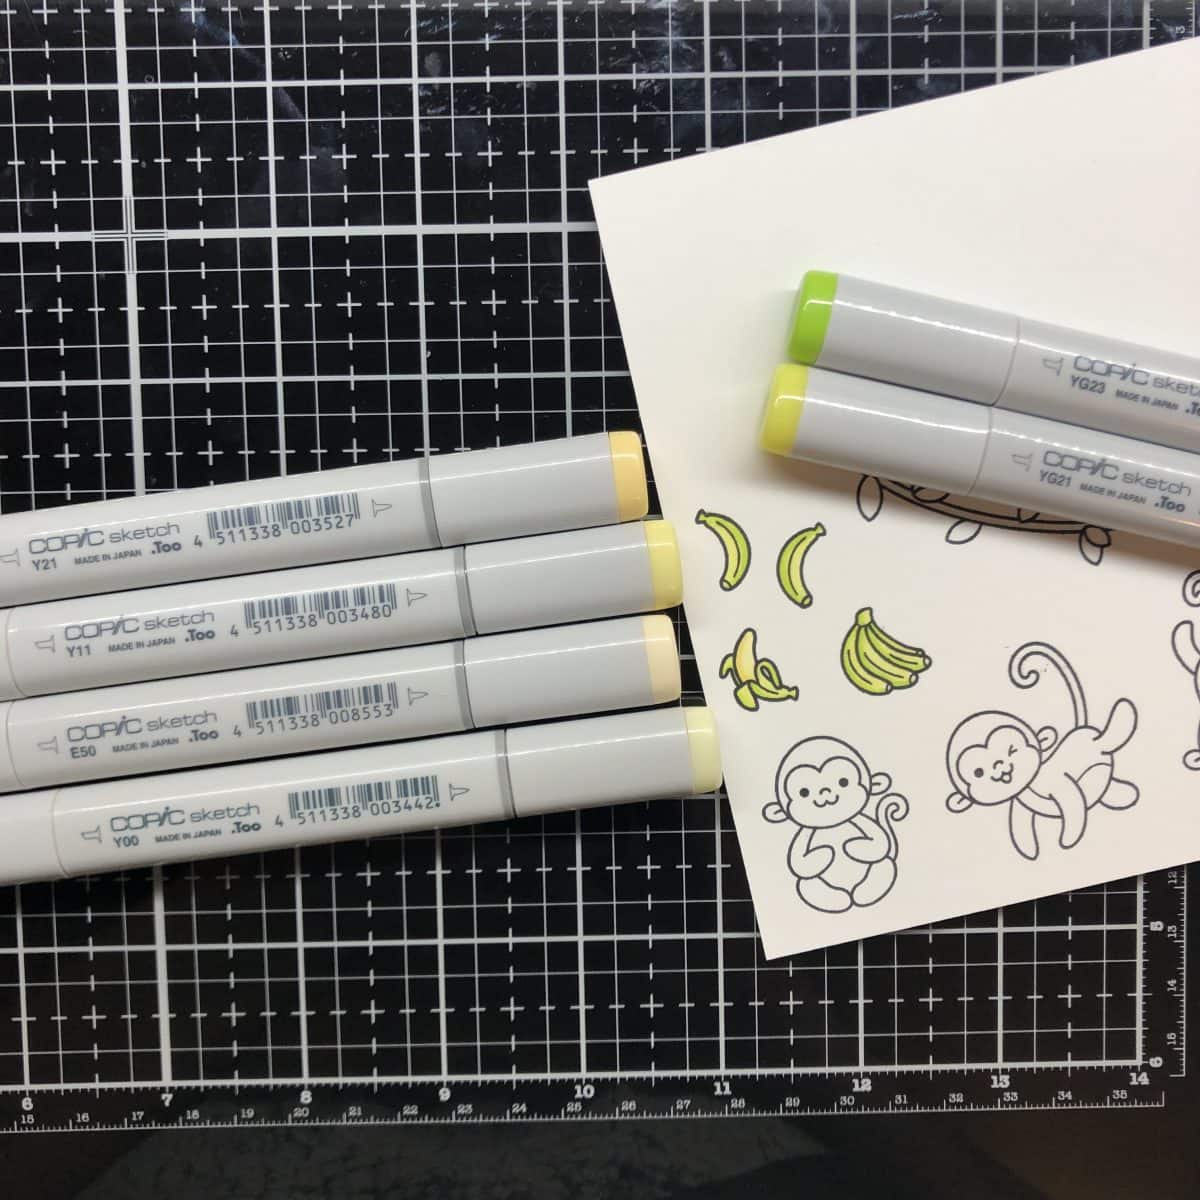
For the bananas, I’m using YG21, YG23, Y21, Y11, Y00 and E50.
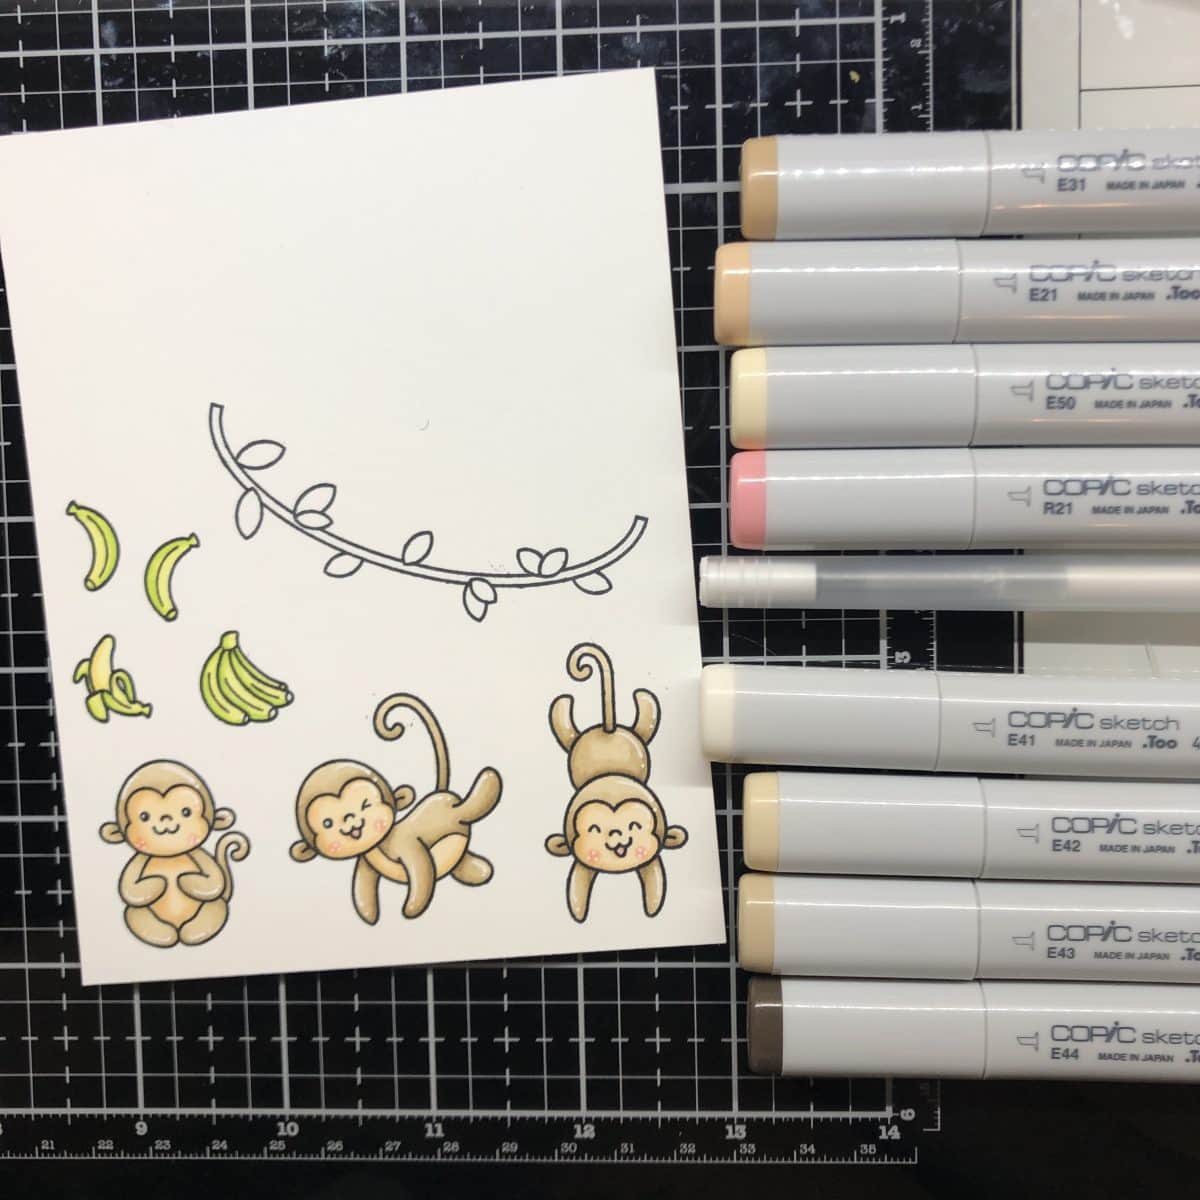
For the monkeys, I am using E31, E21, E50, and R21. I also am using E41, E42, E43, and E44. I use a white Gelly Roll pen for my highlights.
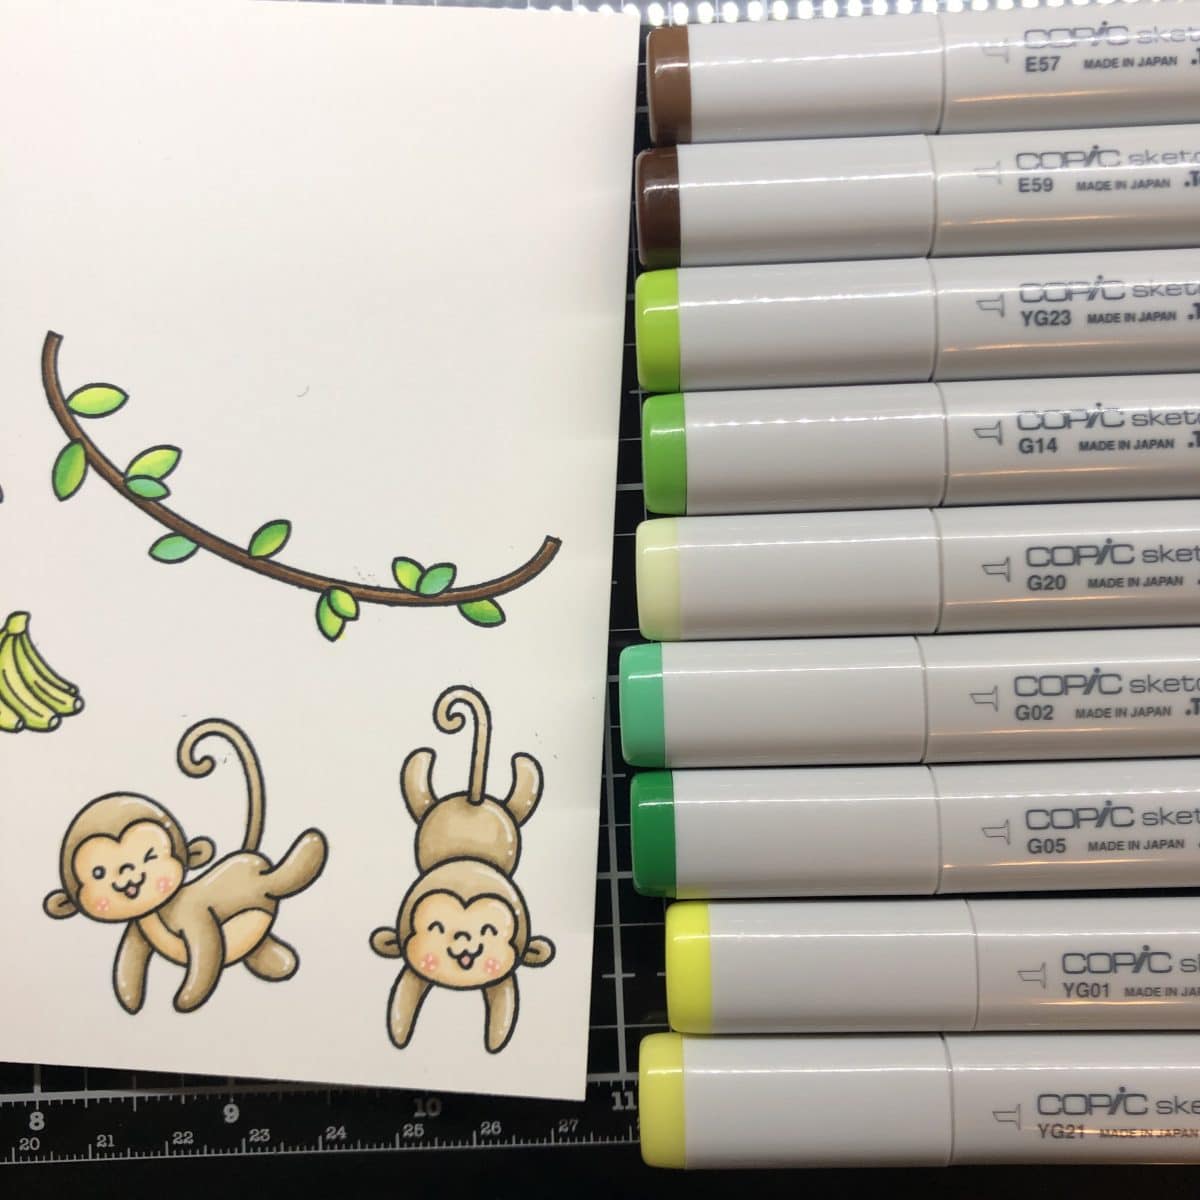
For the branch, I am using E57 and E59. For the leaves, I’m using a combination of YG23, G14, G20, G02, G05, YG01, and YG21.
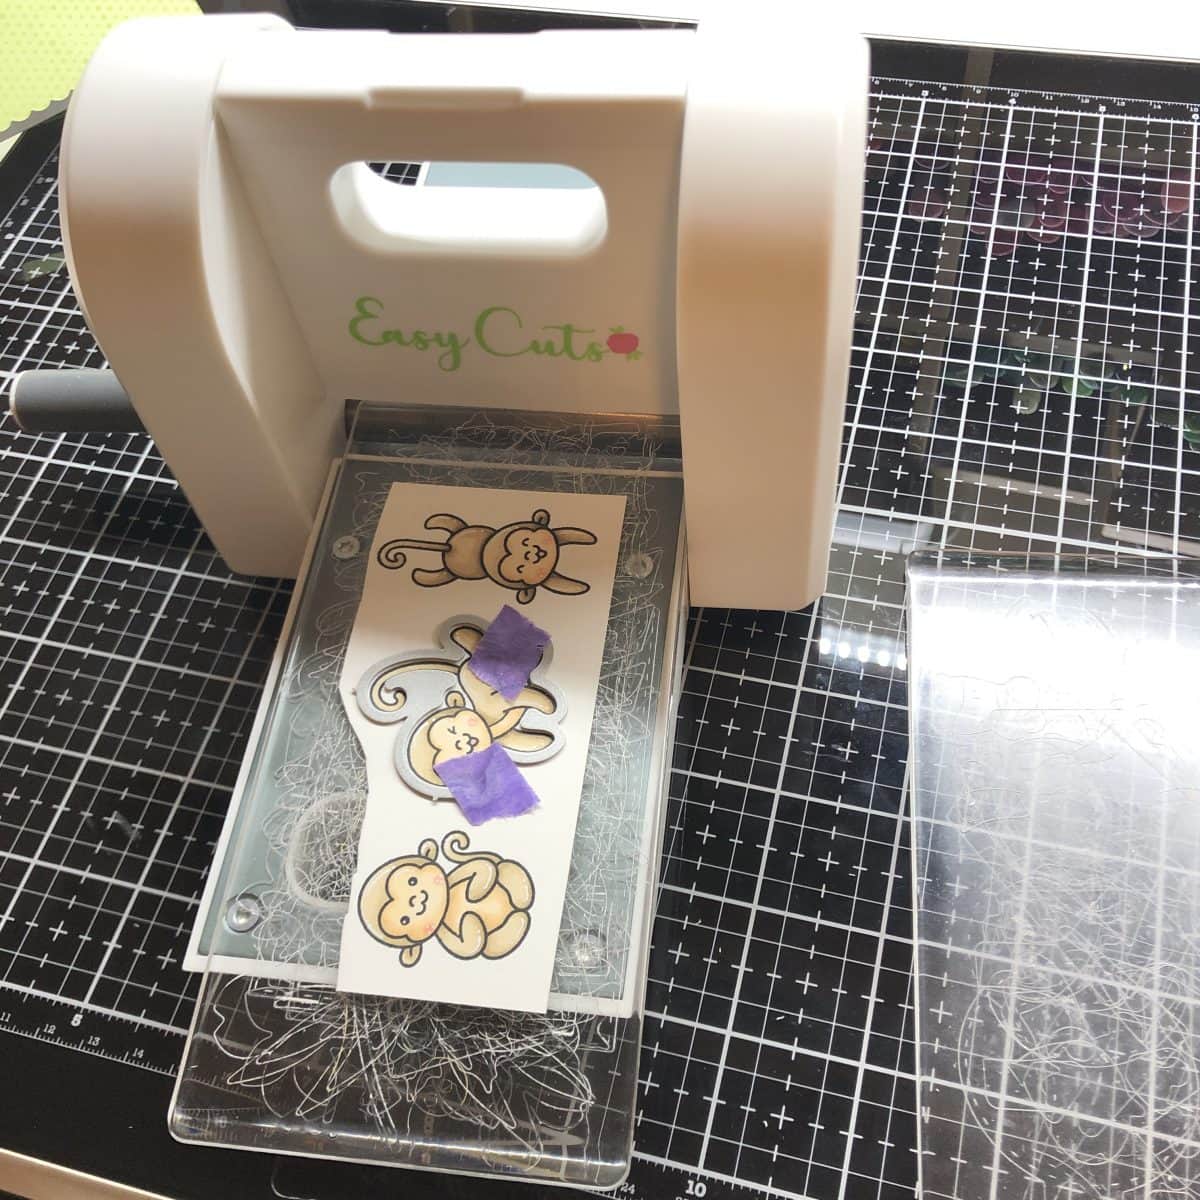
To cut my cute monkeys out, I’m going to use the coordinating dies.
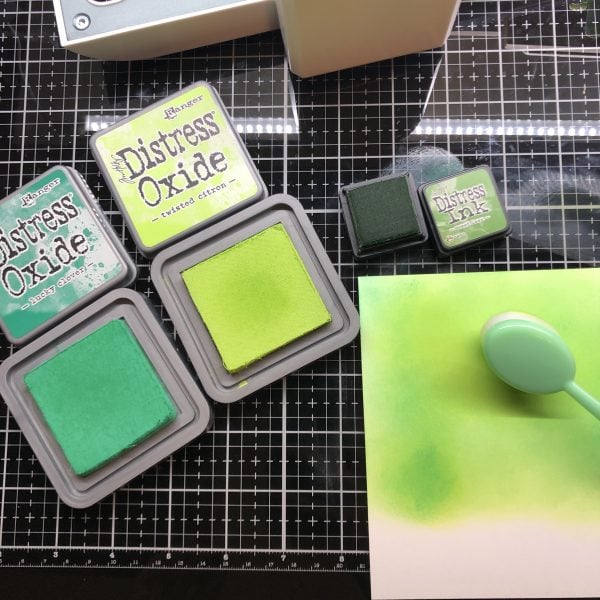
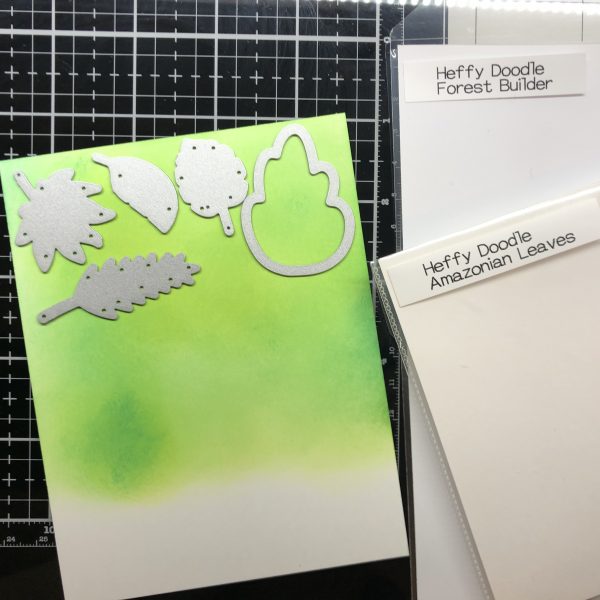
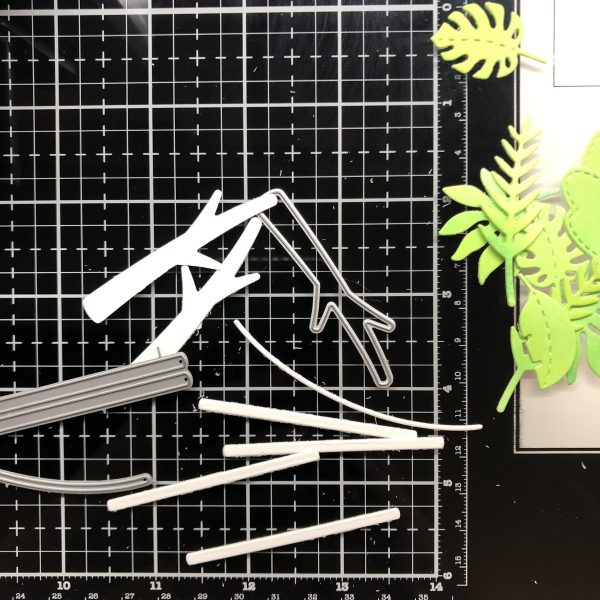
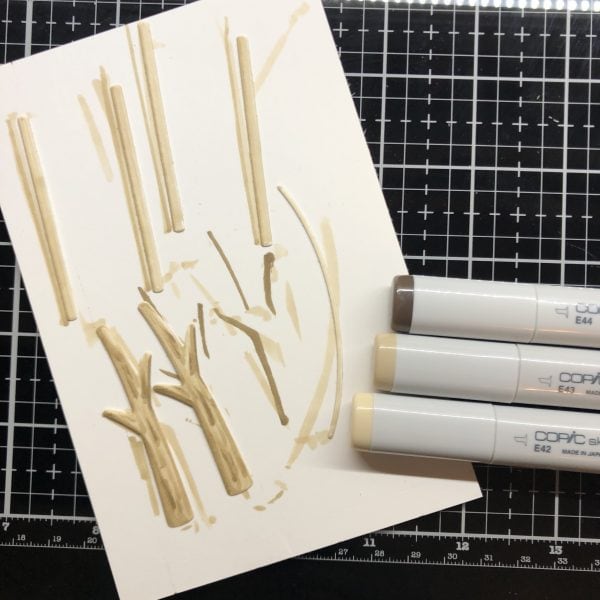
Because I’m going to cut out multiple Forest Builder trees and Amazonian Leaves I’m going to blend one big background of greens. I’m using Mowed Lawn, Lucky Clover, and Twisted Citron inks and oxides. I’m also cutting some flag holders from the same Lawn Fawn die set that I used to make the card. I’m coloring my tree trunks and the flag holders with E42, E43, and E44 Copic markers. I’m also assembling my flag holder with a glue pen.
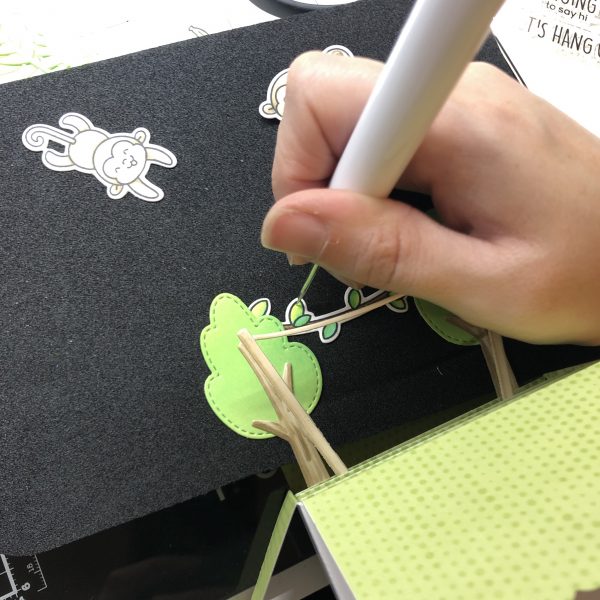
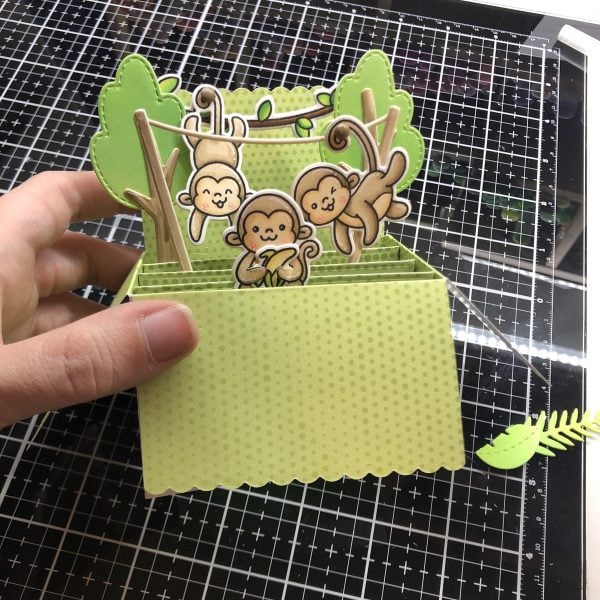
I’m ready to start assembling my card! I am using a glue pen to adhere all my pieces together because there is some “wiggle room” when using liquid glue. It allows you time to move things around and get them just right before committing all the way!
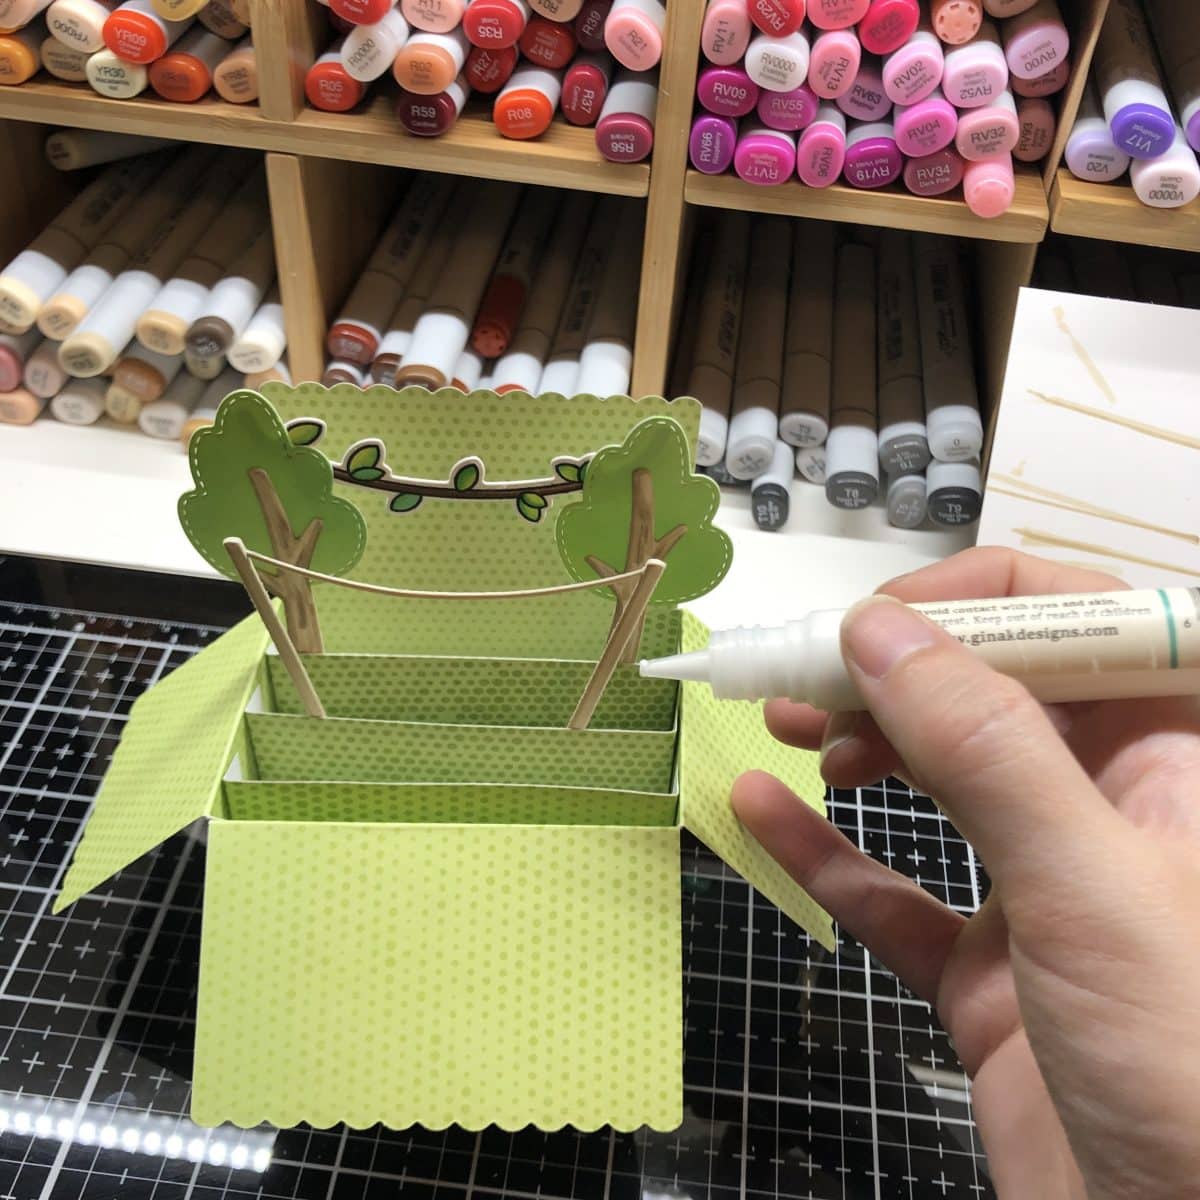
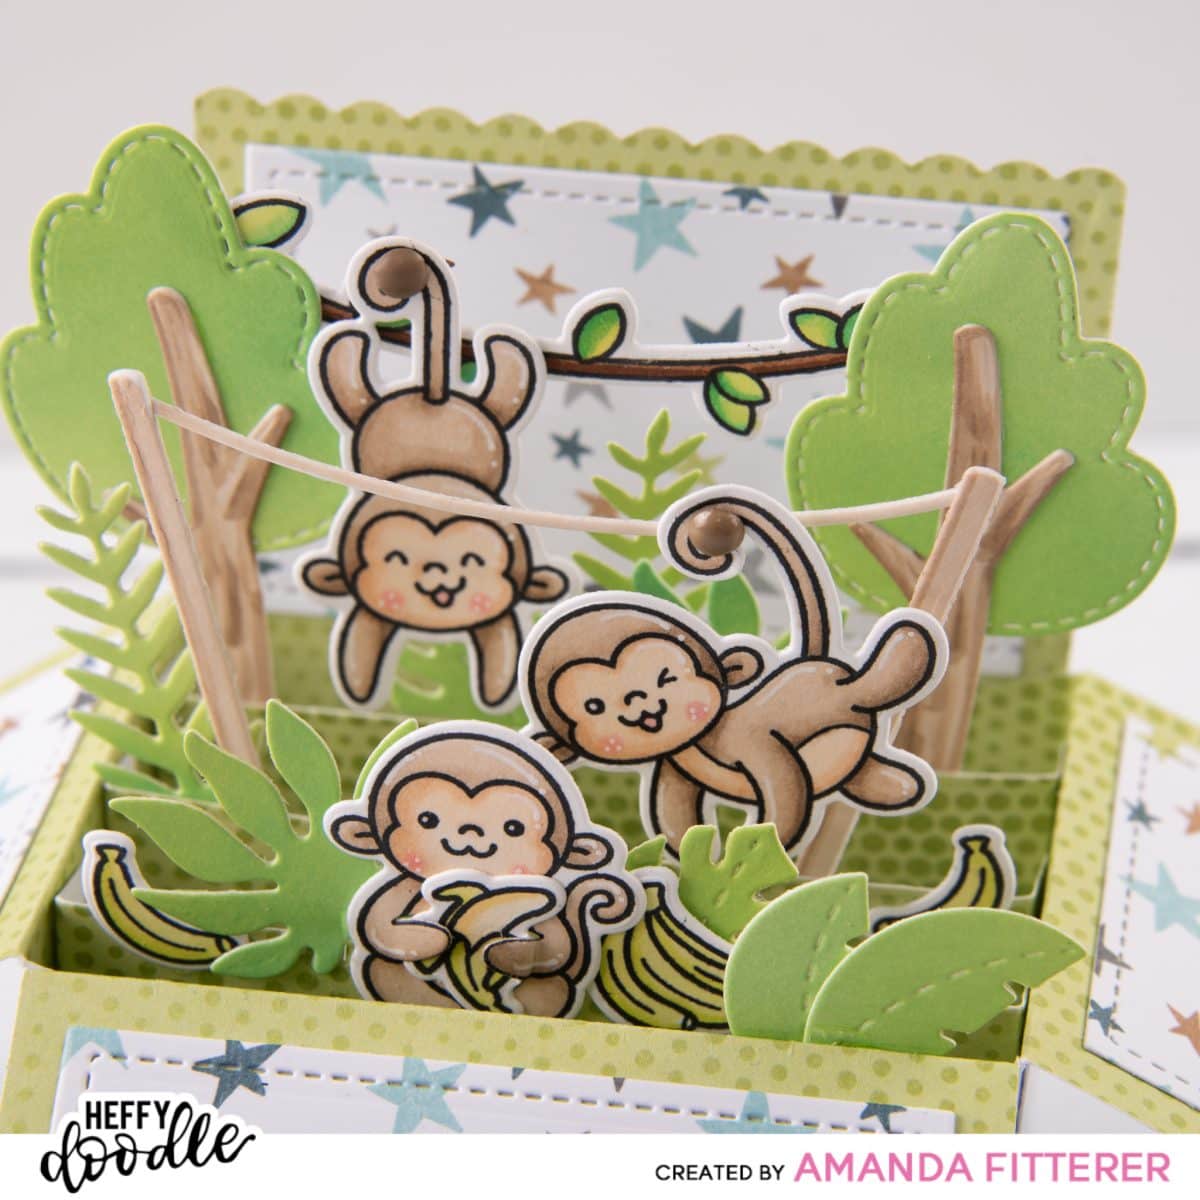
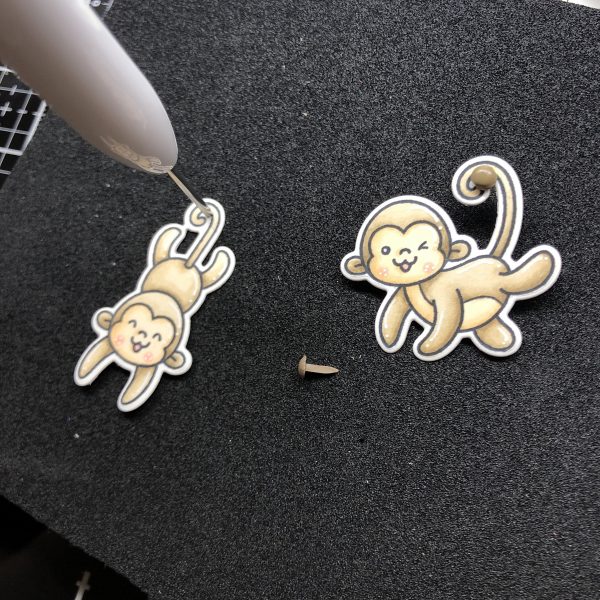
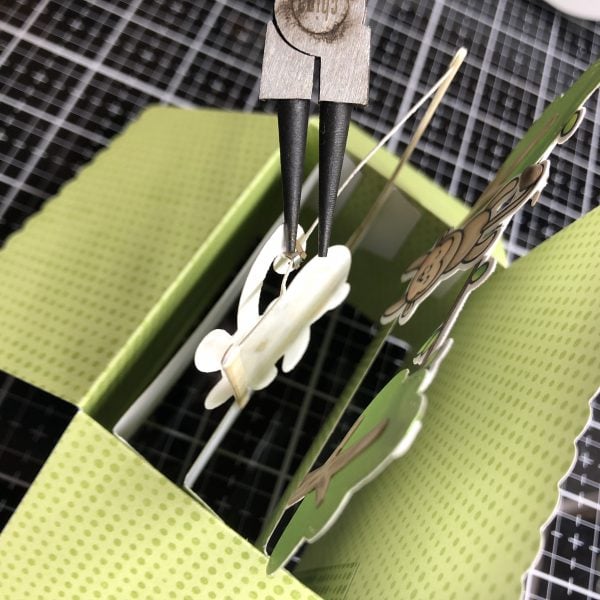
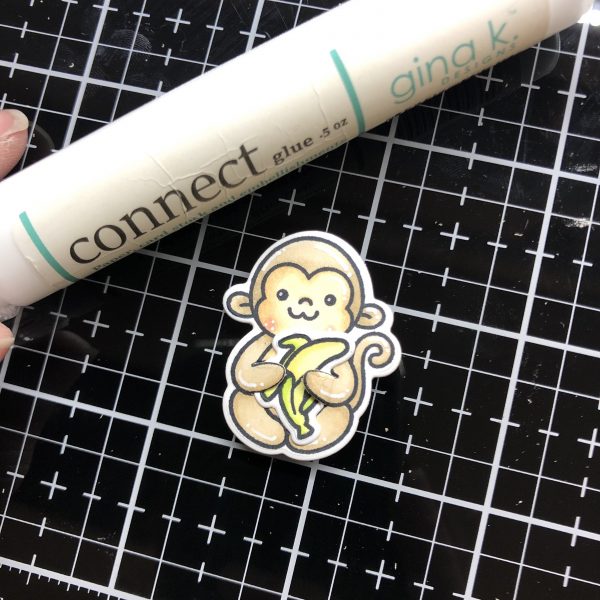
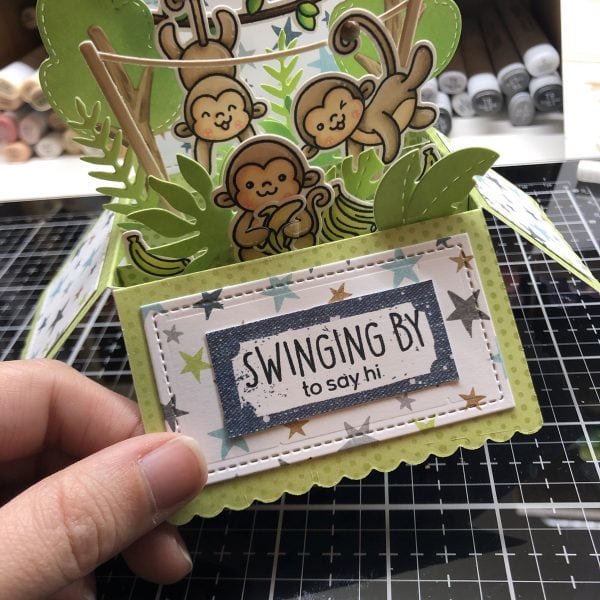
I’m going to attach my monkeys with brads because I want them to be able to move. I’m using a perforating foam pad so that I don’t bend my monkey’s tail as I pierce a hole. I’m also piercing a hole in the branch that my farthest monkey is hanging from. He will be able to swing from his tail. The other little monkey in the middle will be able to swing all the way down the flag line. I am using a jewelry making tool to bend the brad in, leaving enough room for the monkey to be able to swing freely. I’m adhering the closest monkey will be holding a banana. The die for this monkey actually cuts slits in his hands so that he can hold stuff! So the only thing I need to do is glue the banana! Then I’m ready to glue all my monkeys and all my leaves!
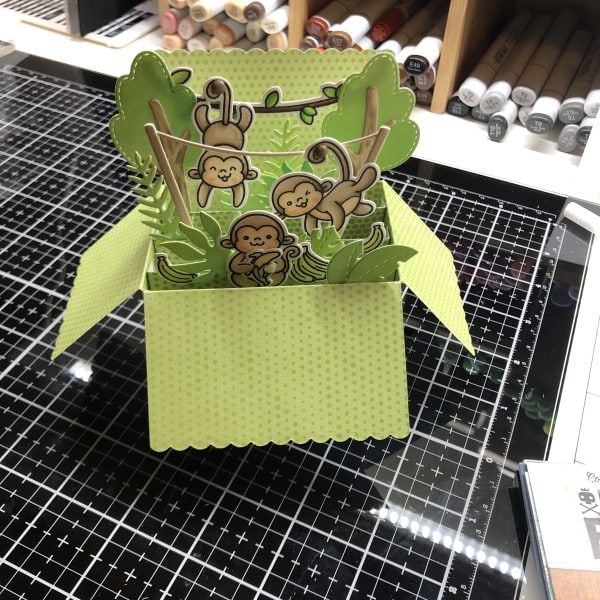
I’m ready to finish this card off!
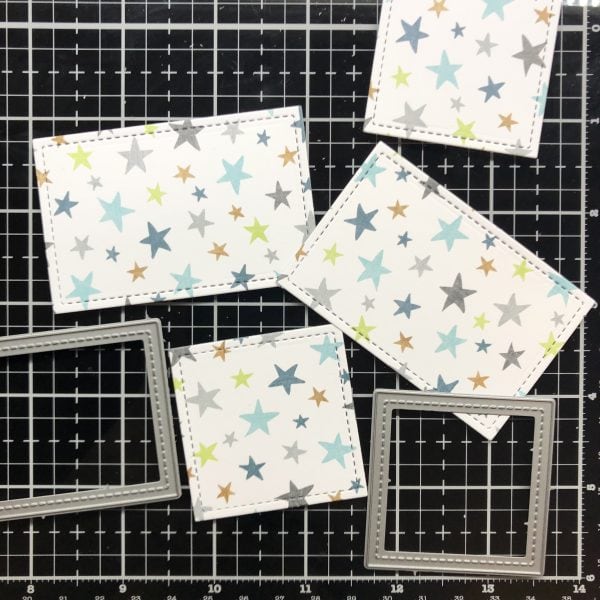
I’m cutting these rectangles that are part of the Lawn Fawn die to place on all the card’s flaps and adhering them with glue. I’m also going to stamp my sentiment from the Chimply the Best stamp set on a piece of small paper and glue that on as well.
The card is all finished! Don’t forget to go here to see it in action!


Sharon Gullikson
February 5, 2020 at 5:22 pmYou have inspired me to make one. I have that box, why not use it?? ADORABLE
Amanda Fitterer
February 9, 2020 at 11:49 pmI’m so glad to hear that!!! Send me a photo of what you make!! Am*************@gm***.com or tag me on Instagram @craftyandcreativevibes! I would love to see it!!!
Shar Zar
February 18, 2020 at 4:01 amMarvelous card. Thanks for the tutorial. The winking monkey is irresistible!