Video: Making Two Backgrounds with One Stencil
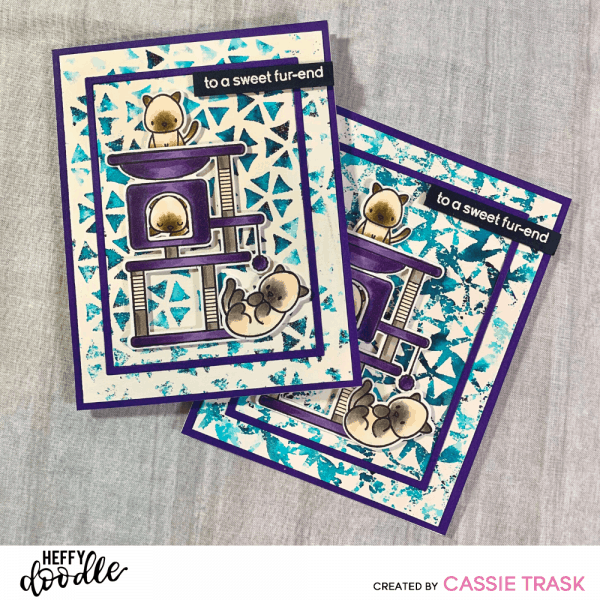
Hello there Heffy Doodlers! It’s Cassie back with some cards to share! Today I decided to make two cards using one stencil. By using the positive and the negative parts of the stencil you can make two cards that give you a slightly different look. You can check out the video over on the Heffy Doodle YouTube channel.

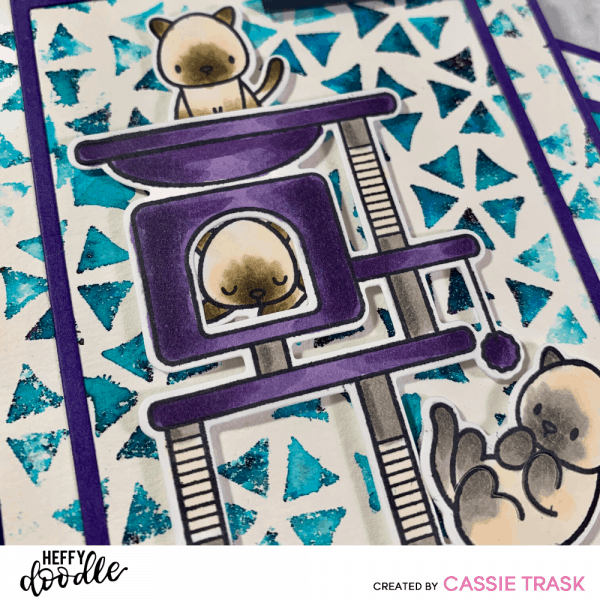
I started by creating my backgrounds, and to do so I took the Crazy Kaleidoscope Stencil and placed it onto a piece of watercolor paper. I sprinkled some Color Burst onto my piece (any wet medium would work as well), and then spritzed it with some water. I lifted the stencil away to reveal my first panel and placed a second piece of watercolor paper down. I immediately flipped my stencil with the wet Color Burst onto my paper and pressed firmly so that the color would transfer. I pulled up my stencil and revealed my second panel. Next came the stamping of the images from the Purrfect Day stamp set. I colored them and cut them out with their coordinating dies. I pieced them together with some liquid glue and covered the back with some foam adhesive. Using the new Skinny Metric Rectangle Frames Dies, I cut a piece out of some Plum Pudding Cardstock. I adhered my watercolor panel to the leftover frame from my die cutting and then attached the Skinny Metric Rectangle Frame to my watercolor panel. I then attached my kitties and their cat tree to the front of the panel. My sentiment was stamped onto a piece of Oreo Crunch Cardstock using Versamark ink and heat embossed in white, which was then attached to the card panel using some foam adhesive. The entire panel was then attached to the card base using some liquid glue. I stamped another kitty along with another sentiment onto the inside of the card for a finishing touch.

I’m so happy with how similar and yet different these cards are. And I love that a technique like this gives your stencils more versatility. I hope you’ll give this technique a try! Be sure to head to the Heffy Doodle YouTube Channel to watch this video to see exactly how these two cards were made. Thanks for stopping by!
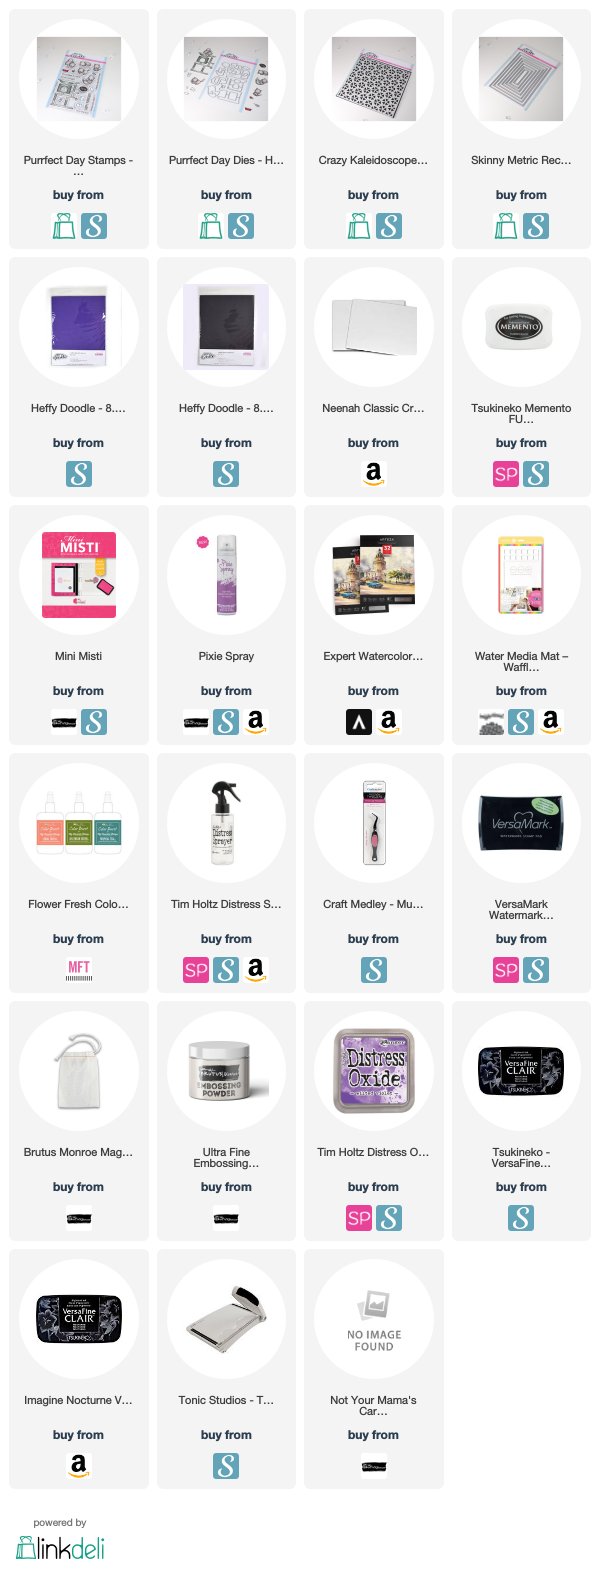
Affiliate links used above at no additional cost to you 🙂

