Video: Copic Coloring a Northern Lights Scene
Hey there Heffy Doodlers! It’s Cassie back with another video to share with you! Today I’m using Copic coloring to create this fun Northern Lights scene, and I’ll be sharing some tips on blending colors that you may not think would blend. You can check out the video over to our YouTube Channel.

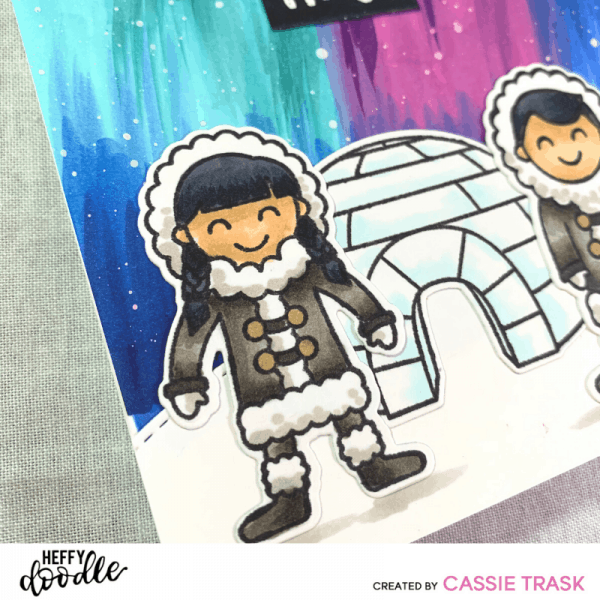
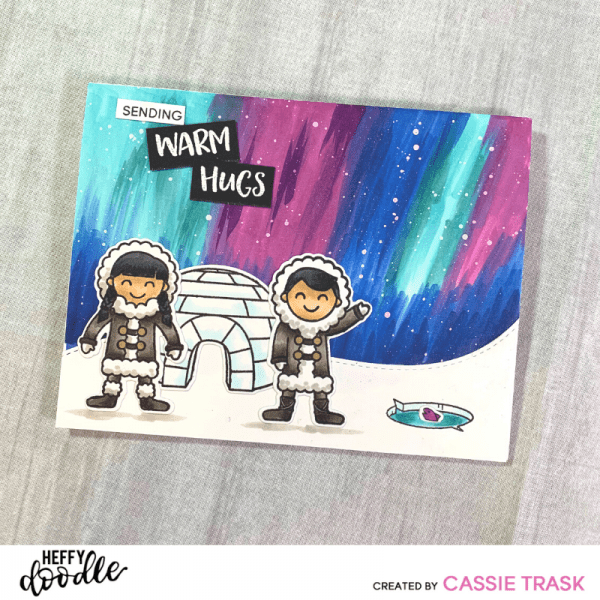
To make this card, I started out by cutting a piece of Neenah Classic Crest Solar White Cardstock down to A2 size, which is 4 1/4″ x 5 1/2″. I started my Copic coloring directly onto this panel, and used the colors BG53, BG18, V06, V09, B26, and B39 to create my background. I started with my lightest colors and and used lots of flicking motions to create motion in the piece. Using flicking motions also helps colors that aren’t close on the spectrum to blend easier. I did a lot of blending and going back and forth between colors until I was happy with the outcome. I piece like this doesn’t really look great until you get to the end, which is really a funny concept. I actually wasn’t entirely happy with this until I added the flicks of white paint to act as snow, which was my next step after coloring. Once those were added, I loved the look!
My next step was to stamp out my images on that same type of cardstock using Memento Tuxedo Black ink. Then it was time to color my images using the colors E53, E55, C7, C10, W3, W4, W6, W8, Y28, and BG000. I used the matching dies to cut each of my elements out, and I even used the Stitched Slopey Joes Border Die to cut out my ice for the background. The sentiments were stamped using a combination of Versafine Claire Nocturne ink and Embossing Ink, so that I could heat emboss my larger sentiments in white. Everything was adhered to the card panel using liquid glue, and then all of that was adhered to my heavy weight card base.

I love how whimsical this looks with the super fun images from Warm Hugs along with the Northern Lights colored background. It’s always fun to challenge yourself and try new things, and this was definitely something new! Be sure to head to the YouTube Channel to see the video and how the whole process plays out. Thanks for stopping by!
Cassie

