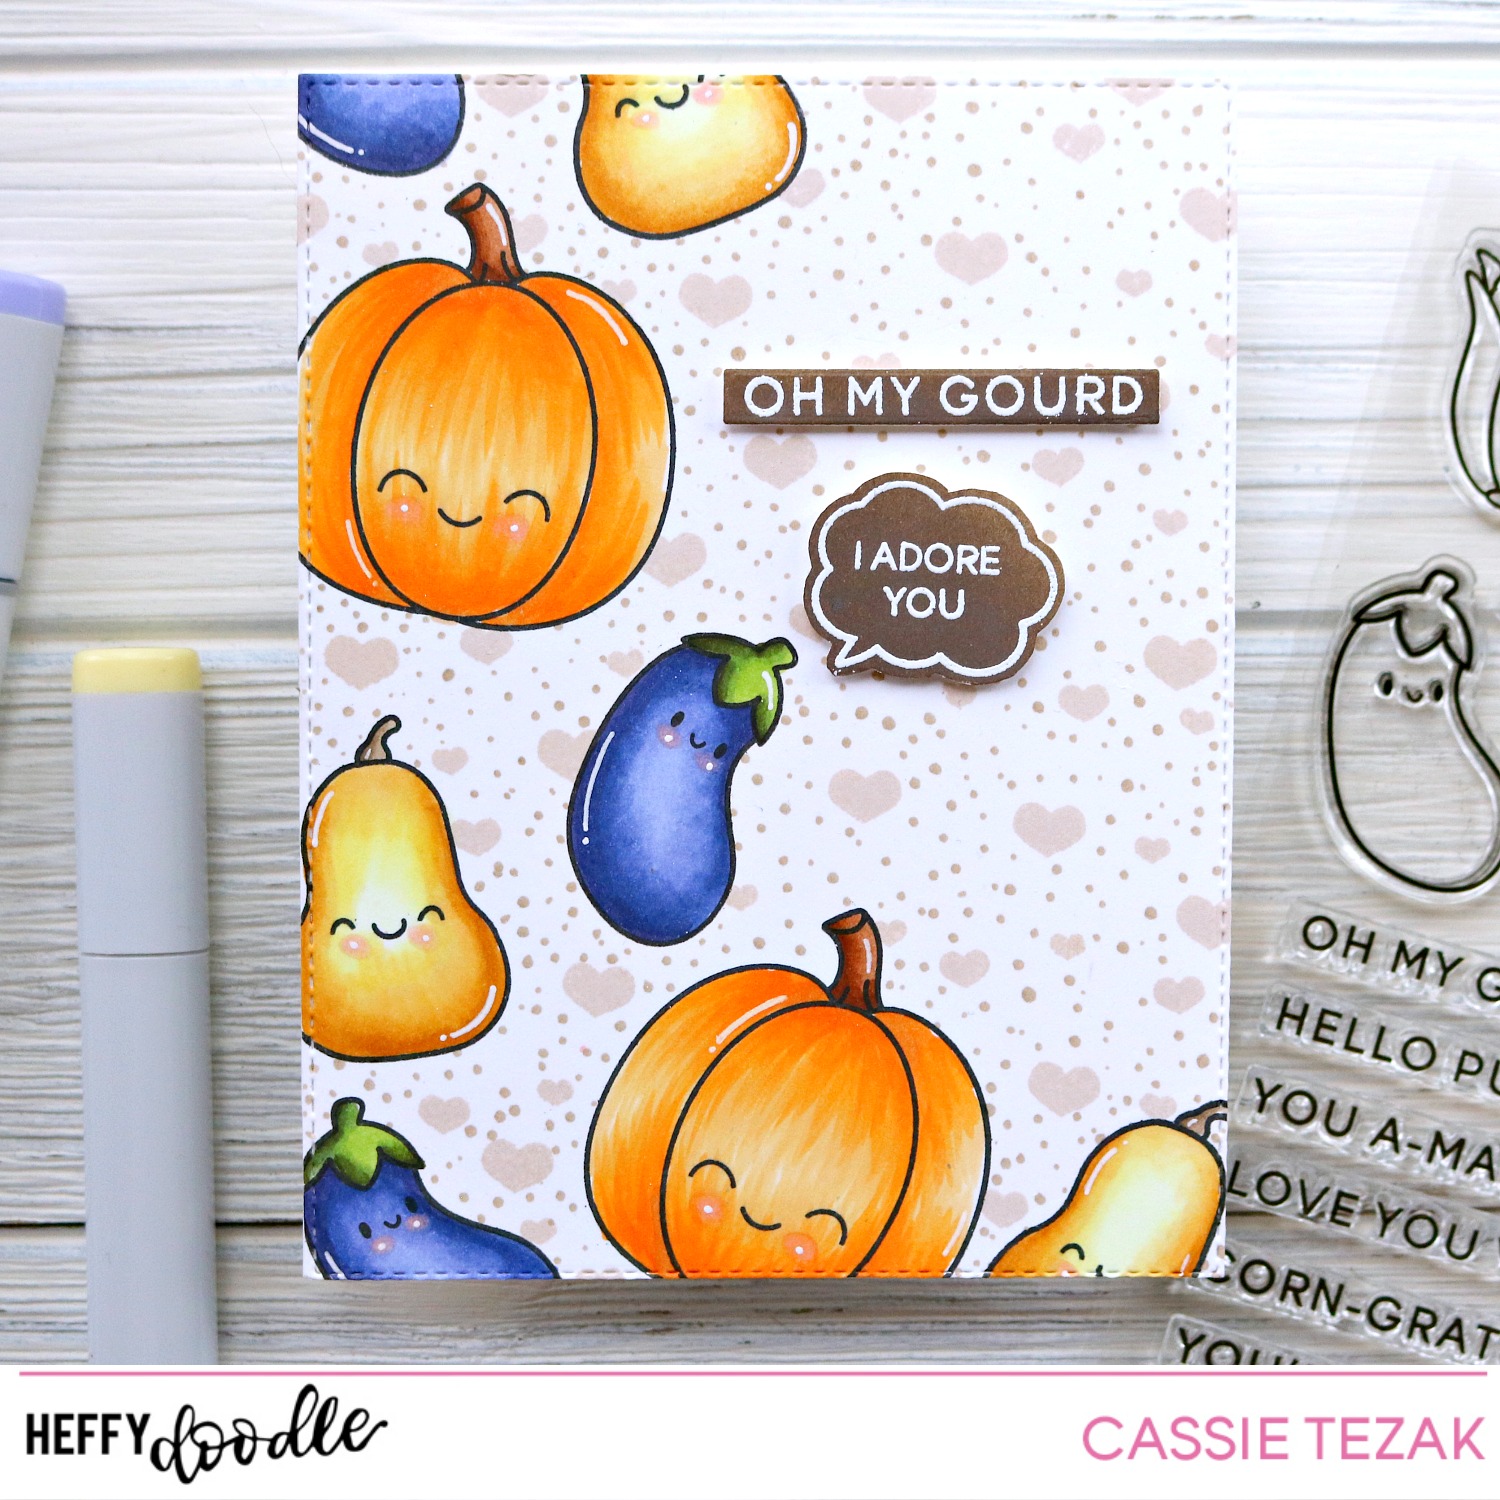
Oh My Gourd!
Today I’m sharing a card that that is super easy to create, and uses the adorable Veggie Patch stamp set!

Hi, crafty friends! I hope you all had a wonderful week so far. It’s Cassie here, and I’m back to share a fun and easy card with you all! I’m coming off of my holiday crafting and needed a little break from it, so I whipped up this cute veggie thank you. It was so fun to color these sweet vegetables!

I started today’s card by die cutting the largest of the stitched rectangle dies from the Imperial Stitched Rectangle die set out of some 110 lb, white card stock. I used a Copic friendly card stock and ink. I stamped the veggies from the Veggie Patch stamp set to the left of the card panel, leaving a portion of the panel open for a sentiment. Once They were all stamped, I colored them in with Copic markers and added some white gel pen accents to give them a little more detail.

Next, I stamped the two hearts from the set with some tan dye ink all over the background. I liked the way this looked, but wanted to fill it in a little more, so I took a Copic marker in a similar color and added dots all over the background as well. An important tip about stamping out a background like this is to make sure some of the hearts look like they’re going behind the vegetables. That way it looks like a continuous pattern! I did this the lazy way, by using a post it note to mask the images as I stamped over them so the ink didn’t go over the portion I had colored in with Copics.

To finish off the card, I stamped out the sentiment “Oh my gourd” on a piece of the 110 lb white card stock with VersaMark ink. I heat embossed white embossing powder over it, and then I ink blended some Walnut Stain Distress Oxide ink over it. I did the same with the cute little word bubble from Whatcha Sayin’ Now and die cut them both out. For the sentiment strip I used the Strips of Ease die so that the sentiment was cut perfectly.
