
Ocean visitors with Peter
Hello everybody! I’m Peter, a 31 year old card maker from the Netherlands. I’ve been crafting my whole life, but due to physical problems I had to let go of my main crafty hobby Amigurumi (crocheting plushies). After I floated around for a bit I rolled into card making and I couldn’t be happier!

If you want to see my work, be sure to check out my Instagram (@peterstreasury) and YouTube channel.
You’re always welcome to ask me questions how I made certain things, because I love sharing my work and helping others.
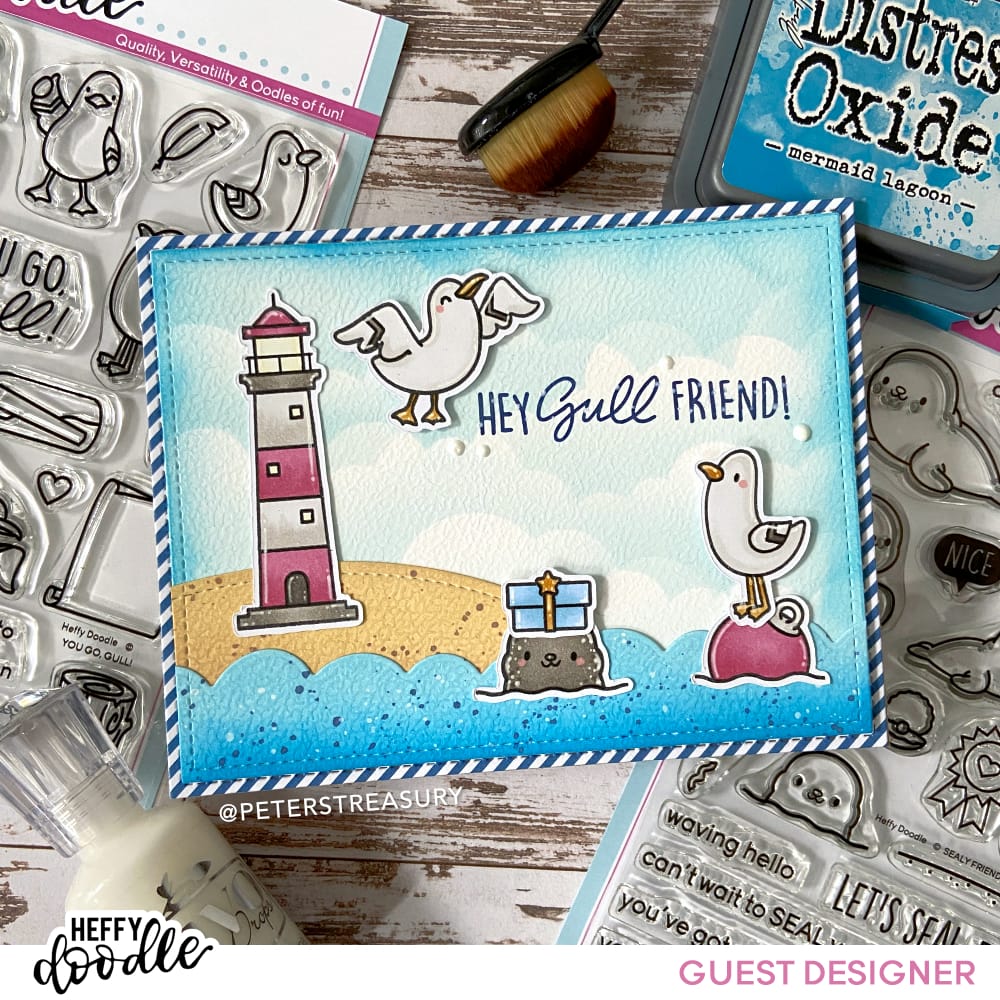
Although I love making elaborate scenes, I’m also into making simpler scenes. Thats what I did for this card. Simpler scenes doesn’t mean boring scenes though!
By using good quality materials, pay attention to details and balance your composition, you can create a stunning card even with just a few images.
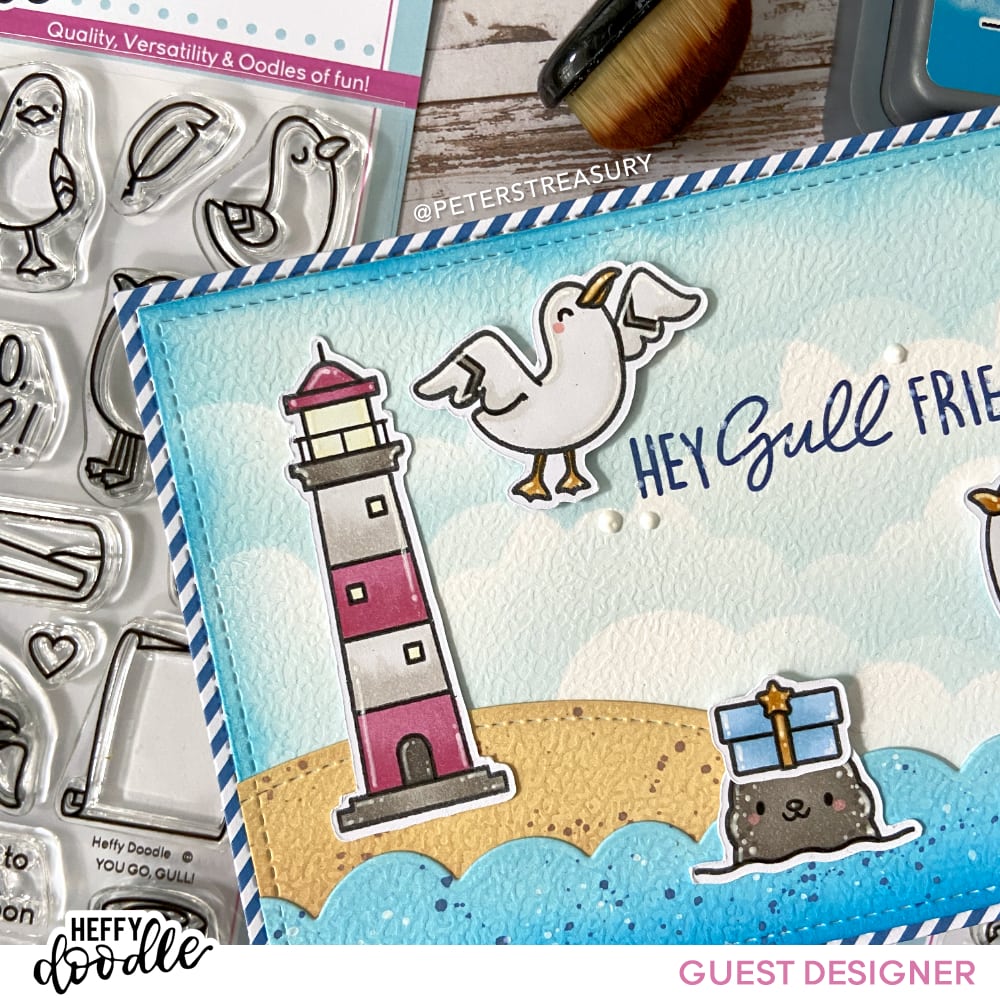
To start with, I stamped out my images using an alcohol ink friendly black ink using my Misti Stamping Tool, so that I can stamp the images multiple times if needed to get a nice and crisp line.
The images I used are from You Go, Gull, Sealy Friends, A Little Shellfish and Lil Lighthouse. I colored them in with my Copic markers.
For the background, I first cut a stitched rectangle out of watercolor paper. I love watercolor paper for ink blending and I love the texture it adds to my card. By the way, the rectangles are a bit smaller then a regular card so I can add a patterned paper border later on! I cut two more out of scrap pieces of watercolor paper, because I don’t need the whole rectangles.
I used a cloud stencil to blend on a cloudy sky first. I used a blending brush and Distress Oxide Tumbled Glass for this. I overlap the clouds a bit to make a more ‘dramatic’ looking sky. After I was done I blended lightly around the edge with Mermaid Lagoon to visually close off the scene.
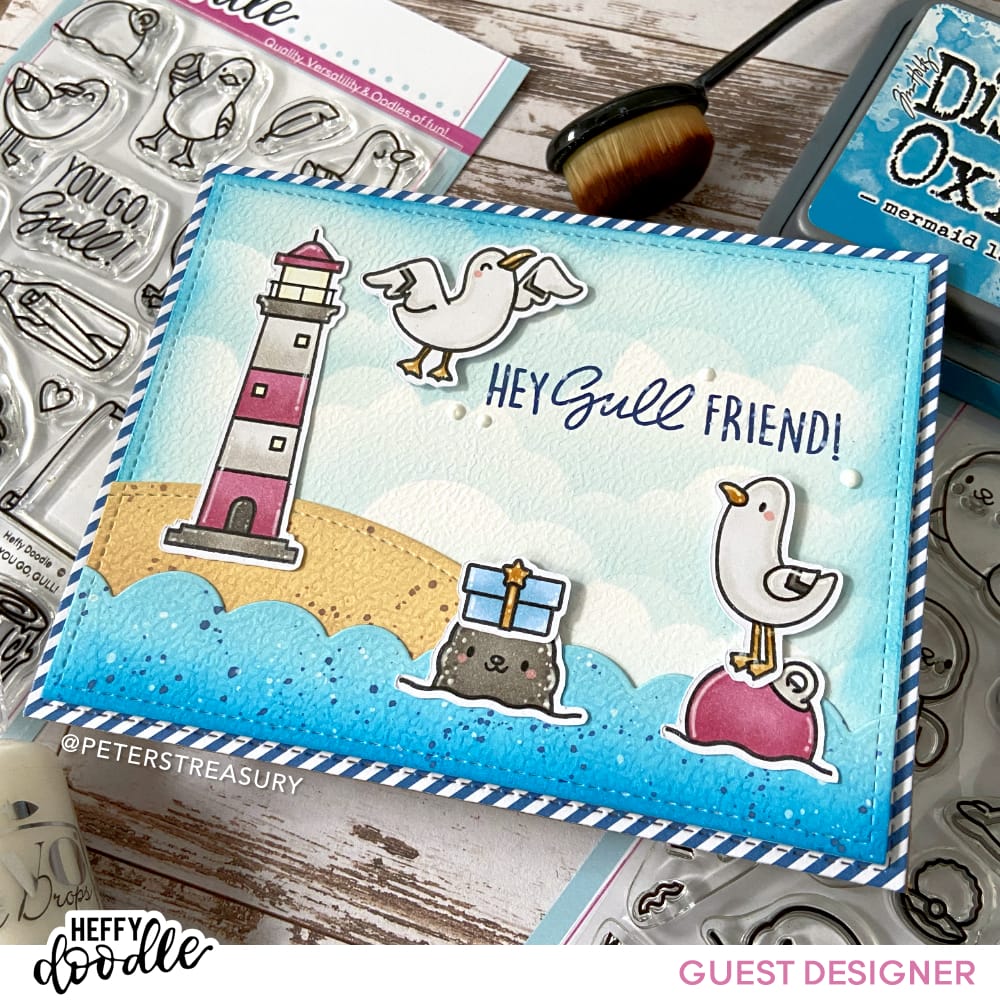
Out of the other stitched rectangle I cut the ocean with an ocean border die. I blended on a simple gradient with Mermaid Lagoon and Tumbled Glass. I splattered on some Chipped Sapphire and white acrylic paint that I thinned down a bit.
For the land, I first die cut the shape I wanted using a stitched hill die out of the leftover stitched rectangle. I blended on some Vintage Photo at the bottom and blended it out with Antique Linen. You don’t see the gradient in the card but the Antique Linen gets a little darker this way. I splattered on some Vintage Photo to finish it off.
Next, I glued the land to the sky and glued on the ocean next. I stamped on the sentiment with Distress Oxide Chipped Sapphire with the use of my Misti. I made a card base out of some kraft cardstock, glued on a stitched rectangle striped pattern paper and adhered the background to it with thin foam tape.
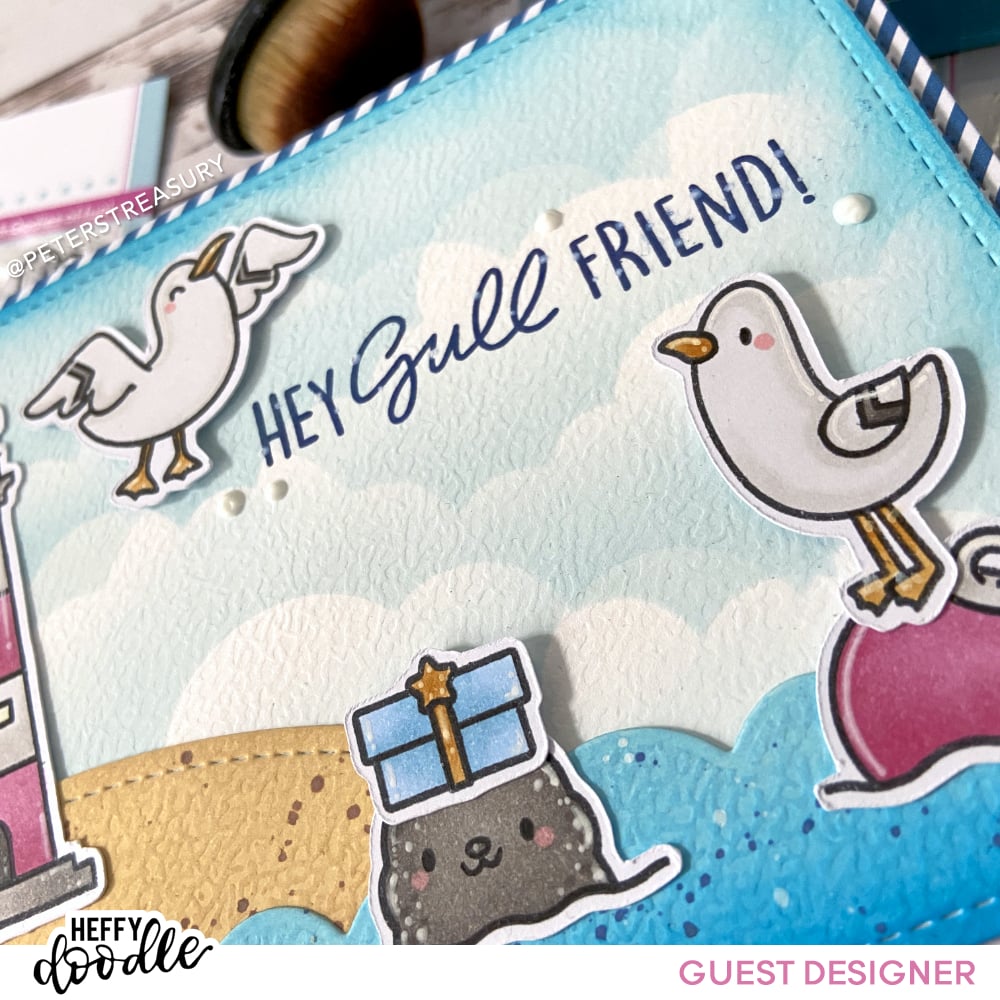
I glued on all my images with liquid glue. To add some depth, I only glued the bottom of the gull on the right. This way he will pop off the background for a bit.
The other gull is adhered with thin foam tape as well.
I added some white dots to the sentiment with the use of a gel pen and added some white Nuvo drops around the sentiment to finish it all off.

On my YouTube channel you can find a video tutorial about how I made this card. Be sure to check it out if you want to see the full process.
I hope I could inspire you to get crafty yourself and I hope you have a great rest of the week. Again, feel free to ask me any questions. I will be happy to help!
Peter