
Ink Blending with Guest Designer Jenny Colacicco
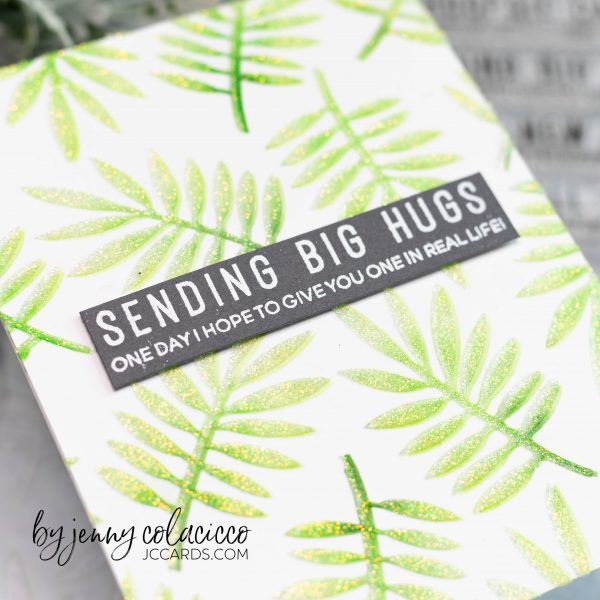
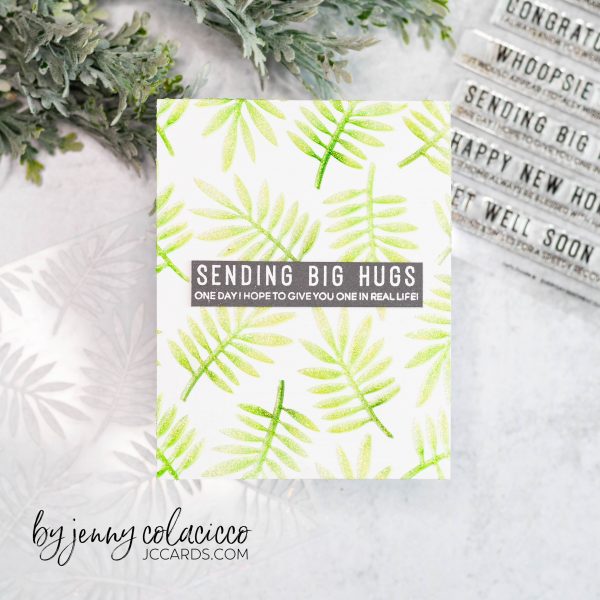
Stepped up Ink Blending – One Stencil/Three WaysHi Everyone, it’s Jenny Colacicco here, and I’m so excited to be guesting here on the Heffy Doodle blog. Today I’ll be showing you three different ways to step up your ink-blending using the Heffy Doodle Unbe-leafable Stencil.I also have a video showing you these techniques which you can find here.This stencil is incredibly delicate, and is a perfect opportunity to use tiny blending brushes to do detailed ink blending, and that’s how I created my first card. I should note that for all of my cards I used Bristol Smooth cardstock as it’s great for ink blending and also takes water pretty well.I overlaid the stencil on an A2 panel of cardstock and used tape to secure it on the back. I then blended light green ink with a small blender brush over each of the leaves (I used Catherine Pooler Designs Garden Party). I then went in with a TEENY blending brush and a slightly darker green ink (CPD Grass Skirt) up the stems and into some of the leaves. Finally I added a dark green ink (I used CPD Spruce) up the base of each fern. You can get a similar effect with mini ink daubers but I prefer the tiny blenders for this sort of detail as you have more control.To step it up, I lifted and shifted the stencil slightly, then went back over it again with a clear glitter paste – I used Nuvo Moonstone paste, but you can also do the same with embossing ink and clear sparkly embossing powder. Using paste adds more dimension and the shift gives the ferns a shadow effect!I finished the card with one of the fabulous sentiments from the Heffy Doodle Everyday Sentiment Duos, one of my fave sentiment sets! I heat embossed it in white on dark grey cardstock, trimmed it out and popped it up on foam tape. The entire panel was backed onto a white note card.
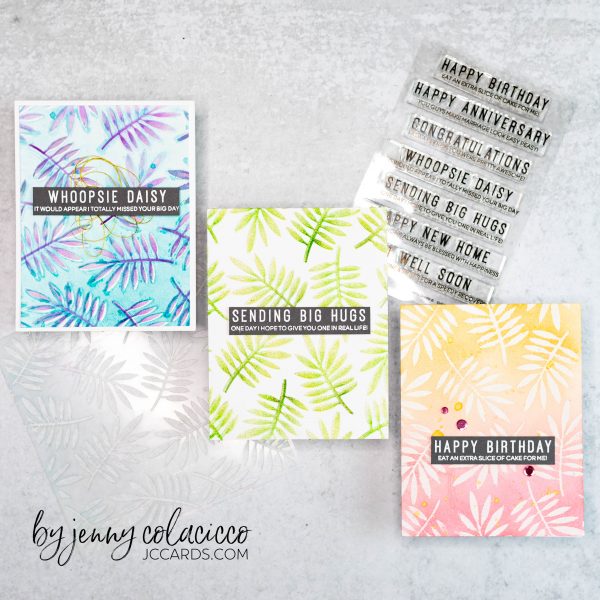
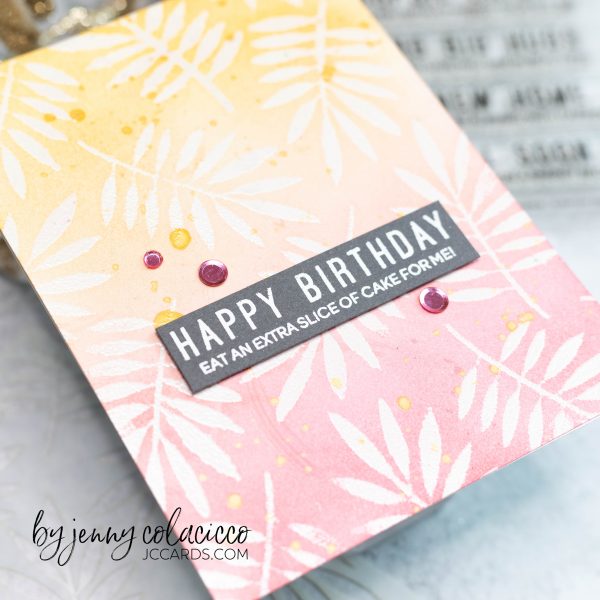
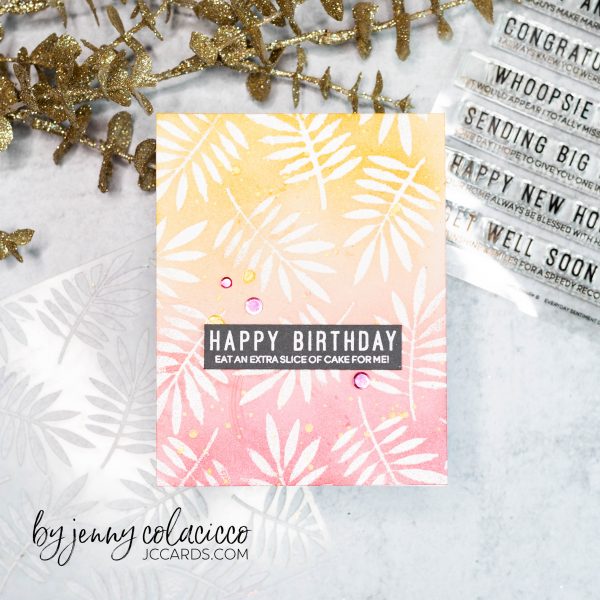
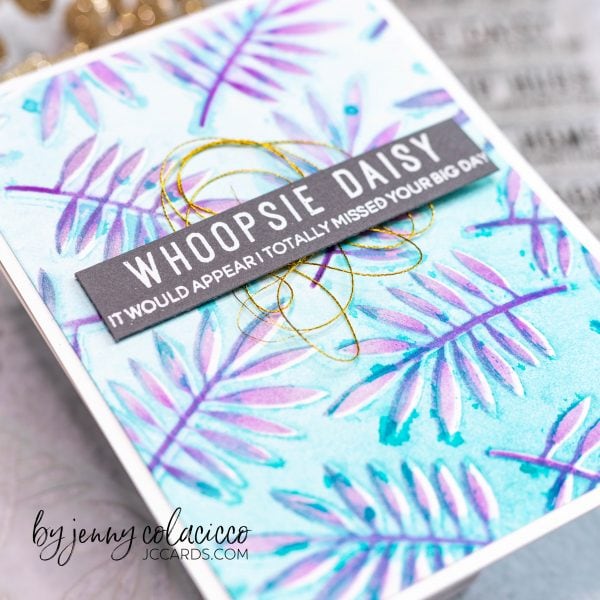
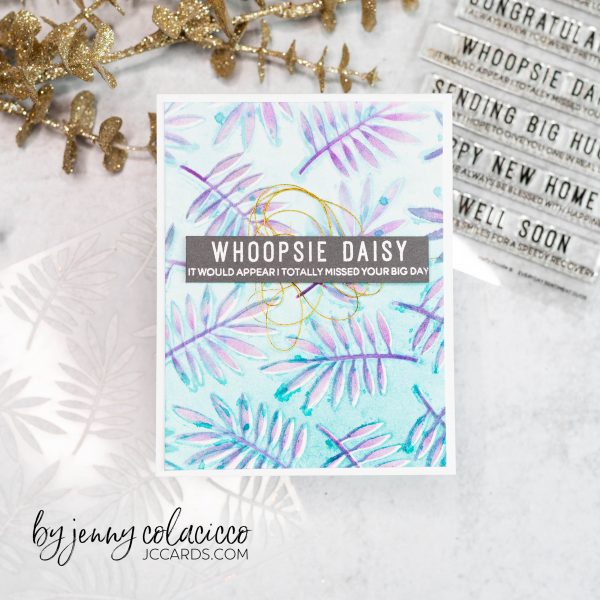
For my next card, I first used the stencil to heat emboss the card. I laid down the stencil as before, and pressed an embossing ink pad all over the stencil. (I recommend treating the panel with a powder tool first). I then heat embossed it in WOW! White Pearl embossing powder which is translucent with a beautiful sheen.I used simple ink blending over the entire panel using two colors, and blending them together in the middle (I love blending pinks and yellows – here I used CPD Coral Cabana and Limoncello). The embossing powder resists the ink and you can simply wipe it off when you’re done. I also added some gold mist spatters for a little more interest.I finished off the card in the same way as before with a couple of pink confetti sequins for extra sparkliness – don’t you love these sentiments, so fun!My final card is a little different, but just shows the versatility of stencils, which are one of my favorite crafty supplies – great price point too! For this card I first covered the stencil in blue inks (I used CPD Just a Boy and All That Jazz), spritzed it with water and ran it through my die cutting machine using the embossing sandwich. The negative image pushes into the cardstock (and Bristol Smooth absorbs the water) and create a slightly dry embossed, semi ‘mixed media’ printed image.You can leave it like that or you can add your ink blending as I did. I overlaid the stencil again once it was dry, shifting it slightly to get a white outline, then used my mini ink blending brushes to blend purple inks over the ferns, as I did for the first card (I used CPD Sweet Sixteen, Royal Treatment and Flirty Fuchsia). I trimmed down the panel this time before finishing with a Duos sentiment as before (adding a nest of gold thread for a little bit of sparkle).That finishes my cards – aren’t they all so different even though I only used one stencil and one sentiment set?! I hope this gave you some ideas for using your supplies and sparked your mojo!
Jenny x